The Ultimate Tall Unicorn Birthday Cake: A Magical Two-Layer Delight
Tall Unicorn Birthday Cake Two Layer Cake Recipe
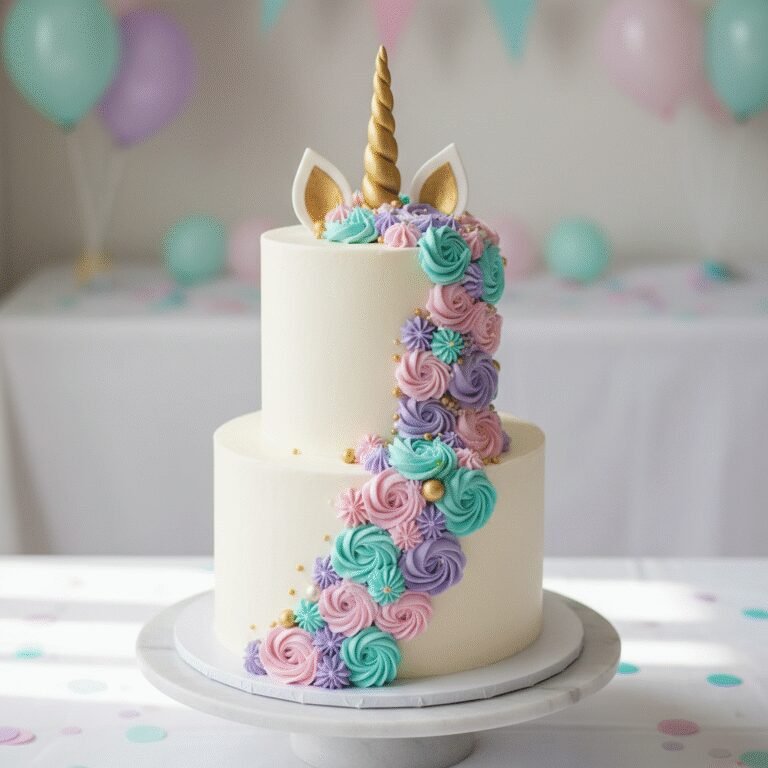
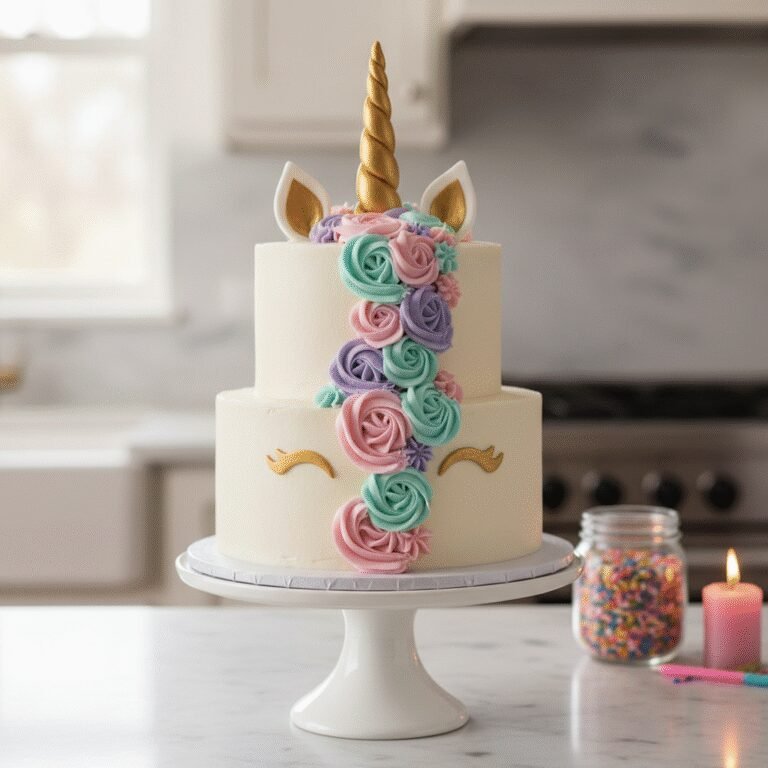
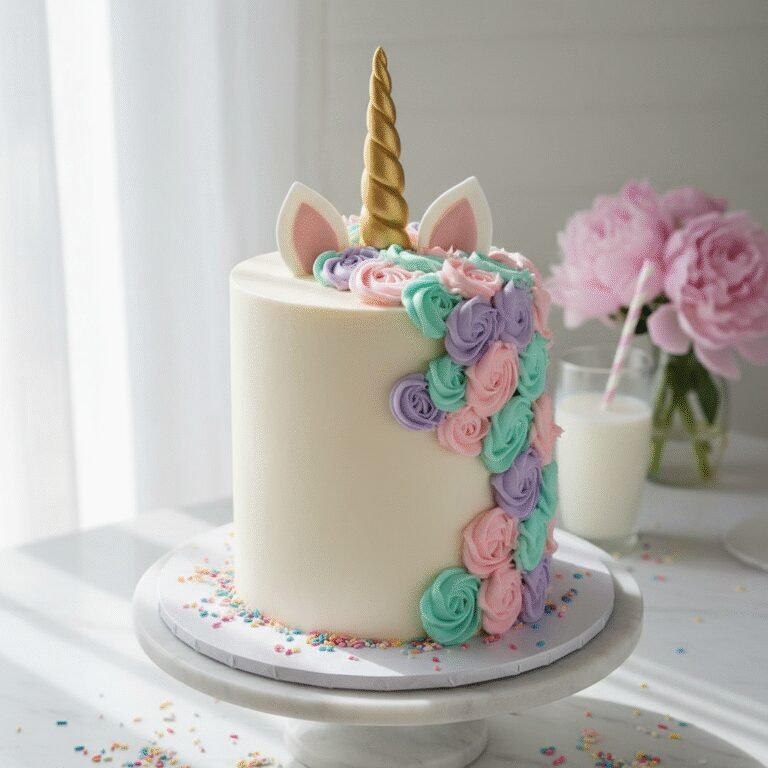
Make dreams come true with this whimsical Tall Unicorn Birthday Cake! Featuring two towering, tender layers of vanilla confetti cake wrapped in silky buttercream and adorned with a pastel mane, this showstopping dessert is as delicious as it is enchanting.
1 hour
45 minutes
4 hours (includes cooling)
12-14 servings
Dessert
Baking
American
Vegetarian
There is something undeniably magical about a unicorn cake. It is not just a dessert; it is a centerpiece, a conversation starter, and a vessel of pure joy. If you have spent any time scrolling through Pinterest or Instagram in the last few years, you have undoubtedly seen these majestic creations: tall, proud cakes with golden horns and cascading swirls of pastel buttercream manes. While they may look intimidating to construct, this Tall Unicorn Birthday Cake recipe is designed to be accessible for the home baker while delivering professional-bakery results.
At the heart of this recipe is the cake itself. We aren’t just relying on the decoration to do the heavy lifting here. The base is a robust yet tender ‘funfetti’ style vanilla cake. We use a high-ratio mixing method to ensure a tight, velvety crumb that is sturdy enough to stack high but soft enough to melt in your mouth. The flavor is a nostalgic blend of pure vanilla bean paste and a whisper of almond extract, reminiscent of the best wedding cakes you have ever tasted.
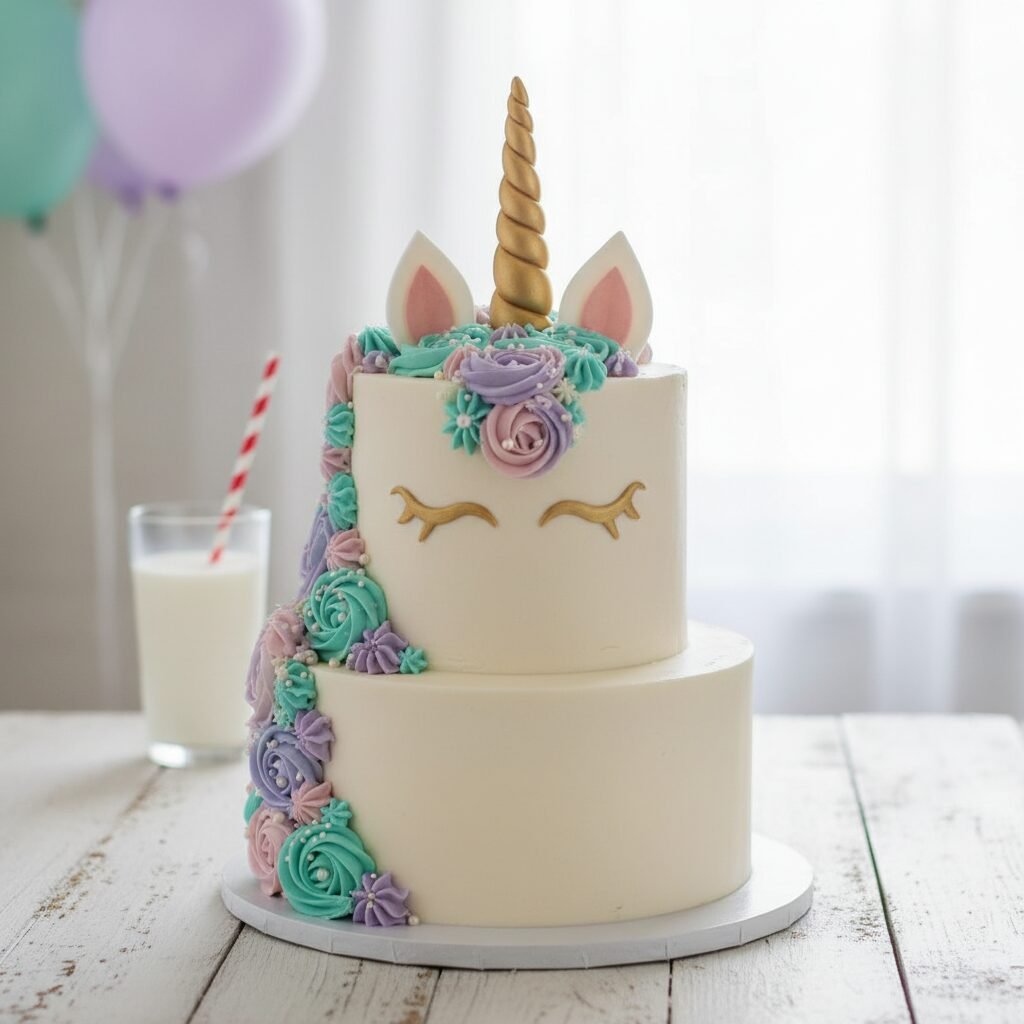
But the real fun begins with the decoration. This two-layer design is baked in smaller, taller pans to achieve that trendy ‘barrel’ look without needing to bake four separate cakes. The height provides the perfect canvas for the unicorn’s face and the glorious mane of frosting. We use a classic American Buttercream for the exterior because it crusts perfectly, allowing for smooth sides and sharp piping definition. Whether you are baking for a child’s birthday, a whimsical baby shower, or just because you need a little more magic in your life, this cake promises to deliver smiles, sparkle, and a slice of heaven.
History & Origins
The phenomenon of the Unicorn Cake is a relatively recent chapter in the annals of baking history, yet its impact has been seismic. While cakes shaped like animals have existed for decades—often involving complex carving or shaped pans—the modern ‘Unicorn Cake’ as we know it today can be traced back to around 2016. It is widely believed that Jenna Rae Cakes, a boutique bakery in Canada, and cake artist layout designs on Instagram popularized the specific aesthetic: a round, tall cake (rather than a carved horse shape) featuring sleepy eyelashes, a central horn, and a piped buttercream mane.
This design revolutionized home baking because it shifted the focus from difficult fondant sculpting to accessible piping techniques. Suddenly, you didn’t need to be a master sculptor to create a character cake; you just needed a few piping tips and some pastel food coloring. The trend exploded on social media, coinciding with a broader cultural resurgence of unicorn iconography, which represents purity, rarity, and a touch of childhood nostalgia for millennials.
Historically, the unicorn has been a symbol of grace and healing since antiquity, appearing in the natural history accounts of the Greeks and the tapestries of the Middle Ages. In the context of modern food culture, the unicorn trend represents a departure from the rustic, ‘naked cake’ aesthetic that dominated the early 2010s. It signaled a return to maximalism, color, and fantasy. This specific recipe honors that history by maintaining the classic elements—the gold horn and the sleepy eyes—while refining the cake base to ensure it tastes as timeless as the mythology behind it.
Why This Recipe Works
This recipe succeeds where others fail because it prioritizes structural integrity without sacrificing texture. Tall cakes, even two-layer ones, face the challenge of stability. Many sponge cakes are too airy and will collapse under the weight of the buttercream mane and fondant horn. This recipe utilizes a ‘reverse creaming’ method (mixing butter into the dry ingredients first) which coats the flour proteins in fat, inhibiting gluten formation while providing a sturdy structure. This results in a cake that cuts cleanly and stands tall but remains incredibly moist.
Furthermore, the buttercream ratio in this recipe is calculated specifically for the heavy piping required for the mane. Standard frosting recipes often don’t yield enough volume for the decorative swirls, leaving bakers scrambling halfway through decorating. We also use a specific technique for the ‘eyes’—painting them with edible gold paint on chilled buttercream rather than using fondant ropes—which prevents them from sliding down the cake at room temperature. The combination of a reliable, dense-crumb vanilla base and a crusting buttercream ensures that your unicorn looks pristine from the moment you frost it until the last slice is served.
Why You’ll Love This Recipe
- ✓Achieves a trendy ‘tall barrel’ look with just two thick layers.
- ✓Sturdy vanilla confetti crumb perfect for stacking.
- ✓Detailed guide to piping a multi-colored pastel mane.
- ✓Uses a crusting American buttercream for smooth sides.
- ✓Includes instructions for a handcrafted edible gold horn.
- ✓Perfect balance of buttery sweetness and vanilla flavor.
Equipment You’ll Need
- ✓Two 6-inch round cake pans (3 inches deep)
- ✓Stand mixer with paddle attachment
- ✓Turntable (lazy susan)
- ✓Offset spatula
- ✓Bench scraper
- ✓Piping bags
- ✓Piping tips (Wilton 1M, 4B, and 2D)
- ✓Wooden skewer (for the horn)
- ✓Small food-safe paint brush
Ingredients
- ✓2 1/2 cups cake flour, sifted
- ✓1 1/2 cups granulated sugar
- ✓1 tbsp baking powder
- ✓1/2 tsp salt
- ✓1 cup unsalted butter, room temperature, cubed
- ✓4 large egg whites, room temperature
- ✓1 cup whole milk, room temperature
- ✓2 tsp vanilla bean paste
- ✓1/2 tsp almond extract
- ✓1/2 cup rainbow sprinkles (jimmies, not nonpareils)
- ✓FOR THE FROSTING: 2 cups unsalted butter, softened
- ✓7-8 cups powdered sugar, sifted
- ✓1/4 cup heavy cream
- ✓1 tbsp vanilla extract
- ✓Gel food coloring (Pink, Purple, Teal)
- ✓Gold luster dust and vodka (or lemon extract) for painting
- ✓White fondant (approx 4 oz)
Instructions
- Preheat your oven to 350°F (175°C). Grease two 6-inch round cake pans, line the bottoms with parchment paper, and grease the paper. Dust with flour and tap out excess.
- In the bowl of a stand mixer fitted with the paddle attachment, combine the sifted cake flour, sugar, baking powder, and salt. Mix on low speed for 30 seconds to combine.
- Add the cubed, room-temperature butter one piece at a time while the mixer is running on low. Continue mixing until the mixture resembles coarse sand and no large chunks of butter remain.
- In a separate measuring cup, whisk together the egg whites, milk, vanilla bean paste, and almond extract.
- With the mixer on low, slowly pour in half of the milk mixture. Increase speed to medium-high and beat for exactly 2 minutes to build structure.
- Scrape down the sides of the bowl. Add the remaining milk mixture in two batches, mixing on medium speed for 30 seconds after each addition. Do not overmix.
- Gently fold in the rainbow sprinkles by hand using a rubber spatula.
- Divide the batter evenly between the two prepared pans. Bake for 40-50 minutes, or until a toothpick inserted into the center comes out clean or with just a few moist crumbs.
- Let cakes cool in pans for 10 minutes, then turn out onto a wire rack to cool completely. Once cool, wrap in plastic wrap and chill in the fridge for 30 minutes to make stacking easier.
- While cakes chill, make the horn and ears. Roll a snake of fondant tailored to a point and wrap it around a damp wooden skewer to form a spiral horn. Shape two small triangles for ears. Let them dry/harden. Paint the horn with a mixture of gold luster dust and a drop of vodka.
- Make the buttercream: Beat butter on medium-high speed for 7 minutes until pale and creamy. Add powdered sugar one cup at a time on low speed. Add heavy cream and vanilla, then whip on high for 3-5 minutes until fluffy.
- Level the tops of the cake layers if domed. Place a dab of frosting on a cake board and place the first layer down.
- Pipe a layer of frosting on top of the first cake layer and smooth it out. Place the second cake layer on top, upside down (flat bottom facing up) for sharp edges.
- Apply a thin ‘crumb coat’ of white frosting over the entire cake to seal in crumbs. Chill for 20 minutes.
- Apply a final thick coat of white frosting. Use a bench scraper to smooth the sides perfectly. Chill again.
- Divide remaining frosting into three bowls. Tint them pink, purple, and teal. Fit piping bags with tips 1M, 4B, and 2D. Fill bags.
- Insert the gold horn into the center top of the cake. Place ears on either side.
- Pipe rosettes and stars cascading from the top of the cake down one side to create the ‘mane’.
- Mix a small amount of gold luster dust with vodka. Using a fine brush, paint ‘sleepy eyes’ with eyelashes on the front of the cake.
Expert Cooking Tips
- ✓Use ‘Jimmies’ sprinkles (the rod-shaped ones) inside the batter. Nonpareils (the tiny balls) will bleed color and turn your batter grey.
- ✓Ensure your butter is truly room temperature for the frosting; if it is too cold, you will get lumps; too warm, and it will be soupy.
- ✓Chill the cake layers before stacking. Cold cake is firmer and less likely to crack or slide while you are frosting it.
- ✓When piping the mane, start with the largest rosettes (1M tip) first, then fill in the gaps with the smaller stars (4B/2D tips).
- ✓If your hand gets warm while piping, the frosting in the bag might melt. Pop the bag in the fridge for 5 minutes to firm it up.
- ✓Use a turntable. It is nearly impossible to get smooth sides on a round cake without being able to spin it while you hold the scraper stationary.
Substitutions and Variations
If you need to make this cake gluten-free, swap the cake flour for a high-quality 1:1 Gluten-Free Baking Flour blend that contains xanthan gum. For a dairy-free version, use a plant-based butter stick (not tub margarine) for both the cake and frosting, and substitute the whole milk and heavy cream with full-fat oat milk or coconut cream. If you don’t have cake flour, you can make a substitute by measuring 2 1/2 cups of all-purpose flour, removing 5 tablespoons, and replacing them with 5 tablespoons of cornstarch, then sifting 3 times. If you dislike almond extract, simply omit it or replace it with lemon zest for a citrusy twist.
Common Mistakes to Avoid
The most common mistake with tall cakes is insufficient structural support or cooling. If you try to frost the cake while the layers are even slightly warm, the butter in the frosting will melt, causing the layers to slide off each other. Another mistake is overmixing the batter after adding the wet ingredients; this develops too much gluten and leads to a dense, rubbery cake rather than a fluffy one. Finally, when making the fondant horn, ensure you give it enough time to dry and harden (at least 24 hours is best) before painting it, otherwise, it may droop or dissolve when painted.
Serving Suggestions
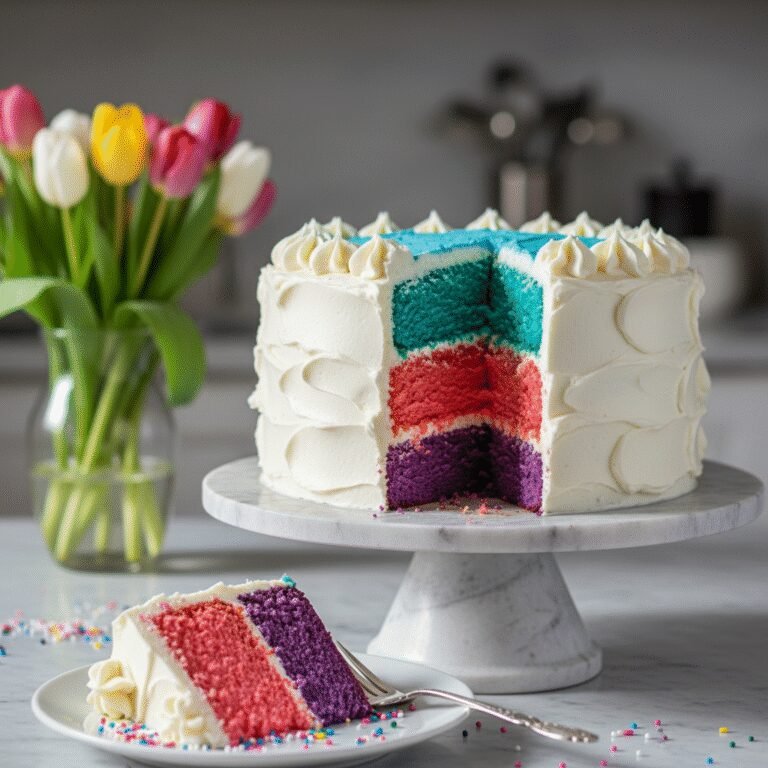
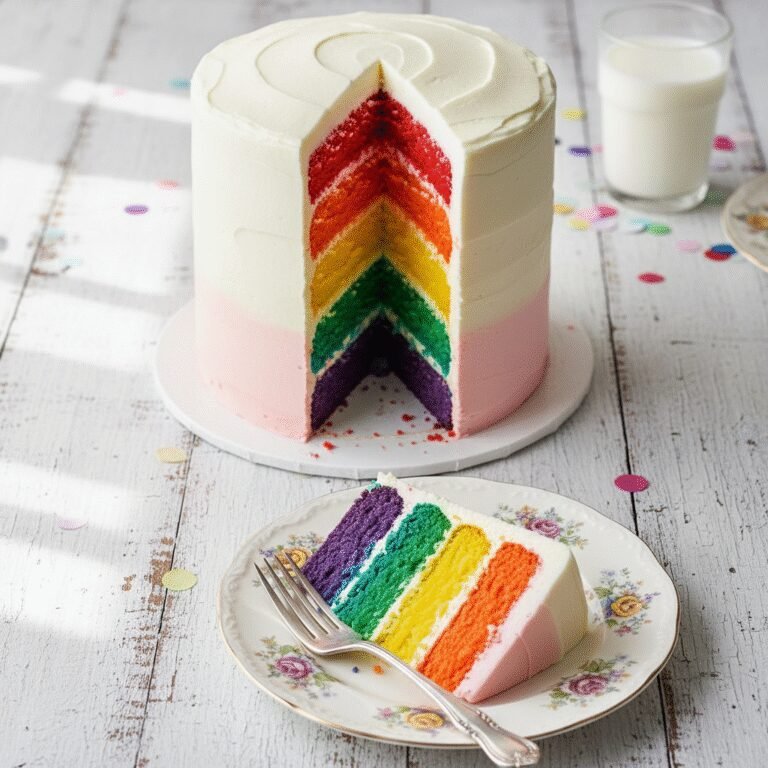
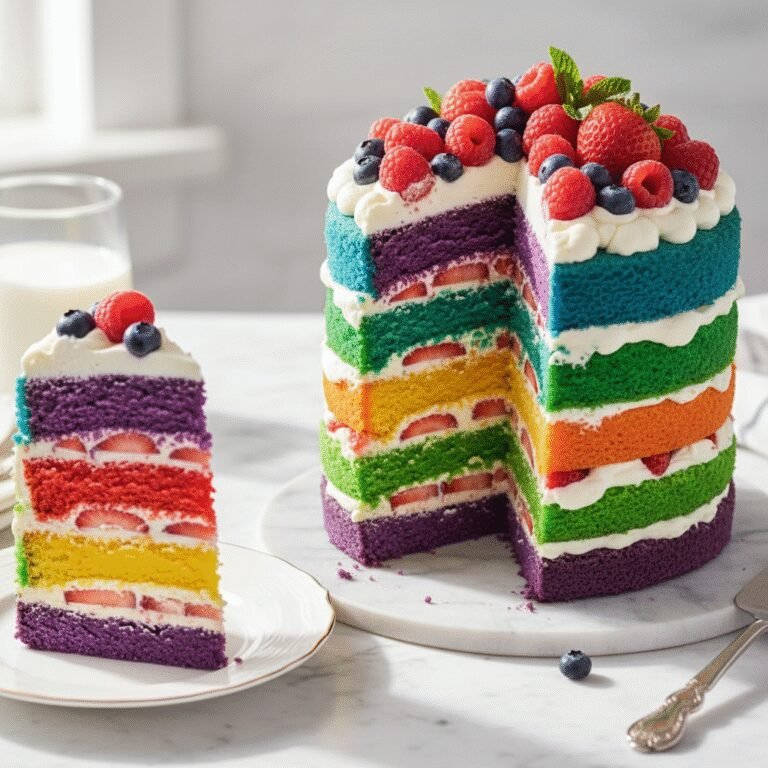
This tall cake is best served by cutting it into grid slices rather than traditional wedges, especially since the layers are thick. To do this, cut a slab off the side of the cake, then cut that slab into rectangular strips. Serve each slice on a colorful plate with a scoop of strawberry or cotton candy ice cream to match the theme. A glass of cold milk or sparkling pink lemonade makes for the perfect accompaniment to cut through the sweetness of the buttercream.
Storage and Reheating Tips
Store the fully decorated cake in a cake box in the refrigerator if you are making it a day ahead. The buttercream locks in the moisture. However, bring the cake to room temperature for at least 2-3 hours before serving; cold cake can taste dry and the butter in the frosting needs to soften for the best mouthfeel. Leftovers can be stored in an airtight container in the fridge for up to 5 days. You can also freeze individual slices wrapped tightly in plastic wrap and foil for up to 2 months.
Nutrition Facts (Estimated)
| Serving Size | 1 slice |
| Calories | 650 |
| Fat | 30g |
| Saturated Fat | 18g |
| Unsaturated Fat | 10g |
| Trans Fat | 0.5g |
| Cholesterol | 85mg |
| Sodium | 320mg |
| Carbohydrates | 85g |
| Fiber | 1g |
| Sugar | 45g |
| Protein | 6g |
Frequently Asked Questions
Can I bake this in 8-inch pans instead?
Yes, you can use two 8-inch pans, but the cake will be significantly shorter and won’t have the ‘tall’ barrel look. You may need to reduce the baking time by 5-10 minutes as the batter will be spread thinner.
How do I get my buttercream truly white?
Butter has a natural yellow tint. To counteract this, add a tiny, pin-sized drop of violet gel food coloring to the frosting and whip it for a long time. The purple neutralizes the yellow. Also, use clear vanilla extract instead of brown.
Can I make the horn without fondant?
Yes! You can use a sugar cone (ice cream cone) for the horn. Cover it in buttercream or spray it with edible gold mist. For the ears, you can use large marshmallows cut diagonally and dipped in pink sugar.
Why did my cake sink in the middle?
This usually happens if the oven door was opened too early during baking, causing a temperature drop, or if the cake was underbaked. It can also result from using too much baking powder.
How far in advance can I make the cake layers?
You can bake the cake layers up to 3 days in advance if stored in the fridge wrapped in plastic, or up to a month in advance if frozen. Frozen layers are actually easier to frost!
Do I need dowels for a two-layer cake?
Generally, a two-layer 6-inch cake does not require internal dowels for support unless you are traveling a long distance with it on a bumpy road. The chilled buttercream usually provides enough stability.
My frosting is full of air bubbles, how do I fix it?
Mix the buttercream on the lowest speed setting with a paddle attachment for the last 2-3 minutes. You can also use a rubber spatula to smash the frosting against the side of the bowl to push out air pockets.
Can I use liquid food coloring?
It is not recommended. Liquid coloring can throw off the consistency of your frosting, making it watery. Gel paste coloring is much more concentrated and won’t alter the texture.
Conclusion
Creating this Tall Unicorn Birthday Cake is a labor of love that pays off tenfold when you see the look of wonder on your guests’ faces. It is a baking project that invites you to tap into your inner artist and embrace the joy of color and sparkle. While it looks like a masterpiece from a high-end bakery, the steps are manageable, and the result is a delicious, homemade treat that tastes far better than anything store-bought. So grab your sprinkles, dust off your mixer, and get ready to bake some magic. Happy baking!