The Ultimate Moist Vanilla Sheet Cake With Fudgy Chocolate Frosting
Moist Vanilla Sheet Cake With Chocolate Frosting Recipe
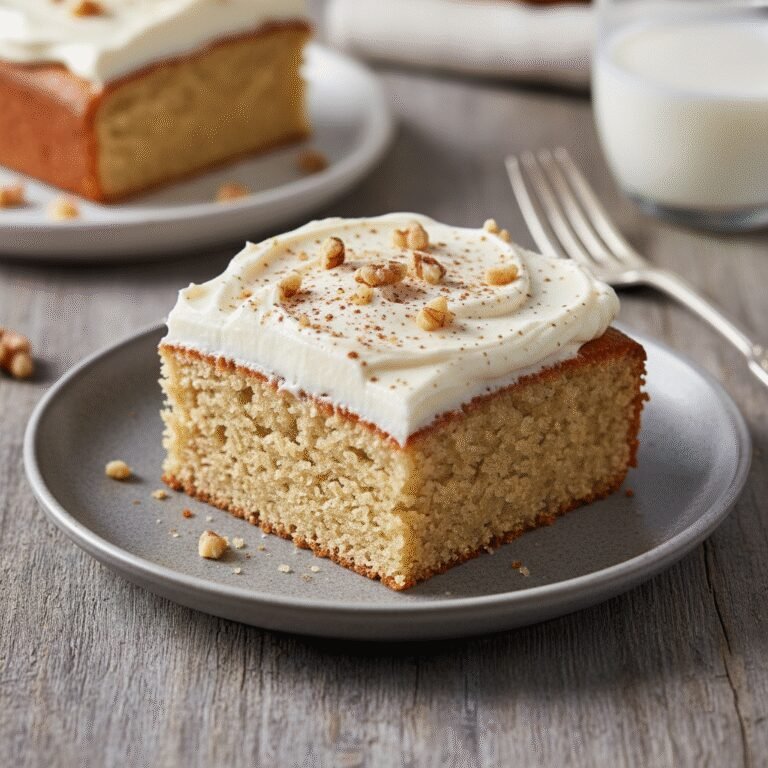
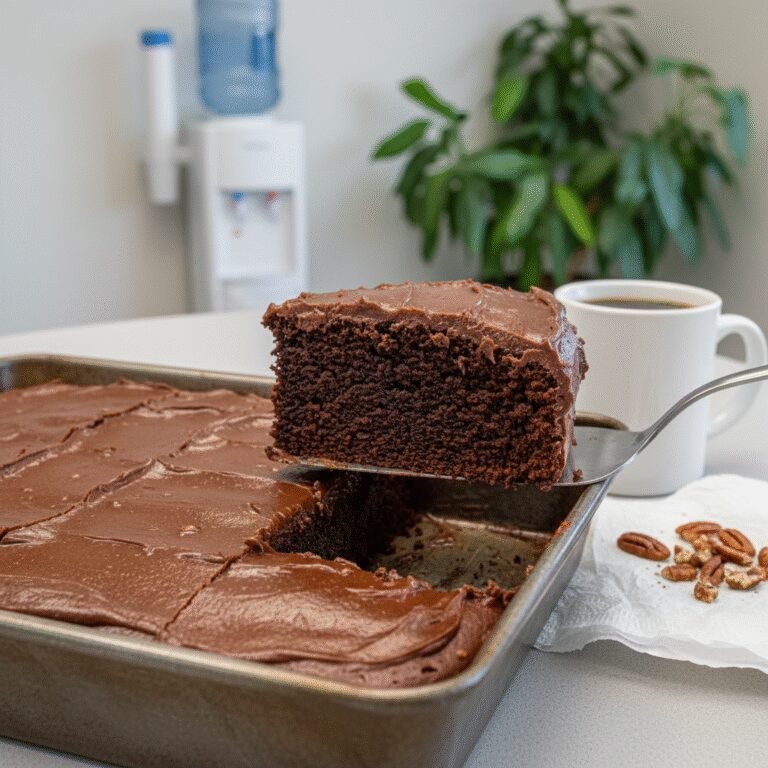
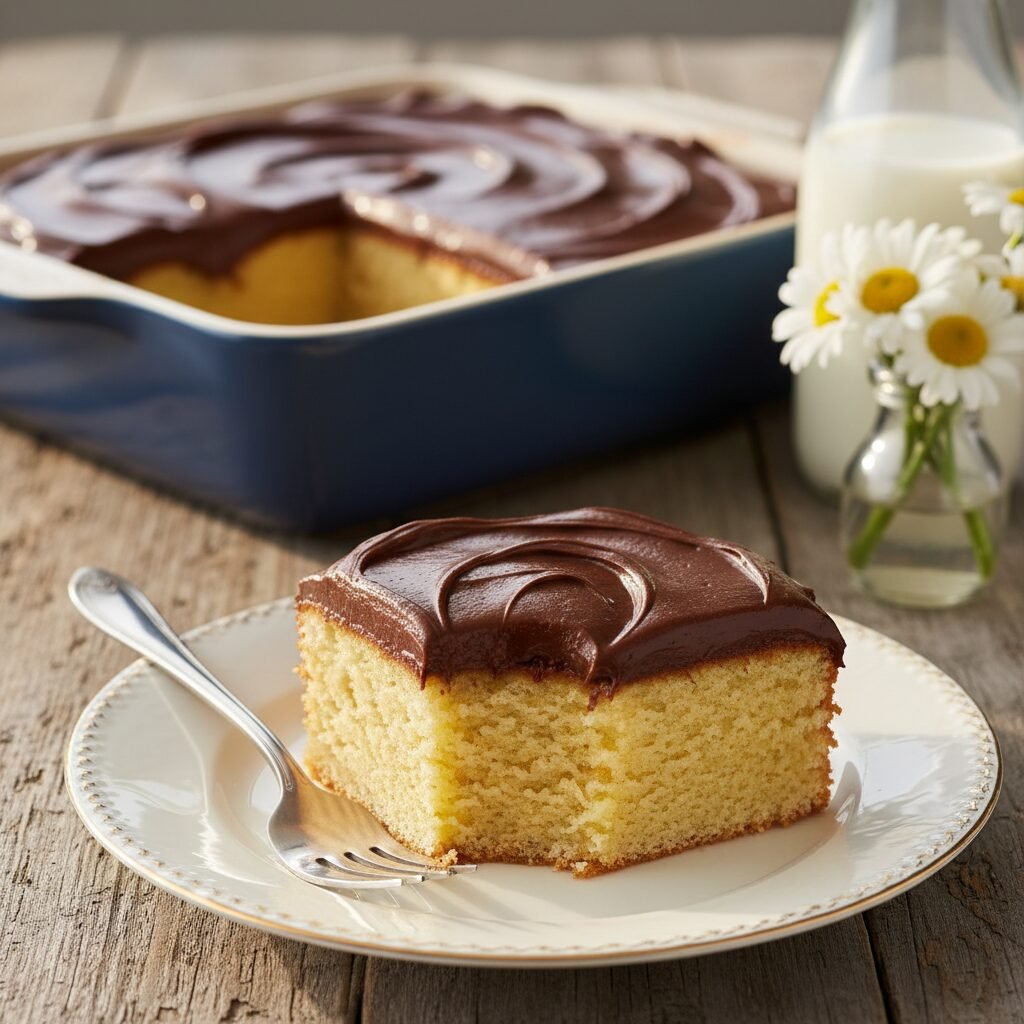
Experience the nostalgia of a classic birthday party with this incredibly moist vanilla sheet cake topped with a rich, fudgy chocolate buttercream. It is the perfect crowd-pleasing dessert that stays soft for days and requires minimal effort to bake.
25 minutes
35 minutes
1 hour 30 minutes (includes cooling)
12-15 servings
Dessert
Baking
American
Vegetarian
There is something undeniably magical about a classic vanilla sheet cake paired with chocolate frosting. It transports us back to childhood birthday parties, school potlucks, and simpler times when the highlight of the day was a square of cake on a paper plate. But this isn’t just any grocery store imitation; this is the ultimate homemade version that redefines what a simple yellow cake can be. The crumb is exceptionally tender, boasting a tight yet fluffy texture that melts in your mouth, while the flavor is a pure, aromatic vanilla explosion.
What sets this recipe apart is its incredible moisture content. Too often, vanilla cakes can turn out dry or bland, relying heavily on the frosting to carry the dessert. Not this one. We utilize a specific blend of fats and dairy to ensure that every bite is luscious and soft. The chocolate frosting is the perfect counterpoint—silky, slightly tangy from a hint of sour cream or cream cheese if you choose, and deeply chocolaty without being overly cloying.
This sheet cake is designed for ease and efficiency without sacrificing quality. It’s the kind of recipe you pull out when you need to feed a crowd, comfort a friend, or simply satisfy a Tuesday night craving. Whether you are an experienced baker or a novice in the kitchen, this recipe promises a bakery-quality result right from your own oven. Get ready to fall in love with the simplicity and perfection of the yellow cake and chocolate frosting combination all over again.
History & Origins
The concept of the sheet cake is deeply rooted in mid-20th-century American baking culture, though its ancestors can be traced back much further. Historically, cakes were often baked in round pans and layered, a technique that required significant skill and time. The ‘sheet’ cake, baked in a large, shallow rectangular pan (often 9×13 inches or a jelly roll pan), emerged as a practical solution for feeding large groups efficiently.
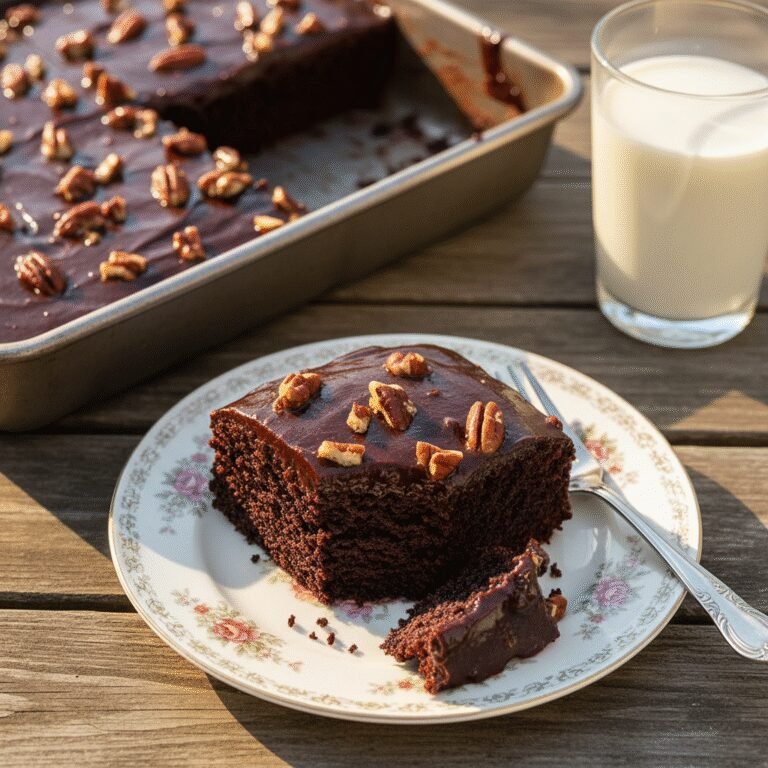
The rise of the sheet cake coincided with the suburban boom of the 1950s and 60s. As neighborhood gatherings, church potlucks, and school bake sales became staples of community life, home bakers needed recipes that were portable, easy to slice, and yielded many servings. The ‘Texas Sheet Cake’ is perhaps the most famous iteration, typically chocolate, but the vanilla version—often referred to as a ‘Yellow Sheet Cake’—holds an equally important place in culinary history.
Culturally, this cake represents the democratization of dessert. It wasn’t reserved for high tea or formal weddings; it was the cake of the people—accessible, unpretentious, and universally loved. In the Southern United States, these cakes were often called ‘funeral cakes’ or ‘kitchen cakes,’ ready to be deployed whenever a community need arose. Over the decades, the recipe has evolved from using simple shortening and water to incorporating richer ingredients like butter, buttermilk, and premium vanilla extracts, reflecting our changing palates and desire for higher quality home-baked goods.
Why This Recipe Works
This recipe succeeds where others fail due to a carefully balanced chemistry of fats and liquids. First, we use a combination of butter and oil. Butter provides that unmistakable, rich flavor that we crave in a yellow cake, while neutral oil ensures the cake remains moist and soft even days after baking. Butter creates a beautiful crumb structure, but oil coats the flour proteins better to inhibit gluten formation, preventing toughness.
Secondly, the inclusion of buttermilk (or sour cream) is non-negotiable. The acidity in buttermilk reacts with the baking soda to create carbon dioxide bubbles, giving the cake a superior lift and a tender, airy crumb. Furthermore, the acid helps to tenderize the gluten strands, ensuring the texture is velvety rather than chewy.
For the frosting, we move beyond a simple powdered sugar and butter mixture. By adding a splash of heavy cream and a pinch of salt, we create an emulsion that is smooth and spreadable but sets up perfectly. Using high-quality cocoa powder bloomed in a bit of warm liquid or melted butter intensifies the chocolate flavor, making it taste like a premium truffle rather than just sugary icing. This interplay of science and quality ingredients guarantees a perfect result every time.
Why You’ll Love This Recipe
- ✓Stays moist for up to 4 days thanks to the oil-butter blend.
- ✓Feeds a large crowd, making it perfect for parties.
- ✓Simple one-pan baking method means less cleanup.
- ✓The frosting is rich and fudgy without being gritty.
- ✓Versatile base that works with sprinkles, nuts, or fruit.
- ✓Freezer-friendly for make-ahead convenience.
Equipment You’ll Need
- ✓9×13 inch baking pan
- ✓Stand mixer or electric hand mixer
- ✓Large mixing bowls
- ✓Whisk
- ✓Rubber spatula
- ✓Measuring cups and spoons
- ✓Sifter (for cocoa and powdered sugar)
- ✓Cooling rack
- ✓Offset spatula
Ingredients
- ✓2 1/2 cups Cake flour (spooned and leveled)
- ✓2 tsp Baking powder
- ✓1/2 tsp Baking soda
- ✓1 tsp Fine sea salt
- ✓3/4 cup Unsalted butter, softened to room temperature
- ✓1/4 cup Vegetable oil or Canola oil
- ✓1 3/4 cups Granulated sugar
- ✓3 Large eggs, room temperature
- ✓2 tsp Pure vanilla extract
- ✓1 cup Buttermilk, room temperature
- ✓FOR THE FROSTING:
- ✓1 cup Unsalted butter, softened
- ✓3 1/2 cups Powdered sugar
- ✓3/4 cup Unsweetened cocoa powder (Dutch-process preferred)
- ✓1/4 cup Heavy cream or whole milk
- ✓1 tsp Pure vanilla extract
- ✓1/4 tsp Salt
Instructions
- Preheat your oven to 350°F (175°C). Grease a 9×13 inch baking pan generously with butter or non-stick spray and line the bottom with parchment paper for easy removal.
- In a medium bowl, whisk together the cake flour, baking powder, baking soda, and salt. Sifting is recommended to ensure the flour is aerated. Set aside.
- In the bowl of a stand mixer fitted with the paddle attachment (or a large bowl with a hand mixer), beat the softened butter, vegetable oil, and granulated sugar on medium-high speed for about 3-5 minutes. The mixture should look pale, fluffy, and aerated.
- Add the eggs one at a time, beating well after each addition. Scrape down the sides and bottom of the bowl to ensure everything is incorporated. Stir in the 2 teaspoons of vanilla extract.
- Reduce the mixer speed to low. Add the dry ingredients in three parts, alternating with the buttermilk in two parts, beginning and ending with the dry ingredients. Mix only until just combined—do not overmix.
- Pour the batter into the prepared baking pan and smooth the top with a spatula. Tap the pan gently on the counter to release any large air bubbles.
- Bake for 30-35 minutes, or until a toothpick inserted into the center comes out clean or with just a few moist crumbs. The cake should spring back lightly when touched.
- Remove the cake from the oven and place the pan on a wire rack. Let it cool completely in the pan before frosting. This is crucial to prevent the frosting from melting.
- While the cake cools, make the frosting. In a large bowl, beat the 1 cup of softened butter until creamy and smooth.
- Sift the powdered sugar and cocoa powder together to remove lumps. Gradually add this mixture to the butter on low speed.
- Add the heavy cream, 1 teaspoon vanilla extract, and salt. Increase the speed to medium-high and whip for 3 minutes until the frosting is fluffy, glossy, and spreadable. Add more cream if it’s too stiff, or more sugar if it’s too runny.
- Once the cake is cool, dollop the frosting over the top and use an offset spatula to spread it into an even, swooping layer. Add sprinkles immediately if desired.
- Slice into squares and serve directly from the pan.
Expert Cooking Tips
- ✓Room temperature ingredients are key: Ensure your butter, eggs, and buttermilk are at room temperature so they emulsify properly into a smooth batter.
- ✓Don’t overmix: Once the flour is added, mix gently. Overmixing develops gluten which leads to a tough, dense cake.
- ✓Weigh your flour: If possible, use a kitchen scale. If not, spoon the flour into the cup and level it off; scooping directly packs the flour and dries out the cake.
- ✓Use cake flour: Cake flour has less protein than all-purpose flour, resulting in a much softer, tender crumb.
- ✓Bloom the cocoa: For a deeper flavor in the frosting, you can mix the cocoa powder with a tablespoon of hot water before adding it to the butter, though the standard method works well too.
- ✓Cool completely: Never frost a warm cake. The butter in the frosting will melt, and you will lose that fluffy texture.
- ✓Bang the pan: A gentle tap on the counter before baking removes large air pockets that cause uneven holes in the crumb.
Substitutions and Variations
If you do not have cake flour, you can make a DIY version by measuring 1 cup of all-purpose flour, removing 2 tablespoons, and replacing them with 2 tablespoons of cornstarch. Sift this mixture twice before using. For the buttermilk, you can make a ‘sour milk’ substitute by adding 1 tablespoon of lemon juice or white vinegar to a measuring cup and filling it to the 1-cup line with whole milk; let it sit for 5 minutes until curdled. If you prefer a less sweet frosting, you can swap the milk chocolate notes for dark chocolate by using dark cocoa powder. Coconut oil can replace the vegetable oil for a slight coconut flavor, or melted butter can be used entirely, though the cake may be slightly denser. Gluten-free 1-to-1 baking flour blends work surprisingly well in this recipe; just look for a blend that includes xanthan gum.
Common Mistakes to Avoid
The most common mistake is overbaking the cake. Sheet cakes have a large surface area and bake relatively quickly; check it at the 30-minute mark. Even a few extra minutes can dry out the crumb. Another error is using cold ingredients. Cold eggs or buttermilk can cause the batter to curdle or look separated, which affects the final rise. Skipping the sifting step for the frosting is another pitfall; tiny lumps of powdered sugar or cocoa are very noticeable in the final texture and impossible to whip out once the liquid is added. Lastly, cutting the cake while it is still warm will result in messy slices that crumble easily.
Serving Suggestions
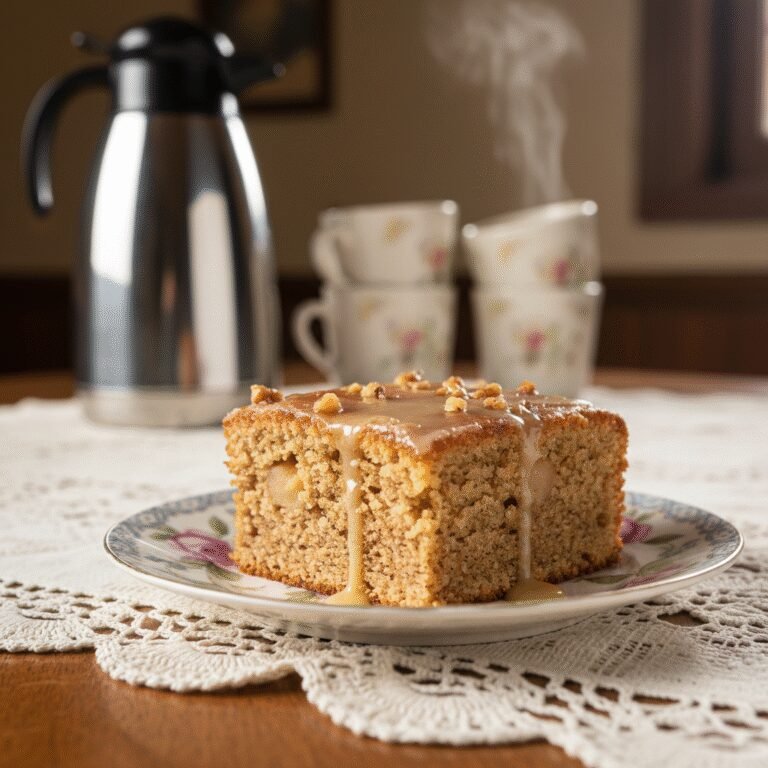
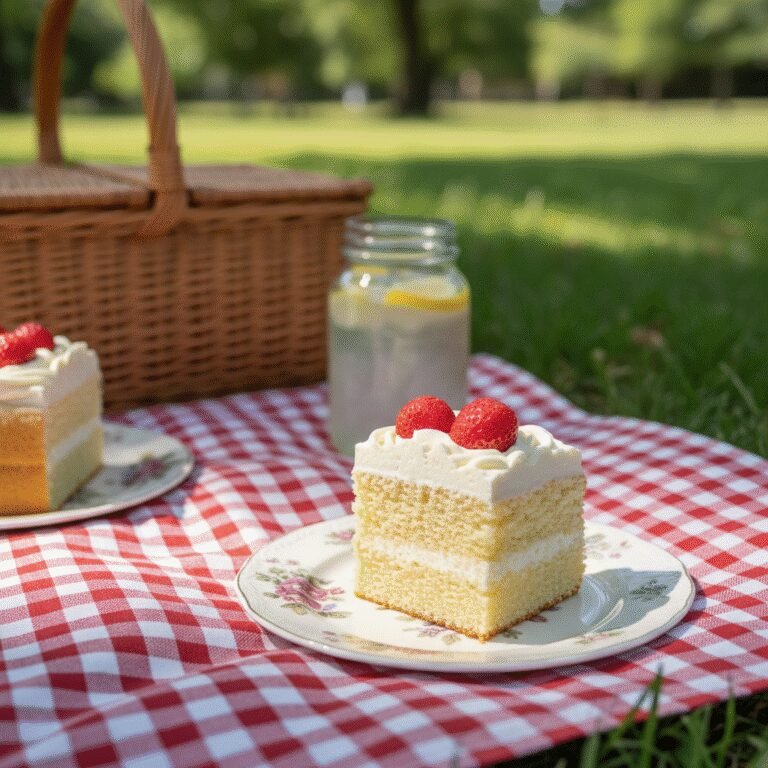
This cake is a showstopper on its own, but it pairs beautifully with a scoop of vanilla bean ice cream or a dollop of fresh whipped cream. For a festive touch, garnish with rainbow sprinkles for birthdays or shaved chocolate curls for a more elegant look. Fresh berries, such as raspberries or strawberries, cut through the richness of the chocolate frosting perfectly. Serve with a cold glass of milk or a hot cup of coffee to balance the sweetness. It is ideal for potlucks, picnics, and family reunions because it travels well in the pan.
Storage and Reheating Tips
Store the frosted cake in the pan, covered tightly with plastic wrap or a lid, at room temperature for up to 3 days. The oil in the batter keeps it moist. If your kitchen is very hot, or if you want to keep it longer, you can refrigerate it for up to 5 days, but allow it to come to room temperature before serving for the best texture and flavor. To freeze, you can freeze the unfrosted cake wrapped in plastic wrap for up to 3 months. Alternatively, freeze individual slices of the frosted cake on a baking sheet until solid, then wrap them tightly in plastic wrap and foil. Thaw on the counter for an hour before eating.
Nutrition Facts (Estimated)
| Serving Size | 1 slice |
| Calories | 450 |
| Fat | 22g |
| Saturated Fat | 10g |
| Unsaturated Fat | 11g |
| Trans Fat | 0g |
| Cholesterol | 65mg |
| Sodium | 210mg |
| Carbohydrates | 58g |
| Fiber | 2g |
| Sugar | 38g |
| Protein | 5g |
Frequently Asked Questions
Can I use all-purpose flour instead of cake flour?
Yes, but the texture will be slightly denser and more bread-like. Cake flour is highly recommended for that melt-in-your-mouth tenderness.
Why did my cake sink in the middle?
This usually happens if the oven door was opened too early during baking, or if there was too much leavening (baking powder/soda). Ensure your oven temperature is accurate using an oven thermometer.
Can I make this recipe as cupcakes?
Absolutely. This batter will make approximately 24 cupcakes. Bake them at 350°F for 18-22 minutes.
Is the coffee necessary in chocolate frosting recipes?
This specific recipe uses cream and vanilla, but adding a teaspoon of espresso powder to the frosting enhances the chocolate flavor without making it taste like coffee.
Can I make this cake ahead of time?
Yes, sheet cakes are excellent for making ahead. You can bake the cake one day in advance and keep it covered at room temperature, then frost it on the day of serving.
My frosting is too runny, what do I do?
Add more powdered sugar, a quarter cup at a time, until it reaches the desired consistency. If it’s too hot in your kitchen, chill the frosting for 10 minutes.
Can I use salted butter?
Yes, you can use salted butter, but you should reduce the added salt in the recipe by half to prevent the cake from tasting salty.
How do I get smooth frosting swirls?
Use an offset spatula and run it under hot water (dry it off) before smoothing the frosting. The slight heat helps create a glossy finish.
Conclusion
This Moist Vanilla Sheet Cake with Chocolate Frosting is more than just a dessert; it’s a comforting slice of home that brings people together. With its foolproof method, accessible ingredients, and heavenly flavor profile, it is bound to become a staple in your recipe box. Whether you are celebrating a milestone or just getting through the week, this cake delivers joy in every bite. Happy baking!