The Ultimate Moist Vanilla Sheet Cake for Potlucks
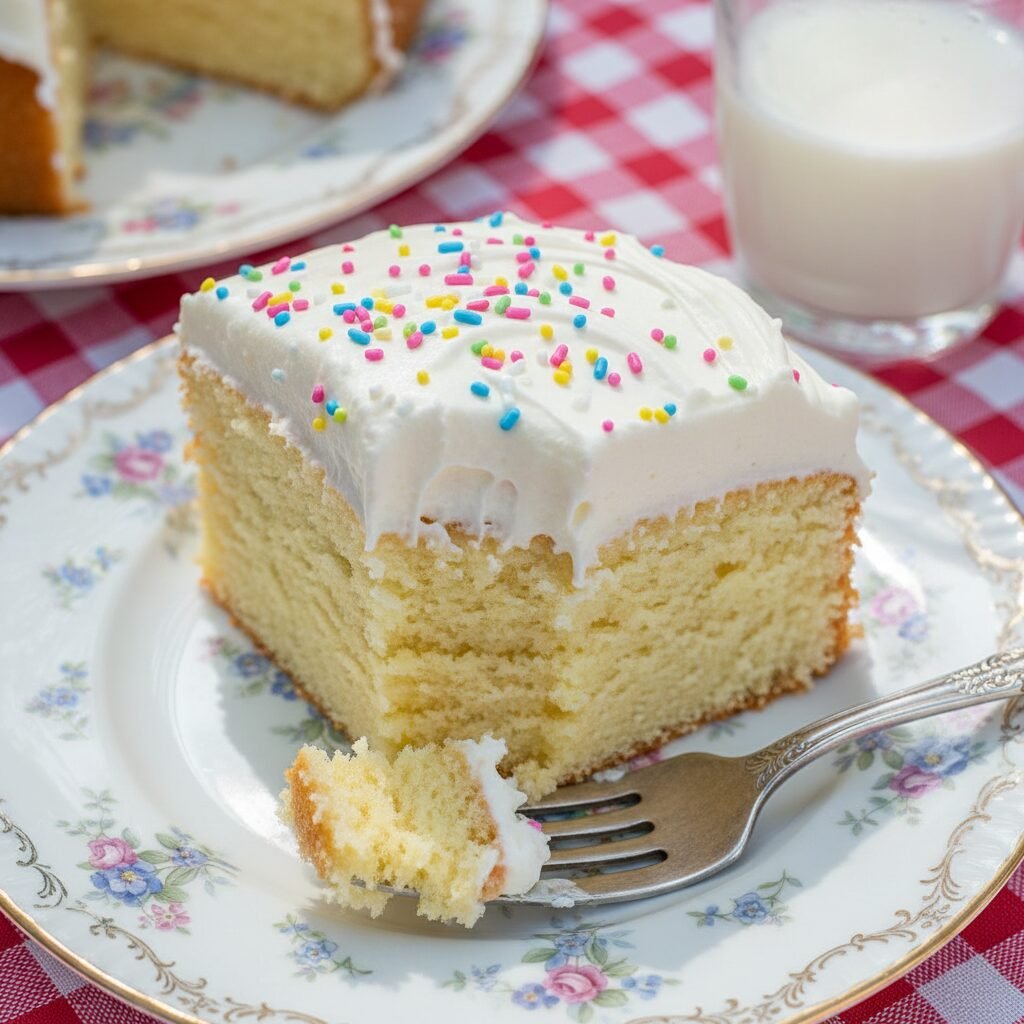
Moist Vanilla Sheet Cake For Potluck Recipe
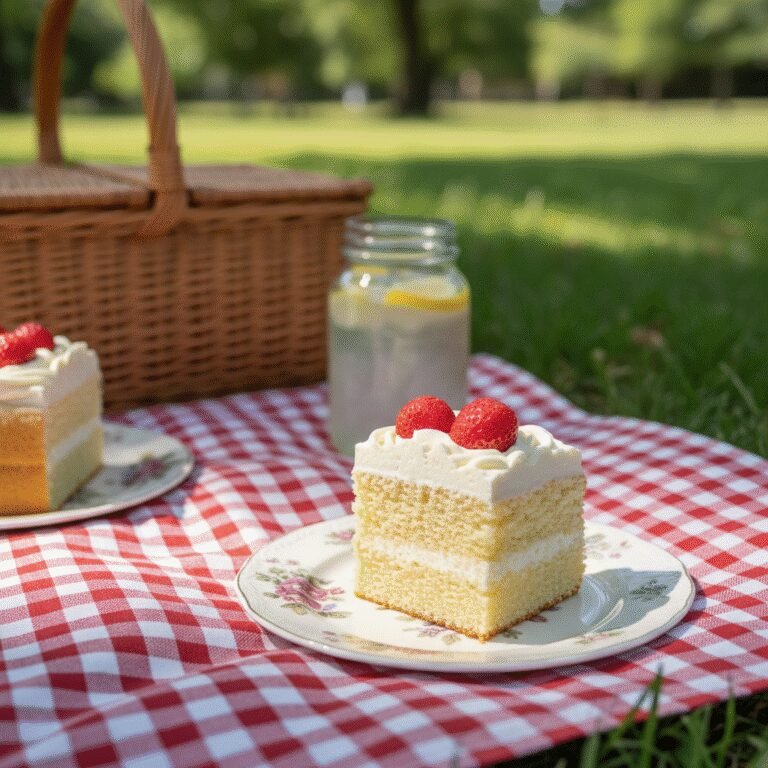
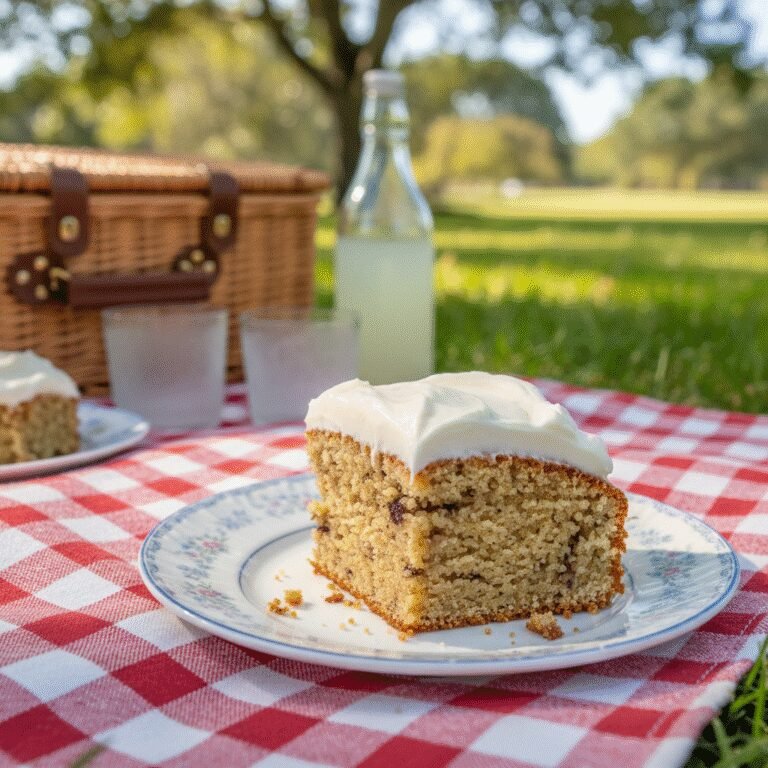
This isn’t just another plain vanilla cake; it is the tender, melt-in-your-mouth champion of potlucks everywhere. With a velvety crumb that stays moist for days and a rich buttercream frosting, this sheet cake is designed to feed a crowd and vanish from the dessert table in minutes.
20 minutes
30 minutes
50 minutes (plus cooling)
24 servings
Dessert
Baking
American
Vegetarian
There is something undeniably nostalgic and comforting about a classic vanilla sheet cake. It calls to mind the bustling energy of church basements, the laughter of backyard barbecues, and the community spirit of neighborhood block parties. But let’s be honest: we have all suffered through dry, lackluster squares of cake that crumble into dust at the first bite. That ends today. This recipe is my love letter to the quintessential potluck dessert, engineered to be the absolute best version of itself.
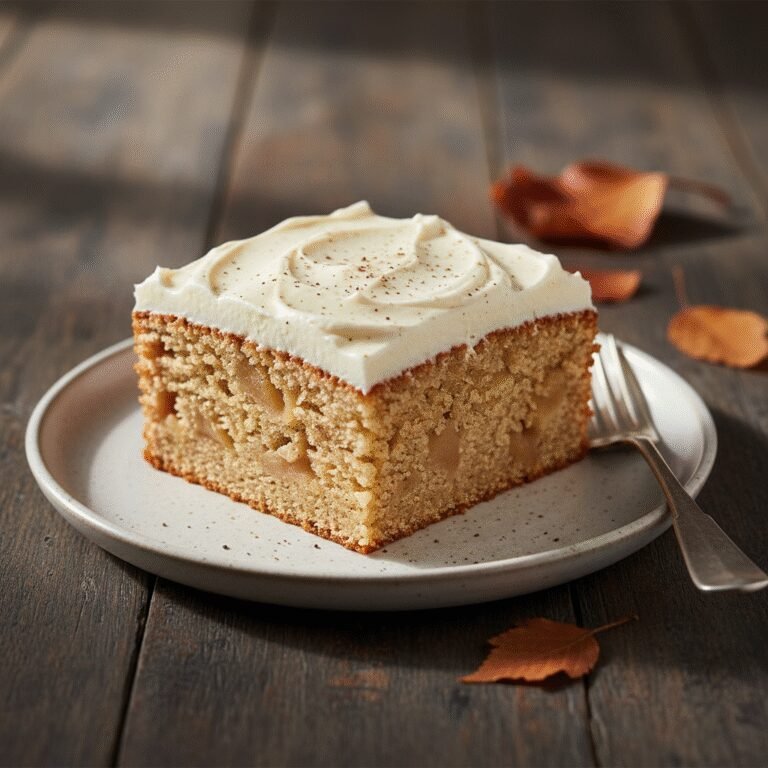
What sets this Moist Vanilla Sheet Cake apart is its incredible texture. We are moving away from the airy, dry sponge of boxed mixes and embracing a dense, velvety crumb that feels luxurious on the tongue. The secret lies in a specific balance of fats and dairy, ensuring that the cake retains its moisture even after sitting out on a buffet table for an hour. It is sturdy enough to be sliced and transported without falling apart, yet delicate enough to feel like a high-end bakery treat.
The flavor is pure, unadulterated vanilla—floral, sweet, and aromatic. Because the flavor profile is simple, the quality of ingredients shines through, making it the perfect canvas for a luscious, whipped buttercream frosting. Whether you are a seasoned baker looking for a reliable staple or a novice needing a guaranteed win for your next gathering, this sheet cake is your new secret weapon. It demands very little effort for a massive payoff, cementing your status as the potluck hero.
History & Origins
The history of the sheet cake is deeply intertwined with the evolution of American home baking and the rise of suburban social culture in the mid-20th century. While cakes have existed for centuries, the ‘sheet cake’ format gained massive popularity post-World War II. This era saw the standardization of baking pans, with the 9×13-inch rectangular pan becoming a fixture in nearly every American kitchen. Before this, cakes were typically round layers, requiring more skill to stack and frost, and were often reserved for birthdays or formal occasions.
The rectangular sheet cake, however, was the dessert of the people. It was utilitarian, efficient, and egalitarian. It could be baked in a single pan, frosted without the fuss of crumb coats or leveling, and easily cut into twenty or more servings. This made it the ideal candidate for the booming culture of ‘potlucks’ and community socials that defined the 1950s and 60s.
One cannot discuss sheet cakes without mentioning the legendary ‘Texas Sheet Cake,’ typically a chocolate buttermilk cake poured with warm icing. Our vanilla version borrows from that lineage—focusing on the use of buttermilk or sour cream to ensure tenderness—but adapts it for a fluffier, white cake profile. Over the decades, the vanilla sheet cake became a staple at weddings (often as the ‘kitchen cake’ served to guests), school bake sales, and picnics. It represents a shift in baking from purely ornamental to practical, communal sharing, proving that a cake doesn’t need to be tall to be grand.
Why This Recipe Works
This recipe succeeds where many others fail because it scientifically addresses the two biggest enemies of vanilla cake: dryness and lack of flavor. First, we tackle moisture. Most recipes rely solely on butter, which provides great flavor but contains water that evaporates during baking. This recipe uses a dual-fat strategy: butter for that unmistakable rich taste, and vegetable oil to coat the flour proteins. Oil remains liquid at room temperature, which keeps the sensation of the cake ‘moist’ on the palate long after it has cooled.
Furthermore, we incorporate sour cream into the batter. The acidity in the sour cream does two things: it activates the baking soda for a superior rise, and it tenderizes the gluten strands in the flour, preventing the cake from becoming tough or rubbery. This results in a ‘plush’ texture—soft but substantial.
Flavor-wise, we double down on vanilla. We use a high quantity of pure vanilla extract, and by using a mix of white and a touch of brown sugar, we add a very subtle depth that pure white sugar lacks, without turning it into a caramel cake. Finally, the ‘Reverse Creaming Method’ (mixing fat into dry ingredients before adding liquids) coats the flour particles in fat, limiting gluten development even further. This guarantees a velvety, melt-in-your-mouth crumb every single time.
Why You’ll Love This Recipe
- ✓Stays incredibly moist for up to 4 days
- ✓Feeds a large crowd (20-24 servings)
- ✓Sturdy enough for easy transport to potlucks
- ✓Perfect balance of buttery richness and vanilla aroma
- ✓Easy one-pan frosting method
Equipment You’ll Need
- ✓9×13 inch baking pan (metal preferred)
- ✓Stand mixer or electric hand mixer
- ✓Large mixing bowls
- ✓Rubber spatula
- ✓Measuring cups and spoons
- ✓Wire cooling rack
- ✓Offset spatula
Ingredients
- ✓2 1/2 cups Cake flour (spooned and leveled)
- ✓2 cups Granulated sugar
- ✓1 tbsp Baking powder
- ✓1/2 tsp Baking soda
- ✓1/2 tsp Salt
- ✓1 cup Unsalted butter, softened to room temperature
- ✓1/4 cup Vegetable oil (or canola oil)
- ✓1 cup Full-fat sour cream (room temperature)
- ✓1/2 cup Whole milk (room temperature)
- ✓4 Large eggs (room temperature)
- ✓1 tbsp Pure vanilla extract
- ✓— For the Frosting —
- ✓1 1/2 cups Unsalted butter, softened
- ✓5 cups Powdered sugar
- ✓1/4 cup Heavy cream
- ✓2 tsp Pure vanilla extract
- ✓Pinch of salt
- ✓Sprinkles (optional, for garnish)
Instructions
- Preheat your oven to 350°F (175°C). Grease a 9×13 inch baking pan generously with butter or non-stick baking spray and line the bottom with parchment paper for easy removal.
- In the bowl of a stand mixer fitted with the paddle attachment, combine the cake flour, sugar, baking powder, baking soda, and salt. Mix on low speed for 30 seconds just to combine.
- Add the softened butter and vegetable oil to the dry ingredients. Mix on low speed until the mixture resembles coarse sand or wet crumbs. This coating process inhibits gluten formation.
- In a separate medium bowl, whisk together the eggs, sour cream, milk, and vanilla extract until fully combined and smooth.
- With the mixer on low, slowly pour about half of the wet egg mixture into the crumbly flour mixture. Increase speed to medium and beat for exactly 1.5 minutes to build structure.
- Scrape down the sides and bottom of the bowl. Add the remaining liquid mixture in two batches, mixing on low for about 20 seconds after each addition until just combined. Do not overmix.
- Pour the batter into the prepared baking pan and use a spatula to smooth the top evenly.
- Bake for 28-32 minutes, or until a toothpick inserted into the center comes out clean or with just a few moist crumbs attached. The cake should spring back lightly when touched.
- Remove from the oven and place the pan on a wire rack. Allow the cake to cool completely in the pan before frosting. This usually takes about 1.5 to 2 hours.
- While the cake cools, make the frosting. Beat the softened butter in a stand mixer on medium-high speed for 5 minutes until pale and creamy.
- Reduce speed to low and gradually add the powdered sugar, one cup at a time. Once incorporated, increase speed to high and beat for another 2 minutes.
- Add the heavy cream, vanilla, and salt. Beat on medium-high for another 3-4 minutes until the frosting is light, airy, and fluffy.
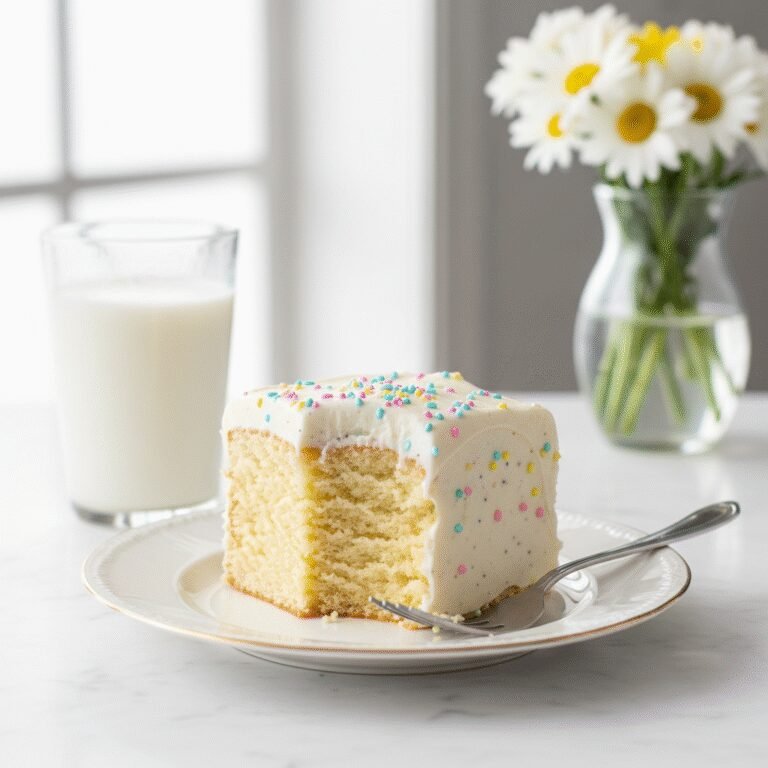
- Spread the frosting generously over the cooled cake using an offset spatula. Top with sprinkles if desired. Slice into squares and serve.
Expert Cooking Tips
- ✓Room temperature ingredients are non-negotiable; cold eggs or dairy will curdle the batter and ruin the emulsion.
- ✓Use cake flour instead of all-purpose flour for a significantly lighter, more tender crumb.
- ✓Do not skip the vegetable oil; it is the key to keeping the cake moist for days.
- ✓Weigh your flour if possible, or use the spoon-and-level method to avoid a dense, dry cake.
- ✓Beat the frosting longer than you think is necessary to remove the gritty sugar texture and create a cloud-like consistency.
- ✓If using a glass pan, reduce oven temperature by 25°F and check for doneness earlier.
- ✓Tap the pan on the counter before baking to release any large air bubbles.
Substitutions and Variations
If you do not have cake flour, you can make a DIY version by measuring 1 cup of all-purpose flour, removing 2 tablespoons, and replacing them with 2 tablespoons of cornstarch. Sift this mixture twice before using. For the sour cream, full-fat plain Greek yogurt is an excellent 1:1 substitute that maintains the acidity and fat content needed. If you prefer a tangier cake, you can replace the whole milk with buttermilk, though the sour cream already provides a nice tang. For the oil, any neutral oil like canola, grapeseed, or light olive oil works perfectly. In the frosting, if you find it too sweet, add a tiny pinch of salt or a teaspoon of lemon juice to cut through the sugar.
Common Mistakes to Avoid
The most common mistake is overmixing the batter after adding the eggs. Once the liquid is added, gluten begins to develop; mixing too much will result in a tough, rubbery cake rather than a tender one. Another frequent error is baking the cake too long. Sheet cakes have a large surface area and bake relatively quickly; rely on the toothpick test rather than just the timer. Additionally, frosting the cake before it is 100% cool is a disaster waiting to happen—the butter in the frosting will melt, causing the topping to slide off or become greasy. Finally, using low-fat or non-fat dairy products will result in a less flavorful and drier cake; stick to full-fat for the best results.
Serving Suggestions
This cake is a star on its own, but it pairs beautifully with fresh berries—strawberries, raspberries, or blueberries cut through the sweetness of the buttercream perfectly. For a summer potluck, serve it alongside a scoop of peach ice cream. If you are serving this for a birthday, copious amounts of rainbow sprinkles are a must. For a more sophisticated finish, garnish with edible flowers or a drizzle of salted caramel sauce. It is best served at room temperature so the buttercream is soft and creamy.
Storage and Reheating Tips
Because of the butter and sour cream, this cake stays moist for quite a while. It can be stored in an airtight container (or covered tightly with plastic wrap in the pan) at room temperature for up to 3 days. If you live in a very hot or humid climate, you may want to refrigerate it, but be sure to let it come to room temperature before serving for the best texture. For longer storage, you can freeze the frosted cake. Place slices on a baking sheet to freeze the frosting solid, then wrap them individually in plastic wrap and foil. Thaw on the counter for 2 hours before eating.
Nutrition Facts (Estimated)
| Serving Size | 1 slice |
| Calories | 380 |
| Fat | 18g |
| Saturated Fat | 10g |
| Unsaturated Fat | 7g |
| Trans Fat | 0g |
| Cholesterol | 45mg |
| Sodium | 190mg |
| Carbohydrates | 52g |
| Fiber | 0.5g |
| Sugar | 28g |
| Protein | 4g |
Frequently Asked Questions
Can I make this cake ahead of time?
Absolutely! In fact, the flavor and texture often improve the next day as the moisture distributes. You can bake it up to 2 days in advance and keep it covered at room temperature.
Why did my cake sink in the middle?
This usually happens if the oven door was opened too early during baking, causing a temperature drop, or if there was too much leavening (baking powder/soda) used.
Can I use this recipe for cupcakes?
Yes, this batter works great for cupcakes. It will yield approximately 24-30 cupcakes. Bake them at 350°F for about 18-22 minutes.
Do I have to use a stand mixer?
No, an electric hand mixer works perfectly fine. Just be careful to mix thoroughly during the creaming stages and be gentle during the final addition of liquids.
Can I use salted butter?
You can, but you should reduce the added salt in the recipe to 1/4 teaspoon to ensure the cake doesn’t taste too salty.
How do I transport this without ruining the frosting?
If you bake it in a 9×13 pan with a lid, that is ideal. If not, insert a few toothpicks into the top of the cake and drape plastic wrap loosely over them to create a tent.
Why is my frosting gritty?
Gritty frosting usually means the powdered sugar wasn’t beaten enough or the butter was too cold. Beat the butter and sugar together for longer than you think is needed.
Can I make this gluten-free?
Yes, you can substitute the cake flour with a high-quality 1:1 gluten-free baking flour blend. The texture may be slightly different, but it will still be delicious.
What if I don’t have parchment paper?
Grease the pan thoroughly with butter and then dust it with flour, tapping out the excess. This ‘grease and flour’ method works well to prevent sticking.
Conclusion
There is a reason the vanilla sheet cake has stood the test of time: it is the ultimate crowd-pleaser. It doesn’t rely on flashy techniques or exotic ingredients, but rather on the comforting, simple perfection of butter, sugar, and vanilla done right. This Moist Vanilla Sheet Cake recipe is sure to become a tattered, stain-covered page in your recipe binder, pulled out for every birthday, potluck, and Tuesday night craving. So preheat your oven, grab your mixer, and get ready to bake the most reliable, delicious cake you’ve ever tasted. Happy baking!