The Ultimate Moist Vanilla Cupcake Recipe with Whipped Buttercream Frosting
Moist Vanilla Cupcake Recipe
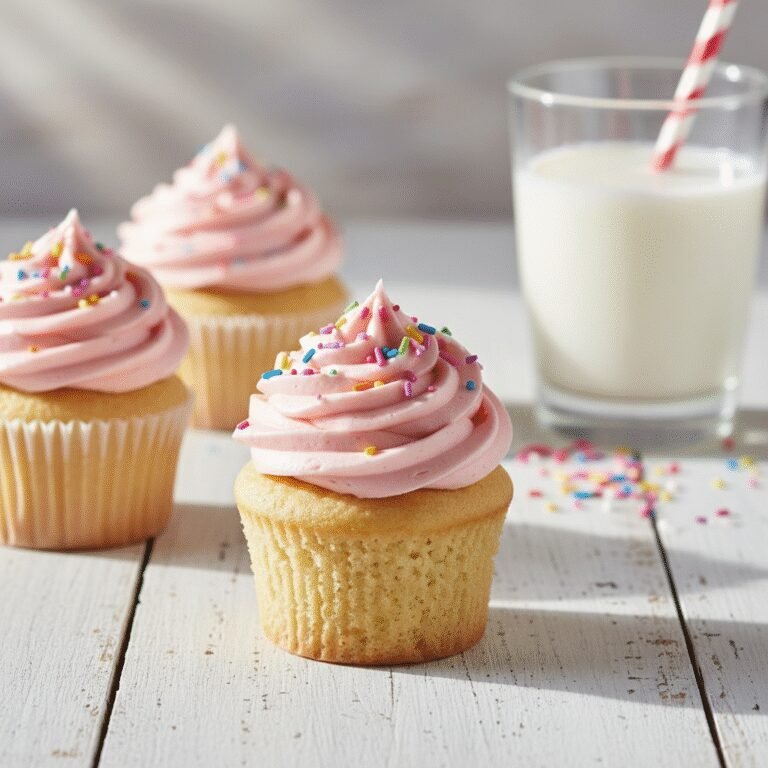
Discover the secret to bakery-style vanilla cupcakes right at home. These cupcakes are incredibly tender, bursting with pure vanilla flavor, and topped with a cloud-like whipped buttercream that melts in your mouth.
20 minutes
18 minutes
38 minutes
12 cupcakes
Dessert
Baking
American
Vegetarian
If you have ever found yourself disappointed by a dry, lackluster vanilla cupcake, you are certainly not alone. The quest for the perfect vanilla cupcake is akin to the search for the Holy Grail in the baking world. It seems simple enough—flour, sugar, butter, eggs—but achieving that elusive balance of a tender crumb, sturdy structure, and profound moisture is a scientific feat. This recipe is the result of years of testing, tweaking, and tasting. We are moving away from the dense, muffin-like textures often found in quick recipes and leaning into the realm of professional patisserie quality.
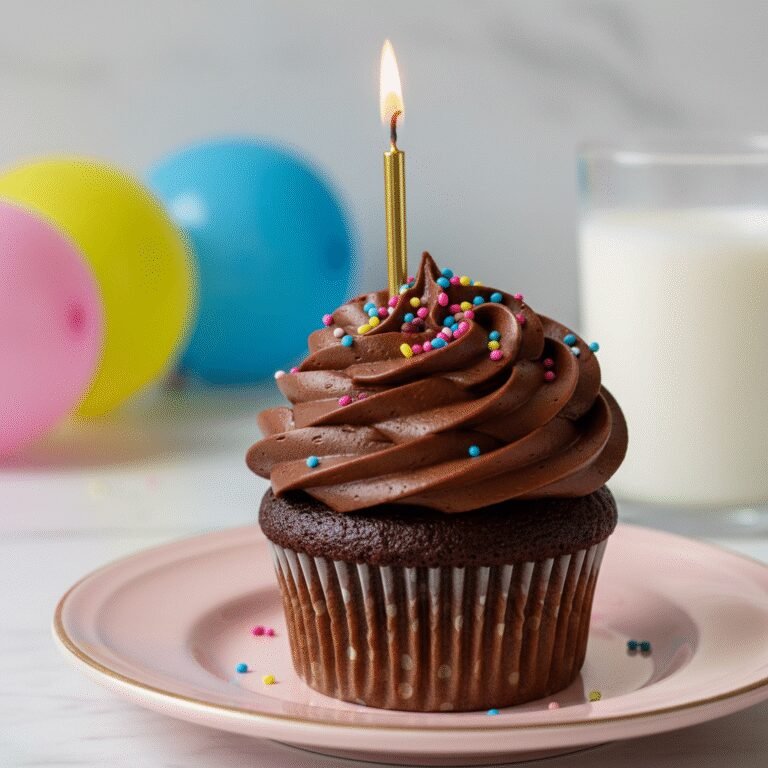
What makes these specific cupcakes stand out is their crumb structure. They possess a velvet-like tenderness that pairs perfectly with the rich, creamy frosting. We utilize a specific blend of fats and dairy to ensure that the cake stays moist for days, not just hours. The flavor profile is pure, unadulterated vanilla, achieved by using high-quality vanilla bean paste which flecks the batter with beautiful little black seeds, signaling to everyone that this is the real deal. Whether you are baking for a birthday party, a bridal shower, or just a Tuesday afternoon pick-me-up, these cupcakes promise to deliver a moment of pure joy. They are nostalgic yet sophisticated, simple yet refined. Get ready to preheat your ovens, because once you try this recipe, you will never go back to boxed mix again.
History & Origins
The humble cupcake has a history as rich and sweet as the treat itself. The concept of baking small cakes in individual containers dates back to the late 18th century. The earliest known reference is found in Amelia Simmons’ 1796 cookbook, ‘American Cookery,’ where she describes ‘a cake to be baked in small cups.’ This was a revolutionary idea at the time, as it significantly reduced baking time and allowed for more efficient heat distribution compared to large hearth cakes.
However, the term ‘cupcake’ itself didn’t appear in print until 1828 in Eliza Leslie’s ‘Receipts.’ Interestingly, in the early 19th century, the term could refer to two different things: small cakes baked in cups (tins or pottery cups) or cakes whose ingredients were measured in cups (like the famous 1-2-3-4 cake) rather than by weight, which was the standard for pound cakes. As the industrial revolution brought about the mass production of muffin tins, the popularity of these individual treats soared. They became a staple at children’s parties and social gatherings due to their convenience and portion control. Over the decades, cupcakes have evolved from simple tea cakes to elaborate, gourmet creations found in specialized boutiques. The early 2000s saw a massive resurgence in cupcake popularity, sparked by pop culture moments like ‘Sex and the City,’ transforming this nostalgic childhood treat into a trendy, high-end dessert canvas for endless flavor experimentation. Yet, despite all the wild variations, the classic vanilla cupcake remains the gold standard by which all bakeries are judged.
Why This Recipe Works
This recipe succeeds where others fail because it meticulously balances the ratio of fat, sugar, and flour while introducing ingredients specifically designed to retain moisture. First, we use a combination of unsalted butter and vegetable oil. Butter provides that classic, rich flavor that oil simply cannot replicate, but butter-based cakes can dry out faster. Vegetable oil, being liquid at room temperature, coats the flour proteins better and ensures the cupcake stays soft and moist long after baking.
Secondly, the inclusion of sour cream is a game-changer. Sour cream adds fat for richness, but more importantly, its acidity reacts with the baking soda (if used) and helps to tenderize the gluten strands in the flour, resulting in a finer, softer crumb. We also use cake flour instead of all-purpose flour. Cake flour has a lower protein content, which means less gluten formation, leading to a lighter, fluffier texture rather than a chewy, bread-like one. Finally, the ‘creaming method’—beating the butter and sugar until pale and fluffy—incorporates air into the batter, which expands during baking to give the cupcakes their lift. By folding in the dry ingredients gently at the end, we preserve these air bubbles and prevent over-mixing, guaranteeing a cupcake that is light as air yet moist as a sponge.
Why You’ll Love This Recipe
- ✓Incredibly moist texture that lasts for days.
- ✓Rich, authentic vanilla flavor using vanilla bean paste.
- ✓Perfectly domed tops ideal for decorating.
- ✓Versatile base for fillings and different frostings.
- ✓Simple ingredients found in most pantries.
- ✓Bakery-quality results in under an hour.
Equipment You’ll Need
- ✓12-cup muffin tin
- ✓Cupcake liners
- ✓Stand mixer or electric hand mixer
- ✓Large mixing bowl
- ✓Medium mixing bowl
- ✓Whisk
- ✓Rubber spatula
- ✓Wire cooling rack
- ✓Piping bag and 1M tip
Ingredients
- ✓1 1/4 cups cake flour, sifted
- ✓1 1/4 tsp baking powder
- ✓1/2 tsp salt
- ✓1/2 cup unsalted butter, softened to room temperature
- ✓3/4 cup granulated sugar
- ✓2 large eggs, room temperature
- ✓2 tsp vanilla bean paste (or pure vanilla extract)
- ✓1/2 cup sour cream, room temperature
- ✓2 tbsp vegetable oil
- ✓1/4 cup whole milk, room temperature
Instructions
- Preheat your oven to 350°F (175°C). Line a 12-cup muffin tin with paper liners.
- In a medium bowl, whisk together the sifted cake flour, baking powder, and salt. Set aside.
- In the bowl of a stand mixer fitted with the paddle attachment (or a large bowl with a hand mixer), cream the softened butter and granulated sugar together on medium-high speed for about 3-4 minutes. The mixture should look pale, fluffy, and aerated.
- Reduce the speed to medium and add the eggs one at a time, mixing well after each addition. Scrape down the sides and bottom of the bowl to ensure everything is incorporated.
- Add the vanilla bean paste, sour cream, and vegetable oil. Mix on medium speed until combined. The batter might look slightly curdled at this stage; this is normal.
- Reduce the mixer speed to low. Add half of the dry ingredients to the wet mixture and mix just until the flour streaks disappear.
- Pour in the milk and mix gently.
- Add the remaining dry ingredients and mix on low speed just until combined. Do not overmix. Use a spatula to give it one final gentle fold by hand to ensure no flour pockets remain at the bottom.
- Fill the cupcake liners about 2/3 full. Avoid overfilling to prevent the batter from spilling over the sides.
- Bake for 16-19 minutes, or until a toothpick inserted into the center comes out clean or with just a few moist crumbs. The tops should spring back when lightly touched.
- Allow the cupcakes to cool in the pan for 5 minutes, then transfer them to a wire rack to cool completely before frosting.
Expert Cooking Tips
- ✓Room temperature ingredients are non-negotiable; they emulsify better creating a superior texture.
- ✓Do not overmix the batter once the flour is added, or you will end up with tough cupcakes.
- ✓Use an oven thermometer to ensure your oven is actually at 350°F, as many ovens run hot or cold.
- ✓Invest in vanilla bean paste for a stronger flavor and beautiful visual appeal.
- ✓Fill liners only 2/3 full to get that perfect dome shape without overflow.
- ✓Weigh your flour using a kitchen scale for the most consistent results (approx. 150g for 1.25 cups).
Substitutions and Variations
Baking is a science, so substitutions should be made with care. If you don’t have cake flour, you can make a DIY version by measuring 1 1/4 cups of all-purpose flour, removing 2 tablespoons, and replacing them with 2 tablespoons of cornstarch, then sifting twice. If sour cream is unavailable, full-fat plain Greek yogurt is an excellent 1:1 substitute that provides similar acidity and moisture. You can swap the vegetable oil for melted coconut oil or canola oil, though coconut oil may impart a slight flavor. For a dairy-free version, use plant-based butter sticks and a thick dairy-free yogurt, along with almond or soy milk, though the texture may vary slightly. If you only have salted butter, omit the additional salt listed in the ingredients.
Common Mistakes to Avoid
The most common mistake is over-baking, which sucks the moisture right out of the cake. Start checking at the 16-minute mark. Another frequent error is measuring flour incorrectly by scooping the measuring cup directly into the bag, which packs the flour down and leads to a dry, dense cake. Always spoon the flour into the cup and level it off, or better yet, use a scale. Using cold ingredients is another pitfall; if your butter or eggs are cold, the batter will curdle and not trap air properly, leading to a flat cupcake. Finally, frosting the cupcakes before they are completely cool will cause your beautiful buttercream to melt and slide right off.
Serving Suggestions
These cupcakes are best served at room temperature. If they have been refrigerated, let them sit on the counter for 20-30 minutes before eating to allow the buttercream to soften and the cake crumb to relax. They pair beautifully with a glass of cold milk, a hot cup of coffee, or a flute of champagne for celebrations. For a fun party activity, set up a ‘decorate your own’ station with bowls of different sprinkles, crushed cookies, and fruit toppings.
Storage and Reheating Tips
Store unfrosted cupcakes in an airtight container at room temperature for up to 2 days. If frosted, they can stay at room temperature for a day (unless it’s very hot), but are best kept in an airtight container in the fridge for up to 4 days. To freeze, wrap unfrosted cupcakes individually in plastic wrap and then place them in a freezer bag for up to 3 months. Thaw at room temperature before frosting. Frosted cupcakes can also be frozen; place them on a baking sheet in the freezer until the frosting hardens, then wrap gently.
Nutrition Facts (Estimated)
| Serving Size | 1 cupcake |
| Calories | 320 |
| Fat | 16g |
| Saturated Fat | 9g |
| Unsaturated Fat | 6g |
| Trans Fat | 0g |
| Cholesterol | 55mg |
| Sodium | 150mg |
| Carbohydrates | 42g |
| Fiber | 0.5g |
| Sugar | 24g |
| Protein | 3g |
Frequently Asked Questions
Can I double this recipe?
Yes, this recipe doubles very well. Just ensure you have a large enough mixing bowl and mixer capacity. You may need to rotate your pans in the oven if baking on multiple racks to ensure even cooking.
Why did my cupcakes sink in the middle?
Sinking usually happens if the oven door was opened too early, causing a sudden temperature drop, or if there was too much leavening (baking powder). It can also happen if the cupcakes were underbaked.
Can I use this batter for a layer cake?
Absolutely! This batter works for a small 6-inch layer cake. For standard 8 or 9-inch cakes, you will need to double the recipe and adjust the baking time to approximately 25-30 minutes.
How do I get flat tops instead of domes?
If you prefer flat tops for specific decorating styles, bake at a slightly lower temperature (325°F) for a longer time. This prevents the center from rising too rapidly.
Why are my cupcakes dry?
Dryness comes from over-baking or over-measuring flour. Ensure you check for doneness early and use the spoon-and-level method for flour.
Can I add mix-ins like chocolate chips or sprinkles?
Yes! For sprinkles (funfetti), fold in about 1/3 cup of jimmies at the very end. For chocolate chips, toss them in a teaspoon of flour before folding to prevent them from sinking.
How long does the buttercream last?
Buttercream can be stored in the fridge for up to a week or frozen for 3 months. Whip it again before using to restore the fluffy texture.
Do I have to use vanilla bean paste?
No, high-quality pure vanilla extract works perfectly fine. The paste just adds the visual appeal of the seeds and a slightly more intense flavor.
Conclusion
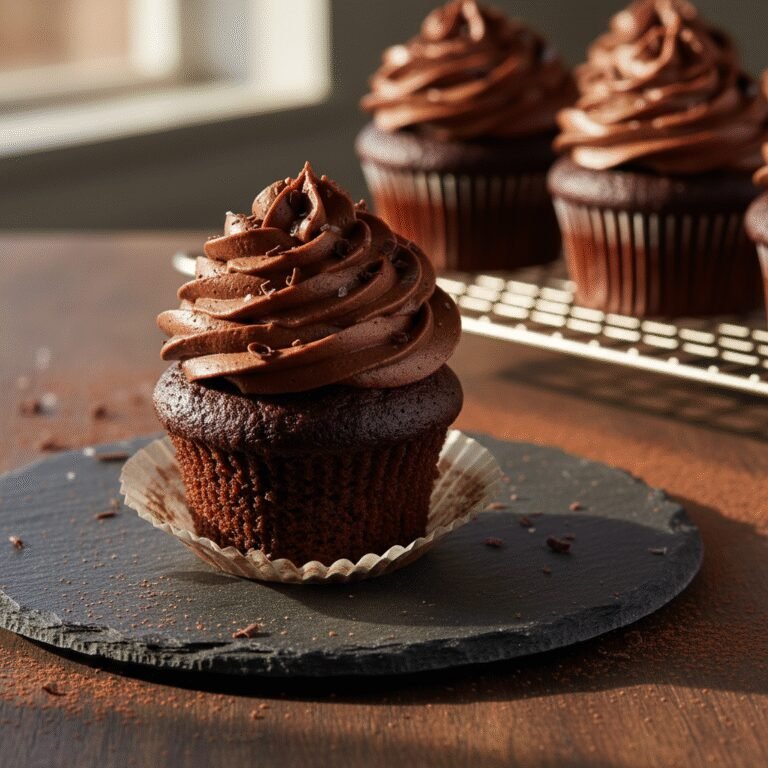
Mastering the perfect vanilla cupcake is a skill that will serve you well for a lifetime of celebrations. This recipe offers the ideal balance of fluffy texture, rich flavor, and reliable structure that home bakers crave. It eliminates the guesswork and provides a bakery-quality result without the need for professional equipment. Whether you top them with a classic vanilla buttercream, a rich chocolate ganache, or simply a dusting of powdered sugar, these cupcakes are sure to impress. We hope this becomes your go-to recipe for years to come. Happy baking!