The Ultimate Moist Vanilla Cupcake Recipe for School Bake Sales
Moist Vanilla Cupcake For School Bake Sale Recipe
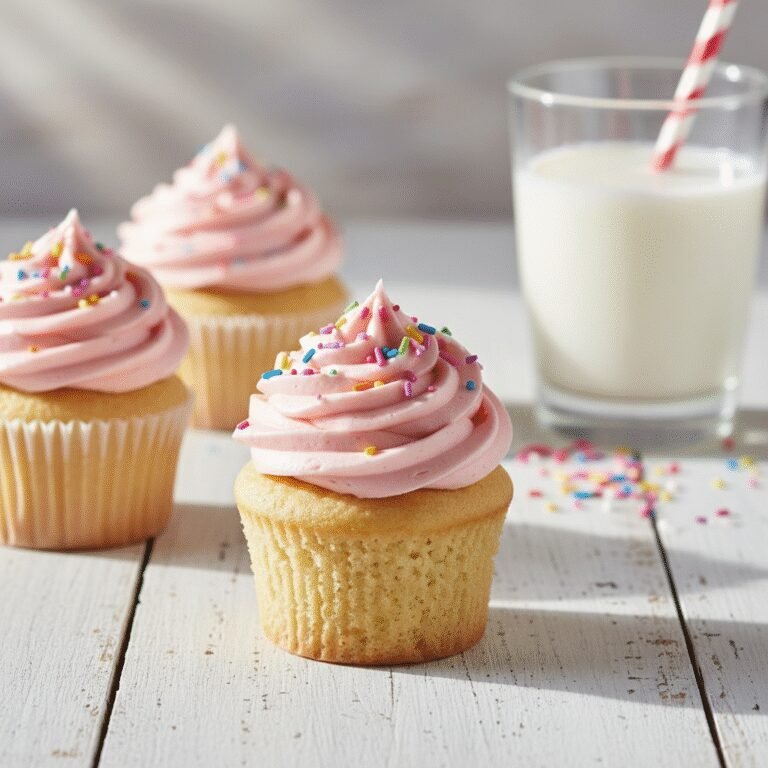
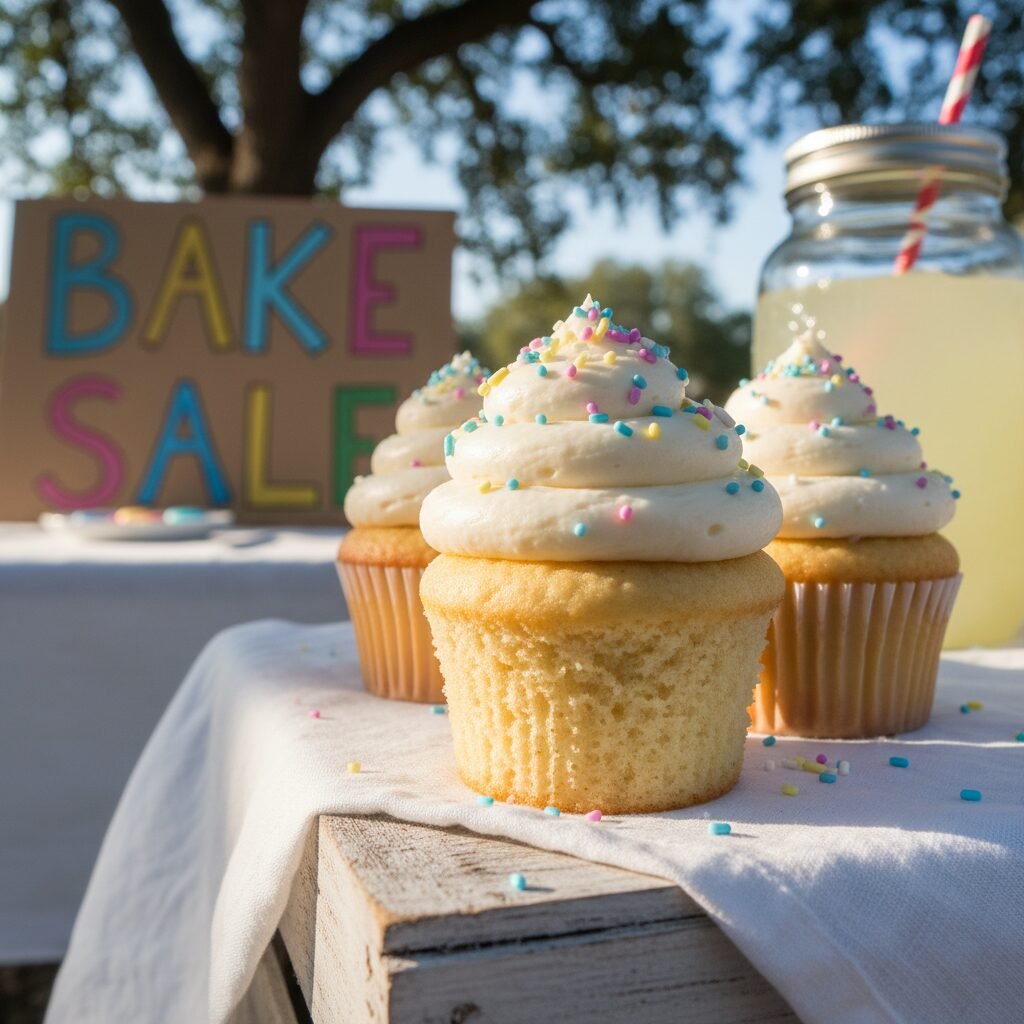
Conquer the next school bake sale with these foolproof, bakery-style vanilla cupcakes. Boasting a tender, melt-in-your-mouth crumb and a sturdy structure perfect for transport, these treats are guaranteed to be the first item to sell out.
20 minutes
18 minutes
45 minutes
24 standard cupcakes
Dessert
Baking
American
Vegetarian
We have all been there: the crumpled flyer discovered at the bottom of a backpack at 8 PM, announcing a school bake sale the very next morning. The panic sets in, followed by a frantic search for a recipe that is reliable, quick, and universally loved. While it might be tempting to reach for a box mix, there is a distinct, nostalgic magic in a homemade vanilla cupcake that simply cannot be replicated by industrial manufacturing. This recipe is my love letter to busy parents and community volunteers who want to contribute something special without risking a baking disaster.
These aren’t just any cupcakes; they are engineered to stay moist for days, thanks to a specific blend of fats and dairy. Unlike drier sponge cakes that rely solely on butter, this batter incorporates a touch of oil and sour cream to ensure the crumb remains soft and tender, even if they sit on a folding table in the school gym for a few hours. The flavor profile is pure, unadulterated vanilla—a blank canvas that appeals to the pickiest of eaters, from kindergarteners to the PTA president. We use a high-quality pure vanilla extract to give it that floral, aromatic depth that distinguishes a scratch-made treat from a store-bought one.
Furthermore, this recipe is designed for volume and stability. The batter comes together beautifully without curdling, and the resulting cakes dome perfectly, creating the ideal foundation for a generous swirl of buttercream. Whether you are a seasoned baker or a novice in the kitchen, this guide will walk you through the science of the perfect crumb, ensuring that your contribution to the school fundraiser is not only edible but the star of the show. Get ready to be asked for the recipe by every parent in attendance.
History & Origins
The humble cupcake has a surprisingly deep-rooted history in American culinary tradition, dating back significantly further than the modern bake sale craze. The first known reference to a cake baked in small cups appears in Amelia Simmons’ ‘American Cookery’, published in 1796, where she describes ‘a light cake to bake in small cups’. However, the actual term ‘cupcake’ was first documented in 1828 by Eliza Leslie in her cookbook ‘Receipts’, referring to the method of measuring ingredients by volume (cups) rather than weight, which was the standard of the time. These ‘number cakes’ or ‘1-2-3-4 cakes’ revolutionized home baking by making recipes easier to memorize and execute without a scale.
The concept of the ‘bake sale’ itself emerged later, gaining significant traction in the post-World War II era. As suburban communities expanded and the ‘Baby Boom’ generation entered schools, community fundraising became a staple of American life. Mothers would gather to bake goods as a way to raise money for school equipment, uniforms, and charitable causes. The cupcake became the undisputed queen of these events due to its portability, individual portioning, and the ease with which it could be decorated to match school colors or holiday themes. Unlike a whole cake that requires slicing and serving utensils, cupcakes were ready-to-eat, sanitary, and perfectly sized for a child’s hand. Over the decades, the cupcake has evolved from a simple teacake to a gourmet obsession, but its role as the currency of school fundraising remains unchanged. This recipe honors that tradition, blending the convenience of the 1950s housewife with the sophisticated palate of the modern food lover.
Why This Recipe Works
The science behind this recipe focuses on one primary goal: moisture retention without sacrificing structure. Many vanilla cupcake recipes rely 100% on butter. While butter provides superior flavor, it is solid at room temperature, which can lead to a denser, drier texture once the cupcakes cool. Conversely, oil remains liquid at room temperature, guaranteeing a moist sensation on the palate, but it lacks the rich flavor of butter. This recipe utilizes a hybrid approach, using both unsalted butter for that classic rich taste and neutral vegetable oil to ensure the crumb stays soft for days.
Additionally, the inclusion of sour cream is a game-changer. Sour cream introduces acidity, which tenderizes the gluten strands in the flour, preventing the cake from becoming tough or rubbery. It also adds a thickness to the batter that helps suspend air bubbles created during the creaming process, resulting in a lift that is fluffy yet substantial enough to hold a mountain of frosting. We also use a combination of baking powder and baking soda to provide a double-lift; the soda reacts immediately with the acid in the sour cream, while the powder reacts to the heat of the oven, ensuring a perfect dome every time. Finally, using room-temperature ingredients creates an emulsion that traps air efficiently, leading to a finer, velvety crumb structure that feels professional and luxurious.
Why You’ll Love This Recipe
- ✓Stays moist for up to 4 days due to the oil-butter blend.
- ✓Sturdy enough to transport in boxes without falling apart.
- ✓perfectly domed tops ideal for frosting decoration.
- ✓Versatile base that accepts sprinkles, chocolate chips, or fruit fillings.
- ✓Kid-approved flavor that isn’t overly sweet.
- ✓Scales easily for large batches needed for fundraisers.
Equipment You’ll Need
- ✓Two 12-cup muffin tins
- ✓Paper cupcake liners
- ✓Stand mixer or electric hand mixer
- ✓Large mixing bowl
- ✓Medium mixing bowl
- ✓Whisk
- ✓Rubber spatula
- ✓Wire cooling rack
- ✓Cookie scoop (for even batter distribution)
Ingredients
- ✓2 1/2 cups All-purpose flour, spooned and leveled
- ✓2 cups Granulated sugar
- ✓2 1/2 tsp Baking powder
- ✓1/2 tsp Baking soda
- ✓1 tsp Fine sea salt
- ✓1 cup Unsalted butter, softened to room temperature
- ✓3 Large eggs, room temperature
- ✓1/3 cup Vegetable oil (or canola oil)
- ✓1 tbsp Pure vanilla extract
- ✓1 cup Full-fat sour cream, room temperature
- ✓1/2 cup Whole milk, room temperature
- ✓FOR THE FROSTING: 1 1/2 cups Unsalted butter, softened
- ✓5 cups Confectioners’ sugar, sifted
- ✓1/4 cup Heavy cream
- ✓2 tsp Vanilla extract
- ✓Pinch of salt
Instructions
- Preheat your oven to 350°F (175°C). Line two 12-cup muffin tins with paper liners and set aside.
- In a medium bowl, whisk together the flour, baking powder, baking soda, and salt until well combined. This ensures the leavening agents are evenly distributed.
- In the bowl of a stand mixer fitted with the paddle attachment (or a large bowl with a hand mixer), cream the softened butter and granulated sugar on medium-high speed for about 3-4 minutes. The mixture should look pale, fluffy, and aerated.
- Add the eggs one at a time, beating well after each addition. Scrape down the sides of the bowl with a rubber spatula to ensure everything is incorporated.
- Pour in the vegetable oil and vanilla extract. Mix on medium speed until fully combined.
- In a small bowl or measuring cup, whisk together the sour cream and whole milk.
- Reduce the mixer speed to low. Add half of the dry flour mixture to the butter mixture and mix until just combined.
- Pour in the sour cream and milk mixture, mixing until just incorporated.
- Add the remaining flour mixture and mix until no streaks of flour remain. Do not overmix; stop as soon as the flour disappears.
- Use a cookie scoop or spoon to divide the batter evenly among the cupcake liners, filling them about 2/3 full. Do not overfill, or they will spill over the sides.
- Bake for 16-19 minutes, or until a toothpick inserted into the center comes out clean or with just a few moist crumbs. The tops should spring back when lightly touched.
- Allow the cupcakes to cool in the pan for 5 minutes, then transfer them to a wire rack to cool completely before frosting.
- To make the frosting: Beat the softened butter on medium-high speed for 5 minutes until it is almost white in color.
- Gradually add the confectioners’ sugar, one cup at a time, mixing on low speed. Once all sugar is added, increase speed to high and beat for 2 minutes.
- Add the heavy cream, vanilla, and salt. Beat for another 2-3 minutes until the frosting is light, airy, and creamy.
- Pipe or spread the frosting onto the completely cooled cupcakes and top with sprinkles if desired.
Expert Cooking Tips
- ✓Room temperature ingredients are non-negotiable. Cold eggs or dairy will shock the butter, causing the batter to curdle and the cupcakes to be dense.
- ✓Measure flour correctly by spooning it into the measuring cup and leveling it off. Scooping directly packs the flour, leading to dry cupcakes.
- ✓Do not overmix the batter once the flour is added. Overmixing develops gluten, which results in a tough, chewy texture rather than a tender crumb.
- ✓Check for doneness at the minimum baking time. Ovens vary, and overbaking is the quickest way to dry out a cupcake.
- ✓Let cupcakes cool completely before frosting. Even a slightly warm cupcake will melt the butter in the frosting, causing it to slide right off.
Substitutions and Variations
If you need to adapt this recipe for dietary restrictions or pantry limitations, there are several options. For a gluten-free version, use a high-quality 1:1 gluten-free baking flour blend that contains xanthan gum; the texture will be slightly different but still delicious. If you are out of sour cream, plain full-fat Greek yogurt is an excellent 1:1 substitute that provides similar acidity and moisture. You can also use buttermilk in place of the milk/sour cream combo, though the batter will be thinner. For the oil, melted coconut oil works well but may impart a slight coconut flavor; canola or grapeseed oil are the best neutral alternatives. If you need to avoid eggs, commercial egg replacers or applesauce (1/4 cup per egg) can work, though the cupcakes may not rise quite as high. For a dairy-free cupcake, use plant-based butter sticks and unsweetened almond or soy milk, and replace the sour cream with a dairy-free yogurt alternative.
Common Mistakes to Avoid
The most frequent mistake home bakers make is overfilling the cupcake liners. It is tempting to use all the batter, but filling past the 2/3 mark causes the cupcakes to overflow, creating messy ‘mushroom tops’ that stick to the pan and are difficult to remove. Another common error is opening the oven door too frequently. This releases heat and can cause the cupcakes to collapse in the center before they are set. Trust your timer and use the oven light. Using old baking powder is another culprit for flat cupcakes; ensure your leavening agents are fresh (less than 6 months old). Finally, rushing the cooling process is a disaster waiting to happen. Putting cupcakes in the fridge to cool them down quickly can dry them out; patience is key for the perfect texture.
Serving Suggestions
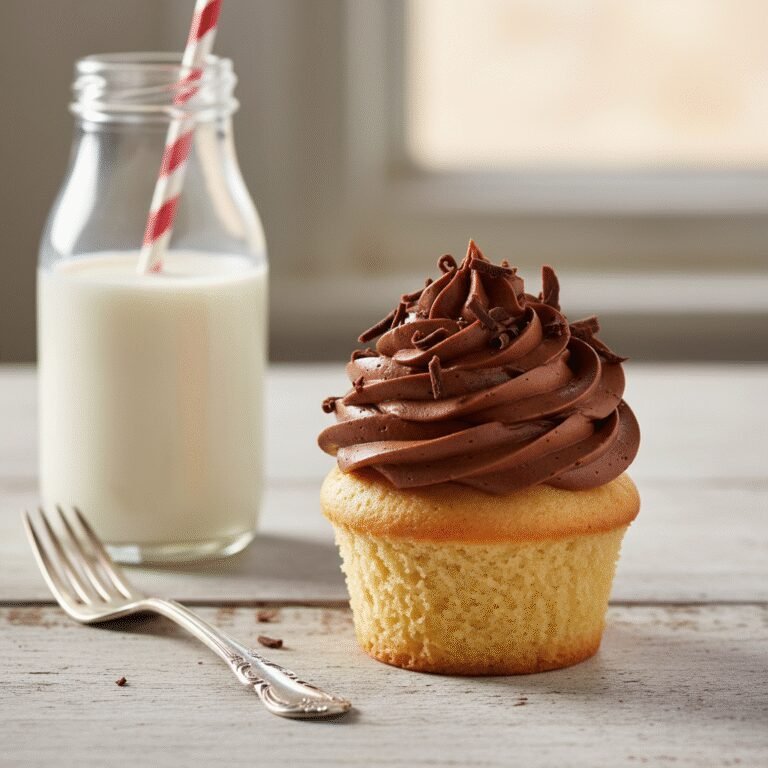
These cupcakes are the perfect canvas for creativity, making them ideal for bake sales. Serve them on a tiered cupcake stand to create height and visual interest on your table. For a bake sale, packaging is key: place individual cupcakes in clear plastic cups or purchase cardboard cupcake boxes with windows so customers can see the decorations. You can color the buttercream to match school colors or holiday themes. If serving at a party, accompany them with a glass of cold milk or a hot cup of coffee for adults. A garnish of fresh berries or a drizzle of caramel can elevate them from a simple snack to an elegant dessert.
Storage and Reheating Tips
Proper storage is essential to maintain that ‘baked today’ freshness. Store unfrosted cupcakes in an airtight container at room temperature for up to 3 days. If frosted, they can also stay at room temperature for 2 days, provided the kitchen isn’t too hot. For longer storage, place them in the refrigerator for up to 5 days, but allow them to come to room temperature before serving to soften the buttercream. These cupcakes freeze beautifully; wrap unfrosted cupcakes individually in plastic wrap and place them in a freezer bag for up to 3 months. To freeze frosted cupcakes, flash freeze them on a baking sheet for an hour until the frosting is hard, then wrap carefully. Thaw on the counter for 2-3 hours before enjoying.
Nutrition Facts (Estimated)
| Serving Size | 1 cupcake with frosting |
| Calories | 320 |
| Fat | 16g |
| Saturated Fat | 9g |
| Unsaturated Fat | 6g |
| Trans Fat | 0g |
| Cholesterol | 45mg |
| Sodium | 140mg |
| Carbohydrates | 42g |
| Fiber | 0.5g |
| Sugar | 24g |
| Protein | 3g |
Frequently Asked Questions
Can I make the batter ahead of time?
It is not recommended to make the batter ahead of time. The baking soda and baking powder begin reacting as soon as they touch the wet ingredients. If you let the batter sit, you will lose leavening power and the cupcakes will be dense. Bake them immediately after mixing.
Why did my cupcake wrappers peel away?
Wrappers usually peel away due to excess moisture trapped between the cake and the paper. This often happens if you store the cupcakes in an airtight container while they are still warm. Ensure they are 100% cool before storing.
Can I double this recipe?
Yes, this recipe doubles very well. Ensure you have a large enough mixer bowl, or mix the batches separately to avoid overworking the motor or the batter.
How do I get the flat ‘bakery style’ top vs. a dome?
This recipe is designed to have a gentle dome. If you want a completely flat top, you can lower the oven temperature to 325°F and bake for a few minutes longer. This slows the rise.
Can I use salted butter?
You can, but you should reduce the added salt in the recipe to 1/4 teaspoon. Unsalted butter is preferred because it gives you total control over the sodium content.
Why are my cupcakes dry?
Dryness is usually caused by overbaking or overmeasuring flour. Use an oven thermometer to check your oven’s accuracy and weigh your flour if possible (1 cup = approx 120g).
Can I add sprinkles to the batter?
Absolutely! This makes a ‘funfetti’ cupcake. Fold in about 1/2 cup of ‘jimmies’ (not nonpareils, which bleed color) at the very end of mixing.
How do I transport these safely?
Use a dedicated cupcake carrier with individual slots. If you don’t have one, use a shallow box and place non-skid shelf liner on the bottom to prevent sliding.
Conclusion
There is a profound sense of satisfaction that comes from watching a tray of homemade treats disappear at a community event. These Moist Vanilla Cupcakes are more than just sugar and flour; they are a reliable tool in your parenting arsenal, a way to bring joy to a classroom, and a delicious contribution to a good cause. By following the tips on temperature and mixing, you ensure a result that rivals any high-end bakery. So, the next time that bake sale flyer makes its way home, don’t panic. Preheat your oven, grab your vanilla extract, and get ready to bake the most popular item on the table. Happy baking!