The Ultimate Moist Vanilla Cupcakes for Baby Shower
Moist Vanilla Cupcake For Baby Shower Recipe
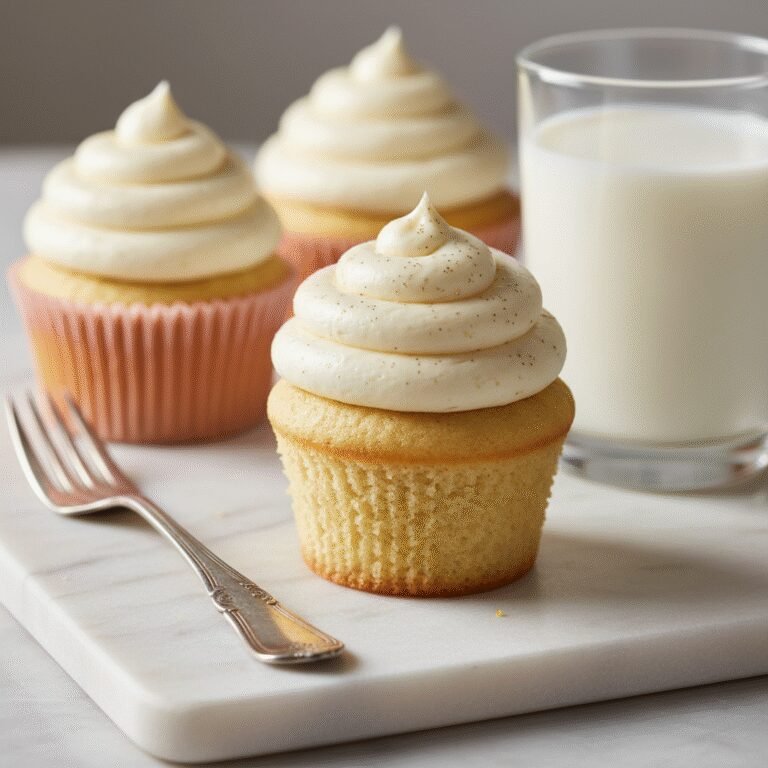
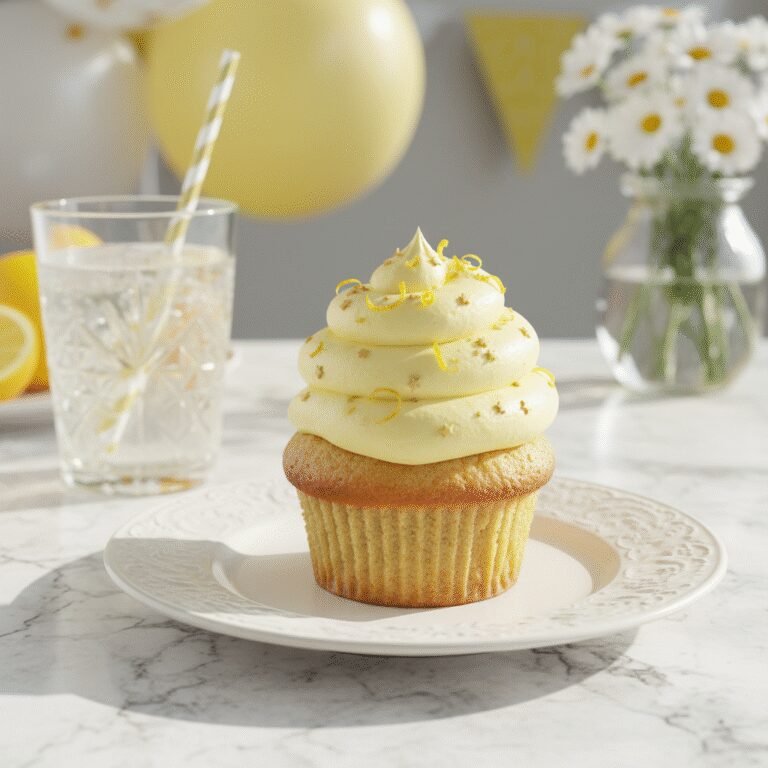
These aren’t just any cupcakes; they are the softest, most tender vanilla cupcakes you will ever bake. Perfectly sweet with a buttery crumb and topped with a cloud of pastel buttercream, they are the quintessential treat for celebrating a new arrival. Guaranteed to be the star of your baby shower dessert table.
20 minutes
18 minutes
45 minutes
12 Cupcakes
Dessert
Baking
American
Vegetarian
When it comes to baby showers, the expectations for the dessert spread are incredibly high. It is a celebration of new life, joy, and sweetness, and the food needs to reflect that sentiment perfectly. Over the years, I have tasted far too many dry, lackluster vanilla cupcakes that rely heavily on frosting to mask a tasteless sponge. That ends today. This Moist Vanilla Cupcake recipe is the result of years of tweaking, testing, and perfecting the ratio of fat to flour to liquid. We are looking for a texture that is plush and velvety, not airy and dry like a sponge cake, nor dense and heavy like a pound cake. It sits perfectly in the middle—a tender crumb that melts in your mouth. The secret lies in the combination of butter and oil, ensuring the rich flavor of the former and the lasting moisture of the latter. Furthermore, the inclusion of sour cream introduces a slight tang that cuts through the sweetness while tenderizing the gluten strands. These cupcakes are a blank canvas, ready to be dressed up in pink, blue, yellow, or green, making them the versatile hero of any baby shower theme. Whether you are a seasoned baker or a novice in the kitchen, this recipe is designed to be foolproof, delivering bakery-quality results right from your home oven. Get ready to receive endless compliments and requests for the recipe!
History & Origins
The humble cupcake has a surprisingly long and storied history that dates back much further than the modern bakery boom of the early 2000s. The earliest known reference to what we would consider a cupcake can be found in Amelia Simmons’ 1796 cookbook, ‘American Cookery’, where she describes ‘a cake to be baked in small cups’. This was a revolutionary concept at the time, as cakes were traditionally large, hearth-baked loaves that took hours to cook. The transition to smaller vessels allowed for faster baking and more efficient heat distribution. However, the term ‘cupcake’ itself didn’t fully materialize until the 19th century. Interestingly, the name originally referred to the method of measurement—ingredients measured by the cup (1 cup butter, 2 cups sugar, 3 cups flour, etc.)—rather than the baking vessel itself. These were also known as ‘number cakes’ or ‘1234 cakes’. By the 20th century, with the advent of the muffin tin, cupcakes became a staple of American baking. Their association with baby showers and children’s parties solidified in the mid-20th century, representing a personalized, dainty treat that was easier to serve than slicing a large cake. The resurgence of the cupcake in the early 2000s, fueled by pop culture icons like ‘Sex and the City’ and the fame of Magnolia Bakery in New York, elevated the cupcake from a child’s lunchbox treat to a gourmet indulgence. Today, the vanilla cupcake at a baby shower is a symbol of tradition, celebration, and individual joy for each guest.
Why This Recipe Works
This recipe succeeds where many others fail because it scientifically addresses the two biggest problems with vanilla cupcakes: dryness and lack of flavor. Most recipes use either butter or oil. Butter provides flavor but contains water, which evaporates, leading to dryness. Oil provides pure fat that stays liquid at room temperature, ensuring moisture, but lacks flavor. By using a blend of high-quality unsalted butter and a neutral vegetable oil, we get the best of both worlds: the nostalgic, creamy taste of butter and the plush, stay-fresh texture provided by the oil. Additionally, we use cake flour instead of all-purpose flour. Cake flour has a lower protein content (usually around 7-9%), which means less gluten formation during mixing. Less gluten equals a softer, more tender crumb. The inclusion of sour cream is another game-changer. It is acidic, which helps to tenderize the gluten further and activates the baking soda for a perfect rise. Finally, we use the ‘creaming method’ but with a specific focus on not over-beating once the dry ingredients are added. This ensures the air bubbles created during the butter-sugar creaming stage are preserved without toughening the batter. The result is a cupcake that is sturdy enough to hold a high pile of frosting yet soft enough to dissolve on the tongue.
Why You’ll Love This Recipe
- ✓Incredibly moist texture that stays soft for days.
- ✓Rich, authentic vanilla flavor using pure extract.
- ✓Sturdy enough for heavy frosting or fondant decorations.
- ✓Perfectly flat tops ideal for decorating.
- ✓Freezer-friendly for advance party prep.
- ✓Easily adaptable for gender-reveal fillings.
Equipment You’ll Need
- ✓12-cup muffin tin
- ✓Cupcake liners
- ✓Stand mixer or electric hand mixer
- ✓Large mixing bowl
- ✓Medium mixing bowl
- ✓Whisk
- ✓Rubber spatula
- ✓Wire cooling rack
- ✓Ice cream scoop (for even batter distribution)
Ingredients
- ✓1 1/4 cups Cake flour (spooned and leveled)
- ✓1/2 teaspoon Baking powder
- ✓1/4 teaspoon Baking soda
- ✓1/2 teaspoon Fine sea salt
- ✓6 tablespoons Unsalted butter, softened to room temperature
- ✓3/4 cup Granulated white sugar
- ✓1 large Egg, room temperature
- ✓1 large Egg white, room temperature
- ✓1 1/2 teaspoons Pure vanilla extract (high quality)
- ✓1/4 cup Sour cream, room temperature
- ✓1/4 cup Vegetable oil or canola oil
- ✓1/3 cup Whole milk, room temperature
Instructions
- Preheat your oven to 350°F (175°C). Line a 12-cup muffin tin with your chosen cupcake liners.
- In a medium bowl, sift together the cake flour, baking powder, baking soda, and salt. Whisk gently to ensure even distribution. Set aside.
- In the bowl of a stand mixer fitted with the paddle attachment (or a large bowl with a hand mixer), beat the softened butter and granulated sugar on medium-high speed for about 3 minutes. The mixture should look pale, creamy, and fluffy.
- Add the egg and the egg white to the butter mixture. Beat on medium speed until fully incorporated. Scrape down the sides and bottom of the bowl with a rubber spatula.
- Add the sour cream, vegetable oil, and pure vanilla extract. Mix on medium speed until well combined. The batter may look slightly curdled at this stage; this is normal.
- Reduce the mixer speed to low. Add half of the dry ingredients to the wet mixture. Mix just until the flour streaks disappear.
- Pour in the milk slowly while mixing on low. Once the milk is incorporated, add the remaining dry ingredients.
- Mix on low speed only until combined. Do not overmix! Use a spatula to give it one final stir by hand to ensure no flour pockets remain at the bottom.
- Using a spring-loaded ice cream scoop, divide the batter evenly among the 12 liners. They should be about 2/3 full.
- Bake for 16-19 minutes, or until a toothpick inserted into the center comes out clean or with just a few moist crumbs. The tops should spring back when lightly touched.
- Allow the cupcakes to cool in the pan for 5 minutes, then transfer them to a wire rack to cool completely before frosting.
Expert Cooking Tips
- ✓Room temperature ingredients are non-negotiable; they emulsify better for a smoother batter.
- ✓Measure flour correctly by spooning it into the cup and leveling it off, or use a scale.
- ✓Do not overfill the liners; 2/3 full ensures they don’t spill over and create ‘muffin tops’.
- ✓Use clear vanilla extract if you want a stark white cupcake crumb.
- ✓Check for doneness at the 16-minute mark to avoid drying them out.
- ✓If you don’t have cake flour, you can make a substitute with all-purpose flour and cornstarch.
- ✓Let the cupcakes cool completely before frosting, or the buttercream will melt.
Substitutions and Variations
Baking is a science, but there is some room for flexibility if you find yourself missing an ingredient. If you do not have cake flour, you can make your own by measuring 1 1/4 cups of all-purpose flour, removing 2 1/2 tablespoons, and replacing it with 2 1/2 tablespoons of cornstarch. Sift this mixture twice. For the sour cream, full-fat plain Greek yogurt is an excellent 1:1 substitute that provides similar acidity and moisture. If you prefer not to use vegetable oil, you can use melted coconut oil, though it may impart a very slight coconut flavor. For the milk, whole milk is best for fat content, but 2% milk or a creamy plant-based milk like oat milk can work in a pinch, though the texture may be slightly less rich. Do not substitute the butter for margarine, as the water content in margarine is too high and will affect the structure.
Common Mistakes to Avoid
The most common mistake when baking these cupcakes is overmixing the batter once the flour has been added. Overmixing develops gluten, which turns a soft cupcake into a chewy, tough muffin. Stop mixing the moment you see the last streak of flour disappear. Another frequent error is baking at the wrong temperature. Oven thermostats are notoriously inaccurate, so I highly recommend using an oven thermometer to ensure you are truly at 350°F. Opening the oven door too early can also cause the cupcakes to collapse; wait until at least 15 minutes have passed before peeking. Finally, using cold ingredients will result in a lumpy batter that doesn’t rise evenly. Ensure your butter, eggs, sour cream, and milk are all at room temperature before you start.
Serving Suggestions
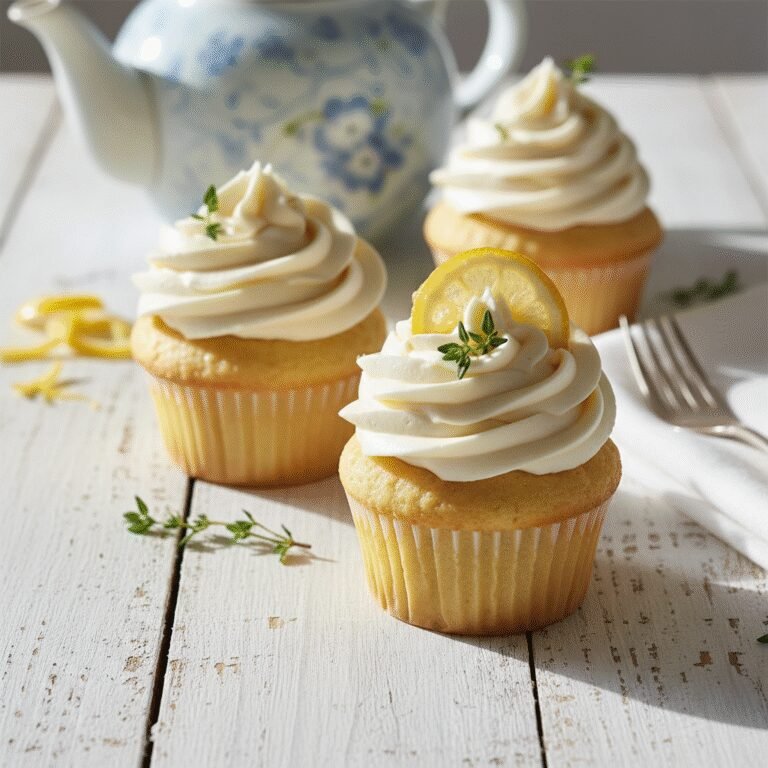
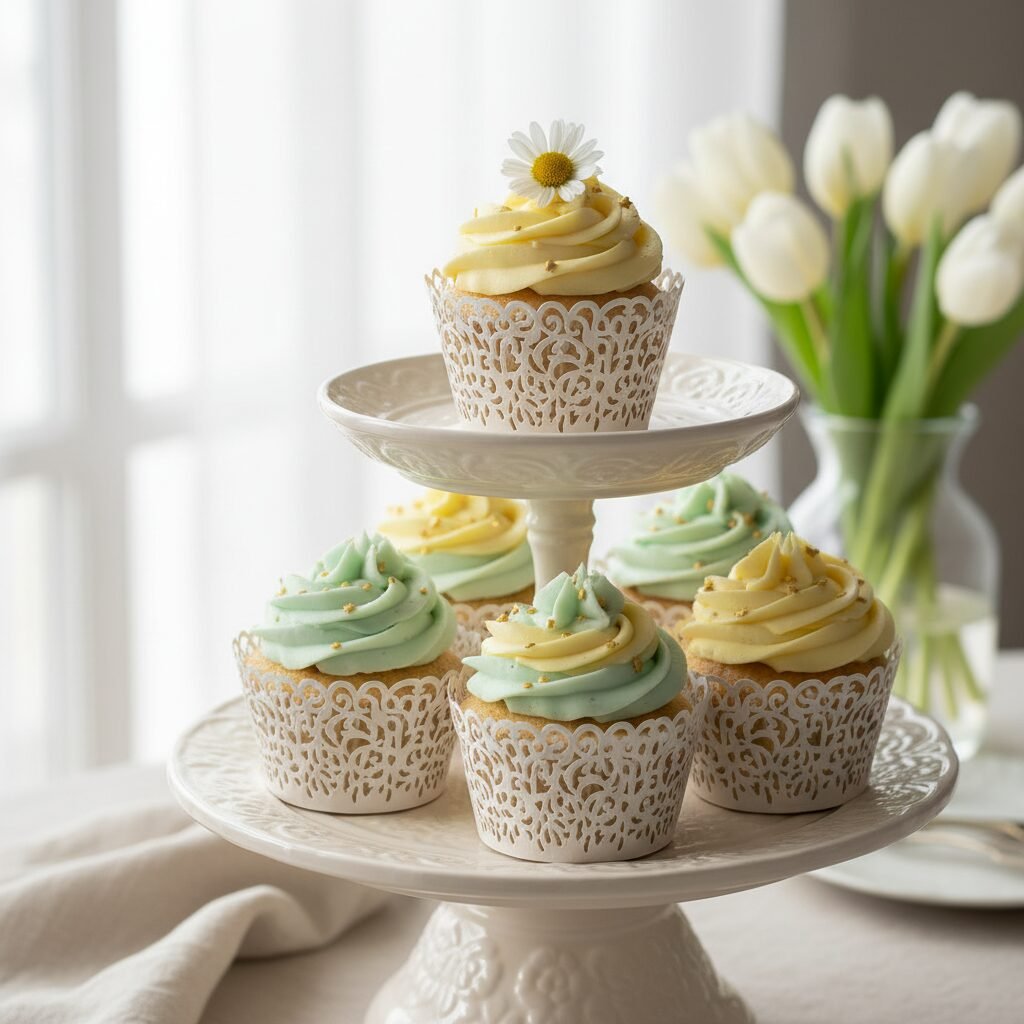
These cupcakes are best served at room temperature to maintain their soft, buttery texture. For a baby shower, presentation is key. Top them with a swirl of Swiss Meringue Buttercream or a classic American Buttercream tinted in pastel shades. You can garnish with edible gold leaf, pearl sprinkles, or handmade fondant toppers shaped like rattles or onesies. If you are doing a gender reveal, core the center of the cooled cupcake and fill it with pink or blue sprinkles or colored cream before frosting. Arrange them on a tiered cupcake stand to create a beautiful centerpiece for your dessert table. Pair them with a light sparkling punch or freshly brewed coffee.
Storage and Reheating Tips
To store these cupcakes, place them in an airtight container at room temperature. They will stay fresh and moist for up to 3 days. If you are in a hot or humid environment, you may need to refrigerate them, but be aware that the refrigerator can dry out cake. If you do refrigerate, let them come to room temperature before serving. These cupcakes freeze beautifully. You can freeze the unfrosted cupcakes wrapped individually in plastic wrap and then placed in a freezer bag for up to 3 months. Thaw on the counter for an hour before decorating. Frosted cupcakes can also be frozen; place them on a baking sheet in the freezer until the frosting is hard, then wrap them carefully.
Nutrition Facts (Estimated)
| Serving Size | 1 cupcake |
| Calories | 240 |
| Fat | 12g |
| Saturated Fat | 4g |
| Unsaturated Fat | 7g |
| Trans Fat | 0g |
| Cholesterol | 45mg |
| Sodium | 120mg |
| Carbohydrates | 30g |
| Fiber | 0.5g |
| Sugar | 18g |
| Protein | 3g |
Frequently Asked Questions
Can I double this recipe for a large crowd?
Yes, this recipe doubles very well. Simply double all the ingredients. However, do not overcrowd your oven. It is best to bake in batches or use two racks, rotating the pans halfway through baking to ensure even heat distribution.
Why did my cupcakes sink in the middle?
Sinking usually happens if the cupcakes were underbaked or if the oven door was opened too early, causing a sudden temperature drop. It can also be caused by over-leavening (too much baking powder/soda) or over-beating the batter, which incorporates too much air that collapses later.
Can I use this batter for a layer cake?
Absolutely! This batter works perfectly for a 6-inch round cake. For an 8-inch or 9-inch cake, you will need to double the recipe. The baking time will need to be adjusted to approximately 25-35 minutes depending on the pan size.
How do I get the flat tops for decorating?
Baking at 350°F usually yields a nice dome, but if you want them perfectly flat, you can try reducing the temperature to 325°F and baking for a few minutes longer. Also, ensuring you don’t overfill the liners (stick to 2/3 full) helps prevent a high dome.
Can I make the batter ahead of time?
It is not recommended to let the batter sit for too long because the baking powder and soda begin to react as soon as they touch the wet ingredients. For the best rise and texture, bake immediately after mixing.
Why are my cupcakes dry?
Dryness is almost always caused by overbaking or measuring flour incorrectly. If you scoop the flour directly with the measuring cup, you might be packing in too much. Always spoon and level, or weigh your flour. Also, check your oven temperature.
Can I add sprinkles to the batter?
Yes, you can make these into ‘funfetti’ style cupcakes by folding in about 1/3 cup of jimmies (not nonpareils, which bleed color) at the very end of the mixing process.
Do I have to use cake flour?
For the absolute best, bakery-style texture, yes. However, you can use the all-purpose flour and cornstarch substitute mentioned in the substitutions section with good results.
Conclusion
There is something truly magical about a perfectly executed vanilla cupcake. It’s a simple pleasure that brings a smile to everyone’s face, making it the ideal treat for celebrating a new baby. This Moist Vanilla Cupcake recipe is one you will want to bookmark and keep in your family recipe box forever. It delivers on every promise: flavor, texture, and ease. Whether you frost them with pink, blue, or yellow, the real prize is the delicious, tender cake underneath. Happy baking, and may your baby shower be as sweet as these cupcakes!