The Ultimate Moist Red Velvet Cupcakes With Fresh Strawberry Cream Cheese Frosting
Moist Red Velvet Cupcake With Strawberry Frosting Recipe
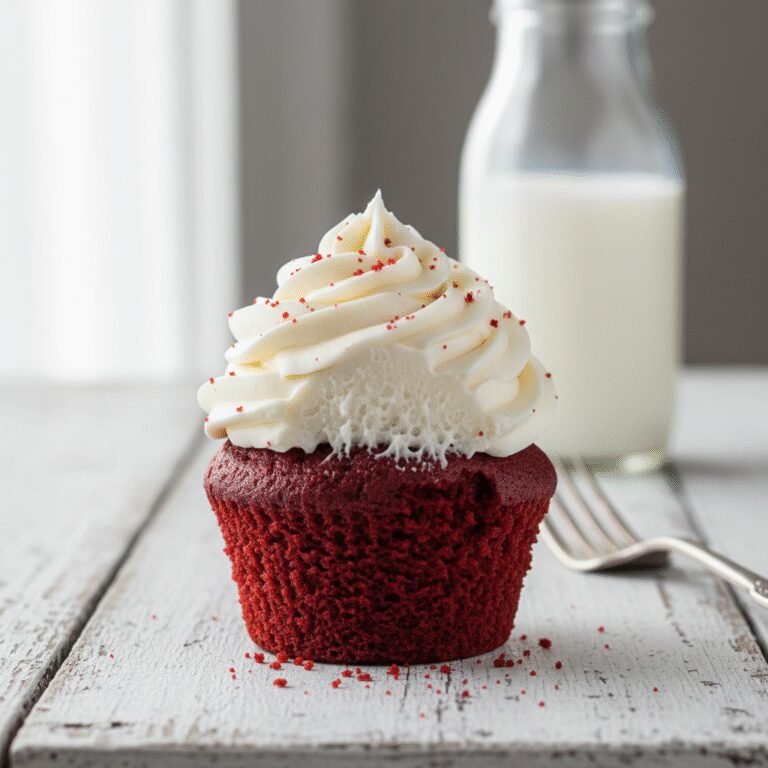
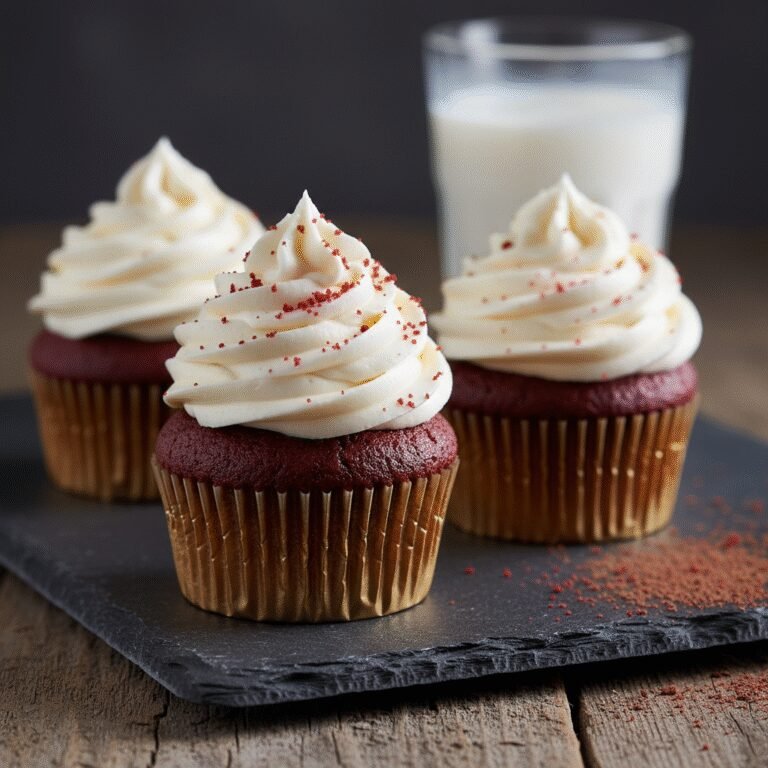
These aren’t just cupcakes; they are bite-sized masterpieces featuring a velvety, tender red crumb topped with a luscious, tangy, and naturally pink strawberry cream cheese frosting. Perfectly moist and bursting with real berry flavor, they are the ultimate treat for Valentine’s Day, birthdays, or any occasion that calls for a little extra sweetness.
30 minutes
20 minutes
1 hour 10 minutes
14 cupcakes
Dessert
Baking
American
Vegetarian
If there is one dessert that commands attention on a dessert table, it is the red velvet cupcake. But let’s be honest: we have all had the disappointment of biting into a dry, flavorless sponge that relies entirely on food coloring for its identity. This recipe changes everything. We are talking about a texture so soft and plush it practically melts in your mouth, achieved through a careful balance of buttermilk, vinegar, and oil. The flavor is that classic, enigmatic red velvet profile—mild chocolate notes with a distinct tang that keeps you coming back for more. But the real showstopper here is the frosting. Instead of the traditional plain cream cheese frosting, we are elevating these beauties with a fresh strawberry infusion. We cook down fresh strawberry purée into a concentrated jam to whip into the frosting, ensuring a stable pipeable consistency and an explosion of authentic berry flavor that artificial extracts simply cannot replicate. The contrast between the deep crimson cake and the pastel pink swirl is visually stunning and perfectly Pinterest-ready. Whether you are a seasoned baker or a kitchen novice, this guide will walk you through achieving bakery-quality results right at home.
History & Origins
The history of red velvet cake is as rich and layered as the cake itself, surrounded by urban legends and culinary evolution. The term ‘velvet’ cake emerged in the Victorian era, used to describe cakes with a uniquely soft and velvety crumb, distinct from the coarser sponge cakes of the time. The reddish hue, however, originally wasn’t the result of a bottle of food dye. In the early 20th century, raw cocoa powder contained anthocyanins which, when mixed with acidic ingredients like buttermilk and vinegar, turned the batter a dark, rusty red color. As cocoa processing changed (Dutch-processed cocoa is alkalized and doesn’t react the same way), that natural red tint faded. The bright red color we know today became popularized during the Great Depression by the Adams Extract company. To boost sales during a time when people were baking less, they sold red food coloring with tear-off recipe cards for ‘Red Velvet Cake.’ Another famous legend attributes the recipe to the Waldorf-Astoria Hotel in New York City, claiming a patron requested the recipe and was charged a hefty sum, prompting her to share it freely in retaliation—though this is likely folklore. Regardless of its disputed origins, the cupcake version gained massive popularity in the early 2000s thanks to high-end bakeries like Magnolia Bakery in NYC, cementing its status as an American icon.
Why This Recipe Works
This recipe succeeds where others fail because it prioritizes moisture and structural integrity without sacrificing flavor. Many red velvet recipes use butter as the primary fat, which provides flavor but can dry out faster. We use a neutral oil (like vegetable or canola) because it remains liquid at room temperature, ensuring the cupcakes stay incredibly moist for days. The combination of buttermilk and vinegar is non-negotiable; the acidity tenderizes the gluten strands in the flour, resulting in that signature ‘velvet’ texture, while also activating the baking soda for a superior rise. For the frosting, the common pitfall of adding fruit to cream cheese is a runny, soupy mess. We solve this by reducing strawberry purée on the stovetop until it is a thick, concentrated paste. This removes the excess water that breaks the frosting’s emulsion while intensifying the strawberry flavor, allowing you to pipe beautiful, tall swirls that hold their shape perfectly at room temperature.
Why You’ll Love This Recipe
- ✓Incredibly moist crumb that stays soft for days
- ✓Authentic strawberry flavor using real fruit reduction
- ✓Perfect balance of tangy buttermilk and mild cocoa
- ✓Stable cream cheese frosting that pipes beautifully
- ✓visually stunning color contrast perfect for parties
Equipment You’ll Need
- ✓Muffin tin (12-cup)
- ✓Cupcake liners
- ✓Stand mixer or handheld electric mixer
- ✓Whisk
- ✓Large mixing bowl
- ✓Medium mixing bowl
- ✓Small saucepan
- ✓Piping bag and large star tip (e.g., Wilton 1M)
- ✓Cooling rack
Ingredients
- ✓1 1/2 cups All-Purpose Flour
- ✓1 cup Granulated Sugar
- ✓1 tbsp Unsweetened Cocoa Powder (not Dutch-processed)
- ✓1/2 tsp Salt
- ✓1 tsp Baking Soda
- ✓1 cup Buttermilk, room temperature
- ✓1 cup Vegetable Oil or Canola Oil
- ✓1 large Egg, room temperature
- ✓1 tsp Vanilla Extract
- ✓1 tsp Distilled White Vinegar
- ✓1 tbsp Red Gel Food Coloring
- ✓1 cup Fresh Strawberries (hulled and chopped)
- ✓8 oz Full-Fat Cream Cheese (block style), softened
- ✓1/2 cup Unsalted Butter, softened
- ✓4 cups Powdered Sugar
- ✓Pinch of Salt
Instructions
- 1. Prepare the Strawberry Reduction: Place chopped strawberries in a blender or food processor and purée until smooth. Pour into a small saucepan over medium-low heat. Simmer, stirring occasionally, until the mixture reduces by half and becomes thick and jam-like (about 10-15 minutes). Remove from heat and let it cool completely. This step is crucial for stable frosting.
- 2. Preheat and Prep: Preheat your oven to 350°F (175°C). Line a standard muffin tin with cupcake liners. Set aside.
- 3. Mix Dry Ingredients: In a medium bowl, whisk together the flour, granulated sugar, cocoa powder, 1/2 tsp salt, and baking soda. Sift if the cocoa is lumpy to ensure a smooth batter.
- 4. Mix Wet Ingredients: In a large bowl (or stand mixer bowl), whisk together the buttermilk, oil, egg, vanilla extract, and white vinegar until fully combined and emulsified.
- 5. Add Color: Stir the red gel food coloring into the wet ingredients. Add more if necessary to reach your desired shade of deep crimson.
- 6. Combine: Slowly add the dry ingredients to the wet ingredients. Mix on low speed or whisk by hand just until combined and no streaks of flour remain. Do not overmix, or the cupcakes will be tough.
- 7. Bake: Fill cupcake liners about 2/3 full. Bake for 18-22 minutes, or until a toothpick inserted into the center comes out clean or with just a few moist crumbs. Be careful not to overbake.
- 8. Cool: Allow the cupcakes to cool in the pan for 5 minutes, then transfer them to a wire rack to cool completely before frosting. Frosting warm cupcakes will cause the frosting to melt.
- 9. Make the Frosting: In a large bowl using a handheld or stand mixer fitted with a paddle attachment, beat the softened butter and cream cheese together until completely smooth and creamy (about 3 minutes).
- 10. Add Sugar and Strawberry: Gradually add powdered sugar, one cup at a time, mixing on low speed. Once incorporated, add the cooled strawberry reduction and a pinch of salt. Whip on medium-high speed for 2-3 minutes until fluffy and pipable.
- 11. Decorate: Transfer the frosting to a piping bag fitted with a star tip. Pipe generous swirls onto the cooled cupcakes. Garnish with fresh strawberry slices or sprinkles if desired.
Expert Cooking Tips
- ✓Room Temperature Ingredients: Ensure your buttermilk, egg, cream cheese, and butter are at room temperature. This ensures a smooth emulsion and prevents the batter from seizing or the frosting from being lumpy.
- ✓Don’t Overmix: Once the wet and dry ingredients meet, mix only until combined. Overmixing develops gluten which creates a tough, dense cupcake rather than a tender one.
- ✓Gel vs. Liquid Color: Use gel food coloring rather than liquid drops. Gel is more concentrated, so you need less of it, and it won’t throw off the liquid ratio of your batter.
- ✓Cool the Reduction: You must let the strawberry reduction cool completely (even chill it briefly) before adding it to the butter and cream cheese. If it’s warm, it will melt the butter and ruin the frosting structure.
- ✓Use Block Cream Cheese: Always use full-fat brick-style cream cheese for frosting. The spreadable kind in tubs has too much water content and will result in runny frosting.
- ✓Measure Flour Correctly: Use a kitchen scale or the spoon-and-level method. Scooping the measuring cup directly into the flour bag compacts it, leading to dry cupcakes.
Substitutions and Variations
Baking is a science, but there is some room for flexibility. If you do not have buttermilk, you can make a DIY version by adding 1 tablespoon of lemon juice or white vinegar to a scant cup of whole milk and letting it sit for 5 minutes. For the oil, melted coconut oil or grapeseed oil works well as a substitute for vegetable oil, though coconut oil may impart a slight flavor. If you prefer a less sweet frosting or don’t have strawberries, raspberries work beautifully using the same reduction method to remove the seeds. For a gluten-free version, substitute the all-purpose flour with a high-quality 1:1 gluten-free baking flour blend that contains xanthan gum. If you are out of red food coloring, you can omit it entirely; the cupcakes will be a light brown ‘velvet’ color but will taste exactly the same. Alternatively, some bakers use beet powder or beet purée for natural coloring, though this changes the flavor profile slightly.
Common Mistakes to Avoid
The most common mistake with red velvet is overbaking. Because of the dark color, it is hard to see the golden browning cues, so rely on the toothpick test and the ‘spring back’ method (touch the top gently; it should spring back). Another major error is skipping the strawberry reduction step. Adding raw purée directly to frosting adds too much water, breaking the fat emulsion and creating a soup that slides off the cake. Regarding the batter, forgetting the vinegar is a mistake; the acid is required to react with the baking soda for lift. Finally, using Dutch-processed cocoa instead of natural cocoa can affect the rise and the color, as Dutch cocoa is less acidic.
Serving Suggestions
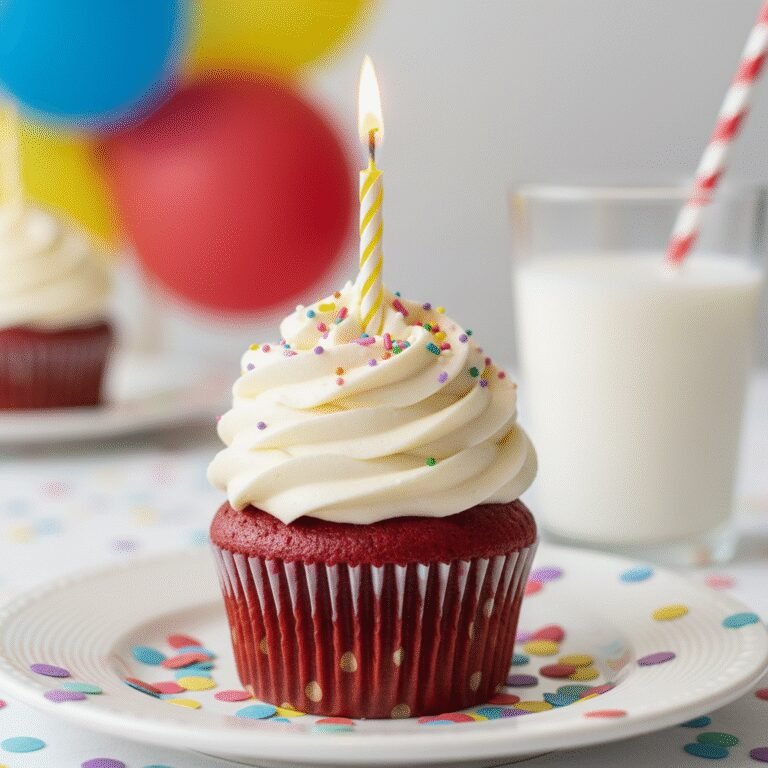
These cupcakes are best served at room temperature, where the frosting is creamy and the cake is softest. They make a stunning centerpiece for Valentine’s Day, bridal showers, or baby showers. Serve them alongside a glass of cold milk, a hot latte, or a glass of prosecco for an adult treat. For presentation, garnish with a small fresh strawberry slice, a dusting of freeze-dried strawberry powder, or chocolate shavings to contrast the pink frosting.
Storage and Reheating Tips
Because of the cream cheese in the frosting, these cupcakes must be stored in the refrigerator if not eaten within 2 hours. Place them in an airtight container to prevent the cake from drying out; they will keep for up to 4-5 days. When ready to eat, remove them from the fridge and let them sit on the counter for 30 minutes to come to room temperature; cold cream cheese frosting has a waxy texture that isn’t as pleasant. You can also freeze unfrosted cupcakes for up to 3 months. Wrap them individually in plastic wrap and store in a freezer bag. Thaw on the counter before frosting.
Nutrition Facts (Estimated)
| Serving Size | 1 cupcake |
| Calories | 380 kcal |
| Fat | 18g |
| Saturated Fat | 7g |
| Unsaturated Fat | 10g |
| Trans Fat | 0g |
| Cholesterol | 45mg |
| Sodium | 210mg |
| Carbohydrates | 48g |
| Fiber | 1g |
| Sugar | 28g |
| Protein | 4g |
Frequently Asked Questions
Can I make these cupcakes ahead of time?
Yes! You can bake the cupcakes 1 day in advance and store them in an airtight container at room temperature. The frosting can also be made a day ahead and stored in the fridge; just rewhip it briefly before piping.
Why did my cupcakes sink in the middle?
Sinking usually happens if the oven door was opened too early, causing a temperature drop, or if the batter was overmixed, incorporating too much air that collapsed. Ensure your baking soda is fresh as well.
Can I use freeze-dried strawberries instead of fresh?
Absolutely. Pulverize freeze-dried strawberries into a fine powder and whisk it into the frosting with the powdered sugar. This gives intense flavor without adding moisture, skipping the reduction step.
Do I have to use red food dye?
No, the dye is purely for aesthetics. The flavor and texture will remain identical without it, resulting in a cocoa-colored cupcake.
Why is my frosting runny?
This likely means the strawberry reduction wasn’t boiled down enough to remove water, or the butter/cream cheese was too warm. You can try adding more powdered sugar or chilling the frosting for 20 minutes.
Can I use this recipe to make a layer cake?
Yes, this batter doubles well for two 8-inch or 9-inch round cake pans. You will need to increase the baking time to approximately 30-35 minutes.
What does the vinegar do in the recipe?
Vinegar provides the acid needed to react with the baking soda to help the cake rise. It also helps preserve the red color and tenderizes the flour proteins.
How do I transport these without ruining the frosting?
Use a dedicated cupcake carrier with individual wells. If you don’t have one, place them in a deep box and use a dab of buttercream on the bottom of the liner to ‘glue’ them to the box base.
Conclusion
There you have it—the secret to making the most indulgent, visually captivating, and delicious Moist Red Velvet Cupcakes with Strawberry Frosting. This recipe strikes the perfect balance between the classic, slightly tangy cocoa cake and the bright, fruity freshness of the strawberry cream cheese topping. It is a labor of love that pays off in every single bite. Whether you are baking for a special someone or just treating yourself (because you deserve it!), these cupcakes are guaranteed to impress. Don’t forget to pin this recipe for later and share your creations with us on social media!