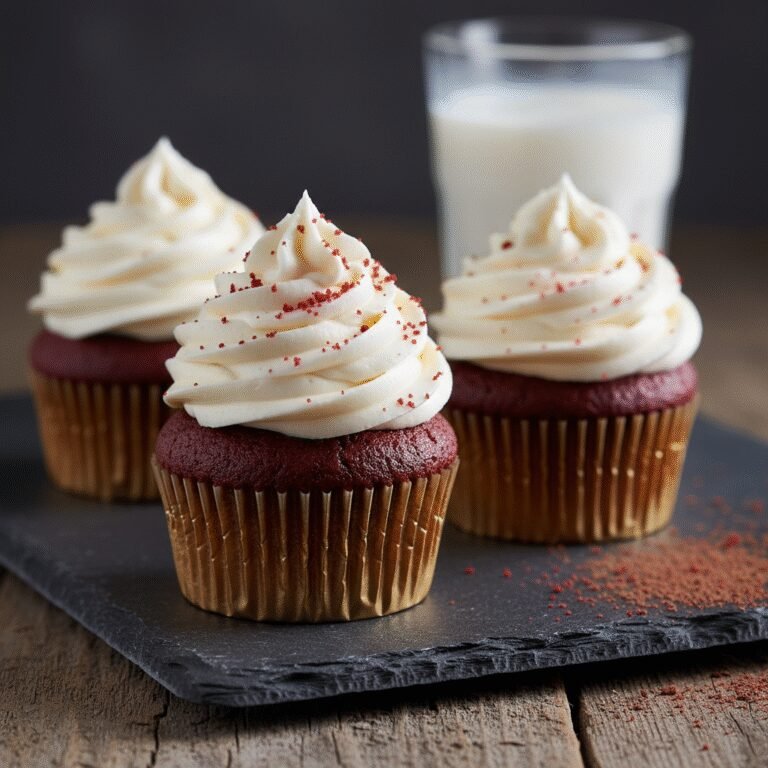
Ultimate Moist Red Velvet Cupcakes With Rich Chocolate Buttercream
Moist Red Velvet Cupcake With Chocolate Buttercream Recipe
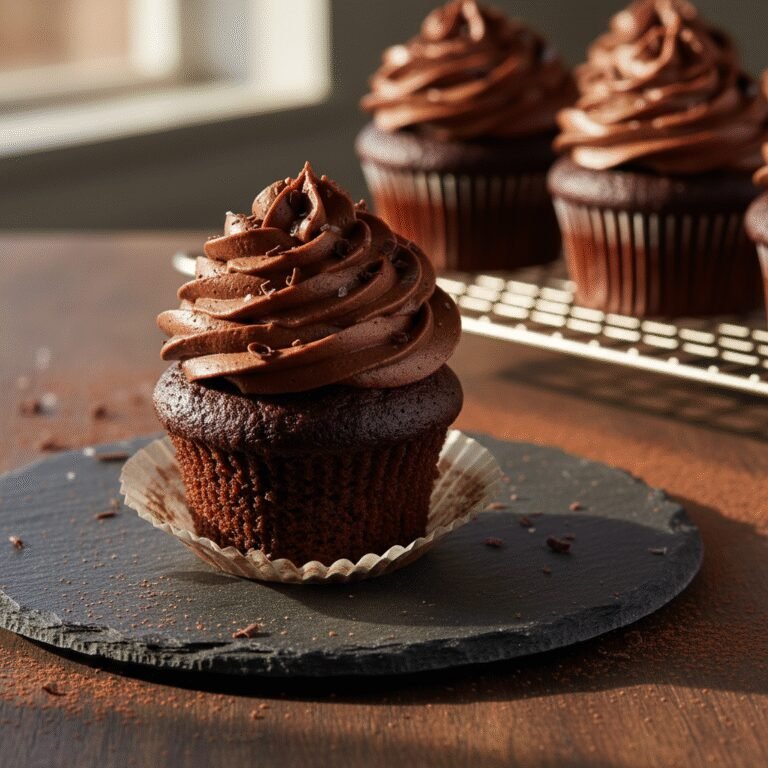
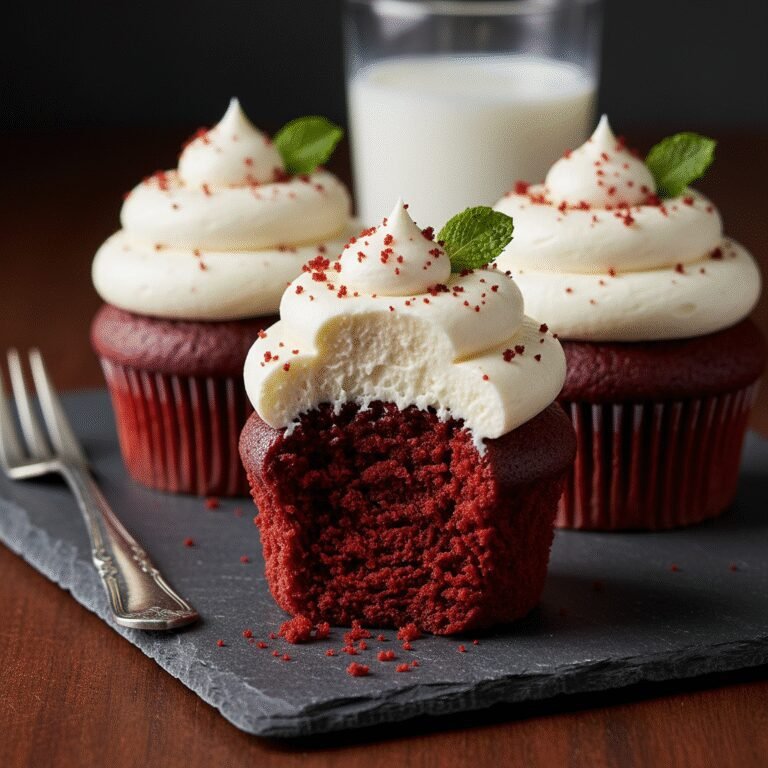
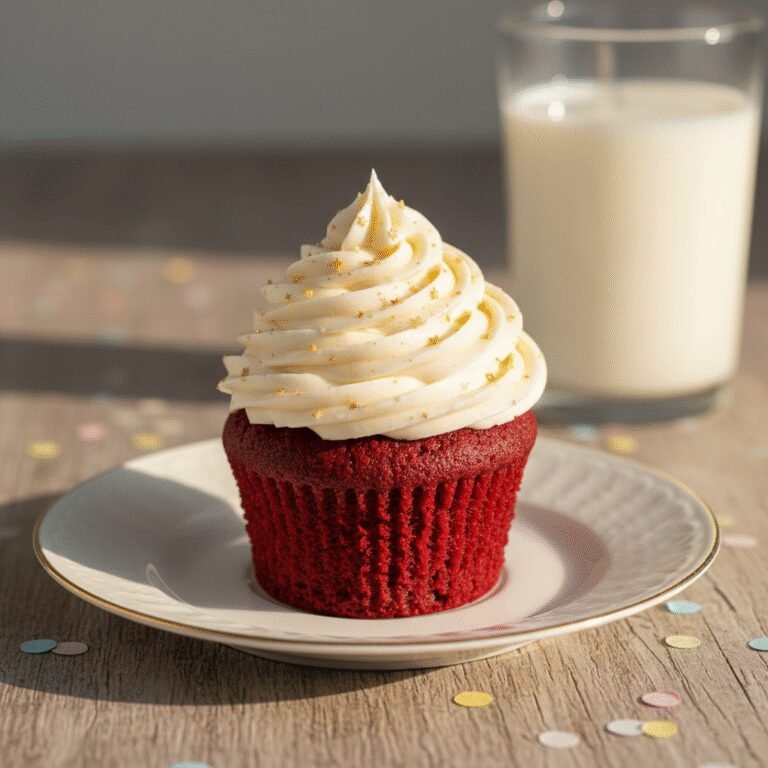
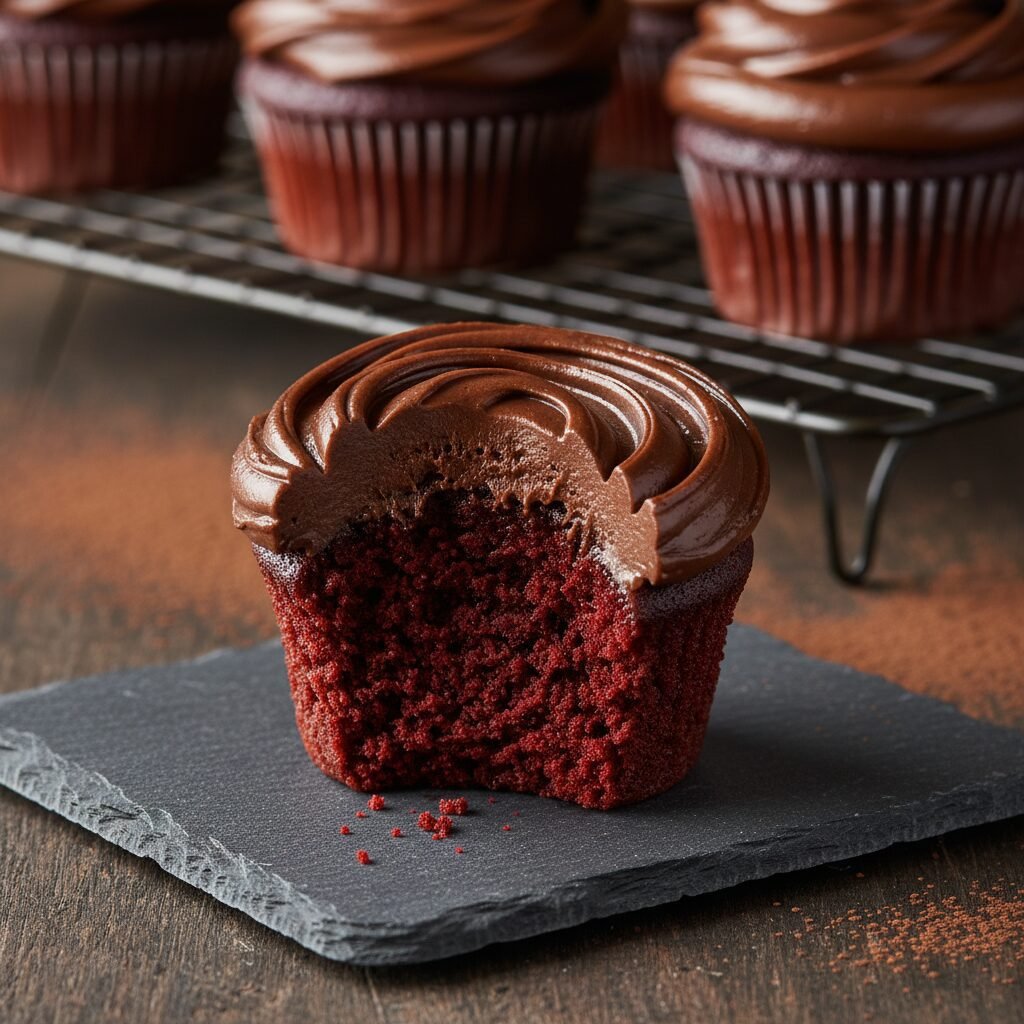
Experience the perfect marriage of texture and flavor with these incredibly moist red velvet cupcakes. Featuring a tender, velvety crumb with a hint of cocoa, they are crowned with a decadent, silky chocolate buttercream that takes this classic dessert to a whole new level of indulgence.
20 minutes
20 minutes
50 minutes
14 cupcakes
Dessert
Baking
American
Vegetarian
Red velvet cake is an enigma of the baking world, often misunderstood but universally adored. Is it chocolate? Is it vanilla? The answer lies somewhere in the delicious middle, a category entirely its own. This recipe for Moist Red Velvet Cupcakes with Chocolate Buttercream is designed to be the definitive version of the classic, moving away from the traditional cream cheese pairing to offer something for the true chocolate lovers. The magic of a great red velvet cupcake lies in its texture—it should be soft, plush, and truly ‘velvety’ on the tongue, not dry or crumbly. This recipe achieves that elusive crumb through a precise balance of acidic ingredients and fat. While many recipes rely on butter, we utilize vegetable oil to ensure the cupcakes stay moist for days, not just hours. The flavor profile is complex: a subtle chocolate undertone provided by a touch of cocoa powder, a slight tang from the buttermilk and vinegar that cuts through the sweetness, and the rich, buttery vanilla notes that round it all out. But the real showstopper here is the frosting. While cream cheese frosting is the standard, a whipped chocolate buttercream elevates the subtle cocoa notes in the sponge, creating a monochromatic flavor experience that is visually stunning—the deep brown frosting against the vibrant red cake is a feast for the eyes. Whether you are baking for a Valentine’s Day treat, a birthday celebration, or simply a Tuesday night craving, these cupcakes promise to deliver a bakery-quality experience right in your own kitchen. They are unapologetically rich, visually dramatic, and scientifically formulated to be the softest cupcakes you will ever bite into.
History & Origins
The history of red velvet cake is as colorful as the cake itself, steeped in culinary evolution and a bit of marketing genius. The concept of a ‘velvet’ cake dates back to the Victorian era in the late 1800s. During this time, the term ‘velvet’ was used to describe cakes with a specifically soft and fine crumb, achieved by using almond flour, cocoa, or cornstarch to break down the protein in the flour. The ‘red’ color, originally, was not the result of food dye but a chemical reaction. In the early 20th century, cocoa powder was not Dutch-processed (alkalized) as it is commonly today. When this natural, acidic cocoa powder was mixed with acidic ingredients like buttermilk and vinegar, the anthocyanins in the cocoa turned a reddish-brown hue. This natural reaction gave the cake its name. However, the vibrant, fire-engine red we know today has a different origin. During the Great Depression and World War II, food rationing forced bakers to be creative. Some used beet juice to add moisture and color to their cakes, enhancing the red appearance. The modern incarnation of the cake, specifically the use of red food coloring, is largely attributed to the Adams Extract company in Texas. In an effort to sell more food dyes and flavorings during the Depression, John A. Adams created a recipe card for ‘Red Velvet Cake’ that used a significant amount of red dye, forever changing the cake’s identity. In the mid-20th century, the cake became a signature dessert at the Waldorf-Astoria Hotel in New York, cementing its status as a luxury treat. Its popularity waned slightly until the late 1990s and early 2000s, when the Magnolia Bakery in New York City and its appearance in pop culture sparked a massive revival. Today, it stands as an icon of American baking, representing a blend of Southern hospitality and historical culinary science.
Why This Recipe Works
This recipe succeeds where many others fail because it prioritizes moisture retention and chemical leavening balance. First, let’s talk about the fat source. While butter adds flavor, it contains water which evaporates during baking, and milk solids which can dry out a small cake like a cupcake. Vegetable oil, being 100% fat, coats the flour proteins more effectively, preventing gluten formation and ensuring the cupcake remains incredibly soft and moist even after cooling. Second, the acidity is crucial. We use a trifecta of acids: buttermilk, vinegar, and natural cocoa powder. This acidity does two things. It breaks down the long strands of gluten in the flour, leading to a ‘tender’ crumb rather than a chewy one. More importantly, the acid reacts vigorously with the baking soda (sodium bicarbonate). This reaction produces carbon dioxide bubbles instantly, providing the lift needed to make the cupcakes fluffy and light despite the heavy oil content. Regarding the chocolate flavor, this recipe uses just enough cocoa powder to give that signature hint of chocolate without drying out the batter—cocoa is a starch and can be drying in large quantities. Finally, the chocolate buttercream is whipped with heavy cream, incorporating air to match the lightness of the sponge, ensuring that the frosting doesn’t weigh down the delicate cupcake beneath it. It is a scientifically sound formulation designed for the home baker to achieve professional results.
Why You’ll Love This Recipe
- ✓Stays moist for days thanks to vegetable oil
- ✓Unique pairing with chocolate buttercream for double the flavor
- ✓Vibrant red color without altering the taste
- ✓Quick one-bowl mixing method for the batter
- ✓Perfect balance of tangy and sweet flavors
- ✓Ideal texture: soft, fluffy, and velvety
Equipment You’ll Need
- ✓Standard 12-cup muffin tin
- ✓Cupcake liners
- ✓Large mixing bowl
- ✓Medium mixing bowl
- ✓Whisk
- ✓Electric hand mixer or stand mixer
- ✓Sifter or fine-mesh sieve
- ✓Rubber spatula
- ✓Piping bag and star tip
Ingredients
- ✓1 1/2 cups (190g) All-Purpose Flour
- ✓1 cup (200g) Granulated White Sugar
- ✓1 tbsp Unsweetened Cocoa Powder (Natural or Dutch-process)
- ✓1/2 tsp Salt
- ✓1 tsp Baking Soda
- ✓1 cup (240ml) Buttermilk, room temperature
- ✓1 cup (240ml) Vegetable Oil (or Canola Oil)
- ✓1 tsp Distilled White Vinegar
- ✓1 tsp Vanilla Extract
- ✓1 Large Egg, room temperature
- ✓1-2 tbsp Red Gel Food Coloring
- ✓1 cup (226g) Unsalted Butter, softened (for frosting)
- ✓3 cups (360g) Powdered Sugar (for frosting)
- ✓1/2 cup (45g) Unsweetened Cocoa Powder (for frosting)
- ✓1/4 cup (60ml) Heavy Cream (for frosting)
- ✓1 tsp Vanilla Extract (for frosting)
- ✓Pinch of salt (for frosting)
Instructions
- Preheat your oven to 350°F (175°C) and line a standard muffin tin with cupcake liners. This recipe yields about 14 cupcakes, so have a second tin or ramekins ready if needed.
- In a large bowl, sift together the all-purpose flour, granulated sugar, 1 tablespoon of cocoa powder, baking soda, and salt. Sifting is crucial here to remove lumps from the cocoa and ensure a smooth batter. Whisk gently to combine.
- In a separate medium bowl, whisk together the room temperature buttermilk, vegetable oil, egg, vanilla extract, and distilled white vinegar. Mix until the egg is fully broken down and the mixture is emulsified.
- Add the red food coloring to the wet ingredients. Start with 1 tablespoon and whisk. If you desire a deeper, more vibrant red, add more coloring until you reach your desired shade. Remember, the color will darken slightly as it bakes.
- Pour the wet ingredients into the bowl of dry ingredients. Using a whisk or rubber spatula, mix gently just until the flour disappears. Do not overmix; stop as soon as the streaks of flour are gone to keep the cupcakes tender.
- Divide the batter evenly among the cupcake liners, filling them about 2/3 full. Do not overfill, or they will spill over and flatten.
- Bake for 18-20 minutes, or until a toothpick inserted into the center comes out clean or with just a few moist crumbs attached. Avoid overbaking to maintain moistness.
- Remove the cupcakes from the oven and let them cool in the pan for 5 minutes, then transfer them to a wire rack to cool completely before frosting.
- To make the frosting: In a large bowl using a hand mixer or stand mixer fitted with the paddle attachment, beat the softened butter on medium speed for 3-4 minutes until it is creamy and pale.
- Sift the powdered sugar and 1/2 cup cocoa powder. Gradually add this to the butter in two batches, mixing on low speed until incorporated.
- Add the vanilla extract, salt, and heavy cream. Increase the mixer speed to medium-high and whip for 3-5 minutes until the frosting is fluffy, airy, and glossy.
- Pipe the chocolate buttercream onto the completely cooled cupcakes using a piping bag and your preferred tip. Garnish with sprinkles or chocolate shavings if desired.
Expert Cooking Tips
- ✓Ensure all cold ingredients (egg, buttermilk, butter) are at room temperature to prevent the batter from curdling.
- ✓Do not skip the vinegar; it is essential for activating the baking soda and creating the velvety texture.
- ✓Use gel food coloring instead of liquid drops for a more intense red color without adding excess liquid to the batter.
- ✓Sift your cocoa powder for both the cake and the frosting to avoid bitter lumps of dry cocoa.
- ✓Fill the cupcake liners only 2/3 full to create a nice dome shape; overfilling causes flat, mushroom-top cupcakes.
- ✓Check the expiration date on your baking soda; fresh soda is required for the proper rise.
- ✓If you don’t have buttermilk, make a substitute by adding 1 tablespoon of lemon juice to 1 cup of milk and letting it sit for 5 minutes.
Substitutions and Variations
Baking is a science, but there is some room for flexibility if you find yourself missing an ingredient. For the flour, Cake Flour can be used instead of All-Purpose Flour for an even lighter, airier crumb; use 1 cup plus 2 tablespoons of cake flour for every cup of all-purpose called for. If you do not have buttermilk, you can make ‘sour milk’ by adding one tablespoon of white vinegar or lemon juice to a cup of whole milk and letting it sit for 5-10 minutes until it curdles slightly. Alternatively, plain kefir or thinned-out sour cream works well. For the fat, while vegetable oil is recommended for moisture, you can use melted unsalted butter for a richer taste, though the cupcakes may be slightly denser. If you wish to avoid artificial dyes, you can use beet powder or reduced beet juice, though be warned this will impart an earthy flavor to the cake and the color will be more of a rusty brown than vibrant red. For the frosting, if you find chocolate too intense, a classic Cream Cheese Frosting or a Vanilla Swiss Meringue Buttercream are excellent traditional alternatives.
Common Mistakes to Avoid
The most common mistake with red velvet cupcakes is overbaking. Because the batter is dark, it is hard to see the browning cues. Rely strictly on the toothpick test and start checking at 18 minutes. Overbaking will dry out the oil-based batter rapidly. Another error is overmixing the batter once the wet and dry ingredients are combined. This develops the gluten and results in a tough, chewy muffin rather than a soft cupcake. Using cold ingredients is another pitfall; if your buttermilk or eggs are cold, they won’t emulsify with the oil, leading to an uneven bake. Finally, regarding the frosting, do not attempt to frost the cupcakes until they are 100% cool. Even a slightly warm cupcake will melt the butter in the frosting, causing it to slide right off.
Serving Suggestions
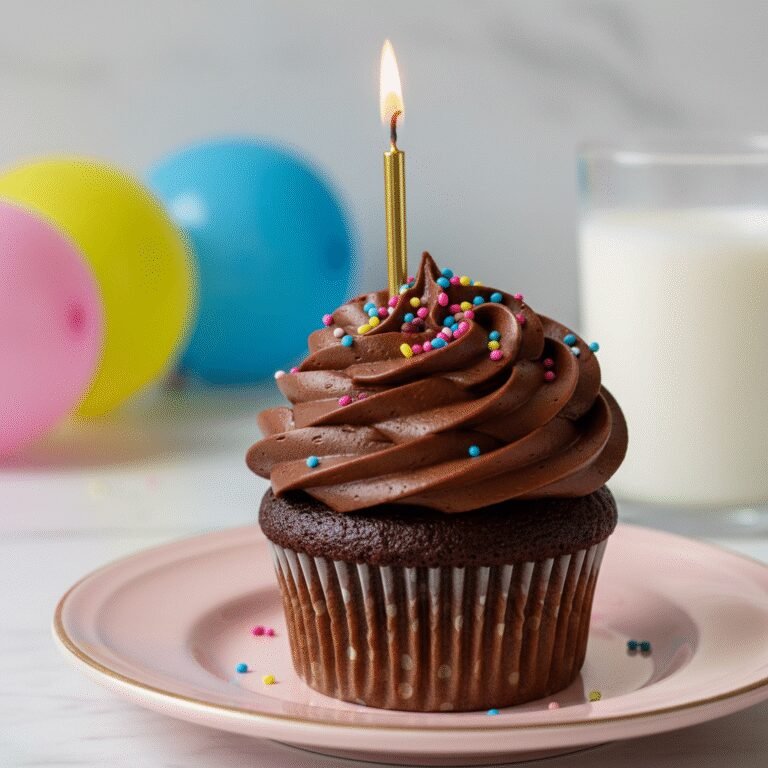
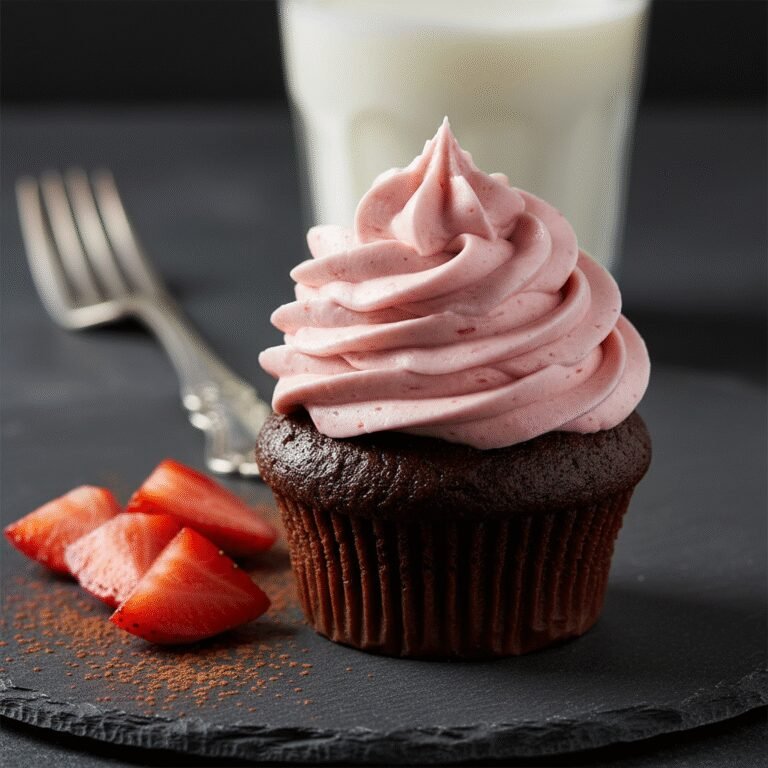
These cupcakes are rich and decadent, making them perfect for special occasions. Serve them on a white platter to make the red color pop. They pair beautifully with a cold glass of milk to cut through the richness of the chocolate buttercream. For a more sophisticated pairing, serve with a hot espresso or a dark roast coffee, as the bitterness of the coffee complements the sweet frosting. If you are serving these for a holiday, consider garnishing the chocolate buttercream with festive sprinkles, red velvet crumbs (save a cupcake to crumble), or a chocolate-covered strawberry on top.
Storage and Reheating Tips
Because these cupcakes use a buttercream frosting (containing dairy) and the cake is very moist, storage is key. They can be kept at room temperature in an airtight container for up to 2 days. If your kitchen is warm, or for longer storage, refrigerate them for up to 5 days. However, always let them come to room temperature before eating, as the butter in the frosting and the texture of the cake are best when not cold. You can also freeze the unfrosted cupcakes for up to 3 months. Wrap them individually in plastic wrap and place them in a freezer bag. Thaw on the counter before frosting. Frosted cupcakes can also be frozen; freeze them on a baking sheet until the frosting is hard, then wrap and store.
Nutrition Facts (Estimated)
| Serving Size | 1 cupcake |
| Calories | 460 |
| Fat | 26g |
| Saturated Fat | 9g |
| Unsaturated Fat | 15g |
| Trans Fat | 0g |
| Cholesterol | 45mg |
| Sodium | 210mg |
| Carbohydrates | 56g |
| Fiber | 2g |
| Sugar | 38g |
| Protein | 4g |
Frequently Asked Questions
Can I use butter instead of oil for the cake batter?
You can, but I don’t recommend it. Oil is 100% fat and remains liquid at room temperature, which keeps the cupcakes sensationally moist. Butter contains water and milk solids, which can lead to a drier texture in this specific recipe.
Why do I need vinegar in a cake recipe?
Vinegar is an acid that reacts with the baking soda to create carbon dioxide bubbles. This provides the lift and fluffiness. It also helps preserve the red color and tenderizes the gluten.
My cupcakes turned out brown, not red. Why?
This usually happens if you didn’t use enough food coloring or if you used a high-pH Dutch-processed cocoa powder which neutralizes the acid. Ensure you use enough gel coloring and try to use natural cocoa powder if possible, though the dye usually overpowers the cocoa type.
Can I make this recipe as a whole cake instead of cupcakes?
Yes! This batter will fit into two 8-inch round cake pans. You will need to increase the baking time to approximately 30-35 minutes. Check for doneness with a toothpick.
What is the best food coloring to use?
Gel food coloring is superior to liquid drops. It is much more concentrated, so you need less of it, and it doesn’t add excess water to the batter which could alter the consistency.
Can I reduce the sugar?
Reducing sugar affects not just sweetness but also moisture and texture. You can reduce it slightly (maybe by 1/4 cup), but doing so might result in a denser, drier cupcake.
Why did my cupcakes sink in the middle?
Sinking usually happens if the oven door was opened too early, causing the temperature to drop before the structure set, or if the batter was over-mixed, incorporating too much air that collapsed.
Is the chocolate buttercream too sweet?
It is a sweet American buttercream, but the addition of unsweetened cocoa powder and a pinch of salt helps balance the sugar. Using salted butter can also help cut the sweetness.
Conclusion
These Moist Red Velvet Cupcakes with Chocolate Buttercream are more than just a dessert; they are a statement piece for any table. By combining the classic, nostalgic allure of red velvet with the rich, undeniable satisfaction of chocolate frosting, you get the best of both worlds. The recipe is straightforward enough for a beginner but yields results that will impress even the most seasoned dessert connoisseur. So, preheat your oven, grab your red food coloring, and get ready to bake a batch of cupcakes that are sure to disappear within minutes of being frosted. Happy baking!