The Ultimate Moist Red Velvet Cupcake Recipe with Tangy Cream Cheese Frosting
Moist Red Velvet Cupcake Recipe
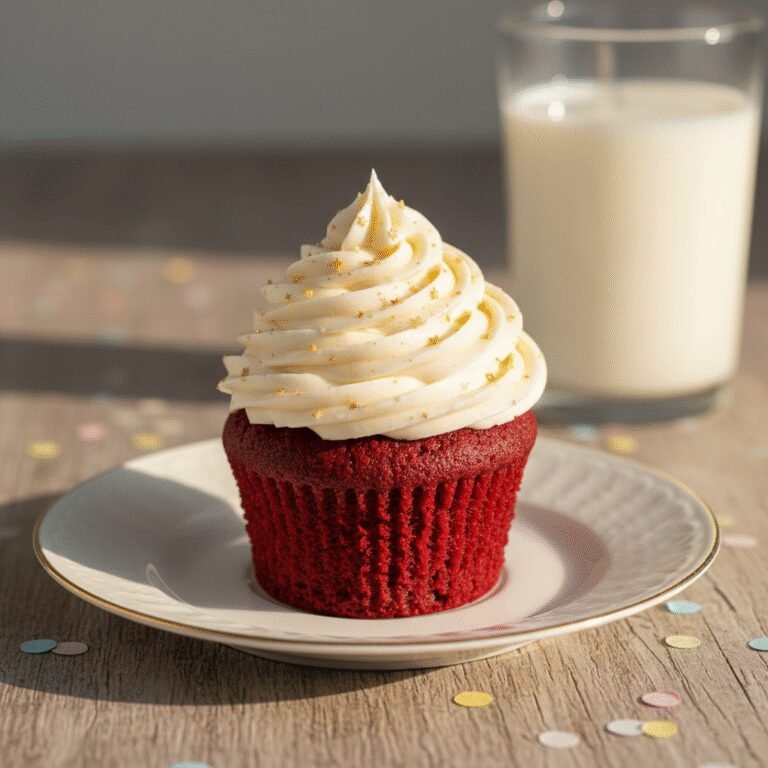
Discover the secret to bakery-style red velvet cupcakes that are impossibly soft, vibrant, and topped with a luscious, tangy cream cheese frosting. This foolproof recipe balances sweet vanilla with a hint of cocoa for the perfect bite every time.
20 minutes
20 minutes
40 minutes
12 Cupcakes
Dessert
Baking
American
Vegetarian
There is something undeniably magical about a perfectly executed red velvet cupcake. It is not just a chocolate cake disguised in red dye, nor is it simply a vanilla cake with a color adjustment. True red velvet is a complex, velvety-textured masterpiece that walks a delicate line between two flavor profiles, offering a subtle cocoa whisper wrapped in a buttery, vanilla-scented crumb. The texture is paramount; it must be dense enough to hold the frosting yet light enough to melt in your mouth. This recipe achieves that elusive ‘velvet’ consistency by utilizing a specific blend of oil for moisture and buttermilk for a tenderizing tang. When you bite into these cupcakes, you are greeted with a moist, fine crumb that feels luxurious against the palate, perfectly contrasted by the rich, slightly salty, and sweet tang of homemade cream cheese frosting. Whether you are baking for a Valentine’s Day treat, a birthday celebration, or simply to satisfy a Tuesday afternoon craving, these cupcakes are designed to impress. We have stripped away the complexity and potential pitfalls often associated with red velvet—like dry crumbs or lackluster flavor—to bring you a formula that works flawlessly in home kitchens. Get ready to fill your home with the scent of warm sugar and cocoa, and prepare to serve a dessert that looks as stunning as it tastes.
History & Origins
The origins of red velvet cake are as colorful and layered as the cake itself, often debated among culinary historians. Long before bright red food coloring bottles lined supermarket shelves, ‘velvet’ cakes were a Victorian-era staple, named for their smooth, soft texture which was distinct from the coarser crumb of ordinary sponge cakes. The ‘red’ aspect, however, has a more scientific origin story. In the early 20th century, unprocessed cocoa powder contained high levels of anthocyanins. When this cocoa was mixed with acidic ingredients like buttermilk and vinegar—standard in velvet cake recipes—a chemical reaction occurred, turning the batter a reddish-brown hue. During the Great Depression and World War II, when rationing made ingredients scarce, bakers would sometimes use beet juice to keep cakes moist, which also enhanced the red color. The modern, vibrant red version we know today is largely attributed to the marketing genius of the Adams Extract company in Texas during the 1930s, who sold red food dye with recipe cards for the cake to boost sales. Another famous claim comes from the Waldorf Astoria Hotel in New York City, which has served the cake since the 1930s and claims it as their signature creation. Regardless of which origin story you subscribe to, the cake became a Southern staple and saw a massive resurgence in pop culture after appearing in the film ‘Steel Magnolias’ in 1989, cementing its status as an American icon.
Why This Recipe Works
This recipe succeeds where many others fail due to the precise balance of fat and acid. Many red velvet recipes rely solely on butter, which provides flavor but can lead to a drier crumb if slightly overbaked. We use a combination of vegetable oil and a small amount of butter. The oil ensures the cupcakes stay moist for days—as oil remains liquid at room temperature—while the butter adds that necessary rich flavor. Secondly, the role of buttermilk and vinegar is critical; the acidity breaks down the long strands of gluten in the flour, resulting in a significantly more tender cake (the ‘velvet’ texture). We also use cake flour instead of all-purpose flour to further lower the protein content and ensure softness. Finally, the ‘blooming’ of the cocoa powder in hot coffee or water intensifies the chocolate undertones without overpowering the classic red velvet profile. The chemical reaction between the baking soda and the vinegar provides an extra lift, ensuring the cupcakes rise beautifully with a perfect dome rather than falling flat.
Why You’ll Love This Recipe
- ✓Stays moist for up to 4 days due to the oil-based batter.
- ✓Perfect balance of mild chocolate and tangy buttermilk flavors.
- ✓Vibrant red color without affecting the taste.
- ✓Topped with a stable, pipeable cream cheese frosting.
- ✓Foolproof method suitable for beginner bakers.
- ✓Ideal texture: dense enough for frosting, light enough to melt in your mouth.
Equipment You’ll Need
- ✓12-cup muffin tin
- ✓Cupcake liners
- ✓Stand mixer or electric hand mixer
- ✓Large mixing bowl
- ✓Medium mixing bowl
- ✓Whisk
- ✓Rubber spatula
- ✓Wire cooling rack
- ✓Piping bag and large star tip
Ingredients
- ✓1 1/3 cups Cake flour (spooned and leveled)
- ✓2 tablespoons Unsweetened cocoa powder
- ✓1/2 teaspoon Baking soda
- ✓1/4 teaspoon Salt
- ✓1/4 cup Unsalted butter, softened to room temperature
- ✓1 cup Granulated white sugar
- ✓1/2 cup Vegetable oil (or canola oil)
- ✓2 Large eggs, room temperature
- ✓2 teaspoons Pure vanilla extract
- ✓1 teaspoon Distilled white vinegar
- ✓1-2 tablespoons Red liquid food coloring (depending on desired intensity)
- ✓1/2 cup Buttermilk, room temperature
- ✓8 oz Full-fat brick style cream cheese, softened (for frosting)
- ✓1/2 cup Unsalted butter, softened (for frosting)
- ✓3 cups Powdered sugar (for frosting)
- ✓1 teaspoon Vanilla extract (for frosting)
- ✓Pinch of salt (for frosting)
Instructions
- Preheat your oven to 350°F (175°C) and line a 12-cup muffin tin with cupcake liners.
- In a medium bowl, sift together the cake flour, cocoa powder, baking soda, and salt. Whisk to combine ensuring there are no lumps. Set aside.
- In a large bowl or stand mixer fitted with the paddle attachment, beat the softened butter and granulated sugar on medium-high speed until light and fluffy (about 2-3 minutes).
- Pour in the vegetable oil and mix until combined. The mixture might look slightly separated, which is normal.
- Add the eggs one at a time, beating well after each addition. Scrape down the sides of the bowl as needed.
- Mix in the vanilla extract, vinegar, and red food coloring. Beat until the color is fully incorporated and uniform.
- Reduce the mixer speed to low. Add the dry ingredients in three parts, alternating with the buttermilk in two parts, starting and ending with the dry ingredients. Mix only until just combined to avoid overworking the gluten.
- Fill the cupcake liners about 2/3 full with the batter. Do not overfill or they will spill over.
- Bake for 18-21 minutes, or until a toothpick inserted into the center comes out clean or with just a few moist crumbs.
- Allow the cupcakes to cool in the pan for 5 minutes, then transfer them to a wire rack to cool completely before frosting.
- To make the frosting: Beat the cream cheese and butter together on high speed until smooth and creamy (about 3 minutes).
- Add the powdered sugar, vanilla, and pinch of salt. Low speed first to incorporate, then switch to high speed and beat for 2 minutes until fluffy.
- Pipe the frosting onto the cooled cupcakes and serve.
Expert Cooking Tips
- ✓Room Temperature Ingredients: Ensure eggs, buttermilk, and butter are at room temperature to create a smooth emulsion.
- ✓Don’t Overmix: Once the flour is added, mix gently. Overmixing leads to dense, rubbery cupcakes.
- ✓Sift the Cocoa: Cocoa powder tends to clump; sifting ensures a smooth batter without bitter pockets of powder.
- ✓Use Gel Coloring: For a deeper red without adding too much liquid, substitute liquid dye for a smaller amount of concentrated gel paste.
- ✓Check Freshness: Ensure your baking soda is fresh, as it provides the crucial lift in reaction with the vinegar.
- ✓Cool Completely: Never frost a warm cupcake, or the cream cheese frosting will melt and slide off.
Substitutions and Variations
If you do not have cake flour, you can make a DIY version by measuring 1 1/3 cups of all-purpose flour, removing 2 tablespoons and 2 teaspoons of it, and replacing that amount with cornstarch, then sifting multiple times. If buttermilk is unavailable, make a ‘sour milk’ substitute by adding 1 1/2 teaspoons of white vinegar or lemon juice to a measuring cup and filling it to the 1/2 cup line with regular whole milk; let it sit for 5 minutes before using. You can substitute the vegetable oil with melted coconut oil, though it may impart a slight coconut flavor. For a natural coloring alternative, some bakers use beet powder or reduced beet puree, though this will alter the flavor profile slightly towards earthiness and the color may brown during baking.
Common Mistakes to Avoid
The most common mistake is overbaking the cupcakes, which dries them out instantly. Red velvet is unforgiving when dry, so check them at the 18-minute mark. Another frequent error is using cold ingredients; cold cream cheese will result in lumpy frosting, and cold eggs can curdle the batter. Many home bakers also overfill the liners; filling them to the brim creates a ‘muffin top’ that spills over and creates a mess, while making the center sink. Lastly, failing to sift the powdered sugar for the frosting often results in a gritty texture rather than a silky smooth finish.
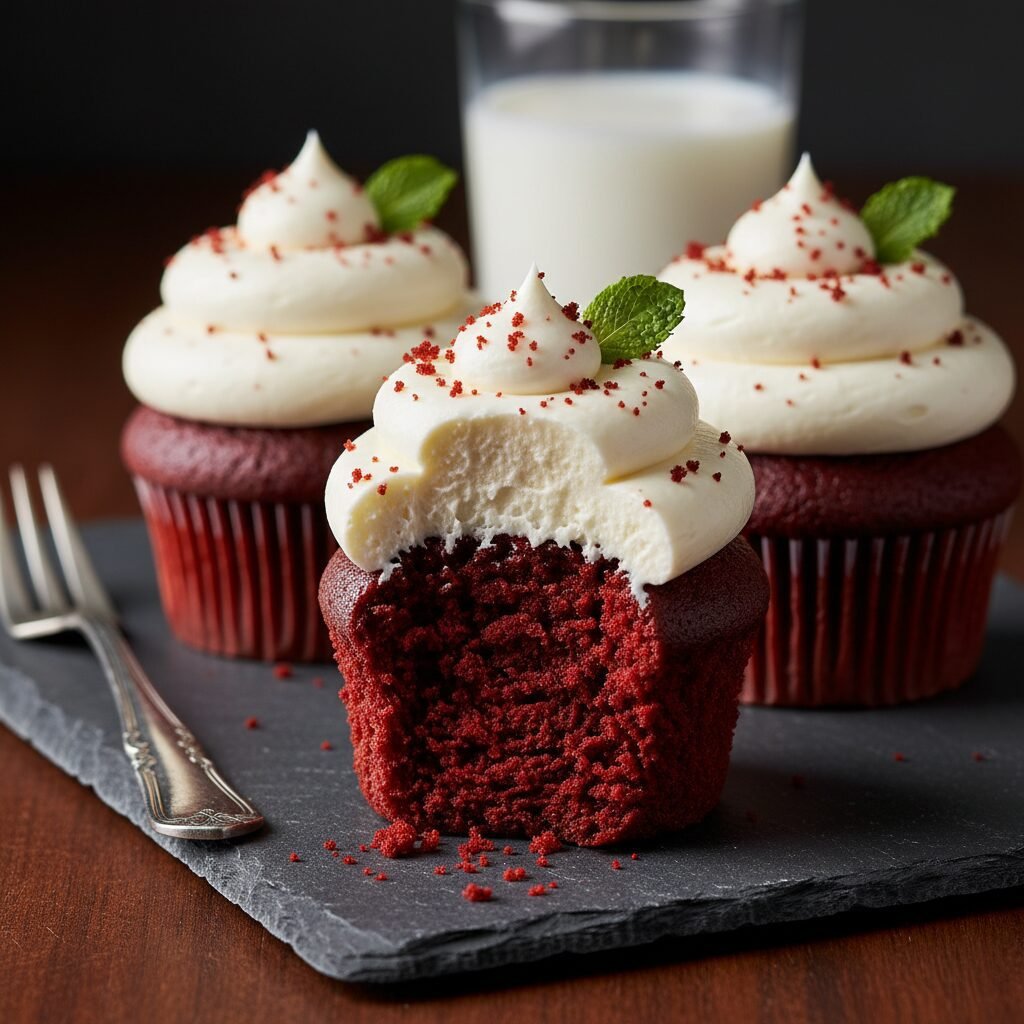
Serving Suggestions
These cupcakes are stunning on their own, but you can elevate the presentation by sprinkling red velvet cake crumbs (save one cupcake to crumble) over the white frosting for contrast. They pair exceptionally well with a hot cup of coffee or a cold glass of milk to cut through the sweetness. For a festive touch, garnish with fresh raspberries, chocolate shavings, or seasonal sprinkles. Serve them on a white ceramic platter or a tiered cake stand to let the vibrant red color pop against the neutral background.
Storage and Reheating Tips
Because of the cream cheese in the frosting, these cupcakes should be stored in the refrigerator if kept for more than 2 hours. Place them in an airtight container to prevent them from drying out or absorbing fridge odors. They will last in the fridge for up to 4-5 days. Serve them at room temperature for the best texture and flavor, so take them out of the fridge about 30 minutes before eating. Unfrosted cupcakes can be frozen for up to 3 months; wrap them individually in plastic wrap and place them in a freezer bag. Thaw at room temperature before frosting.
Nutrition Facts (Estimated)
| Serving Size | 1 cupcake |
| Calories | 380 |
| Fat | 18g |
| Saturated Fat | 6g |
| Unsaturated Fat | 11g |
| Trans Fat | 0g |
| Cholesterol | 45mg |
| Sodium | 210mg |
| Carbohydrates | 48g |
| Fiber | 1g |
| Sugar | 28g |
| Protein | 4g |
Frequently Asked Questions
Why are my cupcakes dry?
Dryness usually results from overbaking or measuring flour incorrectly. Always spoon and level your flour rather than scooping directly with the cup, which packs it down. Also, ensure you are using the oil specified in the recipe, as it retains moisture better than butter alone.
Can I make this recipe as a whole cake?
Yes, this recipe can be adapted for a cake. It will make two 6-inch round layers or one thin 8-inch layer. You will need to double the recipe for a standard 2-layer 8-inch or 9-inch cake and adjust the baking time to approximately 30-35 minutes.
Do I have to use red food coloring?
No, the food coloring is purely aesthetic. Omitting it will result in a light brown, cocoa-colored cupcake with the same delicious flavor and velvet texture. It just won’t look ‘red’ velvet.
Why do I need vinegar in a cake recipe?
Vinegar reacts with the baking soda to create carbon dioxide gas, which helps the cake rise and gives it a light, airy texture. It also preserves the red color of the anthocyanins in the cocoa.
Can I use natural food coloring?
Yes, but be aware that natural dyes (like beet juice or pomegranate powder) often turn brown when exposed to heat and alkaline ingredients. The color will likely be more muted and rustic compared to commercial dyes.
My cupcakes sank in the middle, why?
Sinking centers are often caused by opening the oven door too early, which causes a sudden temperature drop, or by overbeating the batter which incorporates too much air that collapses during baking.
Is cream cheese frosting the only option?
While cream cheese is traditional because its tang cuts the sweetness, you can also use a cooked flour frosting (Ermine frosting), which is the original frosting for red velvet, or a standard vanilla buttercream.
Can I use Dutch-processed cocoa powder?
It is best to use natural unsweetened cocoa powder for this recipe. Dutch-processed cocoa is alkalized, which neutralizes the acidity needed to react with the baking soda and vinegar for the proper rise.
Conclusion
Mastering the perfect Moist Red Velvet Cupcake is a feather in the cap of any home baker. It is a recipe that combines science and soul, resulting in a treat that is as visually striking as it is delicious. With this detailed guide, you now have all the tools, tips, and secrets to create a batch that rivals any high-end bakery. Whether you are sharing them with loved ones or enjoying a quiet moment of indulgence, these cupcakes promise a bite of pure, velvety bliss. Happy baking!