The Ultimate Moist Red Velvet Cupcakes for School Bake Sales
Moist Red Velvet Cupcake For School Bake Sale Recipe
Win the parent-teacher popularity contest with these ultra-moist, vibrant red velvet cupcakes. Specifically designed to stay soft for hours and transport easily, they are topped with a tangy, stable cream cheese frosting that makes them the undisputed star of any school bake sale.
20 minutes
20 minutes
50 minutes
24 cupcakes
Dessert
Baking
American
Vegetarian
There is a specific kind of pressure that comes with the school bake sale sign-up sheet. You want to contribute something that not only raises funds but also disappears from the table first—a treat that has kids tugging on their parents’ sleeves and parents asking for the recipe. Enter the ultimate Red Velvet Cupcake. This isn’t just chocolate cake dyed red; it is a distinct flavor profile that balances the subtle bitterness of cocoa with the tang of buttermilk and the sweetness of vanilla, all wrapped in a texture that is truly ‘velvety.’
For a bake sale, consistency and durability are key. Many cupcake recipes dry out if they sit on a display table for more than an hour, or the frosting slides off in a warm gymnasium. This recipe addresses those issues head-on. We utilize vegetable oil instead of butter for the batter base, ensuring the crumb stays incredibly moist and tender even a day after baking. The frosting is a stabilized cream cheese buttercream that holds its swirl perfectly while delivering that classic tangy contrast to the sweet sponge.
The visual appeal of these cupcakes is undeniable. The deep, dramatic crimson interior hidden beneath a cloud of stark white frosting creates a visual pop that stands out amongst brownies and cookies. Whether you are a seasoned baker or a frantic parent baking at midnight the day before the sale, this recipe is foolproof, yielding a bakery-quality result that tastes as nostalgic and comforting as it looks.
History & Origins
The history of Red Velvet cake is as rich and layered as the cake itself, often debated among culinary historians. The term ‘velvet’ was used in the Victorian era to distinguish cakes with a soft, fine crumb from the coarser sponge cakes of the time. In the early 20th century, ‘Devil’s Food’ cakes became popular, utilizing cocoa powder. Before modern processing (Dutching), cocoa powder was raw and contained anthocyanins. When this raw cocoa mixed with acidic ingredients like buttermilk and vinegar, a chemical reaction occurred that turned the batter a reddish-brown hue. This was the original, natural ‘red’ velvet.
The vibrant, artificial red we know today likely emerged during the Great Depression. As rationing made baking supplies scarce, the Adams Extract company in Texas looked for a way to sell more food coloring and vanilla. They printed a recipe for Red Velvet Cake on tear-off cards in grocery stores, which called for a significant amount of red dye, forever changing the cake’s appearance.
Another famous origin story ties the cake to the Waldorf Astoria Hotel in New York City, which claims it as a signature dessert from the 1930s. However, the cake’s modern pop-culture explosion can be largely credited to the 1989 film ‘Steel Magnolias,’ which featured a red velvet armadillo groom’s cake. Since then, it has transitioned from a Southern regional specialty to a ubiquitous American classic, becoming a staple in bakeries and cupcakes shops—like the famous Magnolia Bakery in NYC—sparking the cupcake craze of the early 2000s.
Why This Recipe Works
This recipe is engineered specifically for moisture retention and structural integrity, two non-negotiables for a bake sale item. First, we use neutral vegetable oil rather than butter. While butter adds flavor, it contains water which evaporates during baking, and milk solids which can dry out the crumb. Oil is 100% fat and remains liquid at room temperature, coating the flour proteins and preventing gluten over-development. This results in a sensationally moist texture that lasts for days.
Secondly, the combination of buttermilk, vinegar, and baking soda is the holy trinity of red velvet science. The acidity in the buttermilk and vinegar reacts vigorously with the baking soda (a base), creating carbon dioxide bubbles that provide lift. This reaction happens immediately, which is why the batter is so airy. This lift counteracts the heaviness of the oil and eggs, resulting in a cupcake that is light and fluffy rather than greasy or dense.
Finally, we use a specific ratio of cocoa powder. Too much cocoa makes it a chocolate cake; too little makes it a vanilla cake dyed red. This recipe uses just enough to provide that enigmatic, mild chocolate background note that defines the genre, without overpowering the vanilla and tangy buttermilk notes.
Why You’ll Love This Recipe
- ✓Stays moist for up to 3 days due to oil-based batter.
- ✓Vibrant red color without affecting the flavor.
- ✓Stabilized cream cheese frosting travels well.
- ✓Perfect balance of tang and sweet.
- ✓Yields exactly 24 standard cupcakes—perfect for class sizes.
- ✓One-bowl mixing method for easy cleanup.
Equipment You’ll Need
- ✓2 Standard 12-cup Muffin Tins
- ✓Cupcake Liners
- ✓Stand Mixer or Hand Mixer
- ✓Large Mixing Bowl
- ✓Medium Mixing Bowl
- ✓Whisk
- ✓Rubber Spatula
- ✓Wire Cooling Rack
- ✓Piping Bag and Large Star Tip
Ingredients
- ✓2 1/2 cups all-purpose flour
- ✓1 1/2 cups granulated sugar
- ✓1 teaspoon baking soda
- ✓1 teaspoon salt
- ✓1 teaspoon cocoa powder (unsweetened)
- ✓1 1/2 cups vegetable oil
- ✓1 cup buttermilk, room temperature
- ✓2 large eggs, room temperature
- ✓2 tablespoons red food coloring (liquid or gel)
- ✓1 teaspoon white distilled vinegar
- ✓1 teaspoon vanilla extract
- ✓16 oz cream cheese, softened (for frosting)
- ✓1/2 cup unsalted butter, softened (for frosting)
- ✓4 cups powdered sugar (for frosting)
- ✓1 teaspoon vanilla extract (for frosting)
Instructions
- Preheat your oven to 350°F (175°C). Line two 12-cup muffin tins with cupcake liners.
- In a medium bowl, sift together the flour, sugar, baking soda, salt, and cocoa powder. Whisk to ensure everything is evenly distributed and set aside.
- In a large bowl (or the bowl of a stand mixer), combine the vegetable oil, buttermilk, eggs, food coloring, vinegar, and vanilla extract. Mix on medium speed until the mixture is smooth and the color is uniform.
- Slowly add the dry ingredients to the wet ingredients in three batches, mixing on low speed. Mix only until the flour streaks disappear. Do not overmix, or the cupcakes will be tough.
- Divide the batter evenly among the cupcake liners, filling each about 2/3 full. A cookie scoop or ice cream scoop works best for consistency.
- Bake for 18-20 minutes, or until a toothpick inserted into the center comes out clean or with just a few moist crumbs. Do not overbake.
- Remove from the oven and let the cupcakes cool in the pan for 5 minutes, then transfer them to a wire rack to cool completely before frosting.
- While cupcakes cool, make the frosting: Beat the softened cream cheese and butter together on high speed until smooth and creamy (about 3 minutes).
- Add the vanilla extract. Gradually add the powdered sugar, one cup at a time, beating on low speed until incorporated. Once all sugar is added, increase speed to high and whip for 2 minutes until fluffy.
- Pipe the frosting onto the completely cooled cupcakes using a piping bag and star tip. Garnish with sprinkles or red velvet crumbs if desired.
Expert Cooking Tips
- ✓Room Temperature Ingredients: Ensure your eggs, buttermilk, cream cheese, and butter are at room temperature. This ensures a smooth emulsion and a lump-free batter/frosting.
- ✓Don’t Overmix: Once the flour hits the wet ingredients, mix gently. Overmixing develops gluten, leading to dense, chewy cupcakes.
- ✓Check Your Leavening: Make sure your baking soda is fresh. The reaction with vinegar is crucial for the rise.
- ✓Gel vs. Liquid Dye: Gel food coloring is more concentrated, so you need less of it than liquid dye to achieve a deep red color.
- ✓Cool Completely: Never frost a warm cupcake. The cream cheese frosting will melt and slide right off.
Substitutions and Variations
If you don’t have buttermilk, you can make a quick substitute by adding 1 tablespoon of lemon juice or white vinegar to a cup of whole milk and letting it sit for 5 minutes until curdled. For a natural dye alternative, you can use beet powder or roasted beet puree, though this will slightly alter the flavor profile to be earthier and the color may brown slightly during baking. If you prefer a less sweet frosting, you can swap the cream cheese frosting for a Heritage Frosting (flour buttercream) or a Swiss Meringue Buttercream, though the tang of cream cheese is traditional. Gluten-free all-purpose flour blends (specifically those with xanthan gum) work remarkably well in this recipe due to the moisture from the oil.
Common Mistakes to Avoid
The most common mistake with red velvet is overbaking. Because of the dark color, it’s hard to see browning, so rely on the toothpick test. Taking them out even 2 minutes too late can result in a dry cupcake. Another error is using melted butter instead of softened butter for the frosting, which results in a runny, soupy mess that won’t hold a shape. Finally, skipping the sifting step for the cocoa powder can lead to bitter lumps of dry cocoa in the final product. Always sift your dry ingredients.
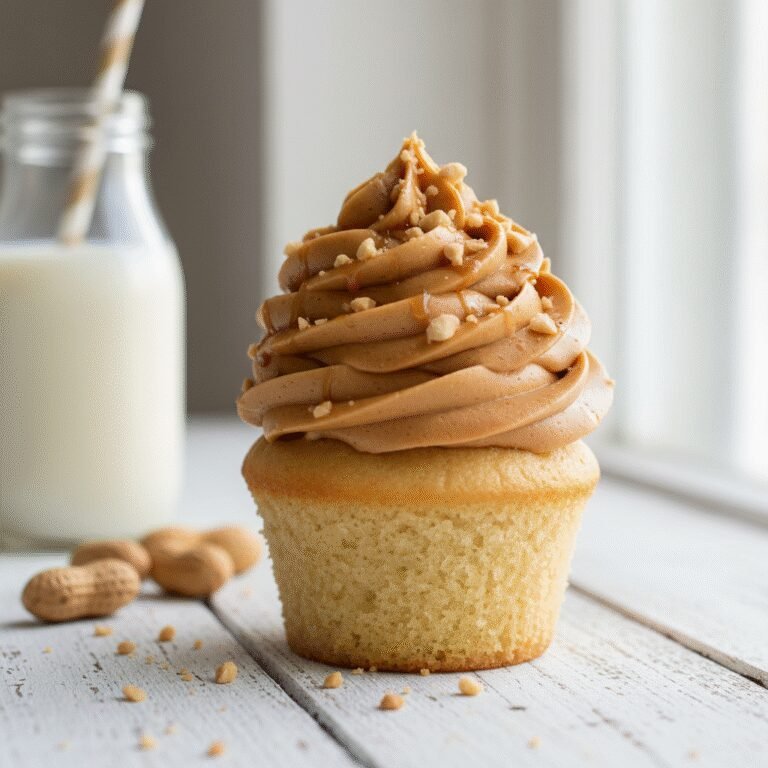
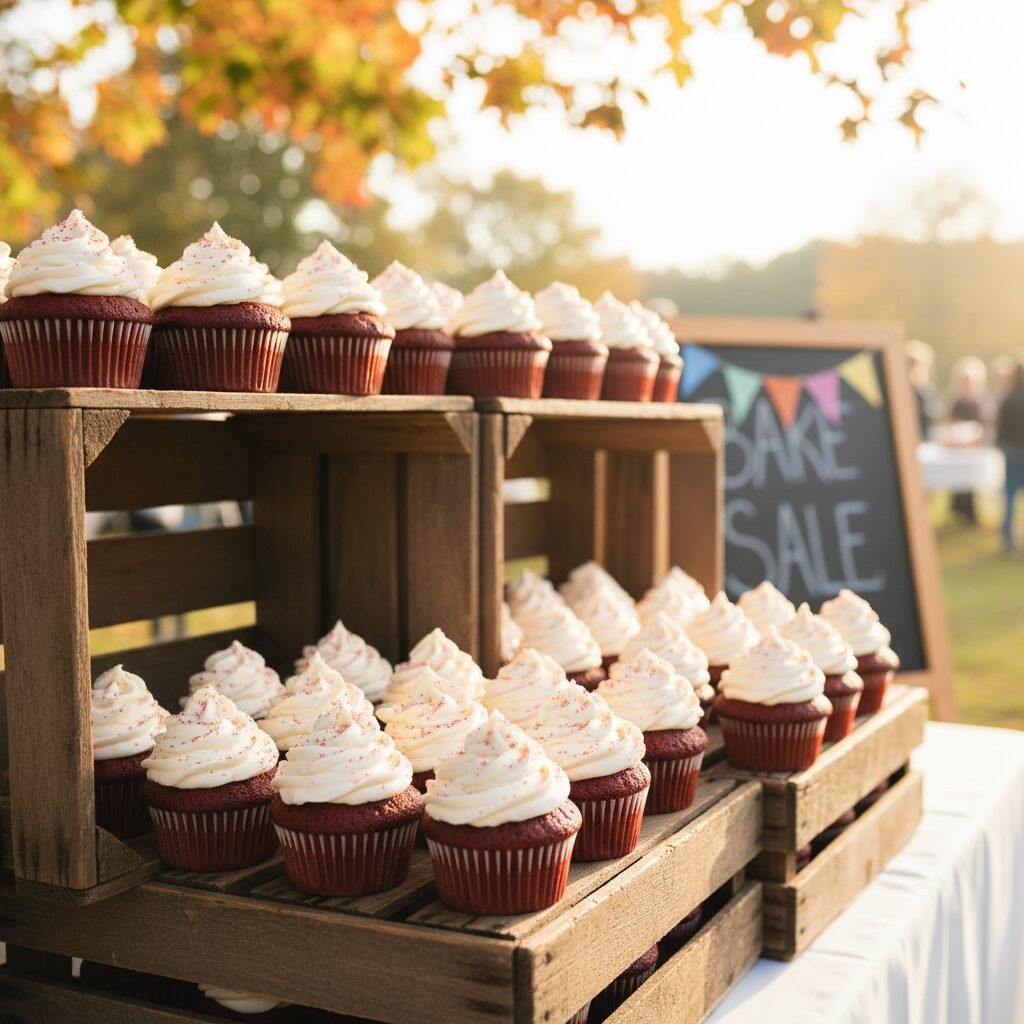
Serving Suggestions
For a school bake sale, presentation is everything. Place these cupcakes in clear individual plastic clamshells or on a tiered cupcake stand to create height on the table. A dusting of red sanding sugar or festive sprinkles makes them kid-friendly. If serving at home, they pair beautifully with a cold glass of milk or a hot cup of coffee to cut the sweetness. You can also crumble one cupcake to use as ‘dust’ to sprinkle over the white frosting for a professional bakery look.
Storage and Reheating Tips
Because of the cream cheese frosting, these cupcakes must be stored in the refrigerator if not eaten within 2 hours. They will keep in an airtight container in the fridge for up to 4 days. Let them come to room temperature for 20 minutes before eating for the best texture. You can freeze unfrosted cupcakes for up to 3 months; wrap them individually in plastic wrap and then place in a freezer bag. Thaw on the counter before frosting.
Nutrition Facts (Estimated)
| Serving Size | 1 cupcake |
| Calories | 340 |
| Fat | 18g |
| Saturated Fat | 6g |
| Unsaturated Fat | 11g |
| Trans Fat | 0g |
| Cholesterol | 45mg |
| Sodium | 190mg |
| Carbohydrates | 42g |
| Fiber | 1g |
| Sugar | 28g |
| Protein | 3g |
Frequently Asked Questions
Why did my cupcakes turn brown instead of red?
This usually happens if you use natural cocoa powder without enough food coloring, or if the batter is too alkaline. Ensure you are using the specified amount of dye and white vinegar.
Can I use butter instead of oil for the batter?
You can, but we don’t recommend it for this specific recipe. Oil ensures the cupcakes stay moist much longer than butter, which is critical for bake sales where treats sit out.
Do I really need the vinegar?
Yes! The vinegar reacts with the baking soda to provide the lift (leavening) for the cake. Without it, your cupcakes will be dense and flat.
How do I transport these without ruining the frosting?
Use a dedicated cupcake carrier with deep wells. If you don’t have one, use a shallow box and place the cupcakes close together so they don’t slide, or put a little dab of frosting on the bottom of the liner to ‘glue’ it to the box.
Can I make the batter ahead of time?
It is best to bake the batter immediately after mixing because the baking soda and vinegar reaction happens instantly. However, you can bake the cupcakes a day ahead and frost them the morning of the sale.
What kind of cocoa powder should I use?
Use standard unsweetened natural cocoa powder (like Hershey’s). Dutch-processed cocoa is less acidic and may interfere with the baking soda reaction and the red color.
Is red velvet just chocolate cake?
Not exactly. While it has cocoa, the amount is much smaller than a standard chocolate cake. The flavor is a unique blend of vanilla, subtle cocoa, and tangy buttermilk.
Can I use this recipe for a layer cake?
Yes, this batter works well for two 8-inch or 9-inch round cake pans. You will need to increase the baking time to approximately 30-35 minutes.
Conclusion
Mastering the Red Velvet Cupcake is a superpower for any parent navigating the school year. It’s a recipe that delivers high impact with relatively low effort, ensuring your contribution to the bake sale is not only profitable but memorable. The combination of the tender, ruby-red crumb and the lush, tangy frosting is timeless. So, grab your mixer and that bottle of red dye, and get ready to be the hero of the next school fundraiser. Happy baking!