Ultimate Moist Red Velvet Cupcakes: The Best Kids’ Birthday Treat
Moist Red Velvet Cupcake For Kids Birthday Recipe
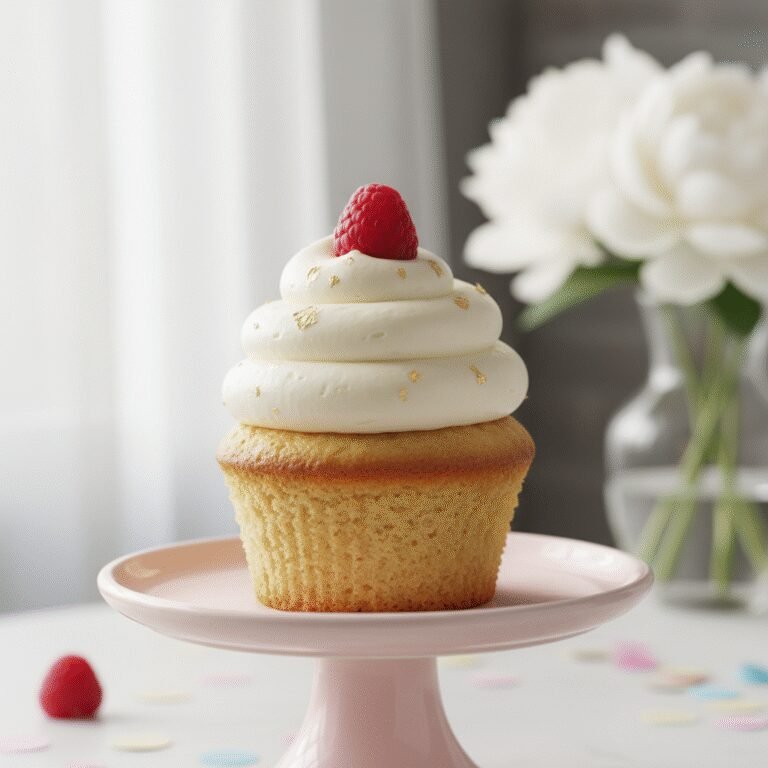
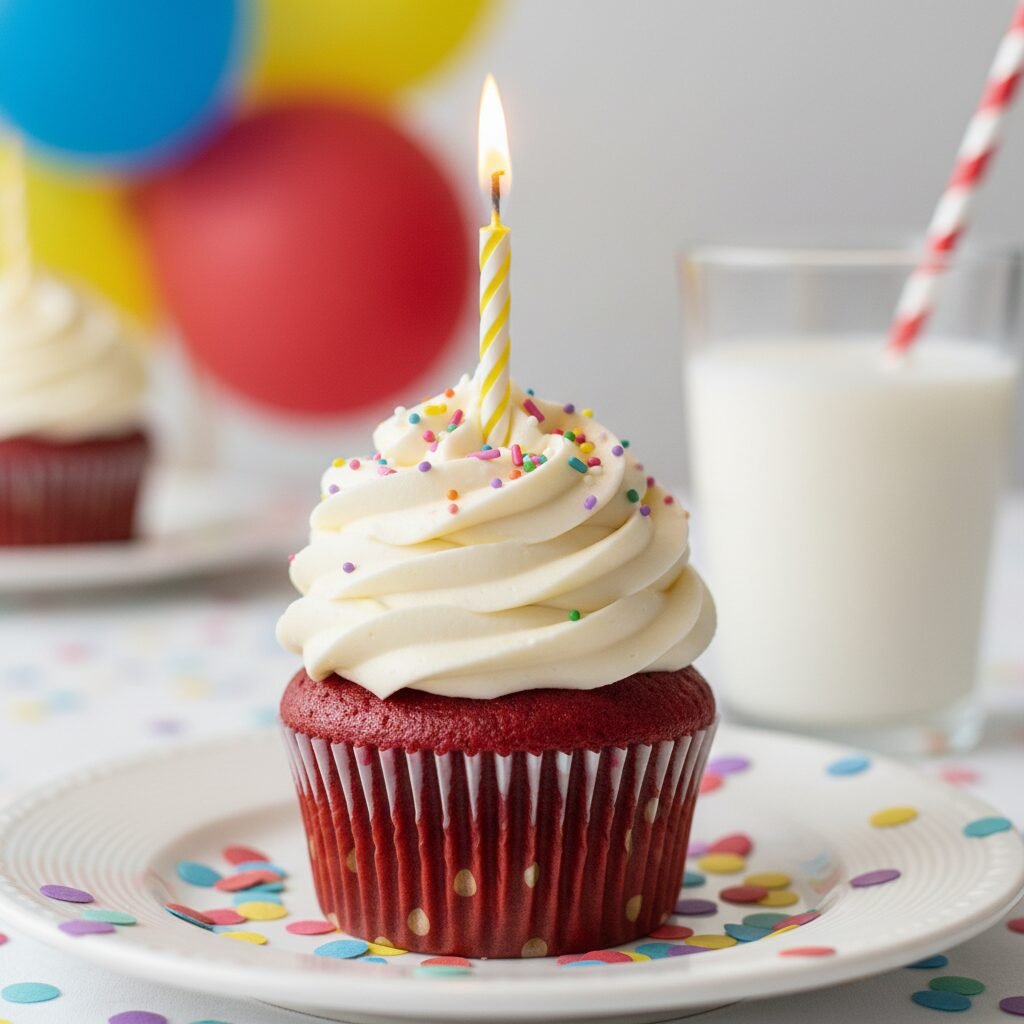
These incredibly moist Red Velvet Cupcakes are the perfect crowd-pleaser for any child’s birthday party. Featuring a soft, tender crumb, a mild chocolate flavor that kids adore, and a vibrant red color topped with a swirl of sweet cream cheese frosting, this recipe is foolproof and festive.
20 minutes
20 minutes
50 minutes
24 cupcakes
Dessert
Baking
American
Vegetarian
There is something undeniably magical about a Red Velvet Cupcake, especially through the eyes of a child. It looks like a simple vanilla cupcake on the outside, perhaps disguised under a cloud of white frosting and a shower of rainbow sprinkles, but one bite reveals a vibrant, dramatic crimson interior that feels like a secret surprise. For a kid’s birthday party, you want a dessert that is not only visually stunning but also texturally approachable. Children can be picky eaters; a cake that is too dense, too dry, or too bitter from an overload of dark chocolate often gets left half-eaten on the paper plate. That is where this specific recipe shines. It strikes the delicate balance between the complexity of a classic red velvet and the crowd-pleasing softness of a birthday cake.
This recipe has been meticulously tested to ensure the ‘velvet’ in the name is taken literally. We skip the butter in the batter in favor of oil to guarantee a crumb that stays moist for days, not just hours. The flavor profile is distinct yet mild—a hint of cocoa that provides depth without the bitterness of a full fudge cake, married with the slight tang of buttermilk and vanilla. It is a flavor that kids love because it tastes like a ‘super’ version of vanilla with a cool color. Furthermore, these cupcakes are robust enough to hold a high pile of frosting and a candle, yet light enough to melt in your mouth. Whether you are a baking novice or a seasoned pro, this guide will walk you through creating a bakery-quality treat right in your home kitchen, ensuring you become the hero of the birthday party. From the science behind the red hue to the trick for the perfect dome, we are diving deep into the art of the perfect kid-friendly red velvet cupcake.
History & Origins
The history of Red Velvet cake is as rich and layered as the cake itself, filled with culinary myths, marketing genius, and chemical reactions. Long before it became the bright red staple of American bakeries, ‘velvet’ cakes were popular in the Victorian era. The term ‘velvet’ simply served to distinguish these cakes from the coarser, denser sponge cakes of the time; they were formulated with ingredients like almond flour or cornstarch to soften the protein structure of the flour, resulting in a finer crumb. The ‘red’ aspect originally wasn’t a result of food coloring. In the early 20th century, raw cocoa powder contained high levels of anthocyanins. When this cocoa reacted with acidic ingredients like buttermilk and vinegar, it would turn a dark, reddish-brown hue. It wasn’t the neon red we know today, but a mahogany color that was visually distinct.
The Great Depression and World War II played a pivotal role in the evolution of this dessert. As food rationing made baking ingredients scarce, bakers used boiled beet juices to enhance the moisture and color of their cakes, cementing the association between the color red and this specific style of cake. However, the modern, vibrant version we know today can largely be credited to the Adams Extract company in Texas. In an effort to sell more food dyes and flavor extracts during the Depression era, they published a recipe for Red Velvet Cake that utilized a significant amount of red food coloring. This marketing ploy was a massive success, spreading the recipe across the American South. Another famous legend attributes the cake to the Waldorf-Astoria Hotel in New York, claiming a patron was charged a fortune for the recipe and released it to the public in spite—though this is widely considered an urban legend. The cake saw a massive resurgence in pop culture following its appearance in the 1989 film ‘Steel Magnolias’ and the cupcake boom of the early 2000s, led by Magnolia Bakery in NYC.
Why This Recipe Works
This recipe works because it prioritizes texture above all else, which is the most critical factor for a child’s palate. Many traditional recipes use butter as the primary fat. While butter offers great flavor, it contains water which evaporates during baking, and milk solids which can lead to a drier crumb once the cupcake cools down. This recipe utilizes vegetable oil. Oil remains liquid at room temperature, which means these cupcakes stay incredibly soft and moist even if you bake them a day before the party. The sensation of moistness is actually the oil coating the flour proteins, preventing gluten development and creating that tender ‘melt-in-your-mouth’ feel.
Secondly, the chemical leavening in this recipe is scientifically balanced for lift and tenderness. We use a combination of baking soda and vinegar. When the acetic acid in the vinegar (and the lactic acid in the buttermilk) hits the baking soda, it creates an immediate release of carbon dioxide bubbles. This reaction, happening right before the batter hits the oven, gives the cupcakes a superior rise and a fluffy, airy structure that prevents them from becoming dense or ‘muddy.’ Finally, the ratio of cocoa powder is kept intentionally low. We use just enough to give that signature velvet flavor and help darken the red dye, but not enough to dry out the batter or make the cake taste bitter. It is the perfect equilibrium of science and sweetness.
Why You’ll Love This Recipe
- ✓Stays moist for 3-4 days due to oil-based batter
- ✓Mild chocolate flavor perfect for picky eaters
- ✓Vibrant red color without using beets
- ✓Sturdy enough to hold heavy frosting and decorations
- ✓One-bowl mixing method—no stand mixer required for the batter
- ✓Perfectly domed tops for professional presentation
Equipment You’ll Need
- ✓2 Muffin/Cupcake tins (12-count each)
- ✓Paper cupcake liners
- ✓Large mixing bowl
- ✓Medium mixing bowl
- ✓Whisk
- ✓Rubber spatula
- ✓Electric hand mixer or Stand mixer (for frosting)
- ✓Measuring cups and spoons
- ✓Wire cooling rack
Ingredients
- ✓2 1/2 cups All-purpose flour
- ✓1 1/2 cups Granulated white sugar
- ✓1 tsp Baking soda
- ✓1 tsp Fine sea salt
- ✓1 tbsp Unsweetened cocoa powder (natural, not Dutch-processed)
- ✓1 1/2 cups Vegetable oil (or canola oil)
- ✓1 cup Buttermilk, room temperature
- ✓2 Large eggs, room temperature
- ✓2 tbsp Red food coloring (liquid or gel)
- ✓1 tsp White distilled vinegar
- ✓1 tsp Pure vanilla extract
- ✓8 oz Cream cheese, brick style, softened (Frosting)
- ✓1/2 cup Unsalted butter, softened (Frosting)
- ✓4 cups Powdered sugar (Frosting)
- ✓1 tsp Vanilla extract (Frosting)
- ✓Rainbow sprinkles (optional for decoration)
Instructions
- Preheat your oven to 350°F (175°C). Line two 12-count muffin tins with cupcake liners.
- In a medium bowl, sift together the flour, sugar, baking soda, salt, and cocoa powder. Whisk gently to ensure the cocoa is evenly distributed and there are no lumps.
- In a large mixing bowl, combine the vegetable oil, room temperature buttermilk, eggs, food coloring, vinegar, and vanilla extract. Whisk vigorously until the mixture is fully emulsified and bright red.
- Slowly add the dry ingredients into the wet ingredients in three batches. Whisk gently or fold with a spatula just until the flour disappears. Do not overmix, or the cupcakes will become tough.
- Divide the batter evenly among the cupcake liners, filling each about 2/3 full. Do not overfill, as they need room to rise.
- Bake in the center of the preheated oven for 18-22 minutes. Test for doneness by inserting a toothpick into the center of a cupcake; it should come out clean or with just a few moist crumbs attached.
- Remove the tins from the oven and let the cupcakes cool in the pan for 5 minutes. Then, transfer them carefully to a wire rack to cool completely before frosting.
- While the cupcakes cool, make the frosting. In a large bowl using a hand mixer (or stand mixer), beat the softened cream cheese and butter together on medium-high speed until smooth and creamy (about 2-3 minutes).
- Reduce the mixer speed to low and gradually add the powdered sugar one cup at a time. Once incorporated, add the vanilla extract and a pinch of salt.
- Increase speed to high and whip for 2 minutes until the frosting is fluffy and white.
- Once the cupcakes are completely cool to the touch, pipe or spread the frosting on top. Garnish immediately with sprinkles if using.
Expert Cooking Tips
- ✓Use room temperature ingredients: Cold eggs and buttermilk can cause the batter to curdle and affect the rise.
- ✓Don’t overmix the batter: Stop mixing as soon as the white flour streaks disappear to keep the crumb tender.
- ✓Check your baking soda: Since this recipe relies on the soda/acid reaction for lift, ensure your baking soda isn’t expired.
- ✓Use gel food coloring for intensity: If you want a super deep red without adding too much liquid, swap the 2 tbsp liquid dye for 1-2 tsp of gel paste.
- ✓Don’t skip the vinegar: It is essential for activating the baking soda and preserving the red color.
- ✓Cool completely: If you frost warm cupcakes, the cream cheese frosting will melt and slide right off.
- ✓Sift the cocoa: Cocoa powder tends to clump; sifting ensures you don’t bite into a bitter pocket of dry powder.
Substitutions and Variations
If you find yourself missing an ingredient, there are several viable substitutions. For the **buttermilk**, you can make a DIY version by adding 1 tablespoon of lemon juice or white vinegar to a cup of regular whole milk and letting it sit for 5 minutes until it thickens. If you do not have **vegetable oil**, melted coconut oil or canola oil works perfectly fine; avoid olive oil as the flavor is too strong. **Cake flour** can be used instead of all-purpose flour for an even lighter, airier crumb, though the structure will be slightly more delicate. If you prefer a **natural dye**, you can use beet powder, though be warned this will change the flavor profile slightly to be earthier and the color will be a more muted maroon than bright red. For the frosting, if you need a **dairy-free option**, use high-quality plant-based butter and cream cheese alternatives, but you may need to add a little cornstarch to help stabilize it.
Common Mistakes to Avoid
The most common mistake with red velvet cupcakes is **overbaking**. Because the batter is dark, it is hard to see them browning. Rely on the toothpick test and the ‘spring back’ method (lightly touch the top; it should spring back). Another error is **using Dutch-processed cocoa**. Dutch cocoa is alkalized, which neutralizes the acidity needed to react with the baking soda and vinegar; always use natural unsweetened cocoa powder. A frequent issue with the frosting is **using tub cream cheese** (spreadable) instead of brick-style. Tub cream cheese has higher water content and will result in a runny frosting that won’t hold its shape. Finally, **filling the liners too high** often results in a muffin top that spills over and creates a messy, flat cupcake rather than a nice dome.
Serving Suggestions
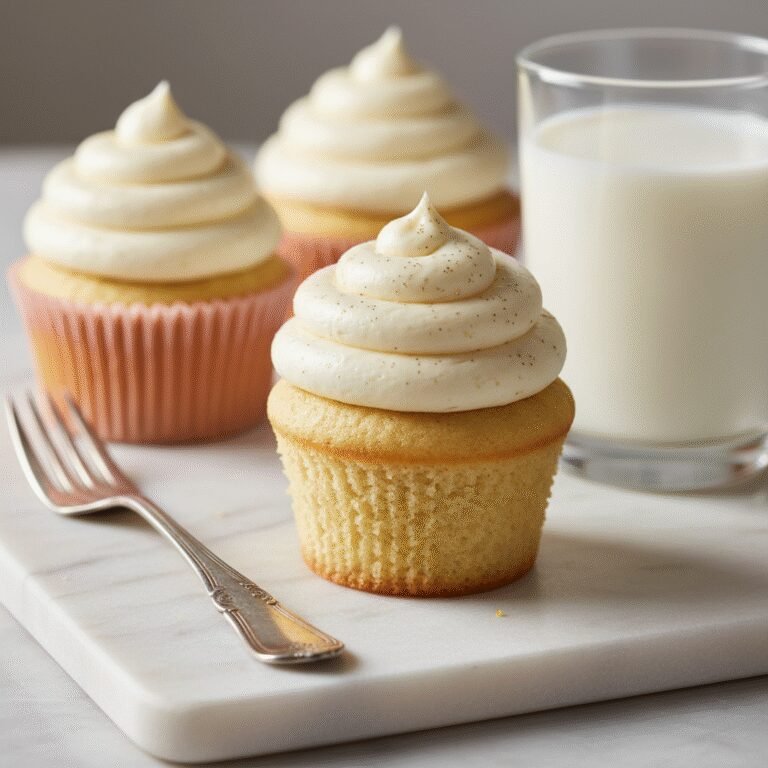
These cupcakes are best served at room temperature. If they have been refrigerated, take them out about 30 to 60 minutes before the party starts. This allows the butter in the frosting to soften and the cake crumb to relax, maximizing the flavor and texture. For a kid’s birthday, presentation is key! Serve them on a tiered cupcake stand to create a centerpiece. You can match the cupcake liners to the party theme (superheroes, princesses, dinosaurs) and use color-coordinated sprinkles. A cold glass of milk is the traditional accompaniment, but they also pair wonderfully with vanilla ice cream. If you are serving adults as well, a dark roast coffee cuts through the sweetness of the frosting perfectly.
Storage and Reheating Tips
Because of the cream cheese frosting, these cupcakes should not be left out at room temperature for more than 2 hours (or less if it’s a hot day). Store leftover frosted cupcakes in an airtight container in the refrigerator for up to 4 days. The cake is oil-based, so it won’t dry out as quickly as butter cakes in the fridge. If you want to prep ahead, you can bake the unfrosted cupcakes and freeze them. Wrap each cupcake individually in plastic wrap and place them in a freezer bag for up to 3 months. Thaw them on the counter for an hour before frosting. You can also freeze the frosting, though it may need to be re-whipped after thawing to regain its fluffy texture.
Nutrition Facts (Estimated)
| Serving Size | 1 cupcake with frosting |
| Calories | 380 |
| Fat | 18g |
| Saturated Fat | 6g |
| Unsaturated Fat | 11g |
| Trans Fat | 0g |
| Cholesterol | 45mg |
| Sodium | 210mg |
| Carbohydrates | 48g |
| Fiber | 1g |
| Sugar | 28g |
| Protein | 3g |
Frequently Asked Questions
Can I reduce the amount of sugar?
Yes, you can reduce the sugar by about 1/4 cup without significantly affecting the texture, but reducing it further may make the cupcakes less moist and tender.
Why did my cupcakes turn brown instead of red?
This usually happens if you use Dutch-processed cocoa powder or if the baking soda neutralizes the acid too much. Ensure you use natural cocoa and enough food coloring.
Can I make these into a cake instead?
Absolutely. This batter fits perfectly into two 8-inch or 9-inch round cake pans. You will need to increase the baking time to approximately 30-35 minutes.
Is red food coloring safe for kids?
Most commercial food dyes are FDA approved, but some parents prefer to avoid Red 40. You can find ‘natural’ food colorings derived from vegetables at health food stores, though the color will be less vibrant.
How do I get a flat top for decorating?
This recipe produces a slight dome. If you want a perfectly flat top, you can slice the dome off with a serrated knife, or bake at a slightly lower temperature (325°F) for a longer time to prevent a peak from forming.
Can I use butter instead of oil?
You can, but the texture will be different. Butter cakes are denser and dry out faster. If you swap, use melted butter in the same quantity as the oil.
Why do I need vinegar in a cake?
Vinegar provides the necessary acid to react with the baking soda, creating the bubbles that make the cake rise. It also helps preserve the red color.
Can I use whipped cream instead of cream cheese frosting?
Yes, a stabilized whipped cream is a lighter option, but the tangy flavor of cream cheese is the traditional pairing that balances the sweetness of the cupcake best.
Conclusion
Baking for a child’s birthday carries a special kind of weight; you aren’t just making food, you are making memories. These Moist Red Velvet Cupcakes are designed to take the stress out of the process. They are reliable, forgiving, and visually spectacular without requiring professional decorating skills. The joy on a child’s face when they bite into that bright red fluff is worth every second of measuring and mixing. Whether you top them with a simple swirl or a mountain of sprinkles, this recipe gives you the perfect canvas to celebrate another year of life. So preheat that oven, grab your red food coloring, and get ready to bake the best cupcakes on the block.