The Ultimate Moist Marble Bundt Cake with Vanilla Glaze
Moist Marble Bundt Cake With Vanilla Glaze Recipe
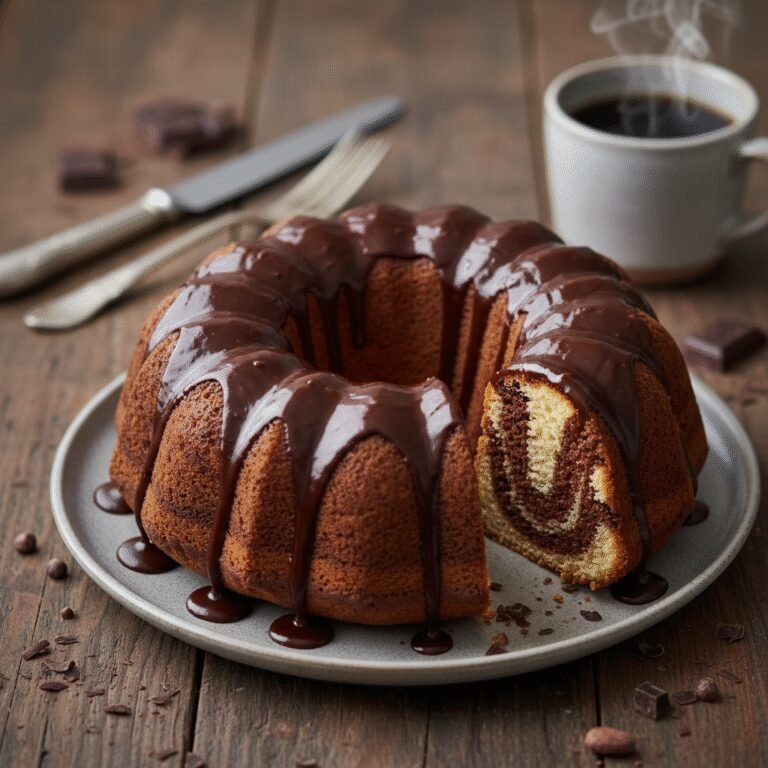
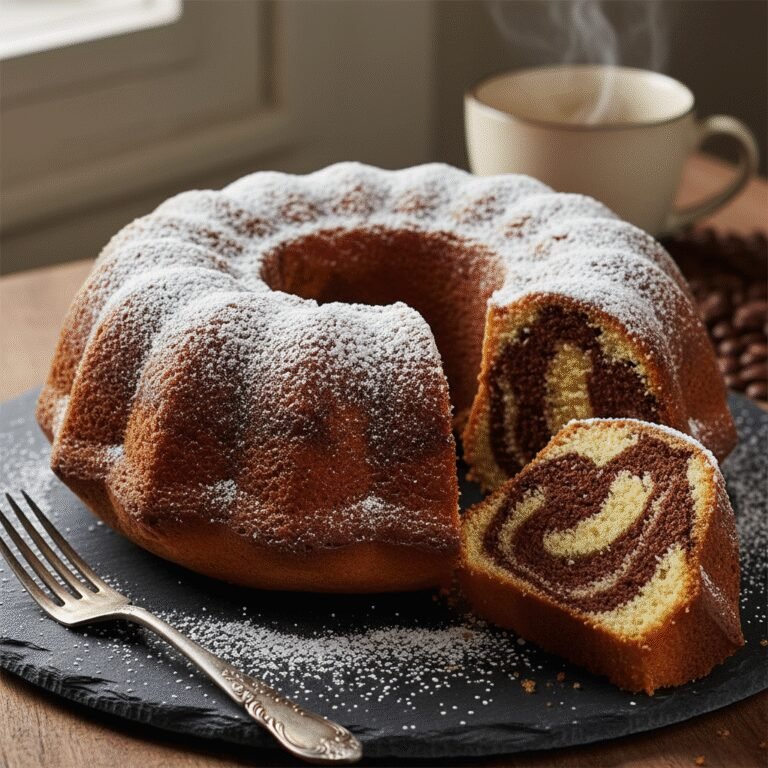
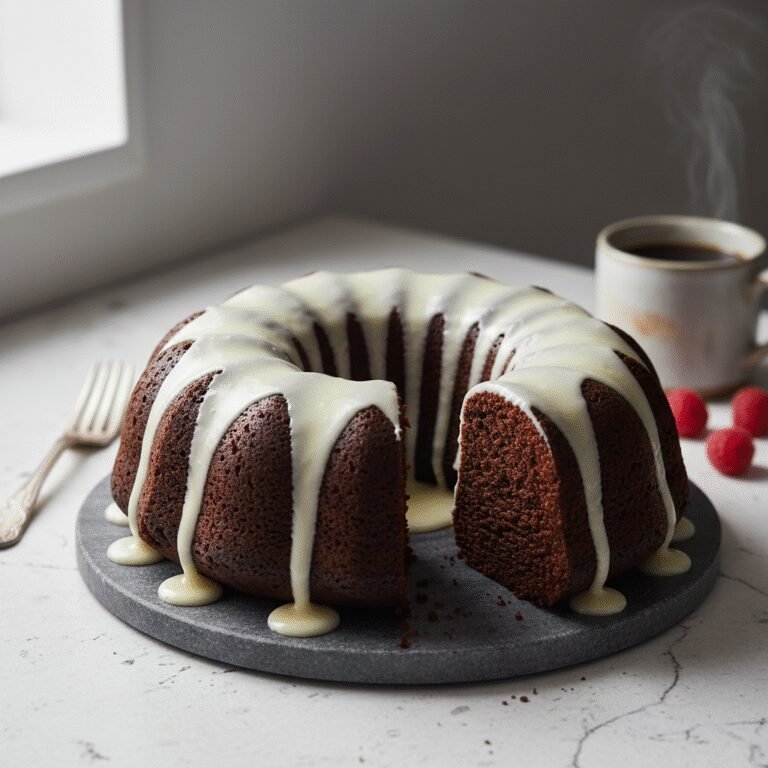
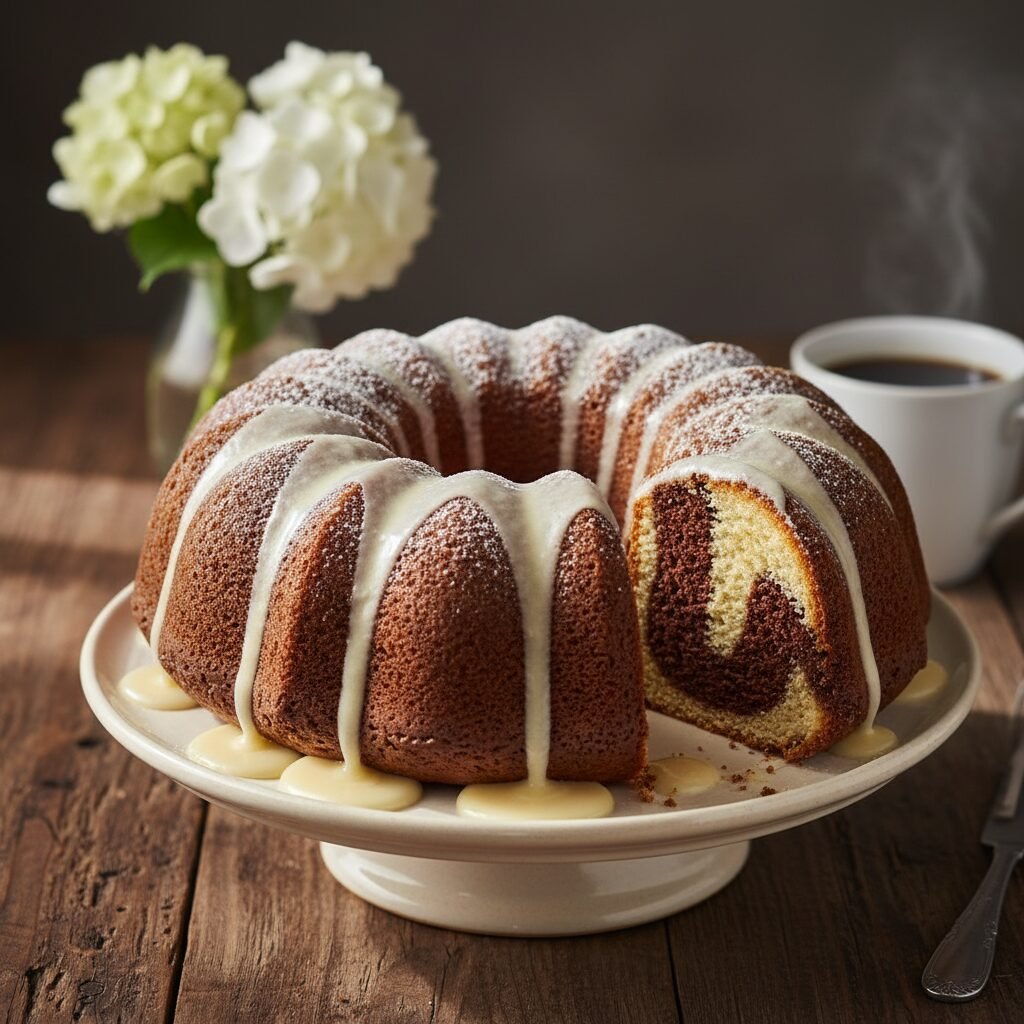
This stunning Marble Bundt Cake features swirls of rich chocolate and buttery vanilla cake, topped with a silky vanilla glaze. It is the perfect centerpiece for any gathering, offering a moist crumb and a beautiful presentation that looks far more complicated than it actually is.
30 minutes
55 minutes
1 hour 25 minutes
12-14 servings
Dessert
Baking
American / German
Vegetarian
There is something undeniably nostalgic and comforting about a classic Marble Bundt Cake. It is the dessert that bridges the gap between the indecisive chocolate lover and the vanilla purist, offering the best of both worlds in every single slice. But this isn’t just any marble cake; this is the ultimate recipe designed to banish dry, crumbly bundts forever. We are talking about a cake so moist, so tender, and so flavorful that it practically melts in your mouth. The secret lies in the careful balance of fats—using both butter for that unmistakable rich flavor and oil to ensure the crumb stays soft for days.
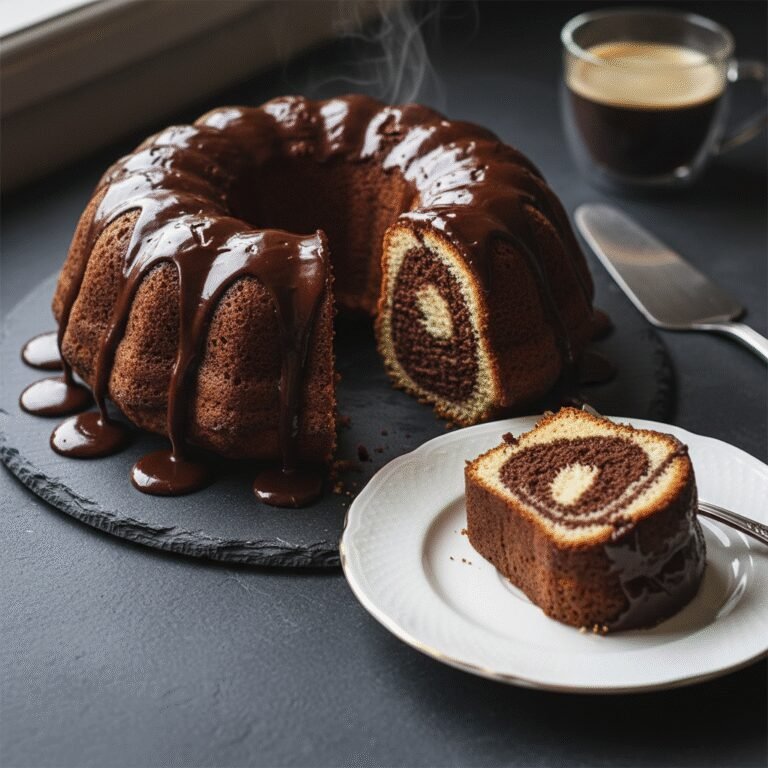
When you slice into this masterpiece, you are greeted by an artistic swirl of deep, dark chocolate and golden vanilla batter. No two slices are ever the same, making the cutting of the cake a delightful reveal every time. The texture is dense yet fluffy, sturdy enough to hold its shape but delicate on the palate. To finish it off, a simple yet luxurious vanilla glaze cascades down the ridges of the bundt, pooling slightly at the bottom for that extra hit of sweetness. Whether you are baking for a holiday, a birthday, or simply a Sunday afternoon treat, this Moist Marble Bundt Cake is guaranteed to impress both visually and gastronomically. It is a timeless classic elevated to perfection, ready to become a staple in your baking repertoire.
History & Origins
The concept of marbling cake batters originated in 19th-century Germany, where it was known as ‘Marmorkuchen’ or marble cake. Originally, these cakes were essentially a variation of the Kugelhopf, a sweet yeast bread. Bakers would marble the batter not with chocolate, which was expensive and rare at the time, but with spices, molasses, or dried fruits to create darker swirls against a light dough. As chocolate became more accessible and affordable in the late 19th and early 20th centuries, it replaced the spiced mixtures, creating the distinct black-and-white contrast we recognize today.
The Marble Cake made its way to the United States with German immigrants, quickly becoming a beloved American staple. However, the vessel in which we bake it today—the Bundt pan—has its own unique history. In the 1950s, H. David Dalquist, the founder of Nordic Ware, created the aluminum Bundt pan at the request of a group of Jewish women in Minneapolis who wanted a modern version of the ceramic Kugelhopf mold. Initially, the pan didn’t sell well. It wasn’t until 1966, when a ‘Tunnel of Fudge’ cake placed second in the Pillsbury Bake-Off, that the Bundt pan exploded in popularity. Since then, the marriage of the German marble cake technique and the American Bundt pan has resulted in one of the most iconic desserts in the Western culinary canon. It represents a beautiful fusion of Old World tradition and mid-century American innovation.
Why This Recipe Works
Achieving the perfect Marble Bundt Cake is a science. Many recipes fail because the chocolate portion becomes dry or the vanilla portion lacks flavor. This recipe solves those issues through specific ingredient choices and techniques. First, we use a combination of unsalted butter and neutral vegetable oil. Butter provides the necessary structure and rich, creamy flavor that oil cannot replicate. However, butter is 80% fat and 20% water; when the water evaporates, cakes can feel dry. Oil is 100% fat and remains liquid at room temperature, ensuring the cake stays incredibly moist and tender long after it has cooled.
Secondly, we incorporate full-fat sour cream into the batter. The acidity in the sour cream tenderizes the gluten strands in the flour, resulting in a finer, softer crumb, while its thickness adds body to the batter without thinning it out like milk would. For the chocolate swirl, we don’t just add cocoa powder to the base batter, which would dry it out. Instead, we mix Dutch-process cocoa powder with boiling water and a bit of sugar before folding it into a portion of the batter. This ‘blooms’ the cocoa, intensifying the chocolate flavor, and adds necessary moisture to compensate for the drying effect of the cocoa solids. This ensures the chocolate swirls are just as moist as the vanilla ones.
Why You’ll Love This Recipe
- ✓Incredible moisture from a butter-oil blend and sour cream.
- ✓Beautiful, high-contrast swirls for a stunning presentation.
- ✓Rich Dutch-process cocoa flavor without bitterness.
- ✓Stays fresh and soft for several days.
- ✓Simple vanilla glaze adds a professional finish.
- ✓Perfect for breakfast, dessert, or coffee breaks.
Equipment You’ll Need
- ✓10-12 cup Bundt pan
- ✓Stand mixer or electric hand mixer
- ✓Large mixing bowls
- ✓Rubber spatula
- ✓Whisk
- ✓Measuring cups and spoons
- ✓Cooling rack
- ✓Small saucepan (for glaze)
Ingredients
- ✓3 cups Cake flour, sifted
- ✓2 1/2 teaspoons Baking powder
- ✓1/2 teaspoon Salt
- ✓1 cup Unsalted butter, room temperature
- ✓1/4 cup Vegetable oil
- ✓2 cups Granulated sugar
- ✓4 large Eggs, room temperature
- ✓1 tablespoon Pure vanilla extract
- ✓1 cup Full-fat sour cream, room temperature
- ✓1/2 cup Dutch-process cocoa powder
- ✓1/3 cup Boiling water
- ✓2 tablespoons Sugar (for chocolate mixture)
- ✓1 1/2 cups Confectioners’ sugar (Glaze)
- ✓2-3 tablespoons Whole milk (Glaze)
- ✓1 teaspoon Vanilla extract (Glaze)
Instructions
- Preheat your oven to 350°F (175°C). Thoroughly grease your Bundt pan with baking spray containing flour or butter and dust with flour, tapping out the excess.
- In a medium bowl, whisk together the sifted cake flour, baking powder, and salt. Set aside.
- In a small bowl, mix the Dutch-process cocoa powder, 2 tablespoons of sugar, and boiling water until smooth. Let it cool slightly.
- In the bowl of a stand mixer fitted with the paddle attachment, beat the softened butter, vegetable oil, and 2 cups of granulated sugar on medium-high speed for 5 minutes until pale and fluffy.
- Add the eggs one at a time, beating well after each addition and scraping down the sides of the bowl. Stir in the vanilla extract.
- Reduce the mixer speed to low. Add half of the flour mixture, then the sour cream, then the remaining flour mixture. Mix just until combined—do not overmix.
- Remove about 2 cups of the batter and place it into a separate bowl. Fold the cooled chocolate mixture into this separated batter until fully combined.
- Spoon about one-third of the vanilla batter into the prepared Bundt pan. Top with half of the chocolate batter. Repeat with another layer of vanilla, the remaining chocolate, and finish with the remaining vanilla batter.
- Using a butter knife or a skewer, gently swirl the batters together. Do not over-swirl, or the colors will muddy together.
- Bake for 50-60 minutes, or until a skewer inserted into the center comes out clean or with a few moist crumbs.
- Let the cake cool in the pan for exactly 10 minutes, then invert it onto a wire rack to cool completely.
- While the cake cools, whisk together the confectioners’ sugar, milk, and vanilla for the glaze. Adjust milk for desired consistency.
- Drizzle the glaze over the completely cooled cake and let it set before slicing.
Expert Cooking Tips
- ✓Ensure all cold ingredients (eggs, sour cream, butter) are at room temperature to prevent the batter from curdling.
- ✓Do not overmix the batter once the flour is added; this activates gluten and leads to a tough cake.
- ✓Grease every nook and cranny of the Bundt pan to ensure the cake releases perfectly.
- ✓Use Dutch-process cocoa for a deeper color and smoother flavor compared to natural cocoa.
- ✓Weigh your flour or use the spoon-and-level method to avoid adding too much flour.
- ✓Cool in the pan for exactly 10 minutes; too short and it breaks, too long and it sticks.
- ✓Tap the filled pan on the counter before baking to release large air bubbles.
Substitutions and Variations
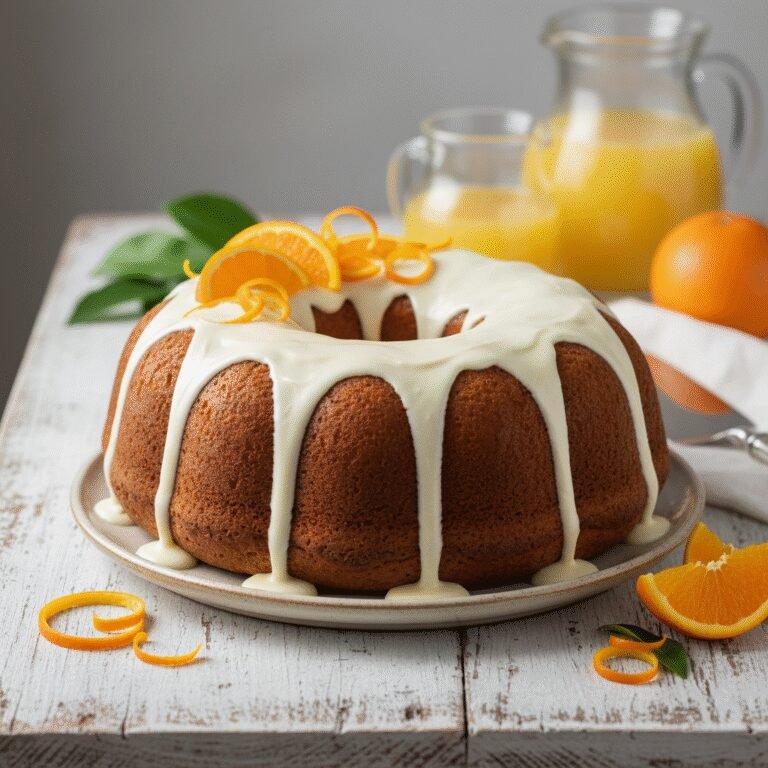
If you do not have cake flour, you can make a substitute by measuring 1 cup of all-purpose flour, removing 2 tablespoons, and replacing them with cornstarch. Sift this mixture twice. For the sour cream, full-fat Greek yogurt is an excellent 1:1 substitute that maintains the moisture and tang. If you prefer to avoid vegetable oil, you can use melted coconut oil, though it may impart a slight coconut flavor. For the glaze, you can swap milk for heavy cream for a thicker, whiter finish, or use orange juice for a citrus twist. If you only have natural cocoa powder, add 1/4 teaspoon of baking soda to the chocolate portion of the batter to neutralize the acidity.
Common Mistakes to Avoid
The most common mistake with Bundt cakes is the cake sticking to the pan. This usually happens because the pan wasn’t greased thoroughly or the coating on the pan is worn out. Always use a baking spray with flour included, or brush with melted shortening and dust with flour. Another mistake is over-baking, which dries out the cake. Start checking the cake at the 50-minute mark. Over-swirling is a visual error; if you drag the knife through the batter too many times, you lose the distinct marble definition and end up with a light brown cake. Finally, cutting the cake while it is still warm can cause it to crumble; let it cool completely to set the structure.
Serving Suggestions
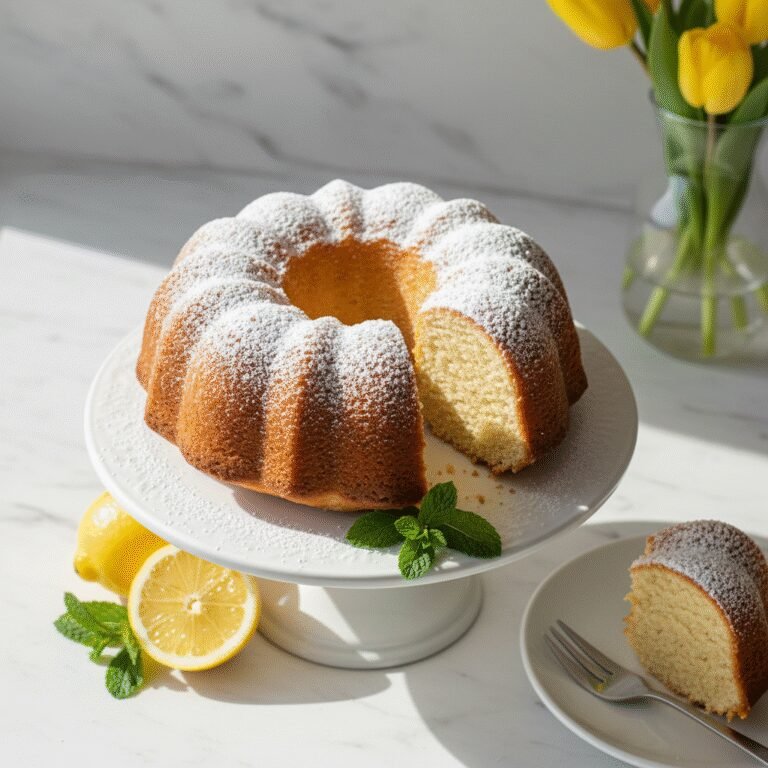
This cake is stunning on its own, but it pairs beautifully with a dollop of freshly whipped cream and fresh berries like raspberries or strawberries to cut through the richness. For a warm dessert, serve a slice with a scoop of vanilla bean ice cream. It is also an excellent companion to a hot cup of dark roast coffee or an espresso, as the bitterness of the coffee balances the sweet glaze. If serving for a brunch, arrange slices on a platter garnished with edible flowers and fresh mint leaves.
Storage and Reheating Tips
Store the cake in an airtight container at room temperature for up to 3-4 days. The oil in the recipe helps it stay moist. For longer storage, wrap individual slices or the whole cake tightly in plastic wrap, then foil, and freeze for up to 3 months. Thaw frozen cake at room temperature for a few hours before serving. Avoid refrigerating the cake unless your kitchen is extremely hot, as the refrigerator can actually accelerate the staling process and dry out the crumb.
Nutrition Facts (Estimated)
| Serving Size | 1 slice |
| Calories | 480 |
| Fat | 24g |
| Saturated Fat | 14g |
| Unsaturated Fat | 8g |
| Trans Fat | 0g |
| Cholesterol | 85mg |
| Sodium | 210mg |
| Carbohydrates | 62g |
| Fiber | 2g |
| Sugar | 38g |
| Protein | 6g |
Frequently Asked Questions
Why did my Bundt cake stick to the pan?
Sticking is usually due to insufficient greasing or an old pan with scratches. Use a pastry brush to get shortening or baking spray into every crevice.
Can I use all-purpose flour instead of cake flour?
Yes, but the texture will be slightly denser. For best results, use the cornstarch substitution method mentioned in the substitutions section.
How do I know when the cake is done?
Insert a long wooden skewer into the thickest part of the cake. It should come out clean or with just a few moist crumbs attached, not wet batter.
Why did my chocolate batter sink to the bottom?
Chocolate batter is naturally heavier. Layering it between vanilla batter helps suspend it, but some settling is normal.
Can I make this ahead of time?
Absolutely. This cake actually tastes better the next day as the flavors have time to meld and the moisture redistributes.
My glaze is too thin/thick, what do I do?
If too thin, add more powdered sugar a tablespoon at a time. If too thick, add milk a teaspoon at a time until you reach the desired consistency.
Can I use salted butter?
Yes, but reduce the added salt in the recipe to 1/4 teaspoon to prevent the cake from tasting too salty.
Why does my cake have a tunnel or holes?
This is often caused by overmixing the batter or not banging the pan on the counter before baking to release trapped air bubbles.
Conclusion
Baking a Moist Marble Bundt Cake is more than just following a recipe; it is about creating a moment of joy and connection. The process of layering the batters, the anticipation as the aroma fills the kitchen, and the satisfaction of that perfect unmolding make it a truly rewarding experience. With this foolproof recipe, you no longer have to worry about dry cakes or lackluster flavors. You have a show-stopping dessert in your arsenal that is as delicious as it is beautiful. So, preheat that oven, grab your favorite Bundt pan, and get ready to bake a masterpiece that your family and friends will request time and time again.