The Ultimate Moist Lemon Cupcakes: A School Bake Sale Best-Seller
Moist Lemon Cupcake For School Bake Sale Recipe
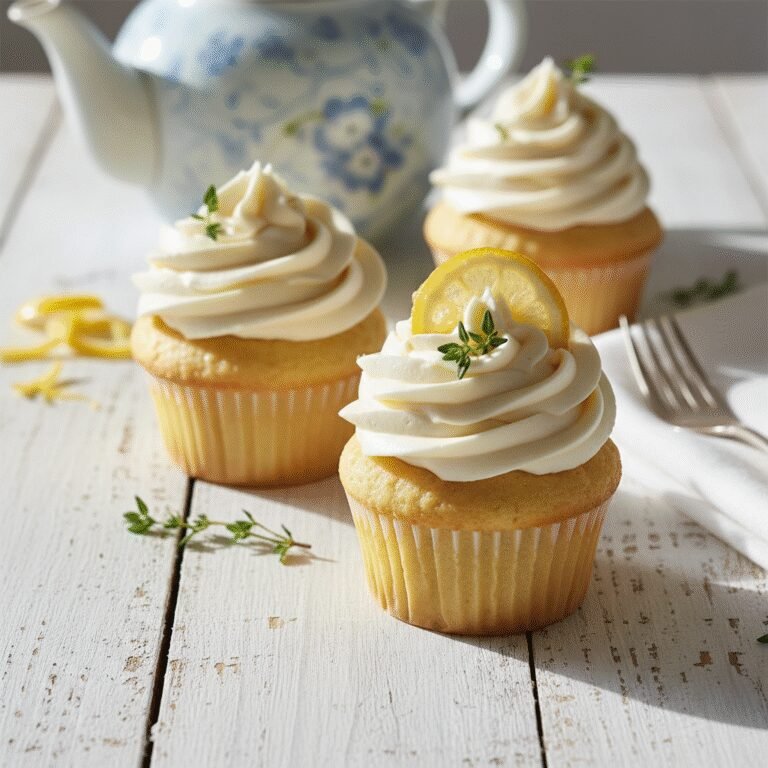
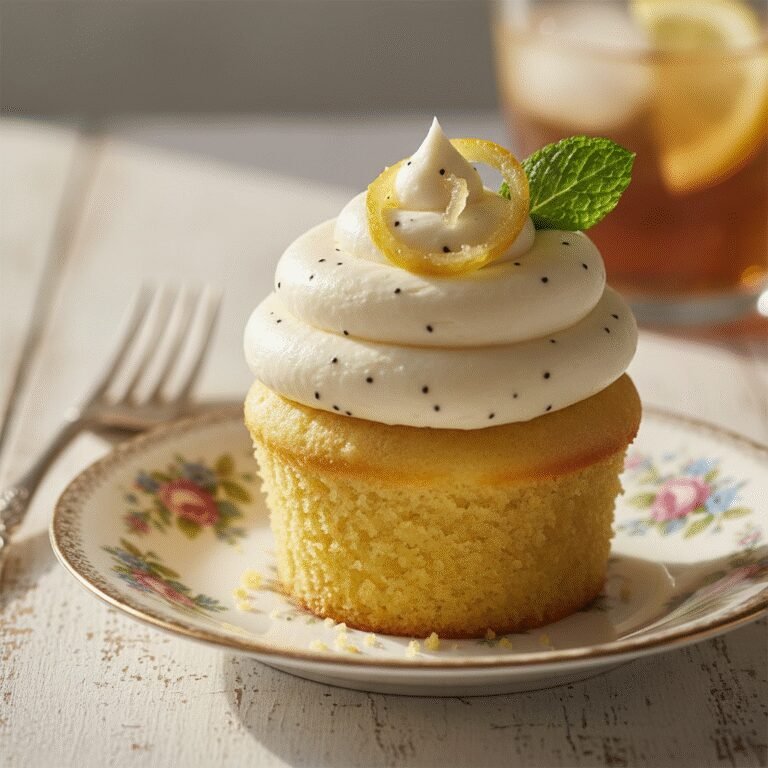
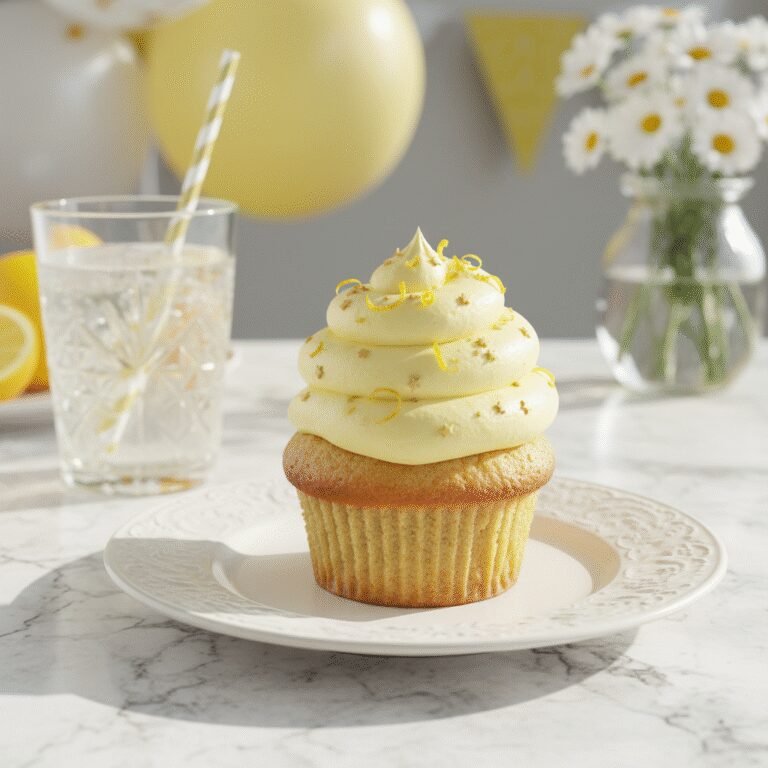
Bright, zesty, and impossibly soft, these moist lemon cupcakes are the secret weapon for any school bake sale parent. Topped with a luscious lemon buttercream, they offer the perfect balance of sweet and tart that guarantees a sold-out table every time.
20 minutes
18 minutes
1 hour (includes cooling)
24 cupcakes
Dessert
Baking
American
Vegetarian
There is a specific kind of panic that sets in when a parent receives the dreaded email: ‘Reminder: The School Bake Sale is tomorrow!’ While the temptation to grab a plastic container of cookies from the grocery store is strong, there is nothing quite like the pride of sending your child to school with a homemade treat that has the other kids (and teachers) lining up. Enter the ultimate moist lemon cupcake. This recipe isn’t just another vanilla cake with a drop of extract; it is a celebration of citrus, designed specifically to stand out in a sea of chocolate brownies and Rice Krispie treats.
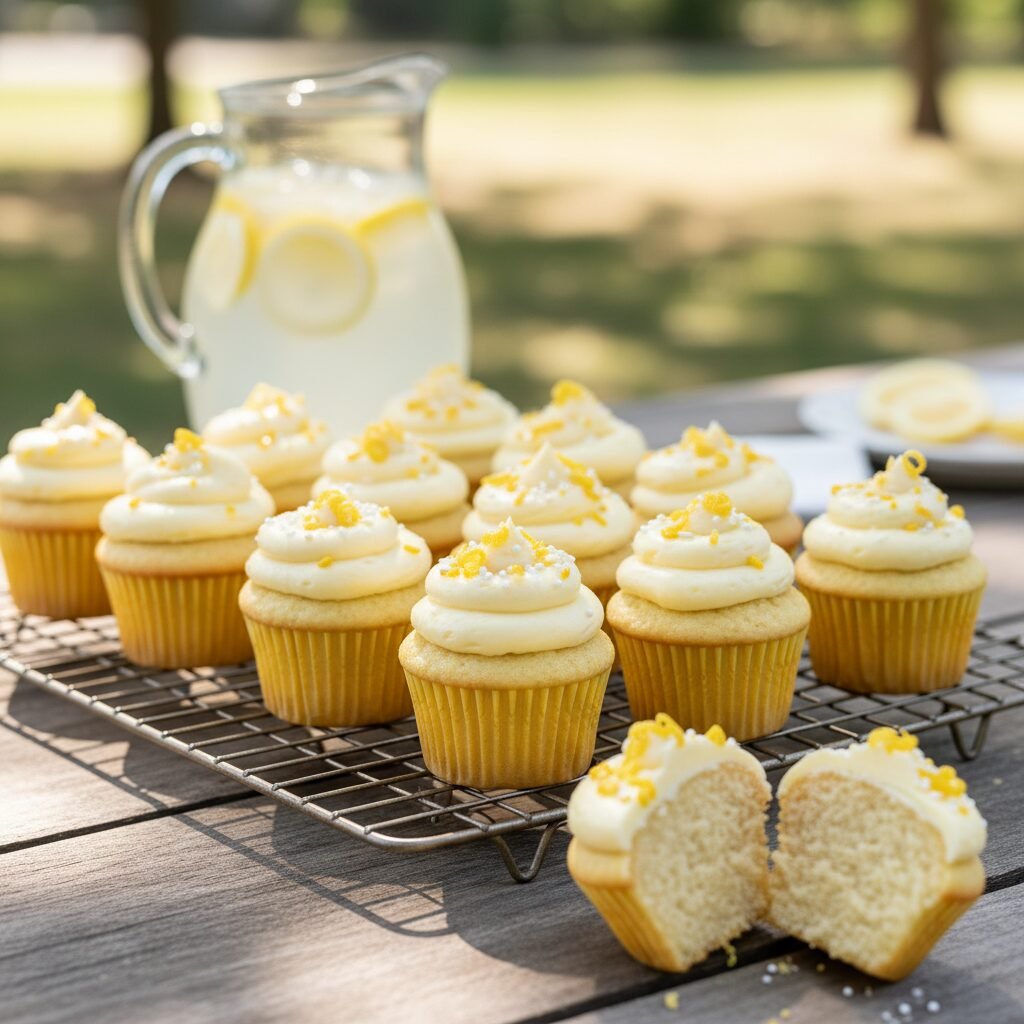
The magic of this cupcake lies in its texture and its vibrant flavor profile. We’ve all suffered through dry, crumbly cupcakes that look pretty but taste like sweetened sawdust. This recipe combats that dryness with a strategic combination of fats and dairy, resulting in a crumb that is tender, velvety, and stays moist for days—a crucial factor when baking the night before an event. The flavor is unapologetically lemony, utilizing both fresh zest and juice to create a bright, sunshine-filled taste that cuts through the sugar.
Furthermore, these cupcakes are engineered for travel and display. The structure is sturdy enough to survive the bus ride to school without falling apart, yet delicate enough to melt in your mouth. Whether you are a seasoned baker or a novice trying to impress the PTA, this recipe provides a foolproof roadmap to bake sale domination. They are cheerful, universally loved, and offer a refreshing alternative to the heavier chocolate desserts usually found on the fundraising table.
History & Origins
The concept of the cupcake can be traced back to 1796, when Amelia Simmons wrote a recipe for ‘a light cake to bake in small cups’ in her book, ‘American Cookery.’ However, the term ‘cupcake’ itself didn’t fully emerge until the early 19th century. Originally, these small cakes were baked in pottery cups or ramekins before the invention of the multi-cup muffin tin. They were revolutionary for home bakers because they cooked much faster than large hearth cakes and allowed for easier portion control.
The specific popularity of lemon-flavored baked goods has a parallel history. Lemons, once a luxury item in Northern climates, became more accessible in the 19th and 20th centuries due to improved trade routes and refrigeration. The Victorian era saw a surge in lemon-flavored tea cakes and the invention of lemon curd, which solidified the fruit’s status as a staple in Western dessert culture.
The intersection of cupcakes and the ‘School Bake Sale’ is a distinctly mid-20th-century American phenomenon. Post-WWII, as suburban communities grew and schools required supplemental funding for extracurriculars, the bake sale became a fixture of community life. Mothers (and later, parents generally) would showcase their domestic skills while raising money for uniforms or field trips. The lemon cupcake became a staple during these decades because it represented freshness and simplicity. Unlike complex pastries, a lemon cupcake was approachable for children but sophisticated enough for adults, making it the perfect demographic-spanning treat for school fundraisers. Today, the lemon cupcake remains a nostalgic symbol of community support and homemade care.
Why This Recipe Works
This recipe succeeds where many others fail because it scientifically addresses the two biggest enemies of cupcakes: dryness and lack of flavor. First, let’s talk about moisture. Most recipes rely solely on butter, which provides great flavor but can lead to a dry cake if overbaked or stored in the fridge. This recipe utilizes a ‘hybrid fat’ method, using both unsalted butter for that rich, creamy taste and a neutral oil (like vegetable or canola) which remains liquid at room temperature, ensuring the cupcake stays soft and moist for days.
Secondly, the inclusion of full-fat sour cream is non-negotiable. Sour cream does double duty: its high fat content enriches the batter, while its acidity interacts with the baking ingredients to tenderize the gluten strands in the flour. This results in a plush, velvety crumb rather than a chewy, bread-like texture.
Regarding flavor, this recipe avoids the artificial taste of pure extract. By rubbing the fresh lemon zest directly into the granulated sugar before creaming the butter, we release the natural essential oils in the zest. This process, known as mechanical extraction, infuses the entire sugar structure with citrus aroma, ensuring that every single bite is permeated with real lemon flavor. Finally, the buttercream is whipped with fresh lemon juice rather than milk, cutting the sweetness of the powdered sugar and providing a zesty finish that mirrors the cake base.
Why You’ll Love This Recipe
- ✓Stays moist for up to 3 days thanks to the oil-butter blend.
- ✓Infused with real lemon zest for a natural, non-artificial flavor.
- ✓Sturdy crumb structure perfect for transport to schools.
- ✓Nut-free recipe suitable for most allergy-aware classrooms.
- ✓Bright yellow liners make them visually pop on the bake sale table.
- ✓Makes exactly 24 cupcakes, perfect for two standard muffin tins.
Equipment You’ll Need
- ✓2 Standard 12-cup muffin tins
- ✓Paper cupcake liners
- ✓Stand mixer or electric hand mixer
- ✓Large mixing bowl
- ✓Medium mixing bowl
- ✓Whisk
- ✓Rubber spatula
- ✓Microplane or zester
- ✓Wire cooling rack
Ingredients
- ✓2 1/2 cups All-Purpose Flour
- ✓2 1/2 tsp Baking Powder
- ✓1/2 tsp Salt
- ✓1 1/2 cups Granulated Sugar
- ✓2 tbsp Fresh Lemon Zest (approx. 2-3 lemons)
- ✓1/2 cup Unsalted Butter, softened to room temperature
- ✓1/4 cup Vegetable Oil (or Canola Oil)
- ✓3 Large Eggs, room temperature
- ✓1 tsp Pure Vanilla Extract
- ✓1/2 cup Fresh Lemon Juice
- ✓3/4 cup Full-Fat Sour Cream, room temperature
- ✓1 cup Unsalted Butter (for frosting), softened
- ✓4 cups Powdered Sugar (for frosting)
- ✓3-4 tbsp Fresh Lemon Juice (for frosting)
- ✓Pinch of Salt (for frosting)
- ✓Yellow sprinkles or sanding sugar (optional decoration)
Instructions
- Preheat your oven to 350°F (175°C). Line two 12-cup muffin tins with paper liners. Set aside.
- In a medium bowl, whisk together the flour, baking powder, and salt until well combined. This ensures the leavening agent is evenly distributed.
- In the bowl of a stand mixer (or a large bowl with a hand mixer), add the granulated sugar and fresh lemon zest. Rub the zest into the sugar with your fingertips until the sugar resembles wet sand and is very fragrant. This releases the lemon oils.
- Add the softened butter and vegetable oil to the sugar mixture. Beat on medium-high speed for about 3-4 minutes until the mixture is pale, light, and fluffy. Scrape down the sides of the bowl.
- Add the eggs one at a time, beating well after each addition. Mix in the vanilla extract.
- In a small jug or bowl, whisk together the 1/2 cup fresh lemon juice and the sour cream.
- Reduce the mixer speed to low. Add the dry ingredients in three parts, alternating with the lemon/sour cream mixture in two parts, starting and ending with the flour mixture. Mix only until just combined—do not overmix or the cupcakes will be dense.
- Divide the batter evenly among the 24 cupcake liners, filling each about 2/3 full. Avoid overfilling to prevent them from spilling over the edges.
- Bake for 16-19 minutes, or until a toothpick inserted into the center comes out clean or with just a few moist crumbs. The tops should be pale golden and spring back when lightly touched.
- Remove from the oven and let the cupcakes cool in the pan for 5 minutes, then transfer them to a wire rack to cool completely before frosting.
- To make the frosting: Beat the 1 cup of softened butter on medium-high speed for 5 minutes until it is almost white and creamy.
- Gradually add the powdered sugar, one cup at a time, mixing on low speed. Once incorporated, increase to high speed for a minute.
- Add the pinch of salt and 3 tablespoons of lemon juice. Whip on high speed for another 3-4 minutes until light and airy. Add more lemon juice one teaspoon at a time if the frosting is too stiff.
- Pipe or spread the frosting onto the completely cooled cupcakes. Top with yellow sprinkles or a small slice of lemon if desired.
Expert Cooking Tips
- ✓Ensure all cold ingredients (eggs, sour cream, butter) are at room temperature before starting. This prevents the batter from curdling and ensures a smooth emulsion.
- ✓Do not skip the step of rubbing the zest into the sugar. It makes a massive difference in the depth of the lemon flavor.
- ✓Use fresh lemon juice, not the bottled stuff. Bottled juice often contains preservatives that can alter the taste.
- ✓If you don’t have a piping bag, you can use a large Ziploc bag with the corner snipped off to frost the cupcakes neatly.
- ✓Check the cupcakes at the 15-minute mark. Ovens vary, and overbaking is the number one cause of dry cupcakes.
- ✓Fill the liners consistently. Use a cookie scoop or ice cream scoop to ensure every cupcake is the same size and bakes evenly.
- ✓Allow cupcakes to cool completely. If they are even slightly warm, the butter in the frosting will melt and slide off.
Substitutions and Variations
Baking is chemistry, so substitutions should be made with care. If you don’t have sour cream, full-fat plain Greek yogurt is an excellent 1:1 substitute that provides similar acidity and moisture. For the vegetable oil, you can use any neutral oil like canola, grapeseed, or even melted coconut oil (though coconut may impart a slight flavor). If you need to make these gluten-free, use a high-quality 1:1 gluten-free baking flour blend that includes xanthan gum; the texture will be slightly different but still delicious. For a dairy-free version, substitute the butter with high-quality plant-based butter sticks (not tub margarine) and use a dairy-free sour cream alternative or coconut yogurt. Note that swapping sugar for liquid sweeteners like honey or maple syrup will alter the liquid ratios and is not recommended for this specific recipe.
Common Mistakes to Avoid
The most common mistake is overmixing the batter after adding the flour. Once the flour hits the wet ingredients, gluten begins to form. If you mix too vigorously, the cupcakes will be tough and chewy rather than tender. Stop mixing as soon as the white streaks of flour disappear. Another mistake is using cold butter for the frosting. If the butter is too cold, the frosting will be lumpy; if it’s melted, it will be soupy. Ideally, your finger should leave an indent in the butter with gentle pressure. Finally, avoid opening the oven door repeatedly during baking. This releases heat and can cause the cupcakes to sink in the middle.
Serving Suggestions
For a school bake sale, presentation is key. Place individual cupcakes in clear plastic cups or cellophane bags tied with a yellow ribbon to keep them sanitary and easy to handle. If serving at a party, arrange them on a tiered stand garnished with fresh mint leaves and lemon slices for a pop of color. These pair wonderfully with iced tea, lemonade, or a cold glass of milk. For an extra fancy touch, you can add a dollop of raspberry jam inside the cupcake (coring out the center) before frosting for a ‘pink lemonade’ vibe.
Storage and Reheating Tips
These cupcakes store beautifully, which is why they are great for events. Frosted cupcakes can be kept in an airtight container at room temperature for up to 2 days. If your kitchen is very warm, or if you need to keep them longer, store them in the refrigerator for up to 4 days, but allow them to come to room temperature before serving for the best texture and flavor. Unfrosted cupcakes can be frozen for up to 3 months. Wrap them individually in plastic wrap and then place them in a freezer bag. Thaw on the counter before frosting.
Nutrition Facts (Estimated)
| Serving Size | 1 cupcake with frosting |
| Calories | 285 |
| Fat | 14g |
| Saturated Fat | 8g |
| Unsaturated Fat | 5g |
| Trans Fat | 0g |
| Cholesterol | 45mg |
| Sodium | 140mg |
| Carbohydrates | 38g |
| Fiber | 0.5g |
| Sugar | 22g |
| Protein | 3g |
Frequently Asked Questions
Can I make the batter ahead of time?
No, it is best to bake the batter immediately after mixing because the baking powder is activated by the liquid and heat. If you wait too long, the cupcakes won’t rise as well.
Why did my cupcake liners peel away from the cake?
This usually happens due to excess moisture trapped in the liner. Remove the cupcakes from the muffin tin immediately after the 5-minute cooling period to let steam escape from the sides.
Can I use this recipe to make a whole cake?
Yes! This batter fits perfectly in two 8-inch or 9-inch round cake pans. You will need to increase the baking time to approximately 25-30 minutes.
How do I transport these to school without ruining the frosting?
Use a dedicated cupcake carrier with individual slots. If you don’t have one, use a shallow box and line the bottom with non-slip shelf liner, placing the cupcakes close together so they don’t slide.
Can I reduce the sugar in the recipe?
Reducing sugar affects not just sweetness but also moisture and texture. You can reduce it by about 1/4 cup safely, but any more might result in a denser, drier cupcake.
My frosting is too sweet, what can I do?
Add a pinch more salt or an extra teaspoon of lemon juice to cut the sweetness. The acidity of the lemon is great for balancing the powdered sugar.
Can I use Meyer lemons?
Absolutely. Meyer lemons are sweeter and more floral than standard Eureka lemons. The flavor will be slightly less tart but equally delicious.
Is this recipe nut-free?
Yes, the ingredients listed are naturally nut-free. However, always check the labels of your specific ingredients (like sprinkles or flour) to ensure they weren’t processed in a facility with nuts if baking for a strict allergy policy.
Why do you use both oil and butter?
Butter provides the classic cake flavor, while oil provides superior moisture and keeps the cake soft even when cool. Using both gives you the best of both worlds.
Conclusion
In the competitive world of school bake sales, these Moist Lemon Cupcakes are a guaranteed winner. They check every box: visual appeal, structural integrity for transport, and, most importantly, an incredible flavor that keeps people coming back for seconds. The combination of fresh zest, sour cream, and the butter-oil blend creates a treat that feels professional yet tastes delightfully homemade. So, the next time that fundraising email lands in your inbox, don’t panic. Grab your lemons, preheat your oven, and get ready to be the hero of the bake sale table.