The Ultimate Moist Chocolate Cupcake Recipe for School Bake Sales
Moist Chocolate Cupcake For School Bake Sale Recipe
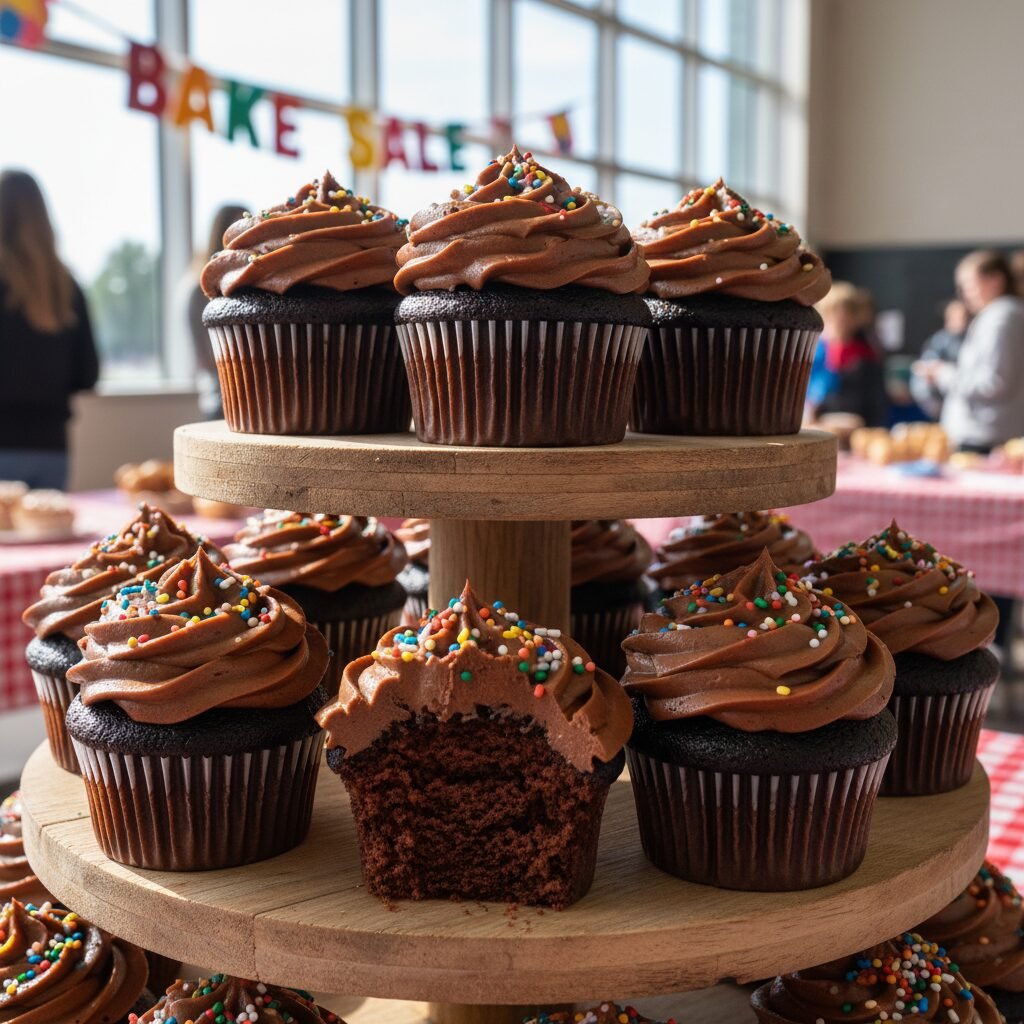
Become the hero of the PTA with these foolproof, ultra-moist chocolate cupcakes designed specifically for school bake sales. They are sturdy enough to travel, stay fresh for days, and feature a rich, deep chocolate flavor that kids and parents alike will devour instantly.
20 minutes
18 minutes
45 minutes
24 Cupcakes
Dessert
Baking
American
Vegetarian
We have all been there: it is Tuesday afternoon, you are checking your child’s backpack, and you find the crumpled flyer. The school bake sale is tomorrow. Panic sets in as you scan your pantry, wondering if you can get away with store-bought cookies or if you need to whip up something homemade to avoid the side-eye from the overly enthusiastic PTA president. Enter the ultimate bake sale savior: this Moist Chocolate Cupcake recipe. This isn’t just another chocolate cake; it is a strategic culinary weapon designed for the specific high-stakes environment of a school fundraiser.
Why do these standout? First, the texture. There is nothing sadder than a dry cupcake that crumbles into dust at the first bite. These cupcakes utilize a specific blend of oil and buttermilk to ensure a crumb that remains tender and moist even after sitting on a folding table in the gymnasium for three hours. Second, the flavor profile is engineered to appeal to the masses. It is deeply chocolaty without being bitter, sweet but not tooth-achingly so, making it perfect for the kindergarten palate and the discerning teacher alike. Finally, they are incredibly robust. They transport easily, hold their shape under a mountain of frosting, and look professionally made with minimal effort. Whether you are a seasoned baker or someone who usually uses their oven for storage, this recipe will make you look like a pastry pro. Get ready to watch these fly off the table faster than you can make change for a five-dollar bill.
History & Origins
The humble cupcake has a surprisingly rich history that dates back much further than the modern school bake sale. The first mention of a cake to be baked in small cups rather than a large pan appeared in ‘American Cookery’ by Amelia Simmons in 1796, where she described ‘a light cake to bake in small cups’. However, the actual term ‘cupcake’ was first documented in 1828 in Eliza Leslie’s ‘Receipts’, a cookbook that helped standardize American baking measurements. In those days, they were often called ‘number cakes’ or ‘1234 cakes’ due to the easy-to-remember ratios of ingredients, a precursor to the convenience we crave today.
The concept of the ‘bake sale’ is deeply rooted in American community history, gaining significant traction during World War II as a way for women on the home front to raise funds for war bonds and community relief. By the 1950s, with the rise of suburbia and the baby boom, the school bake sale became a cultural fixture—a way for parents to contribute to school funds for uniforms, trips, and equipment. The chocolate cupcake, specifically, evolved alongside the availability of cocoa powder. The transition from solid chocolate blocks to Dutch-processed cocoa allowed for a deeper, darker flavor profile, eventually leading to the ‘Devil’s Food’ style texture that defines the modern chocolate cupcake. Today, the chocolate cupcake at a bake sale is more than just a treat; it is a symbol of community effort, homemade care, and a nostalgic nod to generations of parents supporting their local schools one batch at a time.
Why This Recipe Works
This recipe succeeds where others fail due to three critical chemical interactions that guarantee moisture and flavor depth. First is the use of vegetable oil instead of butter in the batter. While butter provides great flavor, it contains water which evaporates during baking, and milk solids which can dry out. Oil is 100% fat and remains liquid at room temperature, coating the flour proteins effectively to inhibit gluten formation. This results in a sensationally tender crumb that stays moist for days, which is crucial for bake sales where goods aren’t always consumed immediately.
The second key factor is the ‘blooming’ technique. The recipe calls for adding hot coffee or boiling water to the cocoa powder. This heat dissolves the cocoa solids and releases flavor compounds that are otherwise trapped, intensifying the chocolate taste without adding bitterness. The hot liquid also reacts with the baking soda immediately, giving the batter a head start on rising before it even hits the oven.
Finally, the inclusion of buttermilk (or a sour cream substitute) provides essential acidity. This acid tenderizes the gluten strands in the flour and reacts with the baking soda to create carbon dioxide bubbles, ensuring the cupcakes are fluffy rather than dense and fudgy like a brownie. The combination of these elements creates a cupcake that is structurally sound for transport yet melts in your mouth.
Why You’ll Love This Recipe
- ✓Stays moist for up to 4 days, perfect for making ahead.
- ✓Uses the ‘blooming’ technique for intense chocolate flavor.
- ✓Sturdy structure that travels well to school events.
- ✓Oil-based batter ensures a tender, never-dry crumb.
- ✓Kid-approved sweetness level.
- ✓One-bowl mixing method minimizes cleanup.
Equipment You’ll Need
- ✓2 Standard 12-cup muffin tins
- ✓Paper cupcake liners
- ✓Large mixing bowl
- ✓Medium mixing bowl
- ✓Whisk
- ✓Rubber spatula
- ✓Measuring cups and spoons
- ✓Cookie scoop (for even batter distribution)
- ✓Wire cooling rack
Ingredients
- ✓2 cups granulated sugar
- ✓1 3/4 cups all-purpose flour
- ✓3/4 cup unsweetened cocoa powder (Dutch-process preferred)
- ✓1 1/2 teaspoons baking powder
- ✓1 1/2 teaspoons baking soda
- ✓1 teaspoon salt
- ✓2 large eggs, room temperature
- ✓1 cup whole milk
- ✓1/2 cup vegetable oil or canola oil
- ✓2 teaspoons pure vanilla extract
- ✓1 cup boiling water (or hot coffee for deeper flavor)
- ✓FOR THE FROSTING: 1 cup unsalted butter, softened
- ✓3 cups powdered sugar
- ✓1/2 cup cocoa powder
- ✓1/4 cup heavy cream
- ✓Pinch of salt
Instructions
- 1. Preheat your oven to 350°F (175°C). Line two 12-cup muffin tins with paper liners and set aside.
- 2. In a large mixing bowl, whisk together the sugar, flour, cocoa, baking powder, baking soda, and salt. Ensure there are no large lumps of cocoa powder.
- 3. Add the eggs, milk, oil, and vanilla extract to the dry ingredients. Beat with a hand mixer on medium speed for about 2 minutes. The batter will look thick at this stage.
- 4. Carefully pour in the boiling water (or hot coffee). The batter will become very thin and liquid; this is normal and essential for the moisture content. Stir gently by hand until combined.
- 5. Pour the batter into the prepared cupcake liners. Fill them about 2/3 full. Using a measuring cup with a spout or a large cookie scoop helps avoid mess.
- 6. Bake for 18-22 minutes, or until a wooden toothpick inserted into the center comes out clean or with just a few moist crumbs attached.
- 7. Remove the cupcakes from the oven and let them cool in the pans for 10 minutes. This helps them set so they don’t collapse when moved.
- 8. Transfer the cupcakes to a wire rack to cool completely before frosting. Do not attempt to frost warm cupcakes.
- 9. While cupcakes cool, make the frosting: Beat the softened butter until creamy. Add cocoa powder and powdered sugar alternately with the heavy cream. Beat on high for 3 minutes until fluffy. Add salt and vanilla.
- 10. Pipe or spread frosting onto cooled cupcakes and top with sprinkles immediately.
Expert Cooking Tips
- ✓Do not overfill the liners; filling them 2/3 full ensures a nice dome without overflowing.
- ✓Use room temperature eggs and milk to ensure the batter emulsifies properly.
- ✓If using hot coffee instead of water, don’t worry—it won’t taste like coffee, it just enhances the chocolate.
- ✓Invest in good quality cupcake liners to prevent peeling or sticking.
- ✓Let the cupcakes cool completely (at least 1 hour) before frosting to prevent a melted mess.
- ✓Sift your cocoa powder and powdered sugar for the frosting to avoid gritty lumps.
Substitutions and Variations
Baking is a science, but there is some room for flexibility in this recipe. If you do not have buttermilk, you can make a quick substitute by adding one tablespoon of white vinegar or lemon juice to a cup of regular milk and letting it sit for 5 minutes until it curdles. For the oil, melted coconut oil or grapeseed oil works perfectly fine if you want to avoid vegetable or canola oil, though coconut oil may impart a slight flavor. To make these gluten-free, substitute the all-purpose flour with a high-quality 1:1 Gluten-Free Baking Flour blend that contains xanthan gum; the results are surprisingly similar due to the high moisture content of the batter. If you need to make them egg-free, a flax egg (1 tbsp flaxseed meal + 3 tbsp water per egg) or commercial egg replacer can work, though the cupcakes may be slightly denser. For the frosting, you can swap the heavy cream for milk, but use less of it to maintain stiffness.
Common Mistakes to Avoid
The most common mistake with this recipe is overbaking. Because the batter is dark, it is hard to see visual cues of browning. Rely on the toothpick test and check at the 18-minute mark; even a few extra minutes can dry them out. Another error is opening the oven door too frequently, which causes temperature fluctuations that can make the cupcakes sink in the middle. Mixing the batter too vigorously after adding the flour can overdevelop the gluten, leading to tough, rubbery cupcakes instead of tender ones—mix just until combined. Finally, using cold ingredients (eggs and milk) can cause the batter to curdle or separate, resulting in an uneven bake. Always bring your dairy and eggs to room temperature before starting.
Serving Suggestions
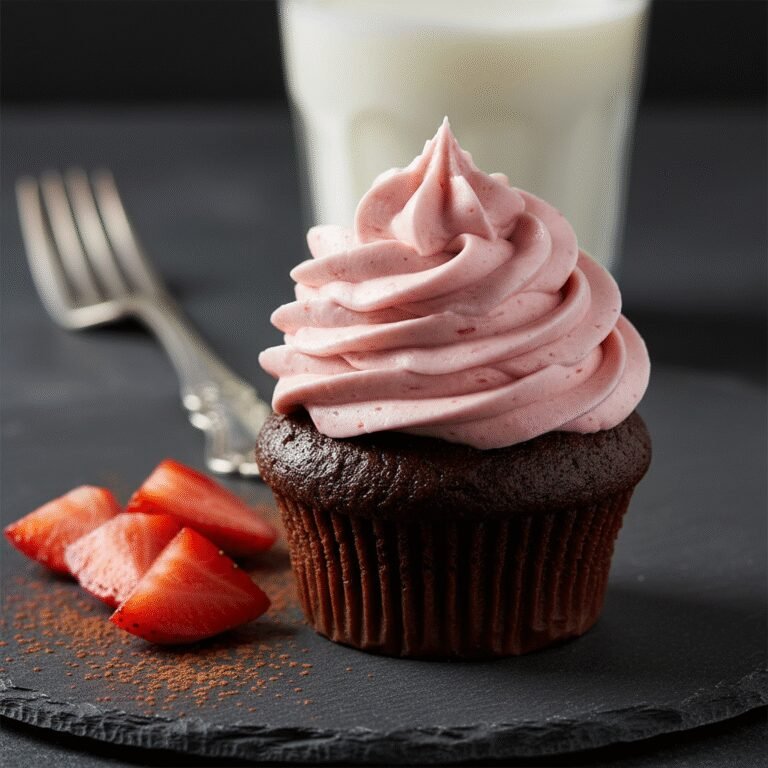
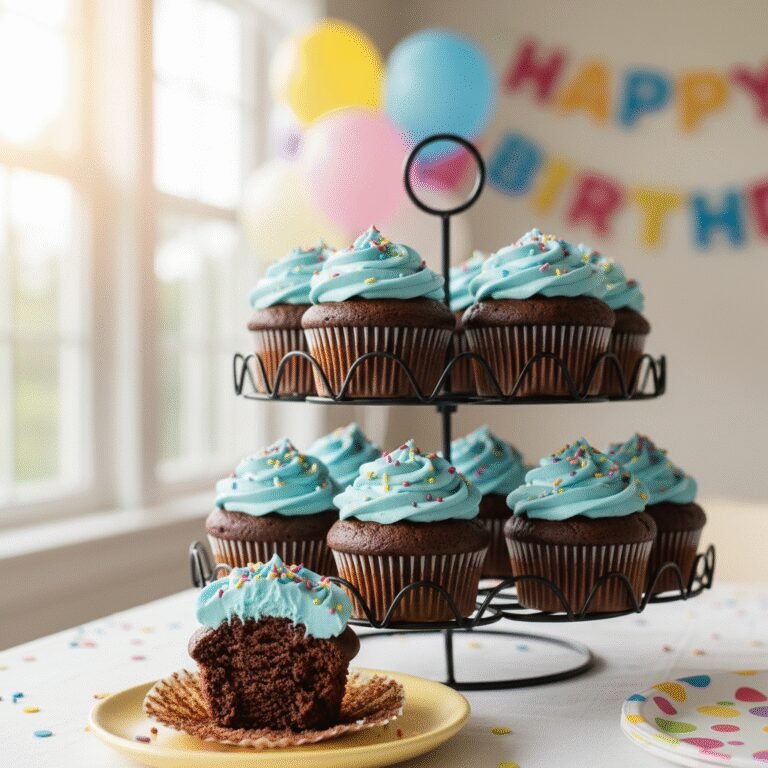
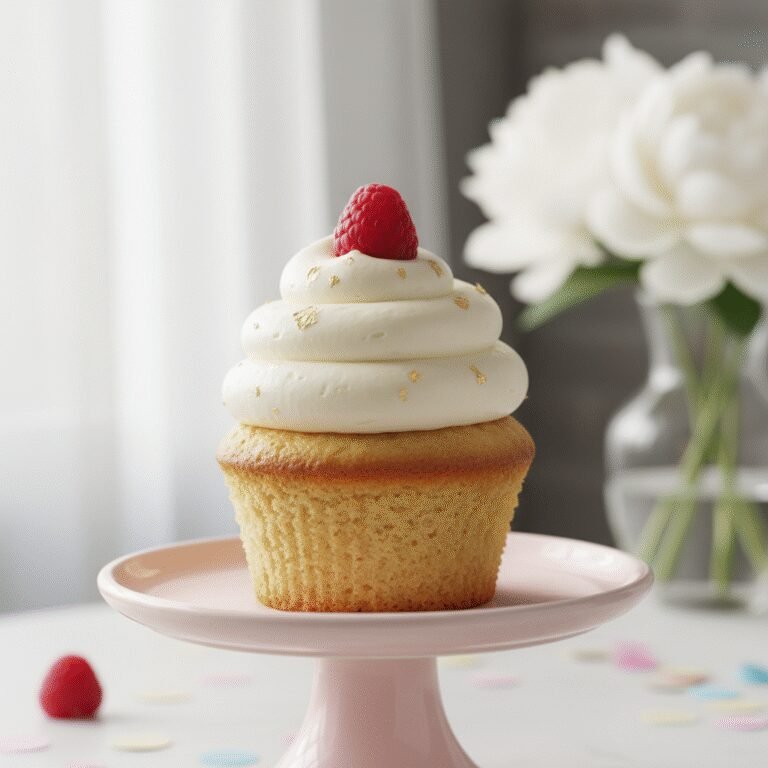
For a school bake sale, presentation is key. Serve these cupcakes in individual clear plastic cups or on a tiered stand to catch the eye. Top them with colorful sprinkles that match the school’s colors or the upcoming holiday theme. If serving at home, a glass of cold milk is the classic accompaniment. You can also elevate them by drizzling salted caramel over the frosting or adding a fresh raspberry on top to cut through the richness. For a more adult twist, serve with a dusting of espresso powder or a side of vanilla bean ice cream.
Storage and Reheating Tips
These cupcakes are champions of longevity. Unfrosted cupcakes can be stored in an airtight container at room temperature for up to 4 days without drying out. Once frosted, they can stay at room temperature for 2 days (unless your kitchen is very hot, in which case, refrigerate them). If refrigerating, let them come to room temperature before serving for the best texture and flavor release. To freeze, wrap unfrosted cupcakes individually in plastic wrap and place them in a freezer bag for up to 3 months. Thaw on the counter for an hour before frosting. Frosted cupcakes can also be frozen: place them on a baking sheet in the freezer until the frosting is hard, then wrap them gently.
Nutrition Facts (Estimated)
| Serving Size | 1 cupcake with frosting |
| Calories | 285 |
| Fat | 14g |
| Saturated Fat | 4g |
| Unsaturated Fat | 9g |
| Trans Fat | 0g |
| Cholesterol | 45mg |
| Sodium | 180mg |
| Carbohydrates | 38g |
| Fiber | 2g |
| Sugar | 22g |
| Protein | 3g |
Frequently Asked Questions
Can I use butter instead of oil for the batter?
Technically yes, but I highly recommend sticking to oil. Butter contains water and milk solids which can lead to a drier cupcake over time. Oil ensures the cupcake stays moist for days, which is crucial for bake sales.
Why is the batter so runny?
Do not panic! The batter for these moist chocolate cupcakes is supposed to be very thin and liquid. This high hydration level is what creates the ultra-soft texture after baking.
Can I make these into a layer cake?
Absolutely. This recipe yields enough batter for two 8-inch or 9-inch round cake pans. You will need to increase the baking time to approximately 30-35 minutes.
How do I transport these to school without ruining the frosting?
The best method is to use a dedicated cupcake carrier with individual slots. If you don’t have one, use a shallow box and pack the cupcakes close together (but not touching) and place non-slip matting underneath.
Do I have to use coffee?
No, you can use boiling water. However, hot coffee enhances the chocolate flavor significantly without making the cake taste like coffee. It acts as a flavor booster.
Can I reduce the sugar?
Sugar contributes to the structural integrity and moisture of the cupcake, not just sweetness. Reducing it significantly may result in a tougher, drier texture. I recommend sticking to the recipe for best results.
Why did my cupcakes sink in the middle?
This usually happens if the oven door was opened too early, the oven wasn’t fully preheated, or there was too much leavening (baking soda/powder). Ensure your oven temperature is accurate.
Are these cupcakes dairy-free?
The batter contains milk, and the frosting contains butter and cream. To make them dairy-free, use almond or soy milk in the batter and a vegan butter stick alternative for the frosting.
Conclusion
There is a special kind of satisfaction that comes from dropping off a batch of homemade treats at school and seeing the genuine excitement in the kids’ eyes. These Moist Chocolate Cupcakes are more than just sugar and flour; they are a reliable, stress-free way to contribute to your community and create sweet memories. With their foolproof preparation and bakery-quality results, you never have to fear the bake sale sign-up sheet again. Tie on your apron, preheat that oven, and get ready to be the MVP of the next school fundraiser. Happy baking!