The Ultimate Moist Chocolate Cupcakes for Birthday Parties
Moist Chocolate Cupcake For Birthday Party Recipe
Discover the secret to the most velvety, deeply chocolatey cupcakes that stay moist for days. These crowd-pleasing treats are topped with a luscious fudge buttercream, making them the absolute perfect centerpiece for any birthday celebration.
20 minutes
18 minutes
45 minutes
24 cupcakes
Dessert
Baking
American
Vegetarian
There is something undeniably magical about a birthday party. The laughter, the balloons, the anticipation of gifts, and, of course, the pivotal moment when the lights dim and the cake comes out. For years, I struggled to find a chocolate cupcake recipe that could live up to that hype. Too often, homemade cupcakes turn out dry, crumbly, or lacking that deep, punchy cocoa flavor we crave. That ends today. After countless test batches and kitchen experiments, I have finally perfected the recipe for the ultimate moist chocolate cupcake. This isn’t just another baking recipe; it is a ticket to becoming the hero of the party.
These cupcakes possess a crumb so tender it practically melts on your tongue, paired with a richness that only comes from high-quality cocoa and the right balance of fats. We aren’t just making dessert here; we are crafting a memory. The texture is incredibly soft, almost sponge-like, yet sturdy enough to hold a generous swirl of creamy, dream-like chocolate buttercream. Whether you are baking for a toddler’s first birthday bash, a sweet sixteen, or a sophisticated adult gathering, these cupcakes bridge the gap between nostalgic comfort food and gourmet bakery quality. The secret lies in the method of blooming the cocoa and the specific choice of dairy, which we will dive into deeply. Prepare to banish dry cupcakes from your repertoire forever.
History & Origins
The humble cupcake has a surprisingly long and storied history, dating back much further than the modern birthday party phenomenon. The first known reference to a cake to be baked in small cups rather than a large pan appeared in Amelia Simmons’ ‘American Cookery’ in 1796, described as ‘a light cake to bake in small cups’. However, the actual term ‘cupcake’ didn’t surface until 1828 in Eliza Leslie’s ‘Seventy-Five Receipts for Pastry, Cakes, and Sweetmeats’. In those early days, the name was derived from the unit of measurement—ingredients were measured by the cupful (1 cup butter, 2 cups sugar, etc.)—rather than the vessel they were baked in, which is why they were sometimes called ‘number cakes’.
As the 19th century progressed, muffin tins became popular, and the concept of individual cakes took off. But the chocolate cupcake as we know it is a more recent evolution. Chocolate itself was primarily consumed as a beverage until the late 19th and early 20th centuries when processing techniques improved, making cocoa powder and baking chocolate more accessible and affordable for home cooks. The commercialization of the cupcake exploded in 1919 when Hostess introduced their first snack cake. However, the association with birthday parties solidified in the mid-20th century, coinciding with the rise of suburban culture and child-centric celebrations. Today, the chocolate cupcake is a global icon of celebration, evolving from a simple ‘number cake’ to a canvas for culinary artistry.
Why This Recipe Works
This recipe succeeds where many others fail due to three critical scientific principles of baking: blooming, fat selection, and acidity. First, we utilize the ‘blooming’ technique. By mixing the cocoa powder with hot coffee (or hot water) before adding it to the batter, we dissolve the cocoa solids and release the essential oils. This intensifies the chocolate flavor significantly, removing any chalky aftertaste and ensuring a deep, dark color.
Second, we use oil instead of butter for the cake base. While butter provides flavor, it contains water which evaporates during baking, and milk solids which can dry out the crumb. Oil is 100% fat and remains liquid at room temperature, which guarantees that the cupcakes stay incredibly moist and tender for days, not just hours. We rely on the frosting to provide that buttery flavor profile.
Third, the inclusion of buttermilk and a touch of vinegar interacts with the baking soda. This acid-base reaction creates carbon dioxide bubbles that are trapped in the batter, providing a superior lift and a light, airy texture that counteracts the heaviness of the cocoa. The acidity also tenderizes the gluten strands in the flour, preventing the cupcakes from becoming tough or rubbery.
Why You’ll Love This Recipe
- ✓Stays moist for up to 4 days thanks to the oil-based batter.
- ✓Deep, intense chocolate flavor achieved by blooming cocoa powder.
- ✓Perfectly domed tops that are ideal for decorating.
- ✓Simple one-bowl method that requires no electric mixer for the batter.
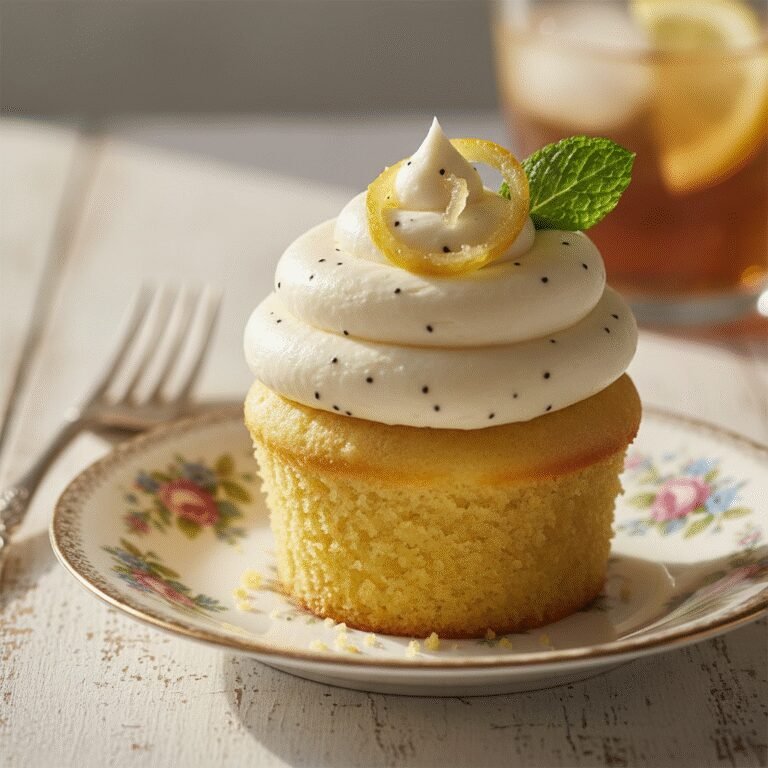
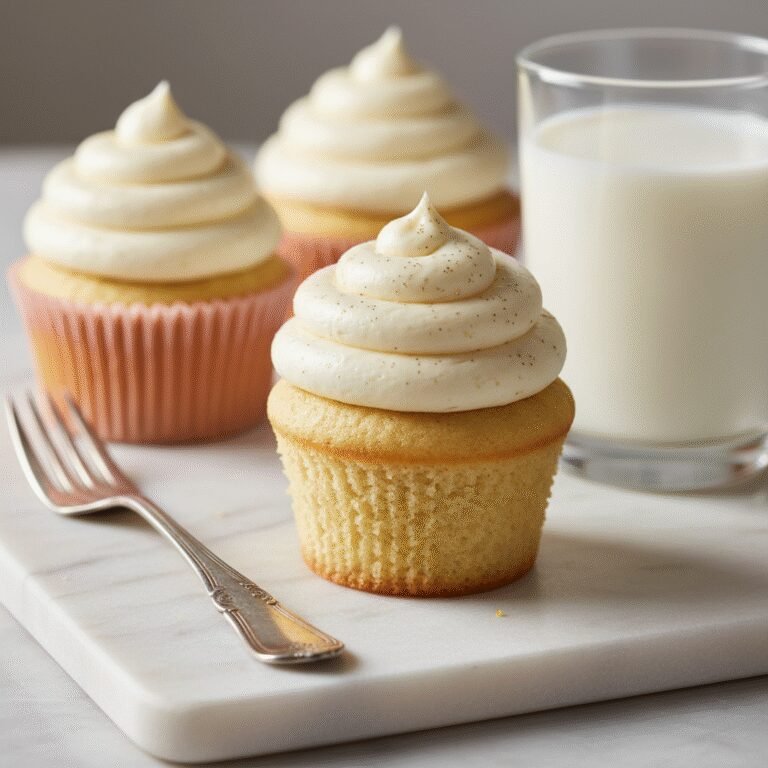
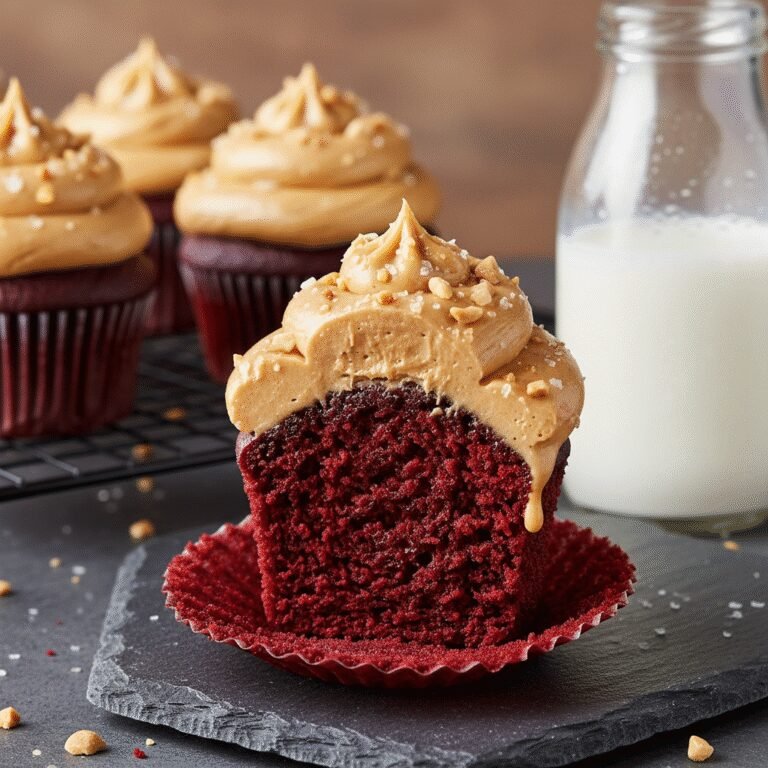
- ✓Versatile base that pairs with vanilla, strawberry, or peanut butter frosting.
Equipment You’ll Need
- ✓Standard 12-cup muffin tins (2)
- ✓Cupcake liners
- ✓Large mixing bowl
- ✓Medium mixing bowl
- ✓Whisk
- ✓Rubber spatula
- ✓Wire cooling rack
- ✓Measuring cups and spoons
Ingredients
- ✓2 cups granulated sugar
- ✓1 3/4 cups all-purpose flour
- ✓3/4 cup unsweetened cocoa powder (high quality)
- ✓1 1/2 teaspoons baking powder
- ✓1 1/2 teaspoons baking soda
- ✓1 teaspoon salt
- ✓2 large eggs, room temperature
- ✓1 cup whole milk or buttermilk, room temperature
- ✓1/2 cup vegetable oil (or canola oil)
- ✓2 teaspoons pure vanilla extract
- ✓1 cup boiling water (or boiling hot coffee for extra depth)
Instructions
- Preheat your oven to 350°F (175°C). Line two 12-cup muffin tins with cupcake liners.
- In a large mixing bowl, sift together the sugar, flour, cocoa powder, baking powder, baking soda, and salt. Whisk thoroughly to ensure the raising agents are evenly distributed.
- In a separate medium bowl, whisk together the eggs, buttermilk (or milk), vegetable oil, and vanilla extract until fully combined.
- Pour the wet ingredients into the dry ingredients. Mix with a whisk or electric mixer on medium speed for about 2 minutes. The batter will be thick at this stage.
- Carefully pour in the boiling water (or hot coffee). Stir by hand with a whisk or spatula until the liquid is fully incorporated. The batter will be very thin and liquidy; this is normal and essential for moisture.
- Pour the batter into the prepared cupcake liners, filling them about 2/3 full. Do not overfill, or they will spill over while baking.
- Bake for 18-22 minutes, or until a wooden toothpick inserted into the center comes out clean or with just a few moist crumbs attached.
- Remove from the oven and let the cupcakes cool in the pans for 5 minutes to set.
- Transfer the cupcakes to a wire rack to cool completely before frosting. Do not attempt to frost while warm, or the icing will melt.
Expert Cooking Tips
- ✓Use room temperature ingredients (eggs and buttermilk) to ensure the batter emulsifies properly.
- ✓Do not skip the boiling water; it blooms the cocoa and creates the unique texture.
- ✓Fill liners exactly 2/3 full to get that perfect bakery-style dome.
- ✓If you don’t have buttermilk, make a substitute by adding 1 tablespoon of lemon juice or vinegar to 1 cup of milk and letting it sit for 5 minutes.
- ✓Check for doneness at the 18-minute mark to avoid overbaking, which is the enemy of moisture.
- ✓Use a high-quality cocoa powder (like Dutch-processed) for a darker color and smoother flavor.
Substitutions and Variations
Baking is a science, but there is some room for flexibility if you find yourself missing an ingredient. For the flour, you can substitute Cake Flour for an even lighter, airier crumb, though All-Purpose is standard. If you are gluten-free, a high-quality 1:1 Gluten-Free All-Purpose Baking Flour works surprisingly well in this recipe because the moisture content is so high. For the fat, while vegetable oil is recommended for neutrality, melted coconut oil or canola oil works perfectly fine; avoid olive oil as the flavor is too strong. As mentioned in the tips, buttermilk is best for texture, but a mixture of milk and vinegar or watered-down sour cream can mimic the acidity needed. For the hot liquid, hot coffee is the chef’s secret to enhancing chocolate flavor without making the cake taste like coffee; however, plain boiling water works perfectly if you want to keep it caffeine-free for kids.
Common Mistakes to Avoid
The most common mistake is overbaking. Chocolate cupcakes are dark, so you cannot rely on visual browning cues. Trust the toothpick test and remember that they continue to cook slightly in the hot pan after removal. Another error is overmixing the batter after adding the flour but before adding the hot water; this develops gluten and leads to a tough cupcake. Ensure you only mix until combined. Using cold ingredients is another pitfall; cold eggs hitting warm oil or hot water can cause seizing or uneven mixing. Finally, opening the oven door too early can cause the cupcakes to sink in the middle due to the sudden drop in temperature, so keep the door closed until at least the 15-minute mark.
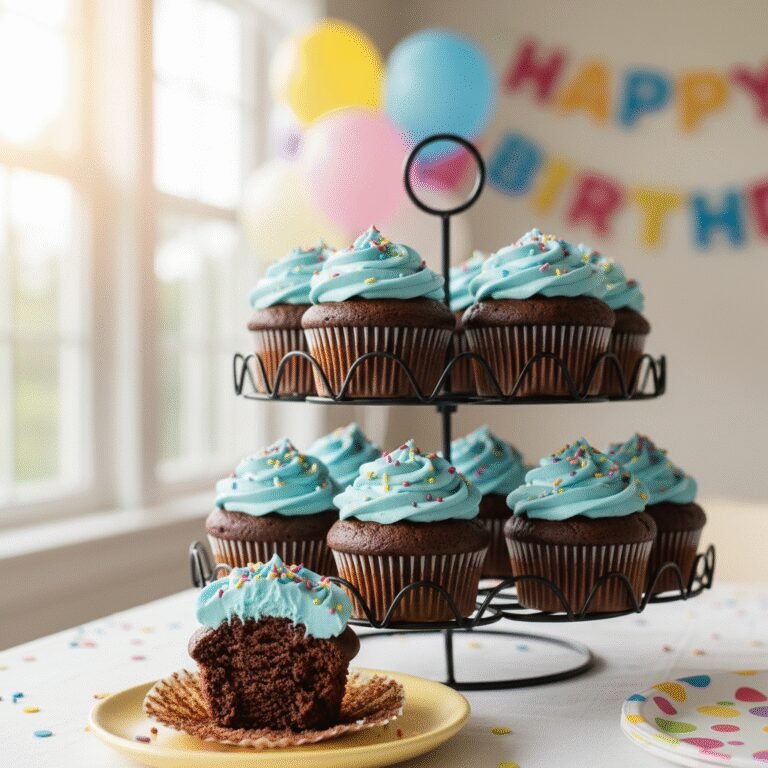
Serving Suggestions
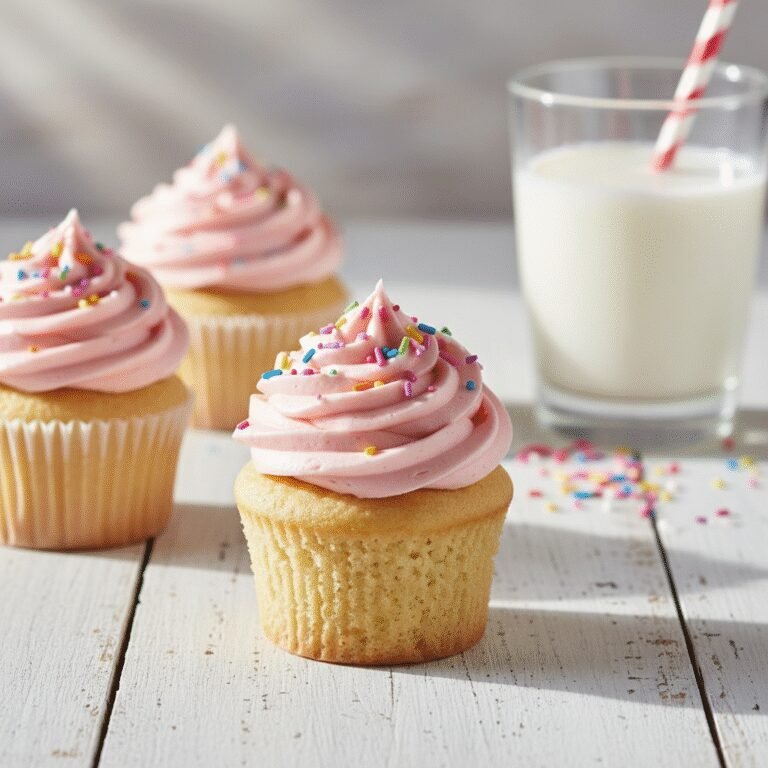
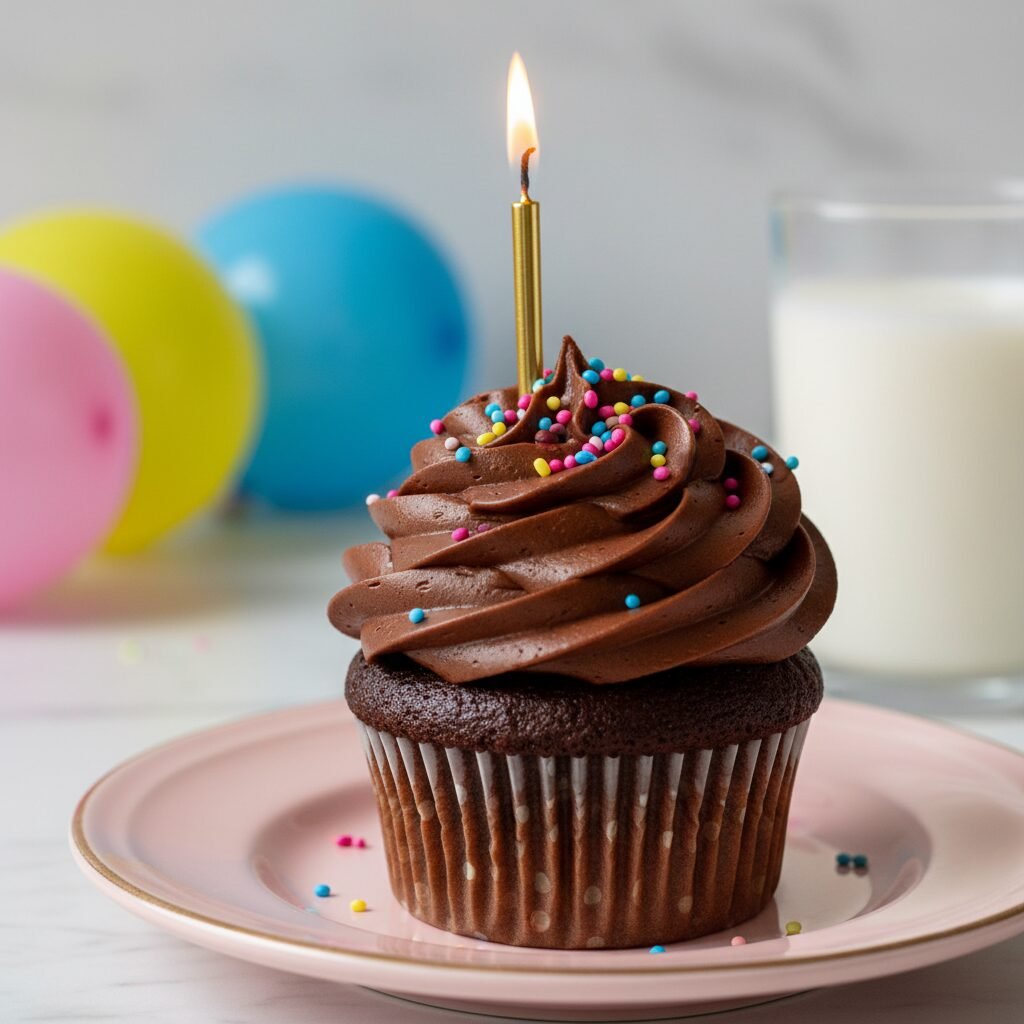
These cupcakes are a blank canvas for your favorite toppings. For a classic birthday vibe, top them with a rich Chocolate Fudge Buttercream and rainbow sprinkles. If you want to cut the sweetness, a tangy Cream Cheese Frosting or a light Swiss Meringue Buttercream pairs beautifully. For a sophisticated twist, core the center of the cupcake and fill it with raspberry jam, salted caramel, or chocolate ganache before frosting. Serve them on a tiered cake stand for a dramatic party presentation. They pair exceptionally well with a cold glass of milk or a hot espresso.
Storage and Reheating Tips
These cupcakes have incredible staying power. Store unfrosted cupcakes in an airtight container at room temperature for up to 4 days; the oil keeps them moist. If frosted with buttercream, they can stay at room temperature for 2 days, provided the room isn’t too hot. For longer storage, freeze the unfrosted cupcakes. Wrap each one individually in plastic wrap and then place them in a freezer-safe bag for up to 3 months. Thaw on the counter for an hour before frosting. Avoid storing them in the refrigerator unless the filling is perishable (like custard), as the cold air circulates and actually dries out the sponge faster than room temperature air.
Nutrition Facts (Estimated)
| Serving Size | 1 cupcake |
| Calories | 320 |
| Fat | 16g |
| Saturated Fat | 4g |
| Unsaturated Fat | 10g |
| Trans Fat | 0g |
| Cholesterol | 35mg |
| Sodium | 180mg |
| Carbohydrates | 42g |
| Fiber | 2g |
| Sugar | 28g |
| Protein | 4g |
Frequently Asked Questions
Can I make these cupcakes ahead of time?
Absolutely. In fact, the flavor often develops and improves after sitting for a day. Bake them the day before the party and store them in an airtight container. Frost them on the day of the event for the freshest presentation.
Why is the batter so runny?
The batter is intentionally thin because of the cup of boiling liquid. This high liquid content ensures the flour hydrates fully and results in a very moist, tender crumb. Do not add more flour to thicken it.
Can I use this recipe to make a layer cake?
Yes! This recipe yields enough batter for two 8-inch round cake pans or three 6-inch pans. You will need to increase the baking time to approximately 30-35 minutes.
Why did my cupcakes sink in the middle?
Sinking usually happens if the oven door was opened too early, if the leavening agents (baking soda/powder) were expired, or if the batter was over-mixed, incorporating too much air that collapsed during cooling.
Can I reduce the sugar?
Sugar provides structure and moisture, not just sweetness. Reducing it significantly will affect the texture, making the cupcake denser and drier. We recommend sticking to the recipe for the best structural results.
Do I have to use coffee?
No, coffee is optional. It enhances the chocolate flavor but does not impart a coffee taste. Boiling water is a perfectly acceptable substitute and will still yield a delicious result.
How do I get the frosting to look like a bakery swirl?
Use a large piping tip, such as a Wilton 1M or 2D. Start in the center, spiral out to the edge, and then spiral back up and inward, releasing pressure as you pull away at the top.
Are these cupcakes dairy-free?
The base recipe uses milk/buttermilk, but you can easily make it dairy-free by using almond milk or soy milk mixed with vinegar (to mimic buttermilk) and ensuring your chocolate powder is dairy-free.
Conclusion
There you have it—the blueprint for the most memorable, moist, and delicious chocolate cupcakes you will ever bake. Whether you are a novice baker or a seasoned pro, this recipe is designed to deliver consistent, bakery-quality results that will have your party guests asking for your secret. The combination of simple pantry staples, the blooming technique, and the oil-based batter creates a dessert that truly stands the test of time (and the test of picky eaters!). So, preheat that oven, brew a little extra coffee, and get ready to celebrate with the best chocolate treat imaginable. Happy baking!