The Ultimate 1-Minute Red Velvet Mug Cake (Eggless & Decadent)
Easy Red Velvet Mug Cake Without Egg Recipe
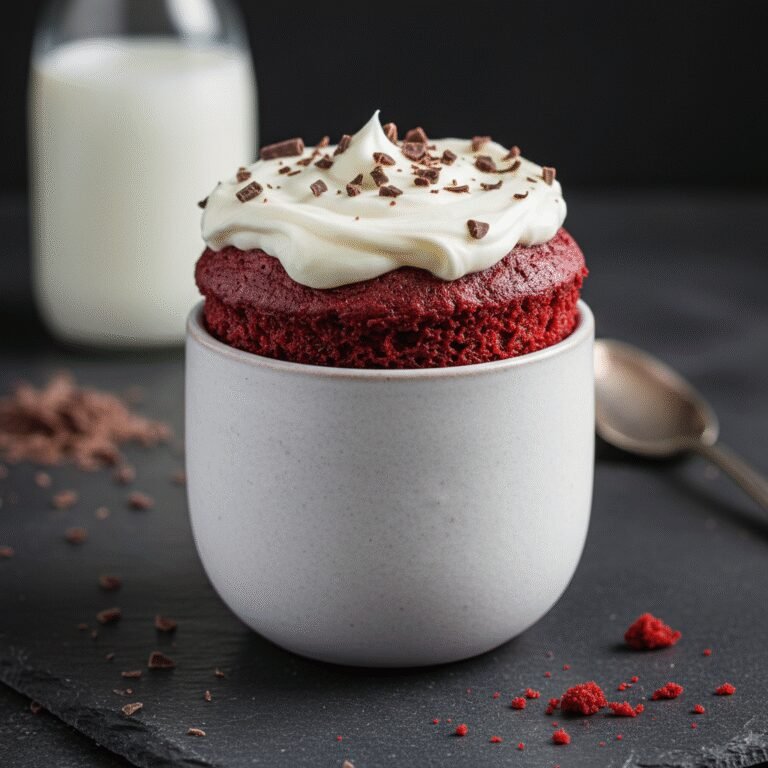
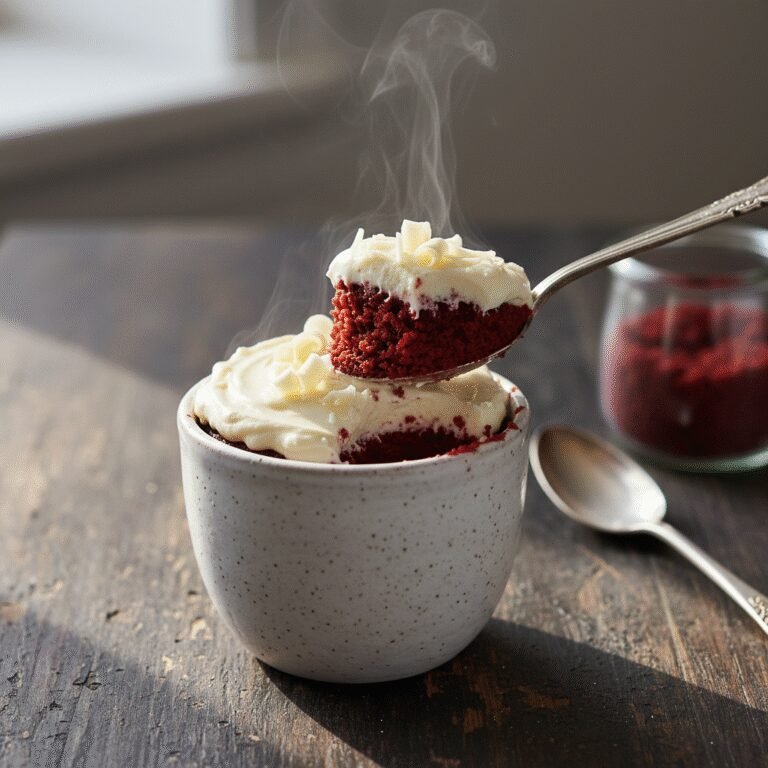
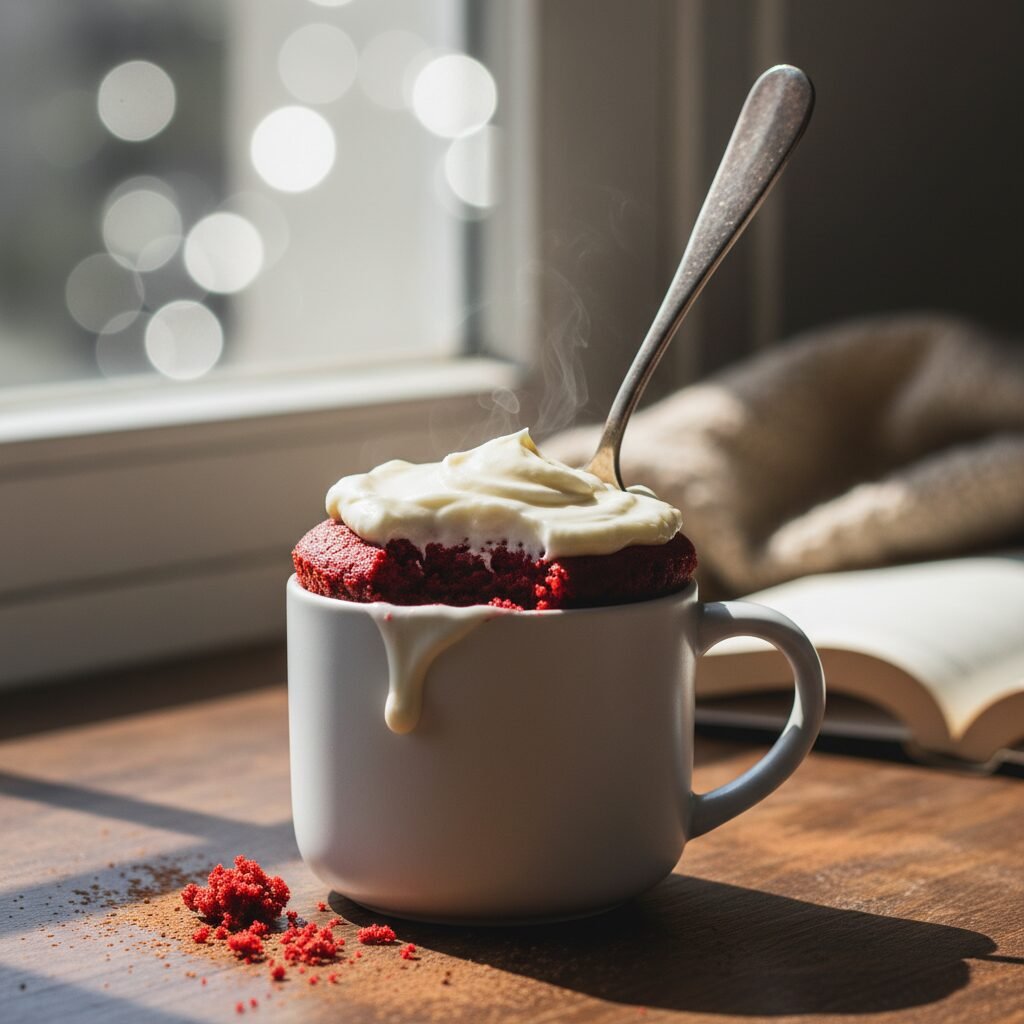
Craving a slice of velvety cake but don’t want to bake a whole batch? This ultra-moist, eggless Red Velvet Mug Cake comes together in just 60 seconds. It is the perfect single-serving dessert featuring that classic mild cocoa tang and a luscious cream cheese topping.
2 minutes
1 minute
3 minutes
1 serving
Dessert
Microwave
American
Vegetarian
There is something undeniably magical about the concept of a mug cake. It bridges the gap between a sudden, late-night craving and the immediate satisfaction of a warm, homemade dessert. Among the pantheon of single-serving treats, the Red Velvet Mug Cake stands out as a crown jewel. It is not merely a chocolate cake with red dye; true red velvet is a complex balancing act of mild cocoa flavors, the tang of buttermilk or vinegar, and a texture that is soft, plush, and unmistakably velvety. This recipe is specifically designed for those moments when you need a touch of luxury without the hassle of preheating an oven or washing a mountain of mixing bowls. We have stripped away the egg, which often makes microwave cakes rubbery, resulting in a crumb that is surprisingly tender and fudgy. Whether you are celebrating a solo Valentine’s Day, treating yourself after a long work week, or simply needing a quick chocolate fix, this recipe delivers gourmet results in microwave speed. The vibrant red hue makes it visually stunning, perfect for your Instagram or Pinterest feed, while the flavor profile hits all the nostalgic notes of a bakery-style slice. We are diving deep into the science of microwave baking to ensure that this isn’t just ‘good for a mug cake’—it is genuinely delicious cake, period. Prepare to have your expectations exceeded by what can be achieved with a simple ceramic mug and a minute of your time.
History & Origins
The history of Red Velvet cake is as rich and layered as the dessert itself, shrouded in culinary myths and marketing legends. The concept of a ‘velvet’ cake dates back to the Victorian era, where the term was used to distinguish cakes with a soft, fine crumb from the coarser sponge cakes of the day. The ‘red’ aspect, however, has a more chemical origin. Before the widespread availability of Dutch-processed cocoa, raw cocoa powder contained anthocyanins that would turn a reddish-brown hue when mixed with acidic ingredients like buttermilk and vinegar. During the Great Depression, as ingredients became scarce, the Adams Extract company in Texas is credited with popularizing the modern, vibrant version of the cake by selling red food coloring with tear-off recipe cards for ‘Adams Red Velvet Cake.’ This marketing genius cemented the cake’s place in American culinary history. Another famous legend attributes the recipe to the Waldorf Astoria Hotel in New York City, though this claim is often debated. Fast forward to the 21st century, and we see the rise of the ‘mug cake.’ As microwaves became a staple in every kitchen and the internet allowed for the rapid sharing of ‘life hacks,’ the idea of baking a single portion of cake in a mug exploded in popularity around the late 2000s and early 2010s. It was the ultimate intersection of convenience culture and comfort food. This specific recipe marries the vintage allure of the 1920s red velvet tradition with the modern, fast-paced demand for instant gratification, modifying the chemistry to work without the drying heat of a conventional oven.
Why This Recipe Works
Microwave baking is fundamentally different from oven baking. An oven heats from the outside in using convection or conduction, while a microwave excites water molecules to generate heat internally. This rapid process can easily turn traditional cake batters into rubbery, tough sponges, especially when eggs are involved. Eggs curdle and toughen quickly in the microwave. That is why this recipe is strictly eggless. By removing the egg, we eliminate the risk of that rubbery texture, ensuring the crumb remains tender and moist. Furthermore, we use oil instead of butter. While butter provides flavor, it contains water and milk solids that can make a mug cake dry once it cools. Oil is 100% fat and remains liquid at room temperature, guaranteeing that your cake stays moist from the first bite to the last. The addition of a small amount of vinegar (or using buttermilk) is crucial not just for the classic red velvet flavor, but for the chemical reaction with baking soda (if used) or baking powder. This reaction creates immediate lift, which is essential in the short cooking window of a microwave. Finally, the ratio of liquid to flour in this recipe is slightly higher than a standard cake to account for the steam that escapes rapidly during the microwave process, ensuring the result is fudgy rather than dry.
Why You’ll Love This Recipe
- ✓Ready in under 5 minutes from prep to eating
- ✓Completely eggless for a fudgier, non-rubbery texture
- ✓Uses pantry staples you likely already have
- ✓Perfect single-serving portion control
- ✓Includes a quick cream cheese frosting hack
- ✓Minimal cleanup required
Equipment You’ll Need
- ✓Microwave-safe mug (12oz capacity recommended)
- ✓Standard tablespoon and teaspoon measures
- ✓Small mixing spoon or mini whisk
Ingredients
- ✓4 tablespoons All-Purpose Flour
- ✓2 tablespoons Granulated Sugar
- ✓1/2 teaspoon Unsweetened Cocoa Powder (standard, not dark)
- ✓1/4 teaspoon Baking Powder
- ✓1 pinch Salt
- ✓3 tablespoons Milk (dairy or plant-based)
- ✓1/2 teaspoon White Vinegar or Lemon Juice (mixed into milk)
- ✓1 tablespoon Vegetable Oil or Canola Oil
- ✓1/4 teaspoon Vanilla Extract
- ✓5-8 drops Red Gel Food Coloring
- ✓1 tablespoon Cream Cheese (softened, for topping)
- ✓1 teaspoon Powdered Sugar (for topping)
Instructions
- Prepare the ‘Buttermilk’: In a small cup, mix the milk and vinegar (or lemon juice) and let it sit for a minute to curdle slightly. This mimics buttermilk.
- Mix Dry Ingredients: In your microwave-safe mug, whisk together the flour, sugar, cocoa powder, baking powder, and salt until well combined and no lumps remain.
- Add Wet Ingredients: Pour in the milk mixture, vegetable oil, vanilla extract, and red food coloring.
- Stir: Mix gently but thoroughly using a spoon or mini whisk. Ensure you scrape the bottom corners of the mug so no pockets of dry flour are left behind. The batter should be smooth and vibrant red.
- Microwave: Cook on high power for 60 to 75 seconds. The timing depends on your microwave wattage (based on 1000W). The cake should rise and look set in the center but slightly shiny.
- Cool: Let the mug cake sit for 1-2 minutes. This is crucial as the cake finishes cooking with residual heat and the structure firms up.
- Make Frosting: While the cake cools, quickly mix the softened cream cheese with the powdered sugar in a small bowl.
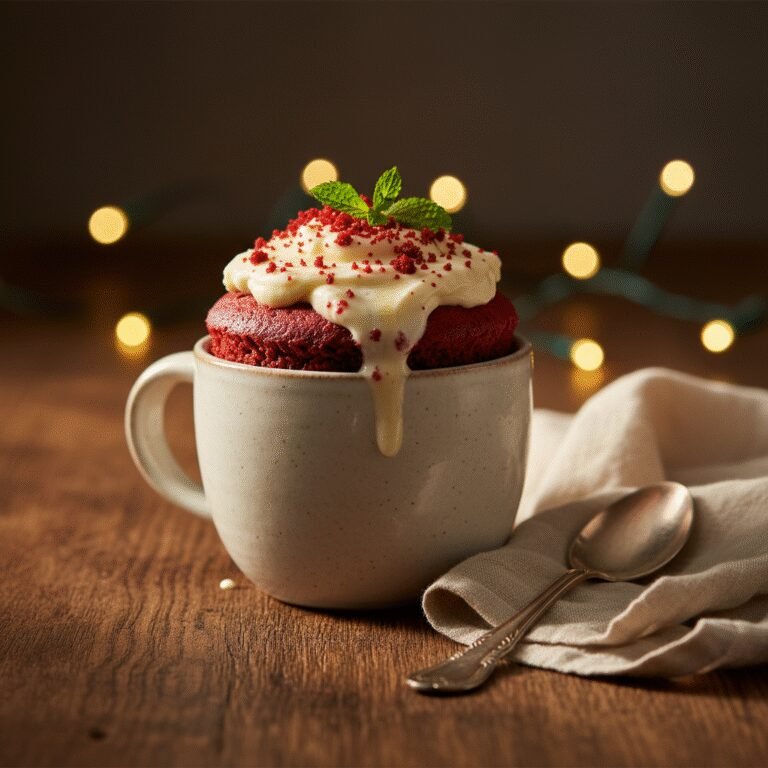
- Serve: Dollop the frosting onto the warm cake and enjoy immediately.
Expert Cooking Tips
- ✓Use a wide mug rather than a tall, narrow one to ensure the cake cooks evenly without overflowing.
- ✓Do not skip the vinegar; it provides the necessary acid to interact with the cocoa and leavening agent.
- ✓If your microwave is very powerful (1200W+), start with 50 seconds to avoid drying it out.
- ✓Mix the batter directly in the mug to save on dishwashing, but wipe the rim before cooking for a cleaner presentation.
- ✓Gel food coloring works better than liquid drops as it provides a more intense color without adding excess liquid.
Substitutions and Variations
This recipe is highly adaptable to various dietary needs. For a Vegan Red Velvet Mug Cake, simply use a plant-based milk like almond or soy milk (the vinegar curdling trick works well with soy) and omit the cream cheese topping or use a vegan alternative. For a Gluten-Free version, substitute the all-purpose flour with a high-quality 1:1 Gluten-Free Baking Flour blend; avoid using pure almond flour or coconut flour as they absorb liquid differently and will require recipe adjustments. If you do not have vegetable oil, melted coconut oil or melted butter can be used, though butter may result in a slightly drier texture once cooled. If you don’t have red food coloring, you can omit it entirely; the cake will taste exactly the same but will look like a light chocolate cake. For a natural coloring alternative, a teaspoon of beet powder can be used, though it may impart an earthy flavor.
Common Mistakes to Avoid
The most common mistake with mug cakes is overcooking. Because the portion is so small, even 10 extra seconds can turn a moist cake into a hard rock. Always err on the side of undercooking, as the cake continues to cook while it sits. Another frequent error is not mixing the batter thoroughly at the bottom of the mug, leading to a mouthful of dry flour at the end. Make sure to scrape the corners well. Using too much cocoa powder is also a pitfall; remember, red velvet is not a chocolate cake—it is a vanilla cake with a hint of cocoa. Too much cocoa will overpower the delicate tang and ruin the red color, turning it muddy brown. Finally, using a mug that is too small will result in the batter overflowing and creating a mess in your microwave.
Serving Suggestions
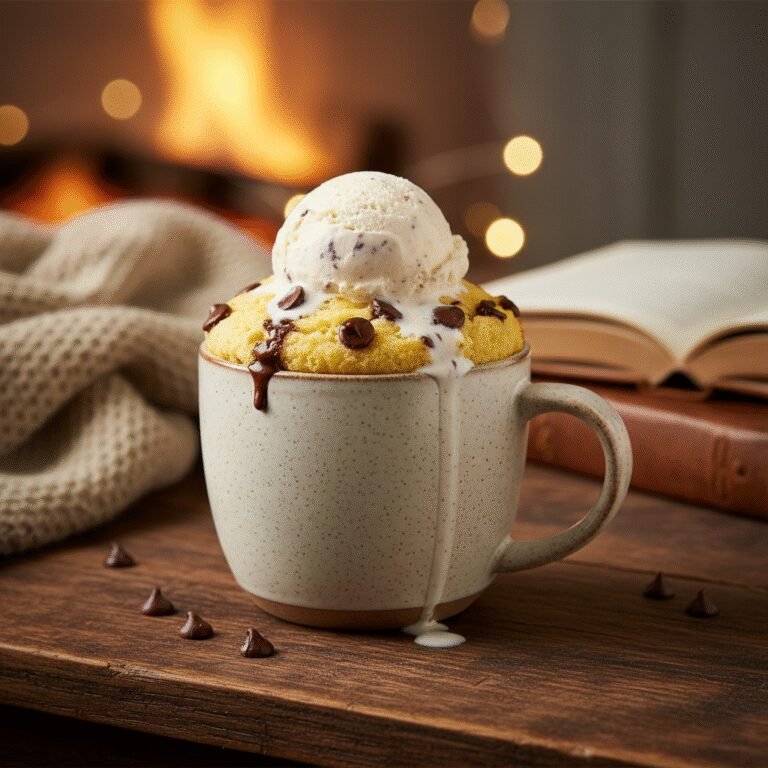
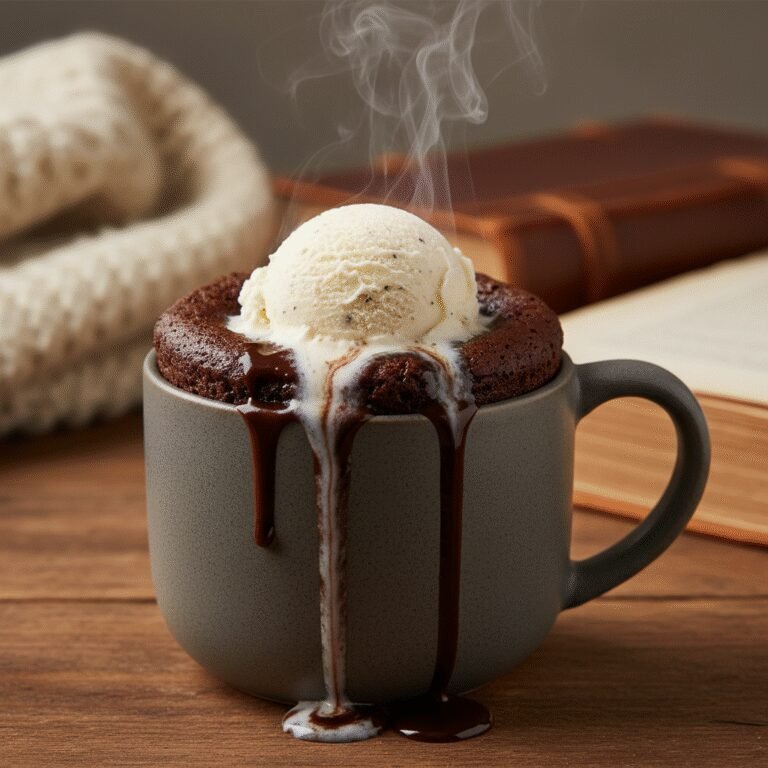
This mug cake is best served warm, straight from the microwave. The classic pairing is the sweetened cream cheese topping listed in the ingredients, which mimics the traditional frosting of a layer cake. However, you can also serve it with a scoop of vanilla bean ice cream, which will melt into the warm cake creating a delicious sauce. A dusting of powdered sugar or a dollop of whipped cream are excellent, lighter alternatives. for texture, consider sprinkling mini white chocolate chips or crushed pecans on top before eating. If you are feeling festive, heart-shaped sprinkles make this an adorable quick treat for Valentine’s Day.
Storage and Reheating Tips
Mug cakes are designed for immediate consumption and do not store well. The texture degrades rapidly as it cools, becoming stale or rubbery within hours. Therefore, we strongly recommend making only what you intend to eat right away. If you absolutely must save it, cover the mug tightly with plastic wrap and store it in the refrigerator for up to 24 hours. To reheat, sprinkle a few drops of water over the top and microwave in 10-second intervals until warm, though be aware it will likely not be as soft as when it was fresh. It is not recommended to freeze this finished product.
Nutrition Facts (Estimated)
| Serving Size | 1 mug cake |
| Calories | 420 |
| Fat | 18g |
| Saturated Fat | 4g |
| Unsaturated Fat | 12g |
| Trans Fat | 0g |
| Cholesterol | 10mg |
| Sodium | 180mg |
| Carbohydrates | 58g |
| Fiber | 2g |
| Sugar | 28g |
| Protein | 5g |
Frequently Asked Questions
Can I make this in the oven instead of the microwave?
Yes, you can. Pour the batter into an oven-safe ramekin and bake at 350°F (175°C) for about 12-15 minutes. The texture will be slightly different, closer to a traditional cupcake.
Why did my mug cake turn out rubbery?
Rubbery texture is usually caused by two things: overmixing the batter (which develops gluten) or overcooking. Since this recipe is eggless, overcooking is the most likely culprit. Reduce the cooking time by 10-15 seconds next time.
Can I double the recipe?
You can double the ingredients, but do not cook them in the same mug unless it is a very large soup mug. It is better to make two separate mugs and cook them one at a time to ensure even heat distribution.
Do I have to use red food coloring?
No, the food coloring is purely for aesthetics. The flavor comes from the cocoa, vanilla, and buttermilk/vinegar. Without the dye, it will just be a brownish-colored cake with the same taste.
Can I use self-rising flour?
Yes, if you use self-rising flour, omit the baking powder and salt from the recipe. The result will be very similar.
What if I don’t have vinegar?
You can use lemon juice as a direct 1:1 substitute. If you have actual buttermilk, you can use 3 tablespoons of buttermilk instead of the milk+vinegar mixture.
Is this recipe safe for kids to make?
Absolutely. Since there are no raw eggs involved, there is no risk of salmonella if they taste the batter, and it requires no sharp tools or open flames, just a microwave.
Why is my cake not red?
If you use too much cocoa powder or a dark ‘Dutch-processed’ cocoa, it will overpower the red dye. Use standard, lighter cocoa powder and ensure you are using a high-quality gel color for vibrancy.
Conclusion
This Easy Red Velvet Mug Cake proves that you don’t need a special occasion or hours in the kitchen to enjoy a slice of luxury. It captures the essence of the beloved classic—the striking color, the tender crumb, and the tangy-sweet flavor profile—all in a portion that fits in the palm of your hand. It is the ultimate hack for the busy sweet tooth. Whether you are a college student in a dorm, a busy parent needing a midnight treat, or just someone who loves cake, this recipe is a keeper. Next time the craving strikes, grab your favorite mug and give this a try; you might never go back to box mixes again.