The Ultimate Easy No Bake Mixed Berry Cheesecake With Oreo Crust
Easy No Bake Mixed Berry Cheesecake With Oreo Crust Recipe
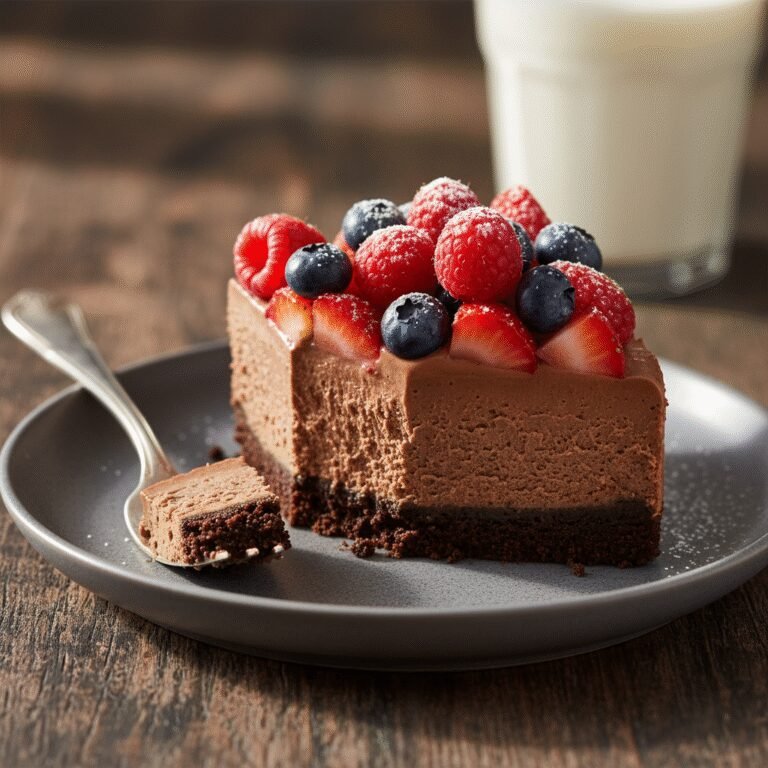
This show-stopping No Bake Mixed Berry Cheesecake features a decadent, dark chocolate Oreo crust that perfectly contrasts with a light, creamy, and tangy berry-infused filling. It is the ultimate summer dessert that requires absolutely no oven time and delivers a professional bakery-style result right in your own kitchen.
30 minutes
10 minutes (for sauce reduction)
6 hours 40 minutes (includes chilling time)
10-12 servings
Dessert
No-Bake / Chilling
American
Vegetarian
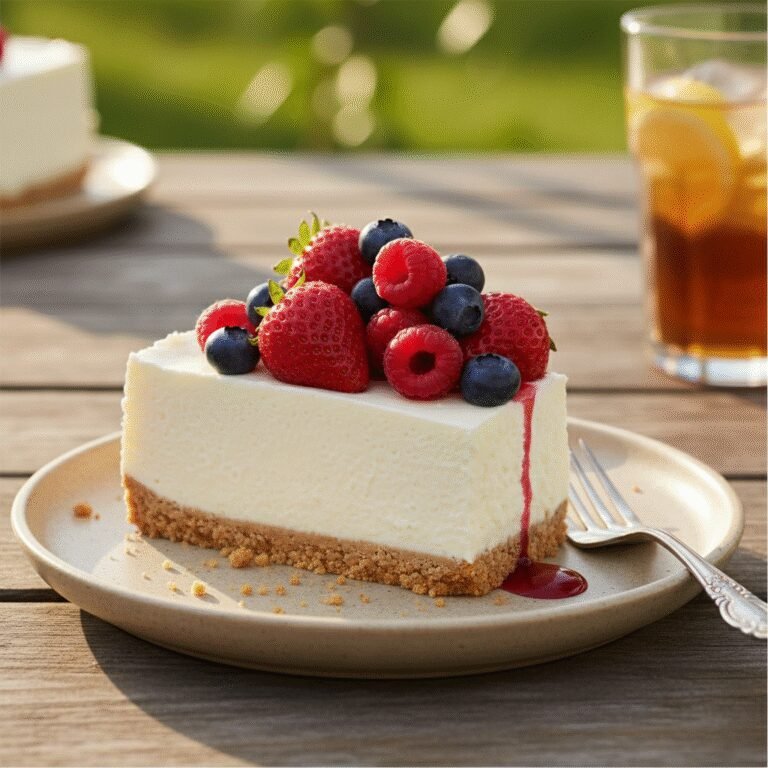
There is something undeniably magical about a dessert that looks like a masterpiece but requires zero time in a hot oven. As the temperatures rise and the craving for something sweet and refreshing hits, this Easy No Bake Mixed Berry Cheesecake with Oreo Crust becomes the unsung hero of the kitchen. Picture this: a velvety, luscious filling that melts in your mouth, bursting with the bright, tart flavors of strawberries, raspberries, and blueberries, all sitting atop a crunchy, buttery, dark chocolate foundation. It is a study in contrasts—smooth versus crunchy, sweet versus tangy, and light versus rich.
For many home cooks, the idea of a traditional cheesecake is daunting. The water baths, the risk of cracking, and the long baking times can be a barrier. That is where this recipe shines. It removes the intimidation factor entirely while amplifying the flavor. By skipping the baking process, the fresh, vibrant notes of the mixed berries remain front and center, not dulled by heat. The filling relies on the aeration of heavy cream rather than eggs for structure, resulting in a texture closer to a firm mousse than a dense custard. Whether you are hosting a backyard barbecue, looking for a romantic dessert for two, or simply need a sweet treat to get through the week, this cheesecake promises high impact with minimal effort. It is a celebration of summer produce wrapped in a chocolatey embrace that is guaranteed to be the star of your Pinterest board and your dinner table.
History & Origins
The history of cheesecake is a journey that spans millennia and crosses continents, evolving significantly to reach the modern no-bake iteration we love today. While we often associate cheesecake with the delis of New York City, its origins can be traced back to Ancient Greece. Physical anthropologists have excavated cheese molds dating back to 2,000 B.C., and it is believed that cheesecakes were served to athletes during the first Olympic Games in 776 B.C. to provide energy. The Romans later adopted the recipe, calling it ‘placenta’ (a cake made of cheese and honey), and spread it across Europe as they conquered new lands.
However, the modern cream cheese we use today is an American invention. In 1872, a New York dairyman named William Lawrence was attempting to replicate the French cheese Neufchâtel. He accidentally added too much cream, creating a richer, spreadable cheese that he eventually branded as ‘Philadelphia Cream Cheese.’ This revolutionized the dessert, moving it away from the grainy curds of the past to the smooth consistency we crave.
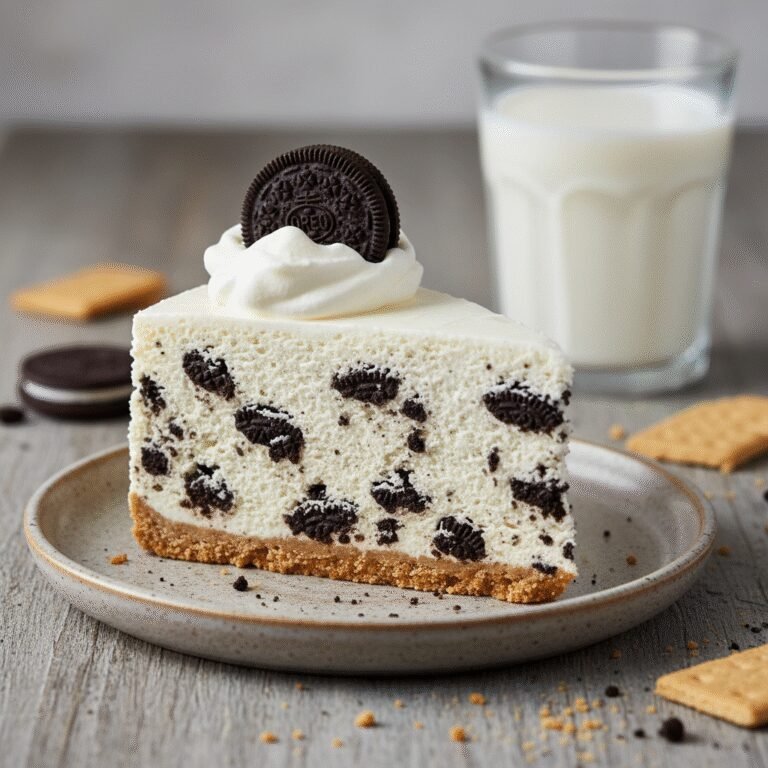
The ‘no-bake’ concept gained massive popularity in the mid-20th century with the widespread availability of household refrigerators and the invention of gelatin desserts and stabilized whipped toppings. The 1950s and 60s saw a boom in ‘icebox cakes,’ where convenience was king. Home cooks realized that by folding whipped cream into cream cheese and chilling it, they could achieve a stable, delicious cake without turning on the oven. This recipe marries that mid-century convenience with the modern demand for high-quality ingredients, utilizing a classic Oreo crust—a cookie invented in 1912 that has become the gold standard for chocolate crusts worldwide.
Why This Recipe Works
This recipe succeeds where many other no-bake cheesecakes fail because of its strict attention to moisture control and structural integrity without the use of gelatin. Many no-bake recipes result in a soupy mess because fresh fruit releases too much water into the cheese mixture. In this recipe, we create a concentrated berry reduction. By cooking the berries down with sugar and a hint of cornstarch, we evaporate the excess liquid and intensify the fruit flavor. This ensures that when the puree is folded into the filling, it adds taste and color without compromising the structure.
Furthermore, the stability of this cheesecake relies on a precise ratio of full-fat cream cheese to heavy whipping cream. The cream cheese provides the tang and the density, while the heavy cream, whipped to stiff peaks, acts as the scaffolding that holds the cake together. We avoid ‘tub’ style cream cheese spreads, which contain air and higher water content, opting instead for block-style cheese for maximum firmness. The Oreo crust also plays a pivotal role; the cream filling inside the cookies mixes with the melted butter to create a crust that sets firmer than a traditional graham cracker base, providing a sturdy platform that won’t crumble when sliced. The result is a slice that stands up tall on the plate but melts creamy and smooth on the tongue.
Why You’ll Love This Recipe
- ✓Requires absolutely no oven time, keeping your kitchen cool.
- ✓The berry reduction prevents the filling from becoming runny.
- ✓Oreo crust adds a deep chocolate flavor that complements the tart berries.
- ✓Can be made up to 2 days in advance, perfect for party prep.
- ✓Uses simple, accessible ingredients found in any grocery store.
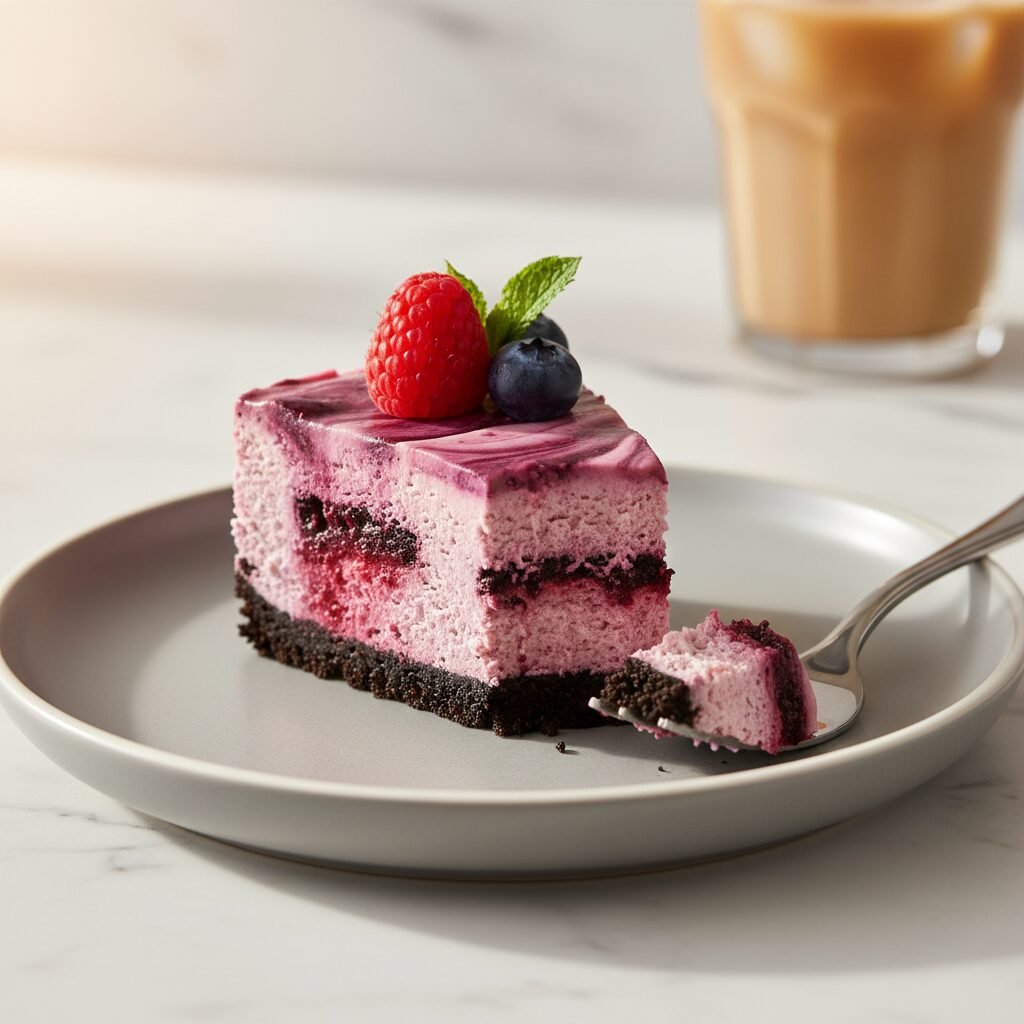
- ✓Visually stunning with natural purple and pink hues.
Equipment You’ll Need
- ✓9-inch Springform Pan
- ✓Food Processor or Rolling Pin
- ✓Electric Hand Mixer or Stand Mixer
- ✓Small Saucepan
- ✓Fine Mesh Sieve (optional)
- ✓Rubber Spatula
- ✓Mixing Bowls
Ingredients
- ✓24 Oreo cookies (filling included)
- ✓5 tablespoons unsalted butter, melted
- ✓16 oz (2 blocks) full-fat cream cheese, softened to room temperature
- ✓1 cup heavy whipping cream, cold
- ✓1 cup powdered sugar, sifted
- ✓1 teaspoon pure vanilla extract
- ✓1 tablespoon fresh lemon juice
- ✓1.5 cups mixed berries (fresh or frozen: strawberries, blueberries, raspberries)
- ✓2 tablespoons granulated sugar
- ✓1 teaspoon cornstarch dissolved in 1 tablespoon water (slurry)
Instructions
- Prepare the Berry Sauce: In a small saucepan, combine the mixed berries and granulated sugar over medium heat. Cook for 5-8 minutes until the berries break down and release their juices. Mash them slightly with a fork.
- Thicken the Sauce: Stir in the cornstarch slurry and cook for another 1-2 minutes until the mixture thickens significantly. It should coat the back of a spoon. Remove from heat. If you prefer a smooth cheesecake, press the sauce through a fine-mesh sieve to remove seeds and skins. Let this cool completely to room temperature. (Do not add hot sauce to the cream cheese!).
- Make the Crust: Place the Oreo cookies (entire cookie, do not remove filling) into a food processor and pulse until fine crumbs form. Pour in the melted butter and pulse until the mixture resembles wet sand.
- Press the Crust: Pour the crumb mixture into a 9-inch springform pan. Use the bottom of a measuring cup or glass to press the crumbs firmly and evenly into the bottom and slightly up the sides of the pan. Place the pan in the freezer while you make the filling.
- Whip the Cream: In a large mixing bowl, whip the cold heavy cream until stiff peaks form. Be careful not to over-beat it into butter. Set aside.
- Beat the Cheese: In a separate large bowl, beat the softened cream cheese, powdered sugar, lemon juice, and vanilla extract until completely smooth and creamy. Scrape down the sides of the bowl to ensure no lumps remain.
- Combine: Gently fold the whipped cream into the cream cheese mixture using a rubber spatula. Use a folding motion (bottom to top) to keep the mixture airy. Do not stir vigorously.
- Add Berries: Pour the cooled berry sauce into the cheesecake batter. You can either fold it in completely for a uniform purple color or gently swirl it 3-4 times for a marbled effect.
- Assemble: Remove the crust from the freezer. Pour the filling over the crust and smooth the top with an offset spatula.
- Chill: Cover the pan loosely with plastic wrap and refrigerate for at least 6 hours, preferably overnight. The cheesecake needs this time to firm up.
- Serve: When ready to serve, run a thin knife around the edge of the pan to loosen the cake, then release the springform ring. Garnish with fresh berries and whipped cream if desired.
Expert Cooking Tips
- ✓Ensure your cream cheese is strictly at room temperature before mixing to avoid lumps.
- ✓The heavy whipping cream must be very cold to achieve maximum volume when whipping.
- ✓Do not skip the chilling time; 6 hours is the minimum, but overnight is best for clean slices.
- ✓If using frozen berries for the sauce, do not thaw them beforehand; just put them straight into the saucepan.
- ✓Press the crust down very firmly to ensure it holds together when you slice the cake.
- ✓Use full-fat block cream cheese; tub spreads are too soft and will result in a runny cake.
Substitutions and Variations
This recipe is quite versatile regarding dietary needs and pantry staples. For the crust, if you are not an Oreo fan, you can substitute with an equal amount of graham cracker crumbs, digestive biscuits, or even Biscoff cookies; just increase the butter to 6 or 7 tablespoons as these cookies are drier than Oreos. For a gluten-free version, simply use Gluten-Free Oreos or gluten-free graham crackers.
Regarding the filling, while full-fat cream cheese yields the best stability, you can use Neufchâtel cheese for a slightly lighter version, though the set will be softer. Do not use fat-free cream cheese as it contains stabilizers that mess with the texture. The berry mix can be swapped for a single fruit like just strawberries or raspberries, or even peaches and mangoes, provided you cook them down into a thick reduction. If you don’t have powdered sugar, you can blend granulated sugar in a high-speed blender until it turns into a powder, but commercial powdered sugar contains a tiny bit of cornstarch which helps stability.
Common Mistakes to Avoid
The most common mistake with no-bake cheesecake is under-whipping the heavy cream. It needs to reach stiff peaks—meaning when you lift the beaters, the cream stands straight up without curling over. If the cream is too soft, the cheesecake will not set. Another major error is adding the berry sauce while it is still warm. Heat will melt the butterfat in the cream cheese and deflate the whipped cream, resulting in a soup that will never solidify.
Additionally, rushing the chilling process is a recipe for disaster. Unlike baked cheesecakes which set via egg proteins, this relies on the fat solidifying at cold temperatures. Cutting into it after only 2 or 3 hours will result in a collapse. Finally, using ‘whipped’ cream cheese from a tub is a fail; it has too much air incorporated already and a different water content, which prevents a firm set.
Serving Suggestions
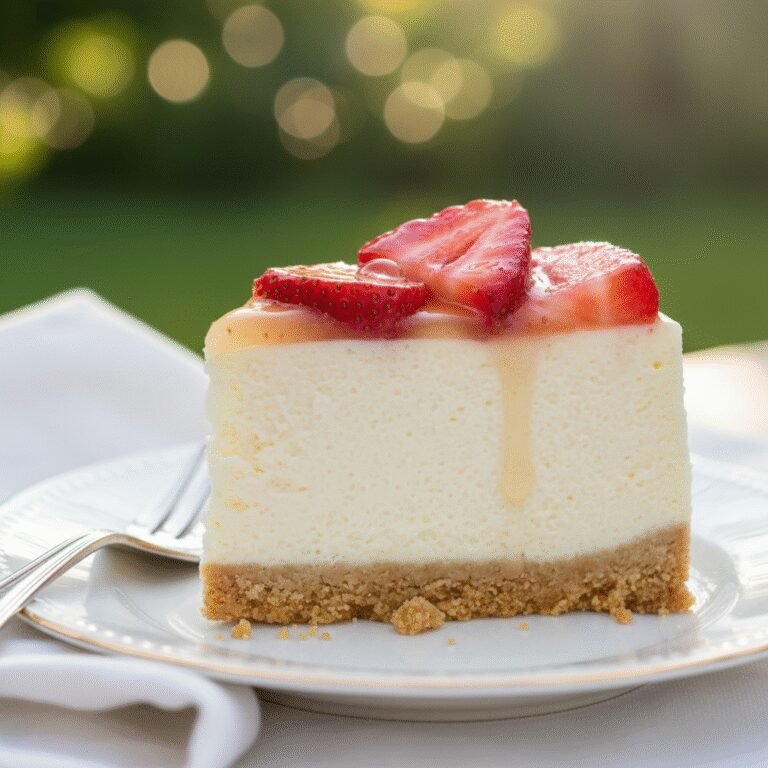
This cheesecake is a stunner on its own, but proper garnishing takes it to the next level. Serve chilled, straight from the fridge. Top the entire cake with a mound of fresh, washed berries (strawberries, blueberries, raspberries) right before serving to hint at the flavors inside. A dusting of powdered sugar over the berries adds a snowy, elegant finish.
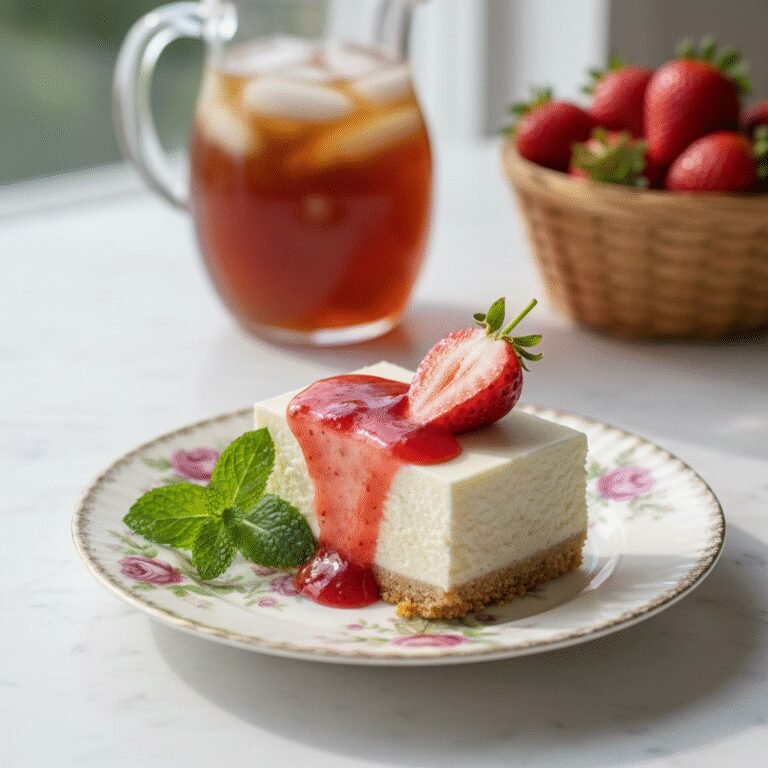
For extra indulgence, pipe rosettes of stabilized whipped cream around the border. If you want to play up the chocolate crust, add some chocolate shavings or a drizzle of dark chocolate ganache over the slice. A sprig of fresh mint adds a pop of green color that contrasts beautifully with the purple filling. Pair this dessert with a hot espresso or a cold brew coffee to cut through the richness.
Storage and Reheating Tips
This cheesecake must be kept refrigerated. Store leftovers in the springform pan covered with plastic wrap, or transfer slices to an airtight container. It will stay fresh in the refrigerator for up to 4-5 days.
For longer storage, this cheesecake freezes exceptionally well. To freeze, let the cheesecake set completely in the fridge first. Then, wrap the entire cake (or individual slices) tightly in two layers of plastic wrap, followed by a layer of aluminum foil to prevent freezer burn. It can be frozen for up to 3 months. When you are ready to eat, thaw the cheesecake in the refrigerator overnight. Do not thaw it on the counter at room temperature, as it may become too soft and lose its structure.
Nutrition Facts (Estimated)
| Serving Size | 1 slice |
| Calories | 485 |
| Fat | 36g |
| Saturated Fat | 20g |
| Unsaturated Fat | 12g |
| Trans Fat | 0.5g |
| Cholesterol | 95mg |
| Sodium | 240mg |
| Carbohydrates | 42g |
| Fiber | 2g |
| Sugar | 32g |
| Protein | 5g |
Frequently Asked Questions
Why is my no-bake cheesecake runny?
This usually happens for three reasons: the heavy cream wasn’t whipped to stiff peaks, the berry sauce was added while warm, or low-fat/tub cream cheese was used. Ensure you use block full-fat cheese and fold gently.
Can I use Cool Whip instead of heavy cream?
Yes, you can substitute the 1 cup of heavy cream and 1 cup of powdered sugar with about 3 cups of thawed Cool Whip. However, the texture will be slightly sweeter and less rich than using real cream.
Do I need to use gelatin for this recipe?
No, this recipe relies on the chemical structure of stiffly whipped cream and cold cream cheese. However, if you live in a very hot climate or want an extra-firm texture, you can dissolve 1 teaspoon of unflavored gelatin in water and add it to the filling.
Can I make this in a pie dish instead of a springform pan?
Absolutely. A deep-dish 9-inch pie plate works well. The serving slices won’t be as tall or clean-cut as a springform pan, but it will taste just as delicious.
Can I use frozen berries?
Yes, frozen berries are perfect for the sauce. Since you are cooking them down anyway, the texture change from freezing doesn’t matter. Just don’t use frozen berries for the garnish on top.
How do I get clean slices?
Run a large chef’s knife under hot water, wipe it dry, and make a cut. Repeat the ‘dip, wipe, cut’ process for every single slice. This melts the cheese slightly for a smooth edge.
Is this recipe gluten-free?
The filling is naturally gluten-free (check your cornstarch label to be sure), but standard Oreos are not. Use Gluten-Free Oreos for the crust to make the entire dessert safe for celiacs.
Can I reduce the sugar?
You can reduce the sugar in the berry sauce slightly, but be careful reducing the powdered sugar in the filling too much, as it helps stabilize the cream. Using less sugar will result in a softer texture and tangier taste.
Conclusion
The Easy No Bake Mixed Berry Cheesecake with Oreo Crust is more than just a recipe; it is a reliable, crowd-pleasing solution for dessert lovers who want elegance without the hassle. By combining the rich, bittersweet crunch of Oreos with the light, fruity creaminess of the berry filling, you create a flavor profile that satisfies every palate. Whether you are a novice baker or a seasoned pro, the simplicity of this method allows you to focus on the joy of sharing food rather than the stress of baking mechanics. So, grab your mixer, pick up some fresh berries, and get ready to impress your friends and family with a dessert that looks like it came straight from a high-end bakery case. Enjoy the creamy, dreamy goodness!