The Ultimate 5-Minute Easy Brownie Mug Cake With Sprinkles
Easy Brownie Mug Cake With Sprinkles Recipe
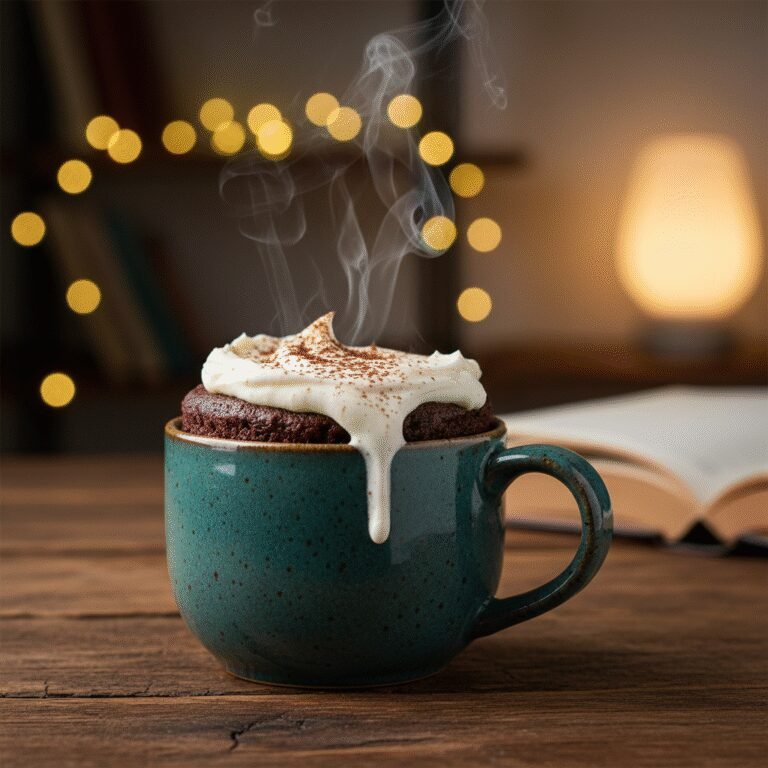
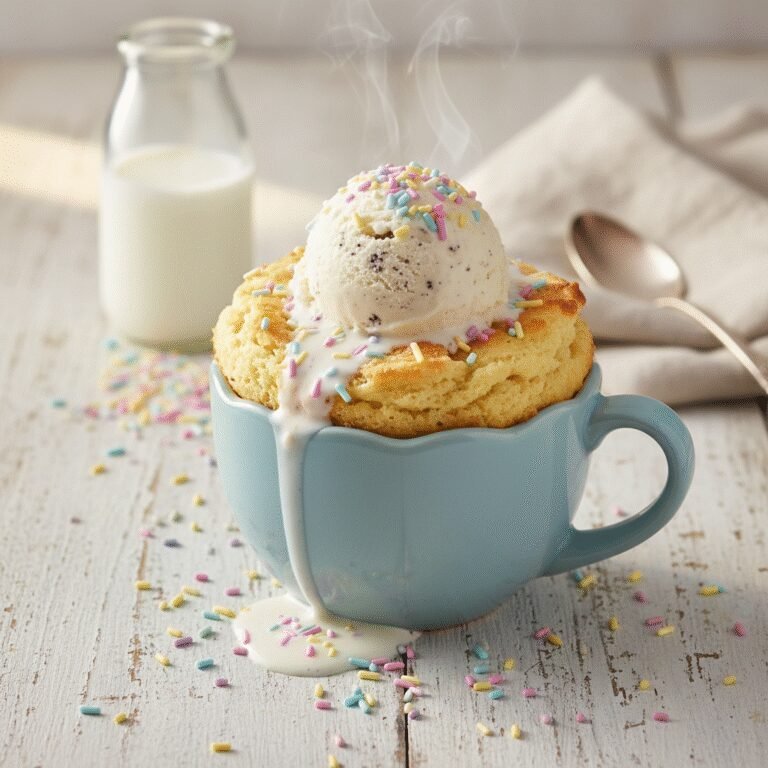
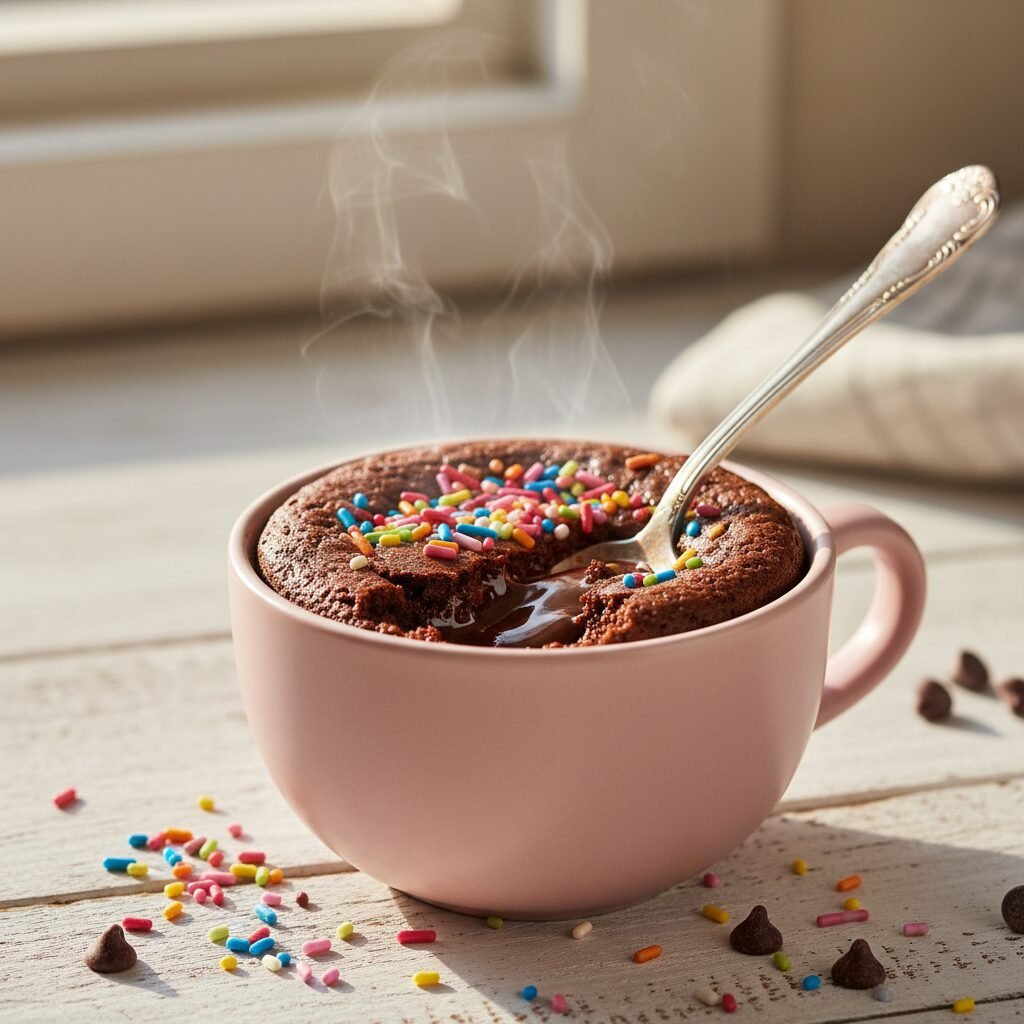
Satisfy your deepest chocolate cravings in less than five minutes with this ultra-fudgy Brownie Mug Cake. Perfect for late-night treats or a quick solo dessert, this single-serving wonder is topped with festive sprinkles for a burst of color and joy in every bite.
3 minutes
1 minute 30 seconds
4 minutes 30 seconds
1 large mug serving
Dessert
Microwave
American
Vegetarian
There are few things in life more urgent than a sudden, undeniable craving for chocolate. We have all been there: it is 9 PM on a Tuesday, you are curled up on the couch, and your sweet tooth demands satisfaction. Baking a full tray of brownies takes time, patience, and yields far more leftovers than you might want to manage. Enter the hero of the modern kitchen: the Easy Brownie Mug Cake With Sprinkles. This isn’t just a compromise for the sake of speed; it is a legitimate dessert experience that rivals any oven-baked good.
Imagine a warm, gooey center that tastes like molten chocolate lava, surrounded by tender, moist cake edges, all contained within your favorite ceramic mug. The addition of colorful sprinkles isn’t merely aesthetic; it adds a delightful textural crunch and a nostalgic whimsy that transports you back to childhood birthday parties. This recipe has been meticulously tested to avoid the common pitfalls of microwave baking—namely, the rubbery texture or lack of flavor. Instead, we use a specific balance of fat and moisture to ensure a rich, velvety mouthfeel. Whether you are a college student with limited kitchen access, a busy parent needing a quick escape, or simply a chocolate lover looking for instant gratification, this mug cake is your new best friend. It is decadent, incredibly simple, and practically foolproof.
History & Origins
The history of the brownie itself is a storied tale of American ingenuity, dating back to the late 19th century. Legends often point to Bertha Palmer of the Palmer House Hotel in Chicago, who requested a dessert suitable for ladies attending the World’s Columbian Exposition in 1893—something smaller than a cake but easily eaten from boxed lunches. The result was a dense, chocolatey confection that laid the groundwork for the brownies we know today.
However, the concept of the ‘mug cake’ is a much more recent phenomenon, born out of the internet age and the desire for instant gratification. While microwave cooking became a staple in the 1980s, it was primarily used for reheating or cooking savory meals. It wasn’t until the blogging boom and the rise of Pinterest in the late 2000s and early 2010s that the single-serving microwave dessert took the world by storm. Food bloggers began experimenting with scaling down traditional cake batters to fit into a coffee mug, utilizing the microwave’s rapid cooking technology to bake a treat in under two minutes. Initially, many recipes suffered from texture issues, often resulting in spongy or dry cakes. Over the last decade, culinary experts have refined the science, realizing that omitting eggs and adjusting fat ratios creates a superior, fudgier texture closer to a steamed pudding. Today, the brownie mug cake represents the perfect intersection of classic American comfort food and modern convenience culture.
Why This Recipe Works
The science behind this Brownie Mug Cake lies in the careful balancing of ingredients to suit the unique cooking method of a microwave. Microwaves cook by exciting water molecules, which generates heat rapidly and internally. This is vastly different from the conduction and convection heat of a traditional oven. Many mug cake recipes fail because they include whole eggs, which, in such a small volume and high heat, coagulate too firmly, resulting in a rubbery, omelet-like texture.
This recipe eliminates the egg entirely, relying instead on milk and oil (or melted butter) to provide moisture and richness. The combination of granulated sugar and a high-quality cocoa powder creates that essential fudgy density. We also use just a pinch of baking powder; too much leavening in a microwave causes the batter to rise rapidly and then collapse, making the cake tough. By keeping the leavening minimal, the cake rises gently and maintains a dense, brownie-like crumb. Finally, the cooking time is kept short—usually around 60 to 90 seconds. This prevents the sugars from burning and ensures the center remains moist and slightly molten, which is the hallmark of a perfect brownie.
Why You’ll Love This Recipe
- ✓Ready in under 5 minutes from start to finish.
- ✓No eggs required, preventing a rubbery texture.
- ✓Single-serving portion control perfect for solo treats.
- ✓Made with pantry staples you likely already have.
- ✓Versatile base that welcomes various mix-ins and toppings.
Equipment You’ll Need
- ✓Microwave-safe mug (12oz or larger)
- ✓Tablespoon
- ✓Teaspoon
- ✓Small mixing bowl (optional, can mix in mug)
- ✓Fork or small whisk
Ingredients
- ✓4 tablespoons all-purpose flour
- ✓4 tablespoons granulated sugar
- ✓2 tablespoons unsweetened cocoa powder
- ✓1/8 teaspoon salt
- ✓1/8 teaspoon baking powder
- ✓3 tablespoons milk (dairy or non-dairy)
- ✓2 tablespoons vegetable oil or melted butter
- ✓1/4 teaspoon vanilla extract
- ✓1 tablespoon chocolate chips (optional for extra gooiness)
- ✓1 tablespoon rainbow sprinkles
Instructions
- Select a microwave-safe mug that holds at least 12 ounces to prevent overflow.
- In the mug (or a separate small bowl if you prefer easier mixing), whisk together the flour, sugar, cocoa powder, baking powder, and salt until well combined and free of lumps.
- Add the milk, vegetable oil (or melted butter), and vanilla extract to the dry ingredients.
- Stir vigorously with a fork or small whisk until the batter is smooth and glossy. Ensure you scrape the bottom edges of the mug so no dry flour pockets remain.
- If using chocolate chips, fold them into the batter now or drop them into the center.
- Scatter the rainbow sprinkles generously over the top of the batter. Do not stir them in completely if you want them visible on top.
- Place the mug in the center of the microwave. Cook on high power for 60 to 90 seconds. The timing depends on your microwave’s wattage (typically 1000W). The cake should look set on top but can still be slightly shiny or moist.
- Carefully remove the mug from the microwave using a towel or oven mitt, as it will be very hot.
- Let the mug cake sit for 1-2 minutes to cool slightly and finish setting.
- Enjoy warm, directly from the mug!
Expert Cooking Tips
- ✓Do not overcook! Microwaves vary greatly; start with 60 seconds and add 10-second intervals if needed.
- ✓Use a wide mug rather than a tall, narrow one to ensure even cooking.
- ✓Mix the dry ingredients first to avoid clumps of cocoa powder in your finished cake.
- ✓If you want a molten center, place a piece of chocolate in the middle of the batter before cooking.
- ✓Letting it rest for a minute after cooking is crucial for the texture to settle.
Substitutions and Variations
This recipe is incredibly forgiving and adaptable to various dietary needs. For a gluten-free version, simply swap the all-purpose flour for a 1:1 gluten-free baking flour blend; almond flour can also work but may result in a denser texture. If you are vegan or dairy-free, use any plant-based milk like almond, soy, or oat milk, and ensure your chocolate chips and sprinkles are vegan-certified. You can replace the vegetable oil with melted coconut oil for a subtle coconut flavor, or melted butter for a richer, more traditional brownie taste. For sugar alternatives, coconut sugar works well but will darken the flavor profile; liquid sweeteners like maple syrup can affect the texture, so reduce the milk slightly if using them.
Common Mistakes to Avoid
The most frequent mistake is overcooking the mug cake. Because microwaves cook from the inside out, a cake that looks slightly underdone on top is often perfect underneath. If you cook it until it looks completely dry, it will become hard and rubbery as it cools. Another common error is not mixing the batter thoroughly at the bottom of the mug. This leaves pockets of dry flour that are unpleasant to eat. Always use a fork to scrape the bottom corners of the mug. Finally, using a mug that is too small will result in a messy overflow; always opt for a standard 12-ounce coffee mug or larger.
Serving Suggestions
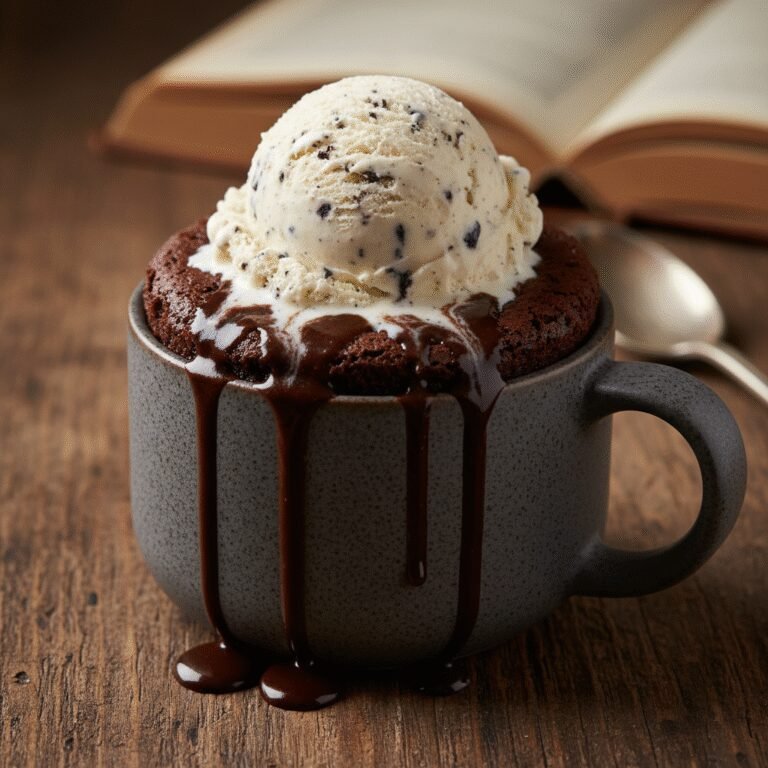
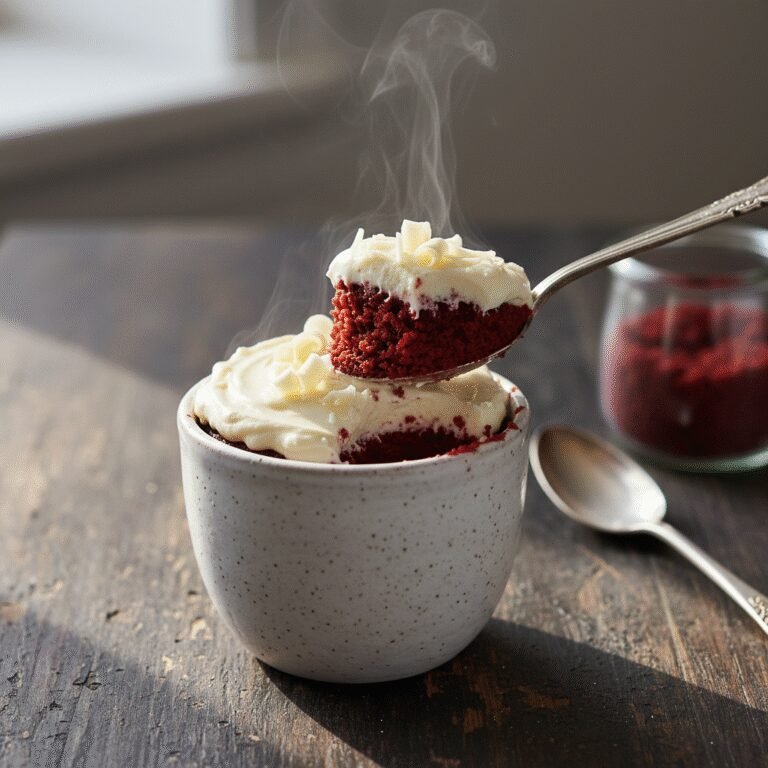
While delicious on its own, this brownie mug cake serves as an excellent base for decadent toppings. A scoop of vanilla bean ice cream is the classic choice, creating a hot-and-cold contrast as it melts into the warm brownie. A dollop of whipped cream and a drizzle of chocolate or caramel sauce can elevate it to restaurant quality. For a fresher take, top with sliced strawberries or raspberries to cut through the richness. If you are feeling festive, add extra sprinkles after cooking for a pop of fresh color.
Storage and Reheating Tips
Mug cakes are best enjoyed immediately while they are warm. The texture tends to degrade and become chewy once fully cooled. However, if you cannot finish it, you can cover the mug with plastic wrap and store it in the refrigerator for up to 24 hours. To reheat, microwave it for 10-15 seconds, just enough to warm it through. Do not freeze the cooked mug cake, as the texture will become spongy upon thawing. If you want to meal prep, you can mix the dry ingredients in small jars or ziplock bags ahead of time, so all you have to do is add the wet ingredients when the craving strikes.
Nutrition Facts (Estimated)
| Serving Size | 1 mug cake |
| Calories | 420 |
| Fat | 22g |
| Saturated Fat | 4g |
| Unsaturated Fat | 16g |
| Trans Fat | 0g |
| Cholesterol | 5mg |
| Sodium | 180mg |
| Carbohydrates | 52g |
| Fiber | 3g |
| Sugar | 35g |
| Protein | 5g |
Frequently Asked Questions
Why is my mug cake rubbery?
A rubbery texture is usually caused by two things: overcooking or over-mixing. Overcooking dries out the moisture, while over-mixing develops the gluten in the flour too much. Mix just until combined and check the cake early.
Can I make this without a microwave?
Yes, you can bake this in an oven-safe ramekin at 350°F (175°C) for about 15-20 minutes, but this defeats the purpose of a ‘quick’ mug cake. The texture will be slightly different, more like a traditional brownie.
Can I use water instead of milk?
Technically yes, but the result will be less rich and flavorful. Milk adds fat and sugar that contribute to a tender crumb. If you are out of milk, try to add a slightly higher amount of fat (butter/oil) to compensate.
Do I need to grease the mug?
It is not strictly necessary since you eat it out of the mug, but a quick spray of non-stick cooking spray can make cleaning the mug easier afterward.
Why did my mug cake overflow?
This happens if the mug is too small or if too much baking powder was used. The batter rises rapidly in the microwave. Always fill the mug no more than halfway to allow for rising.
Can I double the recipe?
If you want two servings, it is best to make them in two separate mugs. Doubling the batter in one mug will likely cause overflow and uneven cooking.
Is cocoa powder necessary?
For a brownie mug cake, yes. If you omit cocoa powder, you are essentially making a vanilla mug cake (blondie). You would need to adjust the flour slightly to compensate for the dry volume of the cocoa.
Can I use self-rising flour?
Yes, if you use self-rising flour, omit the baking powder and salt from the recipe as they are already included in the flour.
Conclusion
This Easy Brownie Mug Cake with Sprinkles is truly the ultimate hack for chocolate lovers. It bridges the gap between the desire for a homemade dessert and the reality of a busy schedule. With minimal cleanup, basic pantry ingredients, and a cooking time that is faster than a commercial break, there is no reason not to treat yourself. Whether you are celebrating a small win, comforting a bad day, or just enjoying a quiet moment to yourself, this warm, fudgy, sprinkle-topped delight is sure to bring a smile to your face. Grab your favorite mug and get ready to fall in love with microwave baking!