The Ultimate Creamy Vanilla Cheesecake With Oreo Crust
Creamy Vanilla Cheesecake With Oreo Crust Recipe
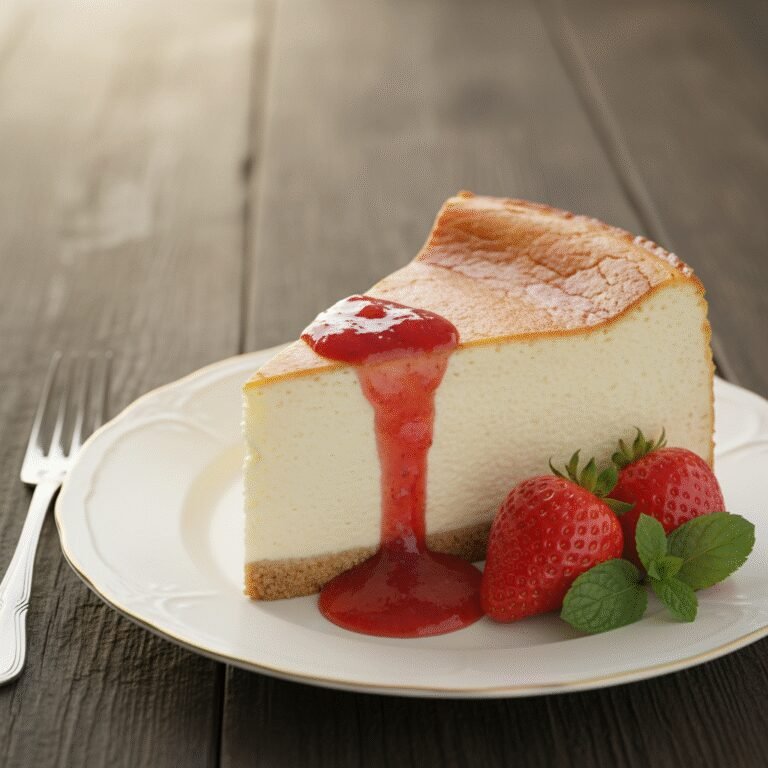
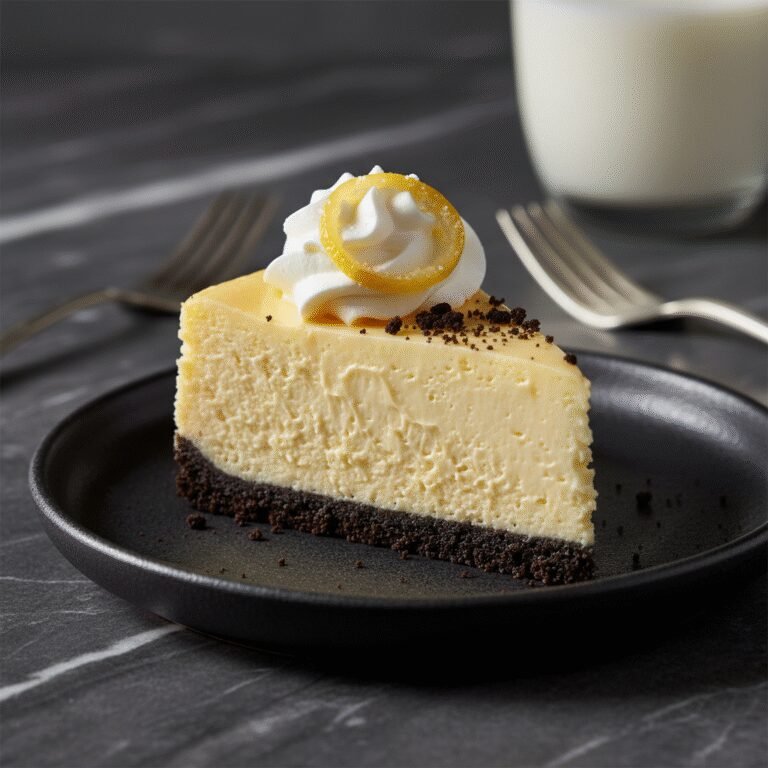
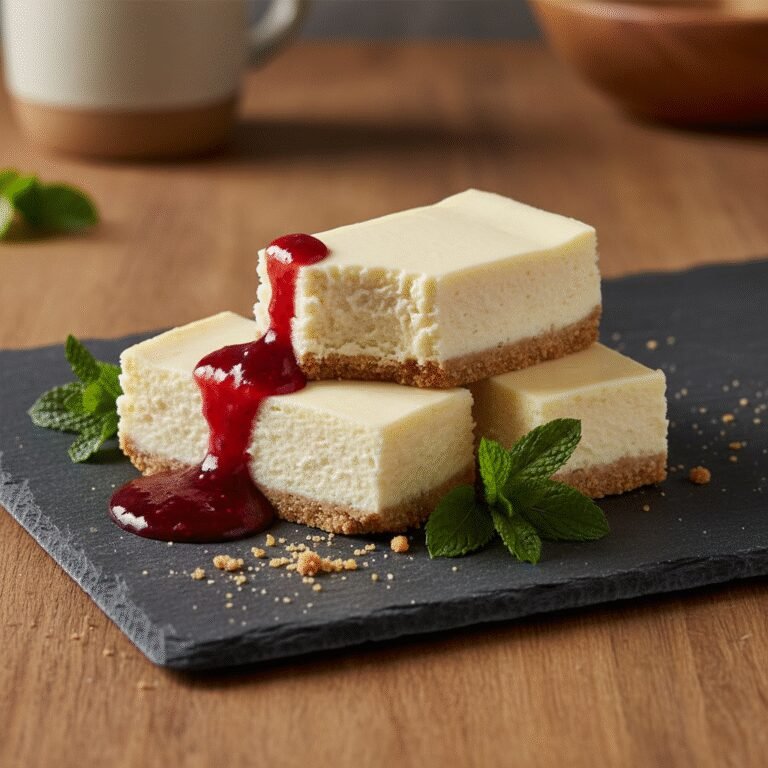
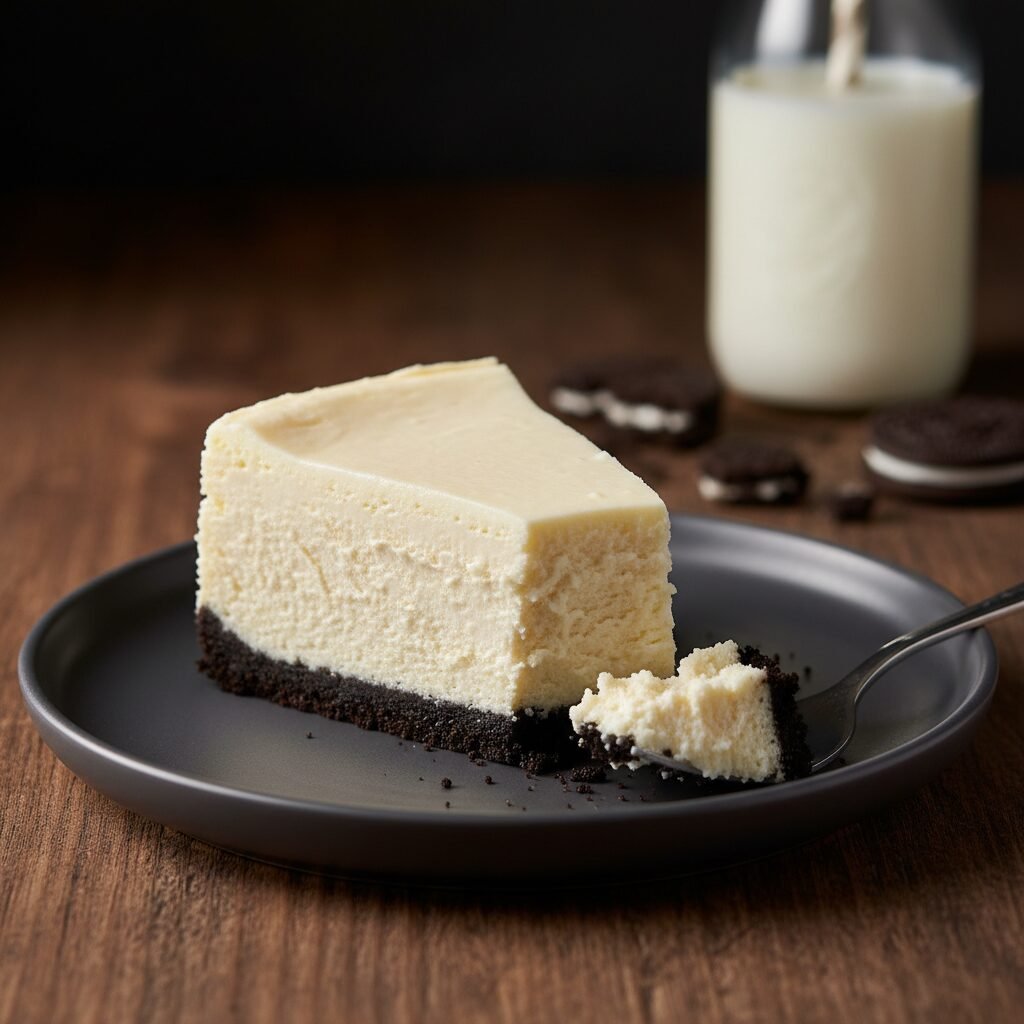
This decadent Creamy Vanilla Cheesecake features a rich, velvety filling sitting atop a thick, buttery Oreo cookie crust. It is the perfect balance of tangy and sweet, guaranteed to be the star of any dessert table.
30 minutes
1 hour 15 minutes
8 hours (includes cooling and chilling)
12 servings
Dessert
Baking
American
Vegetarian
There are few desserts as universally adored as a perfectly executed cheesecake, but when you pair a classic, ultra-creamy vanilla bean filling with a dark, chocolatey Oreo crust, you elevate a standard treat into a masterpiece of texture and flavor. This recipe is my love letter to the New York-style cheesecake—dense yet smooth, rich yet tangy—reimagined for the modern palate that craves the nostalgic crunch of chocolate sandwich cookies. The contrast here is everything. You have the stark visual beauty of the snow-white cheesecake against the midnight-black crust, a visual promise of the flavor explosion to come.
What sets this specific recipe apart is the meticulous attention to texture. Many home bakers are intimidated by cheesecake, fearing the dreaded surface cracks or a grainy mouthfeel. However, this method uses a precise ratio of full-fat cream cheese to sour cream, ensuring a luxurious tang that cuts through the sugar. The vanilla is not just a background note here; by using high-quality vanilla bean paste or extract, we bring a floral, aromatic sweetness that marries beautifully with the slightly bitter cocoa notes of the Oreo crust. Whether you are baking for a holiday gathering, a birthday celebration, or simply because you survived a long week, this cheesecake delivers comfort and sophistication in every forkful. It requires patience—the cooling process is just as vital as the baking—but the reward is a slice of heaven that rivals any high-end bakery. Get ready to impress your friends, family, and most importantly, your own taste buds with this show-stopping dessert.
History & Origins
The history of cheesecake is a journey that spans millennia, evolving from simple energy cakes to the decadent dessert we know today. While we often associate cheesecake with the bustling delis of New York City, its origins actually trace back to ancient Greece. Physical anthropologists have excavated cheese molds dating back to 2,000 B.C. on the island of Samos. In those times, cheesecake was considered a potent source of energy, and there is evidence that it was served to athletes during the first Olympic Games in 776 B.C. These early versions were far simpler than our modern interpretation, typically consisting of flour, wheat, honey, and cheese formed into a cake and baked.
When the Romans conquered Greece, they adopted the recipe, adding crushed cheese and eggs, and called it ‘libum.’ As the Roman Empire expanded, the recipe traveled across Europe, where each culture put its own spin on the dish. However, the modern cheesecake as we know it—specifically the creamy, smooth variety—hinged on a serendipitous accident in 1872. A New York dairyman named William Lawrence was attempting to replicate the French cheese Neufchâtel. Instead, he accidentally created an unripened cheese that was richer and creamier: cream cheese. This invention revolutionized the dessert. By the early 1900s, cheesecake appeared on menus across NYC, with Arnold Reuben (of sandwich fame) often credited with creating the specific ‘New York Style’ recipe. The addition of the Oreo crust is a much more recent, late 20th-century innovation, born from the American love affair with the iconic cookie introduced by Nabisco in 1912. Combining the ancient tradition of cheese tarts with the modern industrial crunch of the Oreo created a fusion that has become a staple in American dessert culture.
Why This Recipe Works
This recipe works because it addresses the three main pillars of a successful cheesecake: temperature control, moisture retention, and ingredient ratios. First, the insistence on room-temperature ingredients is not a suggestion; it is a chemical necessity. Cold cream cheese creates lumps, whereas room-temperature cheese emulsifies perfectly with the sugar and eggs, trapping air bubbles that are small and uniform, leading to a silky texture.
Secondly, the inclusion of sour cream alongside the heavy cream cheese provides a crucial acidic component. This acid tenderizes the protein network in the eggs and cheese, preventing the cake from becoming rubbery or too dense. It adds that signature ‘tang’ that balances the sweetness of the sugar and the richness of the fat.
Finally, the baking method utilizes a water bath (bain-marie). Cheesecake is technically a custard, not a cake. Direct, dry heat causes the proteins to coagulate too quickly, leading to cracks and a grainy texture. The water bath regulates the heat, ensuring the internal temperature rises slowly and evenly. Furthermore, the slow cooling process—leaving the cake in the oven with the door cracked—allows the structure to set gradually, preventing the thermal shock that causes sinking and cracking. The Oreo crust, with its high sugar and fat content, provides a sturdy, hydrophobic base that doesn’t get soggy under the moisture of the batter.
Why You’ll Love This Recipe
- ✓Ultra-creamy texture with no cracks
- ✓Rich and buttery Oreo cookie crust
- ✓Perfect balance of sweet vanilla and tangy sour cream
- ✓Freezes beautifully for make-ahead desserts
- ✓Detailed steps to ensure success for beginners
Equipment You’ll Need
- ✓9-inch Springform Pan
- ✓Electric Stand Mixer or Hand Mixer
- ✓Large Roasting Pan (for water bath)
- ✓Aluminum Foil (heavy duty)
- ✓Food Processor
- ✓Rubber Spatula
- ✓Measuring Cups and Spoons
Ingredients
- ✓24 Oreo cookies (regular, not double stuff), whole with filling
- ✓5 tablespoons unsalted butter, melted
- ✓32 oz (4 blocks) full-fat cream cheese, softened to room temperature
- ✓1 1/3 cups granulated sugar
- ✓1 cup full-fat sour cream, room temperature
- ✓2 teaspoons pure vanilla extract or vanilla bean paste
- ✓4 large eggs, room temperature
- ✓2 tablespoons all-purpose flour or cornstarch
- ✓Pinch of salt
Instructions
- Preheat your oven to 325°F (163°C). Adjust the oven rack to the lower-middle position.
- Prepare the crust: Place the Oreo cookies (filling included) into a food processor and pulse until they are fine crumbs. Pour in the melted butter and pulse until the mixture resembles wet sand.
- Press the crumb mixture firmly into the bottom and slightly up the sides of a 9-inch springform pan. Use the bottom of a measuring cup to pack it down tightly. Bake the crust for 10 minutes, then set aside to cool completely.
- Prepare the pan for the water bath: Wrap the outside of the springform pan with 2-3 layers of heavy-duty aluminum foil to ensure no water seeps in. Alternatively, place the springform pan inside a slightly larger cake pan, and then place that assembly into the roasting pan.
- Make the filling: In a large mixing bowl or stand mixer fitted with the paddle attachment, beat the softened cream cheese and sugar on medium-low speed until completely smooth and creamy (about 2-3 minutes). Scrape down the sides and bottom of the bowl.
- Add the sour cream, vanilla extract, flour (or cornstarch), and salt. Mix on low speed until combined. Do not overmix.
- Add the eggs one at a time, mixing on low speed just until the yolk disappears after each addition. Scrape the bowl between eggs. It is crucial not to overbeat the batter at this stage to avoid incorporating too much air, which causes cracks.
- Pour the batter over the cooled crust and smooth the top with a spatula.
- Place the foil-wrapped springform pan into the large roasting pan. Pour boiling water into the roasting pan until it comes about halfway up the sides of the springform pan.
- Bake for 60-75 minutes. The edges should be set and slightly puffed, but the center should still wobble slightly like Jell-O when the pan is gently shaken.
- Turn off the oven and crack the door open slightly (you can use a wooden spoon to hold it ajar). Let the cheesecake cool in the oven for 1 hour. This slow cooling prevents cracks.
- Remove the cheesecake from the water bath and run a thin knife around the edge to release it from the pan sides. Let it cool completely on a wire rack.
- Cover loosely with plastic wrap and refrigerate for at least 6 hours, preferably overnight, to set completely before slicing.
Expert Cooking Tips
- ✓Ensure all cold ingredients (cream cheese, eggs, sour cream) are at room temperature before starting to prevent lumps.
- ✓Do not overmix the batter once the eggs are added; too much air leads to cracks.
- ✓Use a water bath to ensure gentle, even cooking and a creamy texture.
- ✓Don’t open the oven door during the first 45 minutes of baking to maintain consistent heat.
- ✓Chill the cheesecake thoroughly (at least 6 hours) before slicing for clean cuts.
- ✓Dip your knife in hot water and wipe it clean between each slice for professional-looking wedges.
Substitutions and Variations
If you cannot find Oreo cookies, any chocolate sandwich cookie or even chocolate graham crackers will work for the crust. For a gluten-free version, simply use gluten-free chocolate sandwich cookies and swap the tablespoon of flour in the batter for cornstarch. If you don’t have sour cream, full-fat Greek yogurt is an excellent substitute that provides a similar tang and texture. You can also substitute heavy cream, though the cheesecake will be slightly richer and less tangy. For the sugar, standard granulated sugar is best, but superfine sugar works well too; avoid brown sugar as it changes the moisture content and flavor profile too drastically. If you prefer a different flavor profile, you can swap the vanilla extract for almond extract or lemon juice, though vanilla is the classic pairing for the Oreo crust.
Common Mistakes to Avoid
The most common mistake is using cold ingredients. If your cream cheese is cold, you will have to beat it longer to smooth it out, which incorporates air and leads to a cracked, fluffy (rather than dense) cake. Another error is overbaking. People often wait until the center looks firm, but by then, the eggs have curdled, and the texture will be grainy. Trust the ‘wobble’—it will firm up in the fridge. Skipping the water bath is another pitfall; while it is a hassle to set up, baking without it exposes the custard to harsh heat, resulting in rubbery edges and a sunken center. Finally, rushing the cooling process by putting a hot cheesecake directly into the fridge will almost certainly cause condensation to form on top, making the crust soggy and the surface sticky.
Serving Suggestions
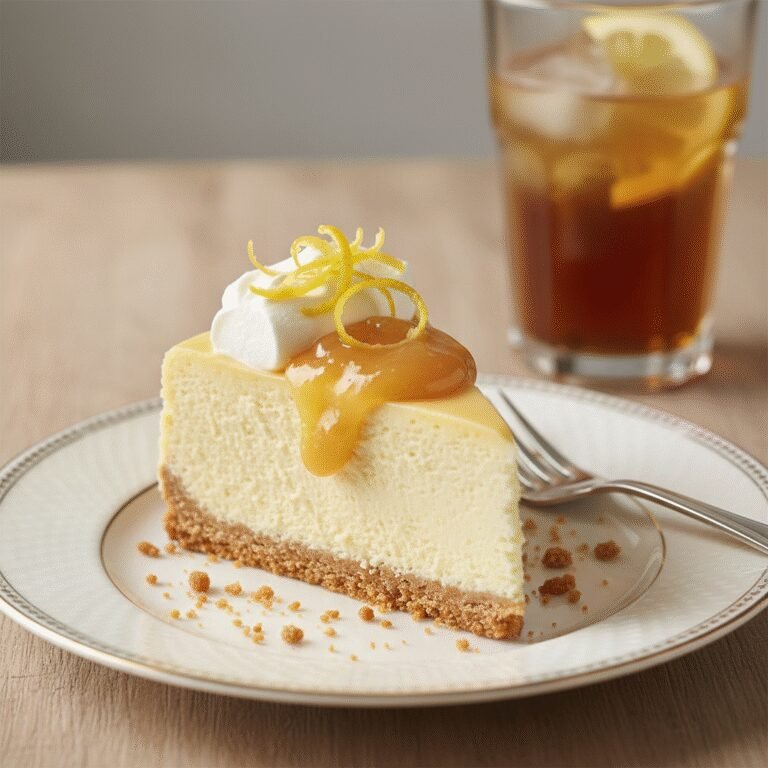
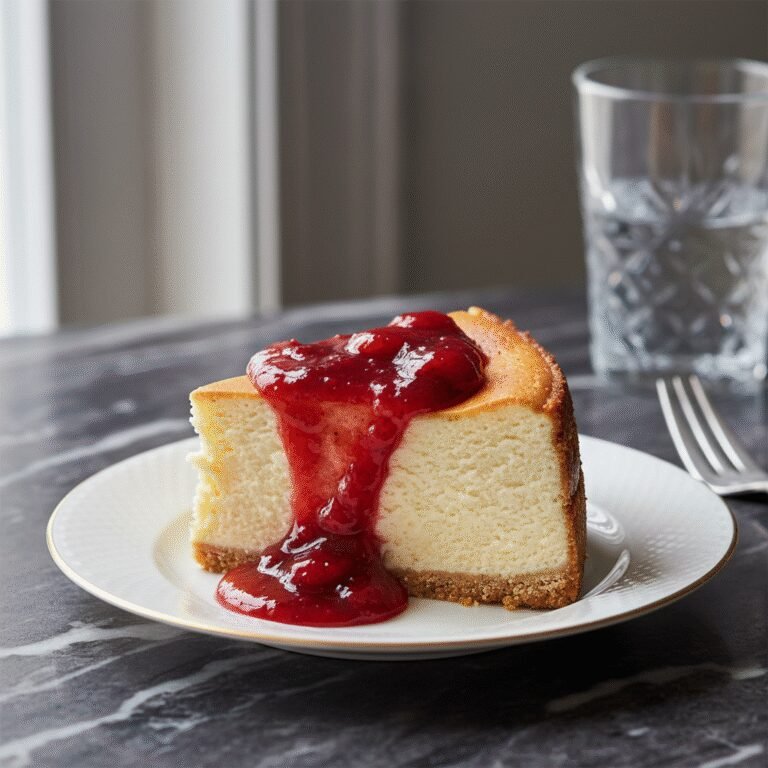
This cheesecake is rich enough to stand on its own, but it pairs beautifully with various toppings. A simple dollop of fresh whipped cream and a dusting of cocoa powder is elegant and classic. For fruit lovers, a fresh strawberry or raspberry compote cuts through the richness of the cheese and chocolate. You can also drizzle warm chocolate ganache or salted caramel sauce over the slice just before serving. Serve slightly chilled, but let the slices sit at room temperature for 15-20 minutes before eating to unlock the maximum creaminess and flavor.
Storage and Reheating Tips
Store leftover cheesecake in the refrigerator, covered tightly with plastic wrap or in an airtight container, for up to 5 days. To freeze, wrap individual slices or the whole cake in plastic wrap, followed by a layer of aluminum foil. It can be frozen for up to 2 months. Thaw frozen cheesecake in the refrigerator overnight before serving. Do not microwave to thaw, as the texture will melt and separate.
Nutrition Facts (Estimated)
| Serving Size | 1 slice |
| Calories | 480 |
| Fat | 35g |
| Saturated Fat | 20g |
| Unsaturated Fat | 12g |
| Trans Fat | 0g |
| Cholesterol | 115mg |
| Sodium | 310mg |
| Carbohydrates | 38g |
| Fiber | 1g |
| Sugar | 32g |
| Protein | 7g |
Frequently Asked Questions
Why did my cheesecake crack?
Cracks are usually caused by overmixing the batter (adding too much air), overbaking (drying it out), or cooling it too quickly (thermal shock). Using a water bath and cooling it slowly in the turned-off oven helps prevent this.
Can I make this without a water bath?
Technically yes, but the texture won’t be as silky. If you skip the water bath, bake at a lower temperature (300°F) and place a pan of water on the rack below the cheesecake to create steam.
How do I know when it’s done?
The edges should be set and slightly puffed, while the center 2-3 inches should still jiggle slightly when you gently shake the pan. It shouldn’t look liquid, but it shouldn’t be stiff either.
Can I use low-fat cream cheese?
It is not recommended. Low-fat cream cheese has a higher water content and stabilizers that can affect the setting ability and creaminess of the final product. For the best results, stick to full-fat brick-style cream cheese.
My crust is soggy, what happened?
Water may have leaked into your springform pan from the water bath. Ensure you wrap the pan thoroughly in heavy-duty foil or use a pan-in-pan method. Also, ensure you pre-bake the crust to set it before adding the wet filling.
Can I make this ahead of time?
Yes, cheesecake actually tastes better after resting for 24 hours. You can make it up to 2 days in advance and keep it refrigerated.
Do I need to grease the pan?
The butter in the crust usually prevents sticking on the bottom, but it helps to lightly grease the sides of the springform pan or use a parchment paper circle on the bottom for extra insurance.
Why are my ingredients supposed to be room temperature?
Room temperature ingredients blend together more easily, creating a smooth emulsion without lumps. Cold ingredients require more beating, which adds air bubbles that can lead to cracks.
Conclusion
Mastering the art of the perfect Creamy Vanilla Cheesecake with Oreo Crust is a milestone for any home baker. It’s a recipe that demands a little patience and precision, but rewards you with a dessert that is undeniably spectacular. From the first crunch of the dark chocolate crust to the meltingly smooth vanilla filling, every bite is a testament to why this classic combination remains a favorite across generations. Whether you are a seasoned pro or a cheesecake novice, following these steps will guide you to a flawless result. So, preheat that oven, get your water bath ready, and prepare to fall in love with the ultimate creamy indulgence. Happy baking!