Ultimate Creamy Vanilla Cheesecake with Buttery Almond Crust
Creamy Vanilla Cheesecake With Almond Crust Recipe
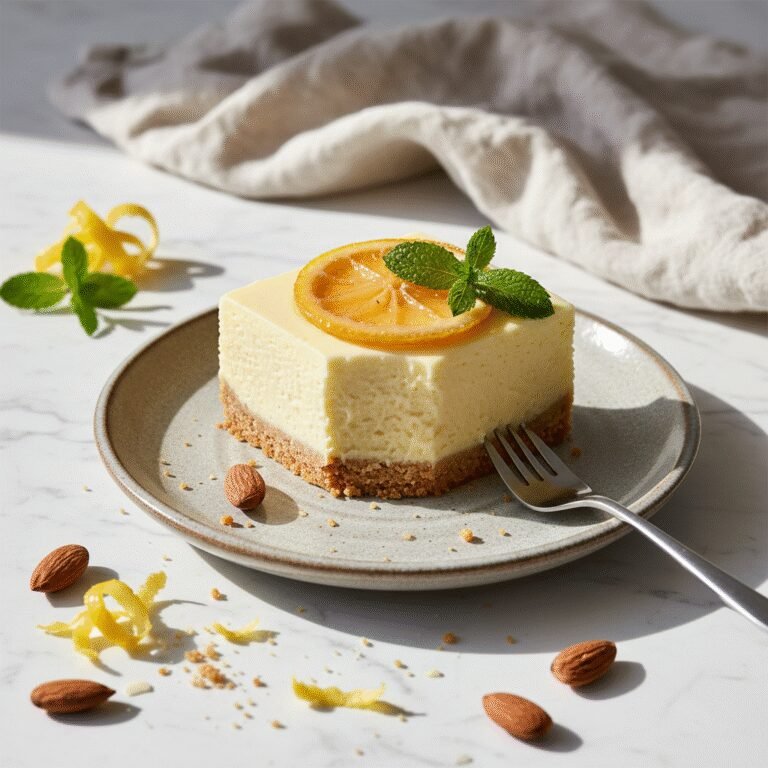
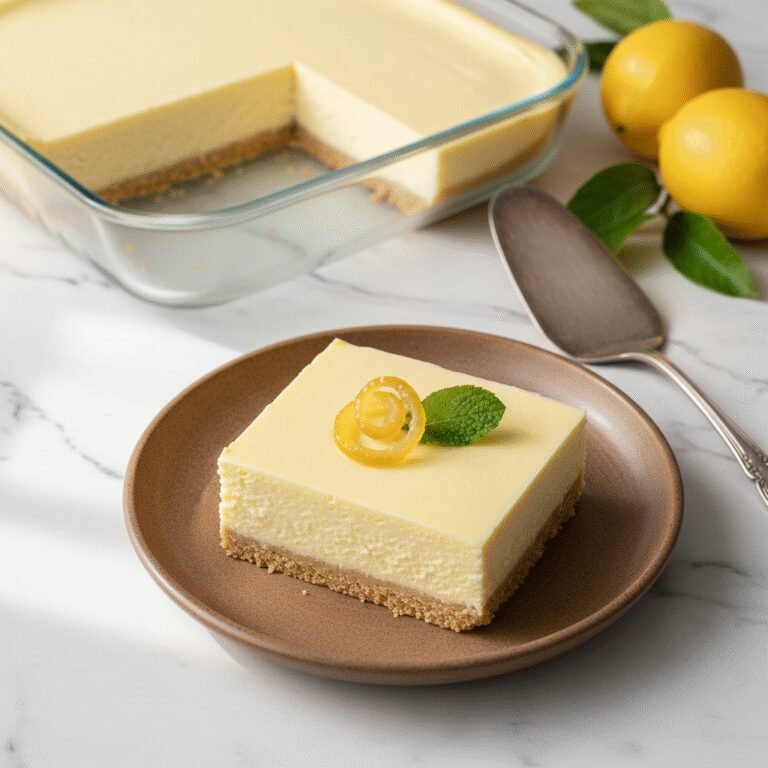
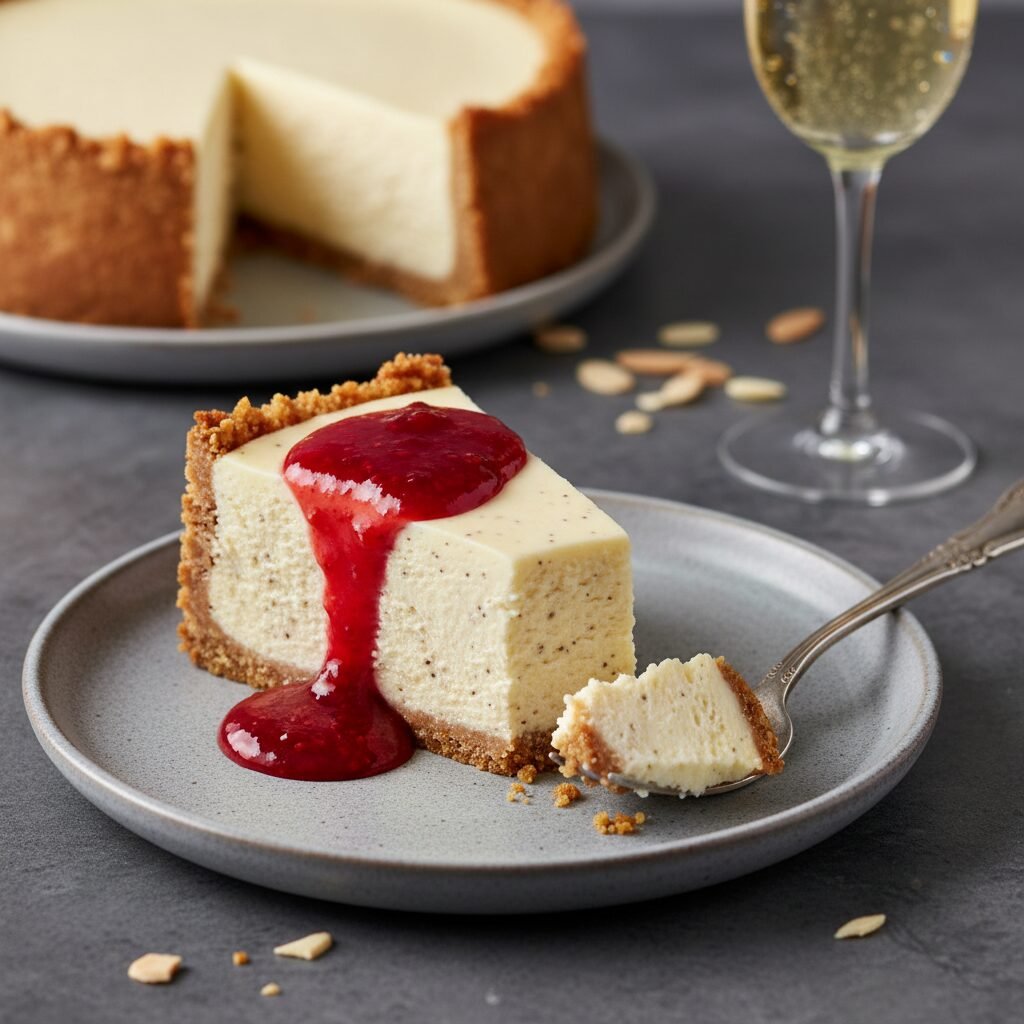
Experience the epitome of dessert luxury with this ultra-smooth vanilla cheesecake sitting atop a rich, toasted almond flour crust. It is a naturally gluten-free masterpiece that delivers a velvety texture and sophisticated flavor profile perfect for any special occasion.
30 minutes
1 hour 15 minutes
5 hours 45 minutes (includes cooling)
12 servings
Dessert
Baking
American
Gluten-Free
There are few desserts as universally adored and yet intimidating to bake as the classic cheesecake. The quest for that elusive, crack-free surface and the perfectly dense yet melt-in-your-mouth texture is one that many home bakers embark upon, often with mixed results. This recipe for Creamy Vanilla Cheesecake with Almond Crust is the culmination of years of testing, tasting, and refining. Unlike traditional cheesecakes that rely on graham cracker crusts, this version utilizes nutrient-dense almond flour. This not only makes the dessert naturally gluten-free but also introduces a complex, nutty flavor profile that perfectly offsets the tang of the cream cheese and the sweetness of the sugar. The filling is a labor of love, requiring patience and precision, but the reward is a slice of heaven that rivals any high-end bakery in New York City. We strip away the unnecessary fillers and focus on high-quality dairy and pure vanilla bean paste to create a flavor that is clean, rich, and deeply satisfying. Whether you are baking for a holiday gathering, a birthday celebration, or simply to treat yourself to something extraordinary, this cheesecake promises to be the showstopper on your table. Prepare to fall in love with the process of baking as much as the result, as the aroma of toasted almonds and baking custard fills your kitchen.
History & Origins
The history of cheesecake is a journey that spans millennia, long before the cream cheese brick became a staple in American refrigerators. The earliest known origins trace back to ancient Greece, specifically the island of Samos, where physical anthropologists excavated cheese molds dating to circa 2,000 B.C. It was considered a source of energy and was even served to athletes during the first Olympic Games in 776 B.C. The Romans later adopted the recipe, calling it ‘libum’ or ‘savillum,’ often serving it warm. As the Roman Empire expanded, the technique of baking cheese curds with honey and wheat spread across Europe. However, the modern cheesecake we know and love today is largely an American innovation. In 1872, a New York dairyman named William Lawrence accidentally invented cream cheese while attempting to replicate the French cheese Neufchâtel. This smoother, richer cheese became the base for the iconic New York Style cheesecake. The integration of nut crusts, such as the almond crust featured in this recipe, is a more contemporary evolution, driven by the rise of gluten-free diets and a culinary shift towards more textural contrast in desserts. By replacing the soggy potential of wheat-based crusts with the crisp, fatty integrity of almonds, we honor the ancient tradition of using nuts in desserts while embracing modern dietary preferences.
Why This Recipe Works
This recipe succeeds where others fail due to a few key scientific principles regarding emulsion and heat transfer. First, the almond crust works better than graham crackers because almonds have a high oil content. This natural fat creates a moisture barrier that prevents the wet cheesecake batter from making the crust soggy, ensuring a crisp base even after days in the fridge. Secondly, the filling relies on the ‘Room Temperature Rule.’ By ensuring the cream cheese, eggs, and sour cream are all at the same ambient temperature (approx 70°F/21°C), the ingredients emulsify seamlessly without the need for over-mixing. Over-mixing introduces air bubbles, which expand in the oven and cause cracks; our method minimizes this risk. Furthermore, the inclusion of sour cream breaks up the density of the cream cheese, providing that luxurious ‘creamy’ mouthfeel rather than a heavy, cloying brick. Finally, the water bath (bain-marie) method is non-negotiable here. It generates gentle steam that cooks the custard evenly from the outside in, preventing the edges from curdling before the center is set. This slow, humid cooking environment is the secret to the silky texture and the flat, white top devoid of browning or fissures.
Why You’ll Love This Recipe
- ✓Naturally gluten-free almond flour crust adds a rich, nutty crunch.
- ✓Water bath method ensures a crack-free, silky smooth surface.
- ✓Uses vanilla bean paste for visible specks of vanilla and intense flavor.
- ✓Stays fresh and delicious in the refrigerator for up to 5 days.
- ✓Perfect balance of tangy and sweet, avoiding the ‘cloying’ trap.
- ✓Elegant presentation suitable for holidays and dinner parties.
Equipment You’ll Need
- ✓9-inch Springform Pan
- ✓Electric Stand Mixer or Hand Mixer
- ✓Large Roasting Pan (for water bath)
- ✓Aluminum Foil (heavy duty)
- ✓Rubber Spatula
- ✓Food Processor (optional for crust)
- ✓Wire Cooling Rack
- ✓Parchment Paper
Ingredients
- ✓2 cups Super Fine Almond Flour (for crust)
- ✓1/3 cup Unsalted Butter, melted (for crust)
- ✓3 tbsp Granulated Sugar (for crust)
- ✓1 pinch Fine Sea Salt (for crust)
- ✓32 oz (4 blocks) Full-Fat Cream Cheese, softened to room temperature
- ✓1 1/4 cups Granulated White Sugar
- ✓1/2 cup Full-Fat Sour Cream, room temperature
- ✓2 tsp Vanilla Bean Paste or High-Quality Vanilla Extract
- ✓4 Large Eggs, room temperature
Instructions
- 1. Preheat your oven to 325°F (163°C). Line the bottom of a 9-inch springform pan with parchment paper and grease the sides lightly.
- 2. Prepare the crust: In a medium bowl, combine the almond flour, melted butter, 3 tablespoons of sugar, and salt. Mix until the texture resembles wet sand.
- 3. Press the crust mixture firmly into the bottom of the prepared pan. You can use the bottom of a measuring cup to pack it down evenly. Bake for 10 minutes until slightly golden. Remove and let cool while you make the filling. Increase oven temp to 350°F (175°C) if your oven runs cool, otherwise keep at 325°F.
- 4. Prepare the pan for the water bath: Wrap the outside of the springform pan in 2-3 layers of heavy-duty aluminum foil to ensure no water seeps in. Alternatively, place the pan inside a slightly larger silicone cake pan or slow cooker liner.
- 5. Make the filling: In a large mixing bowl or stand mixer fitted with the paddle attachment, beat the softened cream cheese and 1 1/4 cups sugar on medium-low speed until completely smooth and creamy (about 2-3 minutes). Scrape down the bowl.
- 6. Add the sour cream and vanilla bean paste. Mix on low until combined.
- 7. Add the eggs one at a time, mixing on the lowest speed just until the yellow disappears. DO NOT overmix. Scrape the bowl between eggs to ensure a homogeneous batter.
- 8. Pour the batter over the cooled crust. Tap the pan gently on the counter a few times to release any trapped air bubbles.
- 9. Place the foil-wrapped springform pan into the large roasting pan. Place the roasting pan in the oven, then carefully pour boiling water into the roasting pan until it reaches halfway up the sides of the cheesecake pan.
- 10. Bake for 60-75 minutes. The cheesecake is done when the edges are set but the center still jiggles slightly like Jell-O. It should not be liquid, but it should wobble.
- 11. Turn off the oven and crack the door open about an inch (use a wooden spoon to hold it if necessary). Let the cheesecake cool inside the oven for 1 hour. This gradual cooling prevents cracks.
- 12. Remove from the water bath and run a thin knife around the edge to loosen it from the pan. Let it cool completely on a wire rack.
- 13. Refrigerate for at least 4 hours, preferably overnight, before slicing and serving.
Expert Cooking Tips
- ✓Room temperature ingredients are mandatory. Cold cream cheese causes lumps.
- ✓Use ‘super fine’ almond flour for the best crust texture; coarse meal can be gritty.
- ✓If you don’t have vanilla bean paste, scrape the seeds from one fresh vanilla pod for superior flavor.
- ✓To slice cleanly, dip your knife in hot water and wipe it dry between every single cut.
- ✓Avoid opening the oven door during the first 45 minutes of baking to prevent temperature drops.
Substitutions and Variations
This recipe is quite versatile despite its precision. For the crust, if you are not gluten-free, you can substitute the almond flour with 1.5 cups of crushed graham crackers or digestive biscuits. If you are keto, replace the granulated sugar with a 1:1 erythritol or monk fruit sweetener blend in both the crust and the filling. For the dairy, full-fat is essential for the structure, but you can substitute the sour cream with full-fat Greek yogurt or heavy cream in a pinch. Do not use low-fat cream cheese (Neufchâtel) as the water content is too high and will affect the set. If you have a nut allergy, a sunflower seed flour can work for the crust, or simply bake it crustless.
Common Mistakes to Avoid
The most common mistake is overbeating the eggs. Once eggs are added, the goal is simply incorporation, not aeration; too much air leads to the cheesecake puffing up like a soufflé and then collapsing and cracking. Another error is rushing the cooling process. Putting a warm cheesecake directly into the fridge causes condensation to form on the surface, making it soggy (
Serving Suggestions
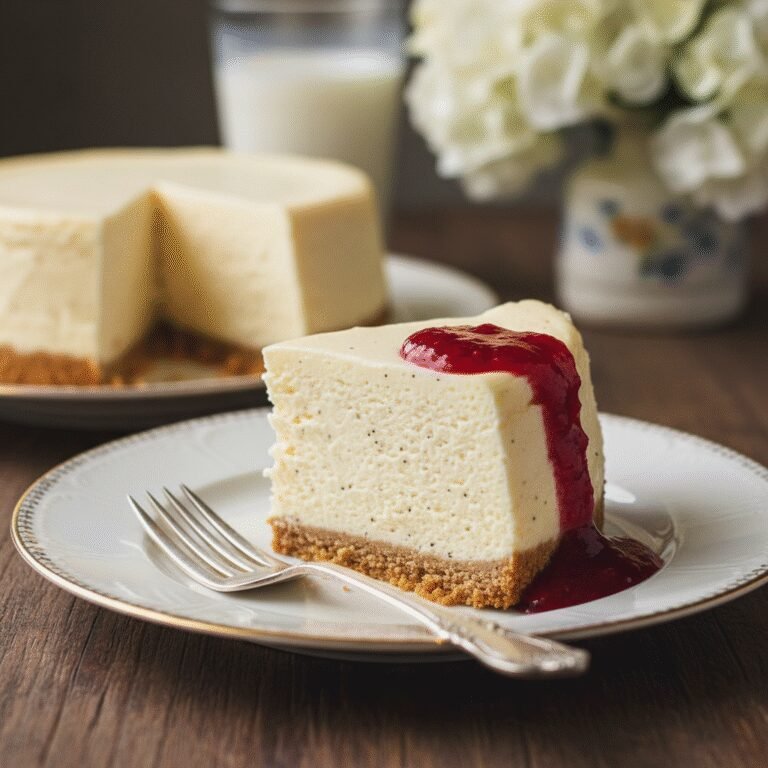
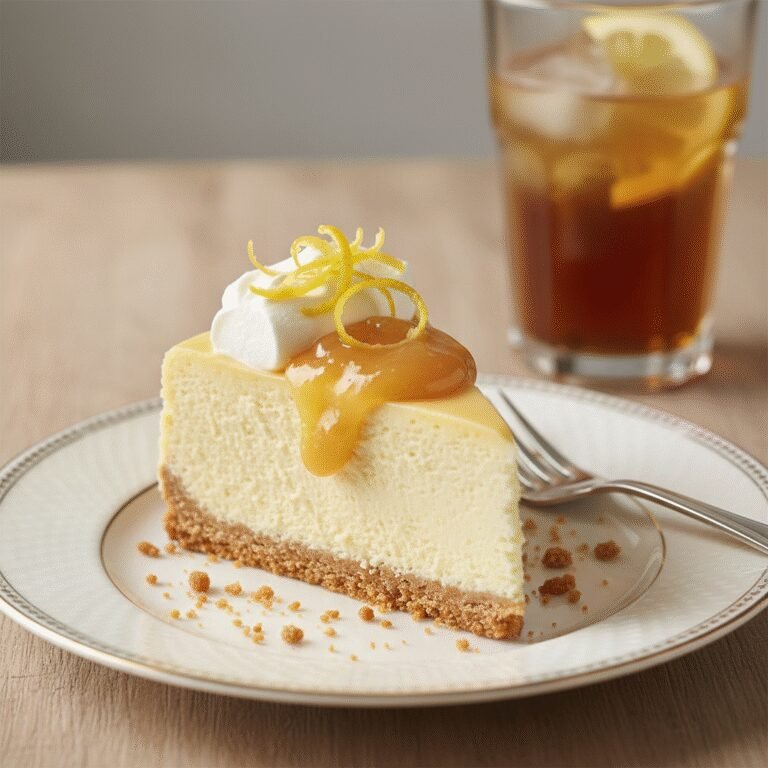
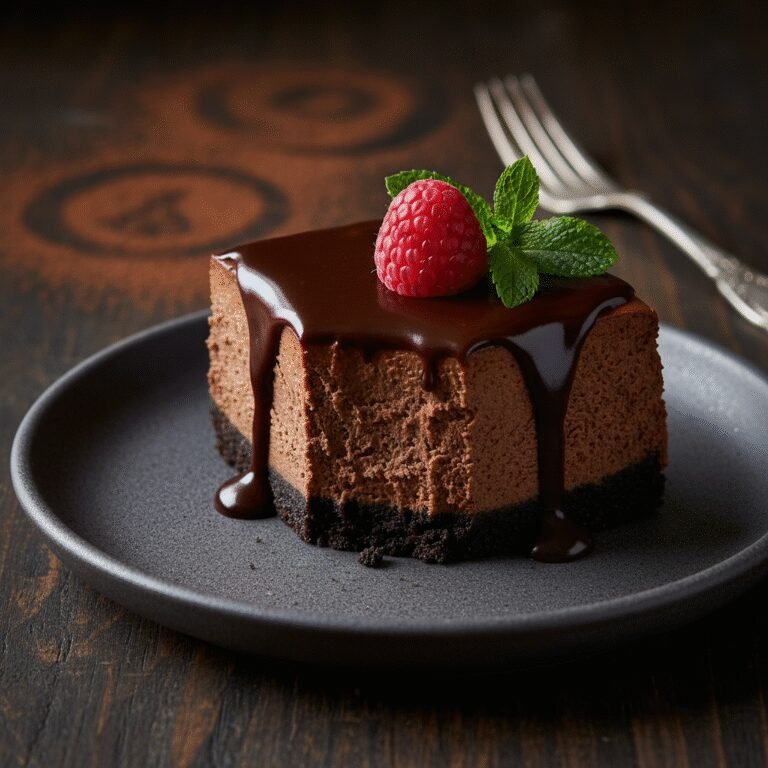
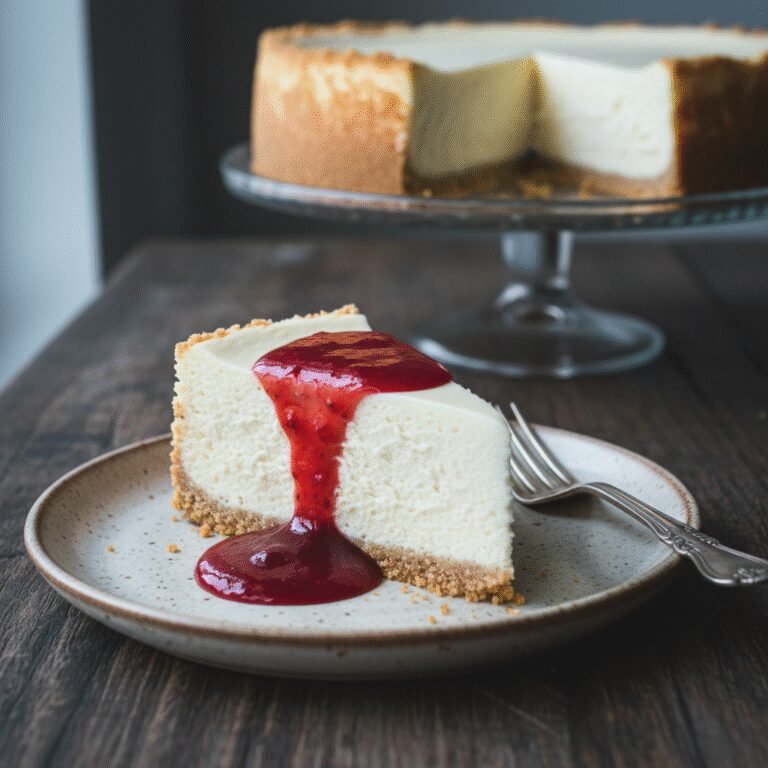
Serve this cheesecake chilled. It is rich enough to stand alone, but it pairs beautifully with a tart fruit compote, such as raspberry or strawberry coulis, to cut through the richness. Fresh berries, a sprig of mint, or a dollop of freshly whipped cream are classic garnishes. For a decadent twist, drizzle with warm salted caramel sauce or chocolate ganache just before serving. A cup of strong black coffee or an espresso martini makes for the perfect beverage accompaniment.
Storage and Reheating Tips
Store the cheesecake in the refrigerator, loosely covered with plastic wrap or in a cake dome, for up to 5 days. The flavor often improves after 24 hours. For long-term storage, this cheesecake freezes exceptionally well. Slice the cake, wrap each slice tightly in plastic wrap, then a layer of foil, and place in a freezer-safe bag. Thaw slices in the refrigerator overnight before eating. Do not freeze with toppings; add those fresh upon serving.
Nutrition Facts (Estimated)
| Serving Size | 1 Slice |
| Calories | 480 |
| Fat | 38g |
| Saturated Fat | 21g |
| Unsaturated Fat | 14g |
| Trans Fat | 0g |
| Cholesterol | 115mg |
| Sodium | 310mg |
| Carbohydrates | 26g |
| Fiber | 2g |
| Sugar | 22g |
| Protein | 9g |
Frequently Asked Questions
Why did my cheesecake crack?
Cracks are usually caused by overmixing the batter (too much air), overbaking (drying out the proteins), or cooling too quickly (thermal shock). Follow the water bath and oven-cooling steps carefully to avoid this.
Can I make this without a water bath?
Technically yes, but the texture will be different. It will be denser, more like a New York deli style, and it will likely brown on top and crack. The water bath is highly recommended for the creamy texture.
Is this recipe Keto-friendly?
The almond crust is naturally low-carb, but the sugar in the filling is not. To make it Keto, simply swap the sugar for a granular keto sweetener like Swerve or Allulose.
How do I know when it is done?
The ‘jiggle test’ is key. Gently shake the pan. The outer 2 inches should look firm and set, while the center should wobble slightly, similar to gelatin. If it’s liquid, bake longer. If it’s stiff, it’s overdone.
Can I use a hand mixer instead of a stand mixer?
Yes, a hand mixer works perfectly fine. Just be mindful of the speed settings and ensure you don’t whip too much air into the mixture once the eggs are added.
Why room temperature ingredients?
Cold ingredients don’t mix well. If you beat cold cream cheese, you will get tiny lumps that won’t bake out. Room temp ingredients blend into a smooth emulsion effortlessly.
Can I use salted butter for the crust?
Yes, but omit the pinch of added salt in the crust ingredients list to ensure it doesn’t become too savory.
What size eggs should I use?
Standard US ‘Large’ eggs are the benchmark for this recipe. Using medium or extra-large eggs can alter the custard’s setting ability.
Conclusion
Mastering this Creamy Vanilla Cheesecake with Almond Crust is a culinary achievement that pays dividends in flavor and satisfaction. It transforms simple, high-quality ingredients into a dessert that is sophisticated yet comforting. The almond crust adds a delightful textural dimension that elevates the experience beyond the standard graham cracker base. Whether you are a seasoned baker or a novice, following these detailed steps will ensure a result that will have your friends and family asking for the recipe. Enjoy the process, savor the aroma, and delight in every creamy bite.