The Ultimate Creamy Vanilla Cheesecake: A Melt-in-Your-Mouth Classic
Creamy Vanilla Cheesecake Recipe
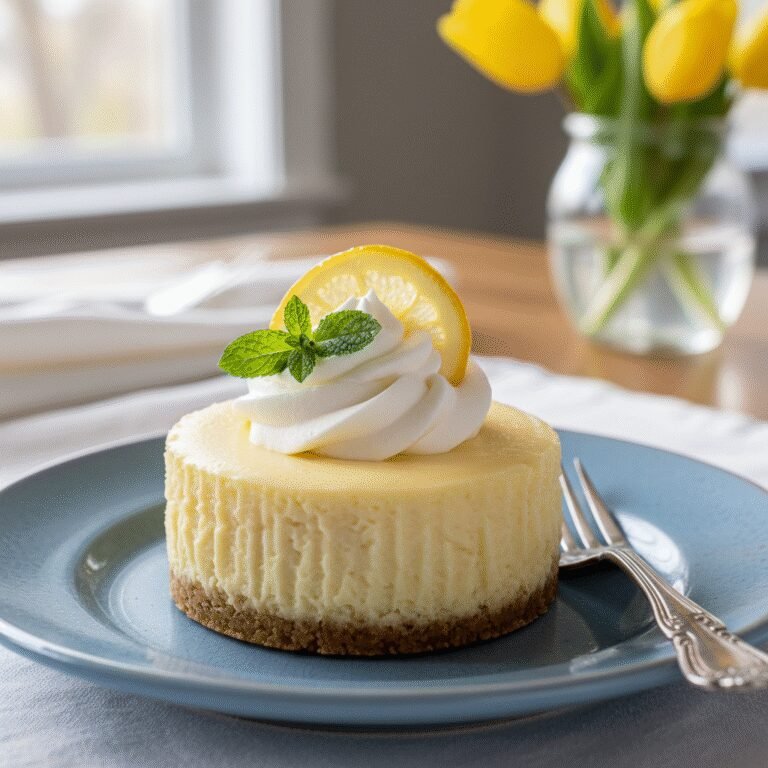
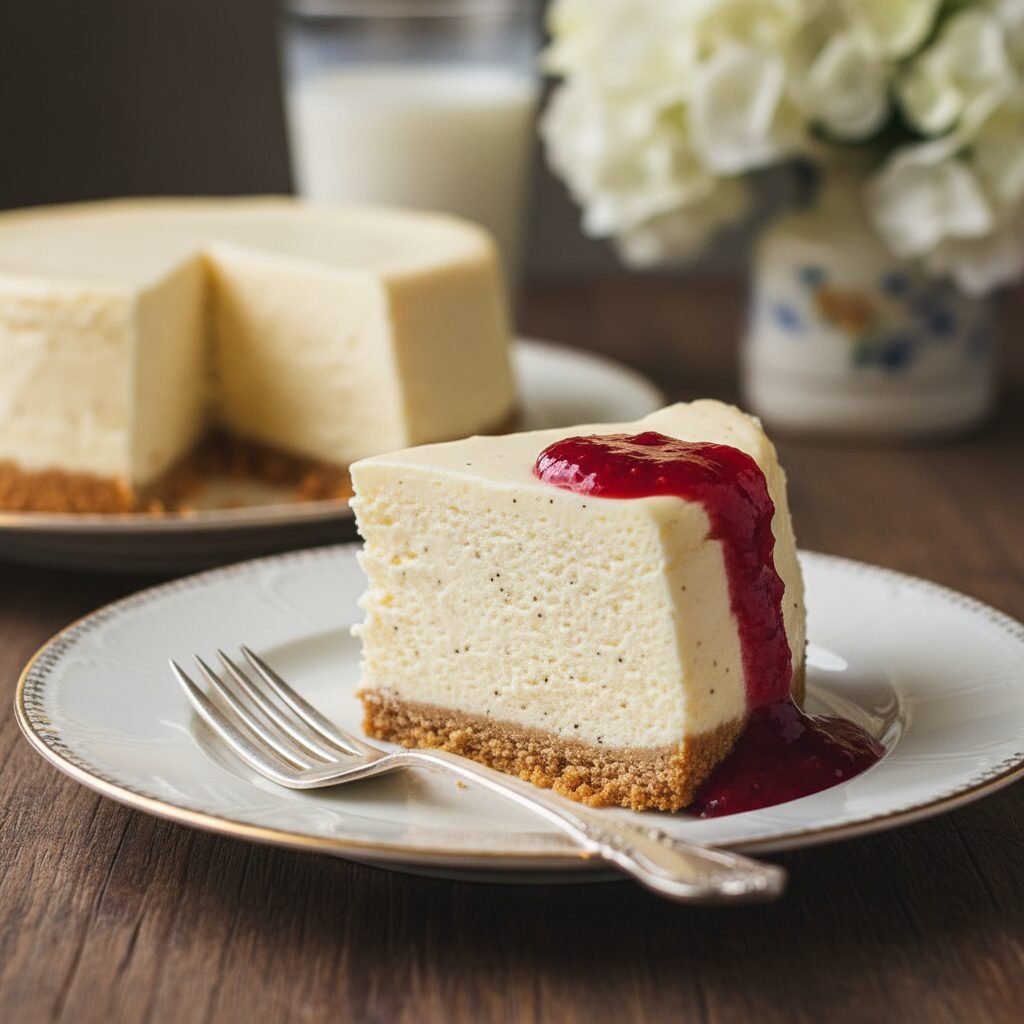
Discover the secret to the perfect, crack-free vanilla cheesecake. This recipe delivers a velvety, dense, and rich filling atop a buttery graham cracker crust, rivaling the best New York bakeries. It is the ultimate crowd-pleaser for any special occasion.
30 minutes
1 hour 15 minutes
8 hours (includes cooling)
12 servings
Dessert
Baking
American
Vegetarian
There are few desserts as universally adored and simultaneously intimidating as the classic vanilla cheesecake. For many home bakers, the quest for that elusive, perfect texture—dense yet creamy, rich but not cloying, and completely free of the dreaded surface cracks—can feel like a culinary Everest. But I am here to tell you that achieving bakery-quality cheesecake at home is not only possible, it is actually quite simple when you understand the science behind the method. This Creamy Vanilla Cheesecake recipe is the result of years of testing, tweaking, and tasting. We are moving away from the airy, whipped textures of no-bake versions and embracing the luxurious, satin-like consistency of a true baked cheesecake. The flavor profile here is pure and nostalgic; we use a double dose of vanilla to ensure the floral, aromatic notes cut through the richness of the cream cheese. The crust is a classic graham cracker base, buttery and slightly salty, providing the necessary crunch to contrast the smooth filling. Whether you are hosting a dinner party, celebrating a holiday, or simply craving a slice of indulgence, this recipe is designed to be your forever go-to. We will walk through the importance of the water bath, the necessity of room-temperature ingredients, and the patience required for the cooling process. One bite of this cool, creamy masterpiece, perhaps topped with a fresh berry compote or a drizzle of salted caramel, and you will never go back to store-bought again. Get ready to impress your guests and yourself with a dessert that truly stands the test of time.
History & Origins
The history of cheesecake is a fascinating journey that spans thousands of years and crosses multiple continents, far predating the New York delis we associate it with today. Believe it or not, the earliest iterations of cheesecake can be traced back to ancient Greece on the island of Samos. Anthropologists have excavated cheese molds dating back to 2,000 B.C., but the first recorded mention of a cheesecake-like dish was served to athletes during the first Olympic Games in 776 B.C. to provide them with energy. These early versions were simple mixtures of flour, wheat, honey, and cheese, pounded together and baked on an earthenware griddle. When the Romans conquered Greece, they adopted the recipe, adding crushed cheese and eggs, and called it ‘libum,’ often serving it as an offering to the gods. As the Roman Empire expanded, the recipe traveled across Europe, evolving with local ingredients. By 1545, the first printed cookbook appeared, detailing a cheesecake recipe that had transformed significantly from its ancient roots. However, the modern cheesecake we know and love today hinges on one crucial American invention: cream cheese. In 1872, a New York dairyman named William Lawrence was attempting to replicate the French cheese Neufchâtel. In a happy accident, he added too much cream, creating a richer, spreadable cheese that he eventually branded as ‘Philadelphia Cream Cheese.’ This invention paved the way for the iconic New York Style cheesecake, popularized in the early 1900s by Arnold Reuben (famous for his sandwiches), who experimented with cheese pie recipes to create the dense, smooth dessert that has become a global icon.
Why This Recipe Works
This recipe succeeds where others fail because it meticulously controls the two enemies of cheesecake: air bubbles and sudden temperature changes. First, the ingredient ratios are engineered for stability. We use a small amount of cornstarch (or flour) in the batter. This starch interacts with the egg proteins, preventing them from coagulating too tightly, which is the primary cause of a grainy texture. It acts as an insurance policy against curdling. Second, the method emphasizes mixing at low speeds. High-speed mixing incorporates too much air, which causes the cake to puff up in the oven like a soufflé and then collapse and crack as it cools. By keeping the mixer on low and using room-temperature ingredients, we achieve a smooth emulsion without excess aeration. Finally, the water bath (bain-marie) is non-negotiable. Cheesecake is essentially a custard, and custards require gentle, even heat. A water bath surrounds the springform pan with moisture and moderates the heat, ensuring the outer edges do not bake faster than the center. This even cooking prevents the tension that tears the surface of the cake. Combined with a slow cooling process in the turned-off oven, this method guarantees a silky, flat, and flawless surface every time.
Why You’ll Love This Recipe
- ✓Produces a perfectly smooth, crack-free surface without complex tricks.
- ✓Features a dense, velvety texture typical of high-end New York bakeries.
- ✓Uses a double-vanilla infusion for a robust and aromatic flavor profile.
- ✓Includes a sturdy, buttery graham cracker crust that doesn’t get soggy.
- ✓Highly versatile base that pairs with fruit, chocolate, or caramel toppings.
Equipment You’ll Need
- ✓9-inch Springform Pan
- ✓Large Roasting Pan (for water bath)
- ✓Electric Stand Mixer or Hand Mixer
- ✓Aluminum Foil (heavy duty)
- ✓Rubber Spatula
- ✓Food Processor (for crust)
- ✓Measuring Cups and Spoons
Ingredients
- ✓2 cups Graham Cracker Crumbs (about 14-16 full sheets)
- ✓1/2 cup Unsalted Butter, melted
- ✓1/4 cup Granulated Sugar (for crust)
- ✓1/4 tsp Salt
- ✓32 oz (4 blocks) Full-Fat Cream Cheese, softened to room temperature
- ✓1 1/4 cups Granulated Sugar (for filling)
- ✓1 cup Full-Fat Sour Cream, room temperature
- ✓2 tsp Pure Vanilla Extract
- ✓1/2 tsp Vanilla Bean Paste (optional for specks)
- ✓4 large Eggs, room temperature
- ✓2 tbsp Cornstarch
Instructions
- Preheat your oven to 350°F (175°C). Grease a 9-inch springform pan lightly with butter or cooking spray.
- Prepare the crust: In a food processor, pulse graham crackers until fine crumbs form. Add melted butter, 1/4 cup sugar, and salt. Pulse until the mixture resembles wet sand.
- Press the crumb mixture firmly into the bottom and slightly up the sides of the prepared pan. Use the bottom of a measuring cup to pack it down tightly. Bake for 10 minutes. Remove and let cool slightly. Reduce oven temperature to 325°F (160°C).
- Prepare the pan for the water bath: Wrap the outside of the springform pan in 2-3 layers of heavy-duty aluminum foil to ensure no water seeps in. Alternatively, place the springform pan inside a slightly larger cake pan, then place that assembly into the roasting pan.
- Make the filling: In a large bowl or stand mixer fitted with the paddle attachment, beat the softened cream cheese and 1 1/4 cups sugar on medium-low speed until completely smooth and creamy (about 2-3 minutes). Scrape down the sides and bottom of the bowl.
- Add the sour cream, vanilla extract, vanilla bean paste, and cornstarch. Beat on low speed until combined. Do not overmix.
- Add the eggs one at a time, beating on low speed just until blended after each addition. Scrape the bowl again to ensure the batter is uniform. Stop mixing as soon as the last egg is incorporated.
- Pour the batter over the cooled crust and smooth the top with a spatula.
- Place the foil-wrapped pan into the large roasting pan. Pour boiling water into the roasting pan until it comes about halfway up the sides of the cheesecake pan.
- Bake at 325°F (160°C) for 60-75 minutes. The edges should be set, but the center should still wobble slightly like Jell-O when the pan is gently shaken.
- Turn off the oven and crack the door open about an inch. Let the cheesecake cool inside the oven for 1 hour. This gradual cooling prevents cracks.
- Remove from the oven and water bath. Run a thin knife around the edge to loosen the cake from the pan. Let it cool completely on a wire rack.
- Refrigerate for at least 6 hours, preferably overnight, to let the texture set and flavors meld before slicing.
Expert Cooking Tips
- ✓Room temperature ingredients are critical. Cold cream cheese causes lumps, and cold eggs can shock the batter, leading to texture issues.
- ✓Don’t skip the water bath. It provides the gentle, humid heat needed for a creamy consistency.
- ✓Avoid overmixing the batter once the eggs are added. Incorporating too much air leads to cracks.
- ✓Use heavy-duty foil to wrap the pan, or use a slow-cooker liner bag around the pan to guarantee a leak-proof water bath.
- ✓Do not open the oven door during the first 45 minutes of baking to maintain a consistent temperature.
- ✓When slicing, dip your knife in hot water and wipe it clean between every single cut for professional-looking slices.
Substitutions and Variations
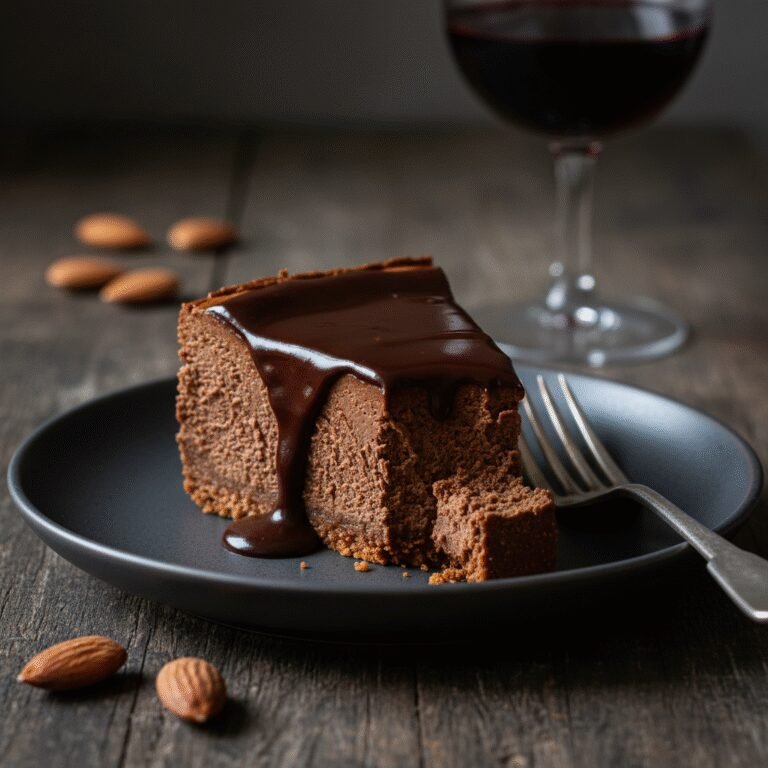
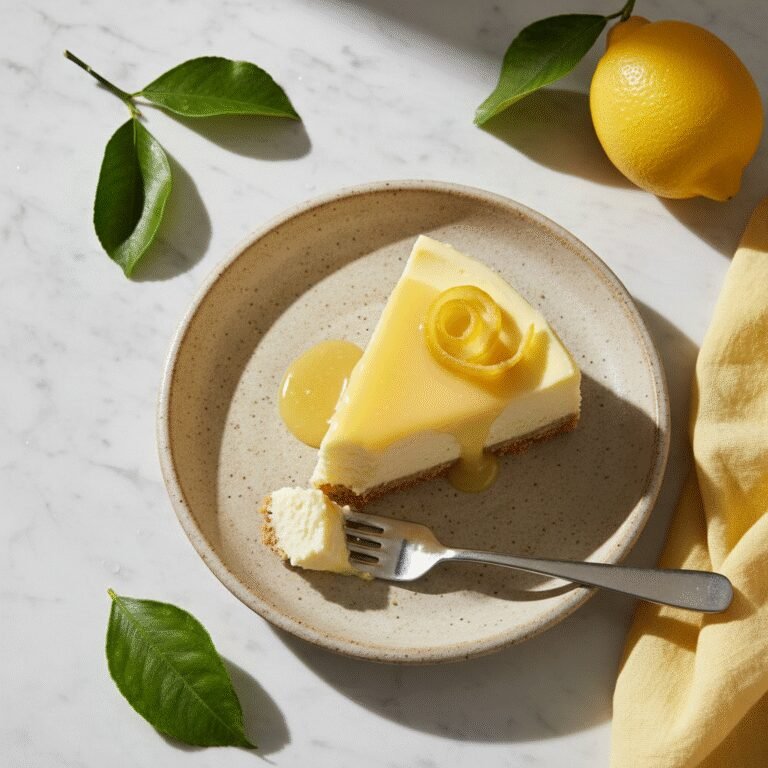
If you live in a region where graham crackers are unavailable, digestive biscuits or vanilla wafers make an excellent substitute for the crust; simply use the same weight ratio. For a gluten-free version, use certified gluten-free graham style crackers or a nut-based crust made from almond flour, butter, and sugar. If you cannot find sour cream, full-fat plain Greek yogurt is a viable alternative, though it adds a slightly sharper tang. Do not substitute low-fat or fat-free cream cheese; the stabilizers in these products will ruin the texture, resulting in a rubbery or watery cake. You can replace the cornstarch with all-purpose flour if needed, using the same amount. For a different flavor profile, you can swap the vanilla extract for lemon juice and zest for a citrusy twist, though this changes it from a classic vanilla recipe.
Common Mistakes to Avoid
The most common mistake is using cold ingredients. If your cream cheese isn’t soft, you will be tempted to beat it at high speed to remove lumps, which introduces air bubbles that cause cracking. Another major error is overbaking. Many people wait until the center looks firm, but by then, the eggs have over-coagulated, resulting in a dry, grainy texture. Trust the ‘wobble’—it will firm up in the fridge. Leaking water baths are also a frequent disaster; if water seeps into the crust, it becomes a soggy mess. Always triple-wrap your pan or use the ‘pan-in-a-pan’ method. Finally, rushing the cooling process by putting a hot cheesecake directly into the fridge will almost certainly cause condensation to form on the surface, making it soggy, and thermal shock will cause deep cracks.
Serving Suggestions
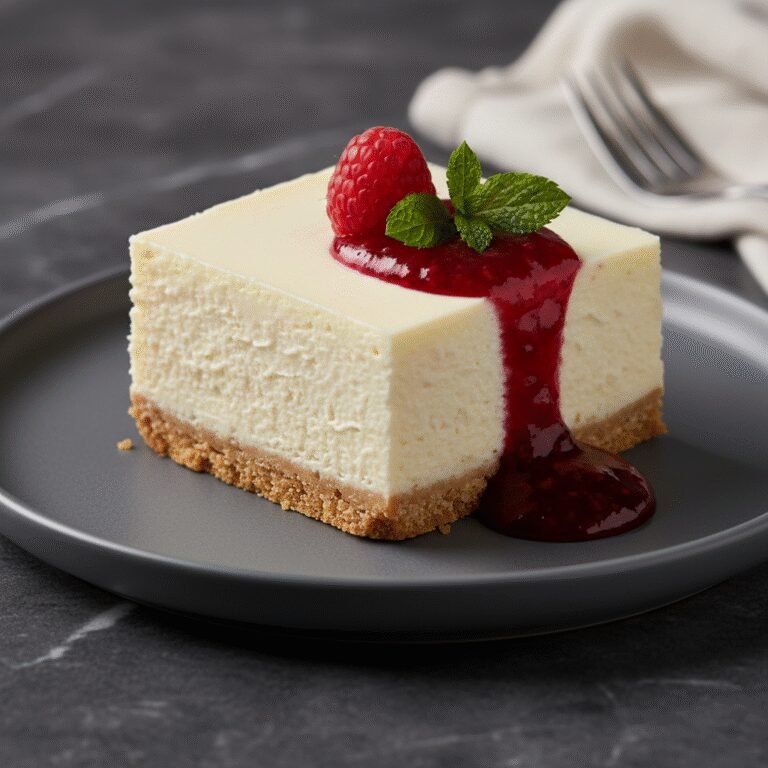
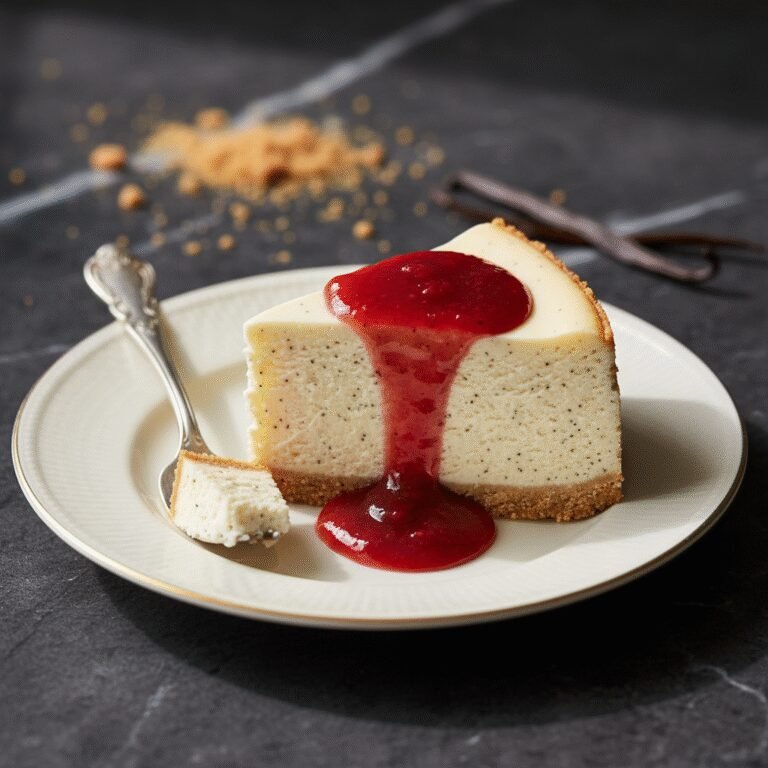
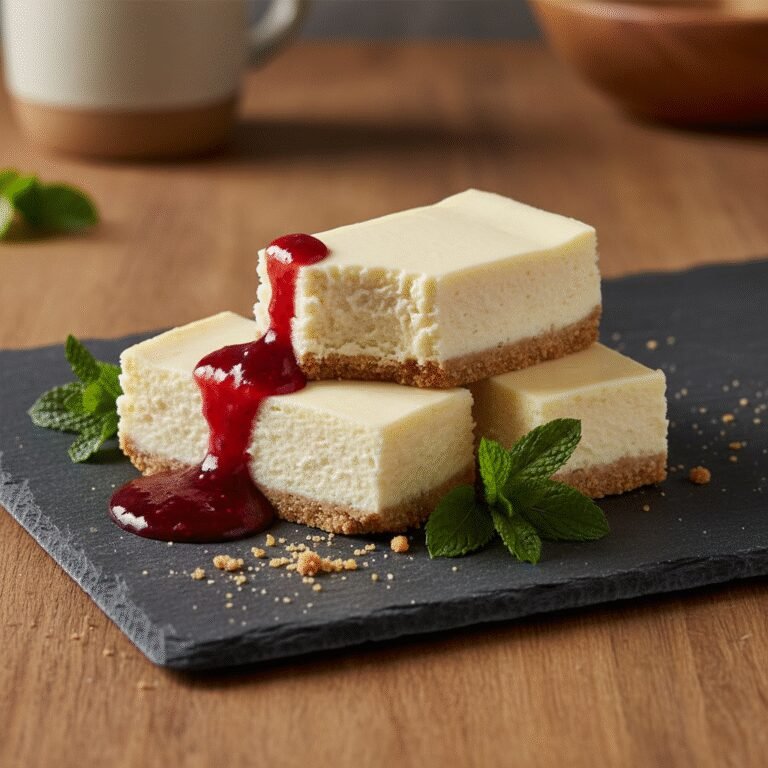
This cheesecake is rich enough to stand on its own, but it serves as a perfect canvas for toppings. A classic strawberry or raspberry compote cuts through the richness with acidity. Fresh berries and a dusting of powdered sugar offer a lighter, elegant presentation. For decadence, drizzle with warm salted caramel sauce or chocolate ganache. Whipped cream is always a welcome addition. Serve chilled, but let the slices sit at room temperature for 15-20 minutes before eating for the maximum creamy texture and flavor release.
Storage and Reheating Tips
Cheesecake stores exceptionally well, making it a great make-ahead dessert. Store the cake in the springform pan or an airtight container in the refrigerator for up to 5 days. Loosely cover with plastic wrap or foil, ensuring it doesn’t touch the surface of the cake to prevent condensation marks. To freeze, cool the cake completely, then freeze it uncovered on a baking sheet for an hour until firm. Wrap the whole cake or individual slices tightly in two layers of plastic wrap, followed by a layer of heavy-duty foil. It can be frozen for up to 3 months. Thaw overnight in the refrigerator before serving.
Nutrition Facts (Estimated)
| Serving Size | 1 Slice |
| Calories | 480 |
| Fat | 34g |
| Saturated Fat | 19g |
| Unsaturated Fat | 12g |
| Trans Fat | 0.5g |
| Cholesterol | 145mg |
| Sodium | 320mg |
| Carbohydrates | 38g |
| Fiber | 1g |
| Sugar | 28g |
| Protein | 8g |
Frequently Asked Questions
Why did my cheesecake crack?
Cracks are usually caused by overmixing the batter (adding too much air), overbaking (drying it out), or cooling it too quickly (thermal shock). Following the cooling steps in the oven is crucial.
Do I really need a water bath?
Technically no, but for this specific creamy, dense texture without browned edges or cracks, yes. Without it, the texture will be more like a heavy tart and less like a NY cheesecake.
How do I know when it is done?
Gently shake the pan. The outer 2-3 inches should look set and puffy, while the center circle should jiggle slightly like firm gelatin. It should not look liquid.
Can I make this ahead of time?
Absolutely. In fact, cheesecake tastes better the next day after the flavors have had time to meld and the texture has fully set in the refrigerator.
Can I use whipped cream cheese?
No. Whipped cream cheese has air incorporated into it and often has a different moisture content. Always use the blocks of full-fat cream cheese.
My ingredients are cold, can I microwave them?
You can microwave the cream cheese in 10-second bursts, flipping it often, but be very careful not to melt it. It is better to submerge the sealed foil packages in warm water for 10 minutes.
Why is my cheesecake grainy?
Graininess usually comes from overbaking (the eggs curdle) or not mixing the sugar and cream cheese enough at the beginning before adding eggs.
How do I remove it from the bottom of the pan?
It is risky to remove the metal bottom. Most people serve it directly from the metal base. If you must, line the bottom with parchment paper before baking for easier removal.
Conclusion
Mastering the art of the Creamy Vanilla Cheesecake is a badge of honor for any home baker, and with this guide, it is an achievement well within your reach. The result is a dessert that feels luxurious, tastes divine, and brings people together. Whether it is the centerpiece of a holiday table or a treat for a quiet weekend, the effort you put into the gentle mixing and the water bath will be rewarded with every forkful. We hope this recipe becomes a cherished part of your culinary repertoire. Don’t forget to leave a comment below sharing your results or your favorite topping combinations!