Perfectly Creamy Vanilla Bean Mini Cheesecakes with Buttery Graham Crust
Creamy Vanilla Cheesecake Mini Cheesecake Recipe
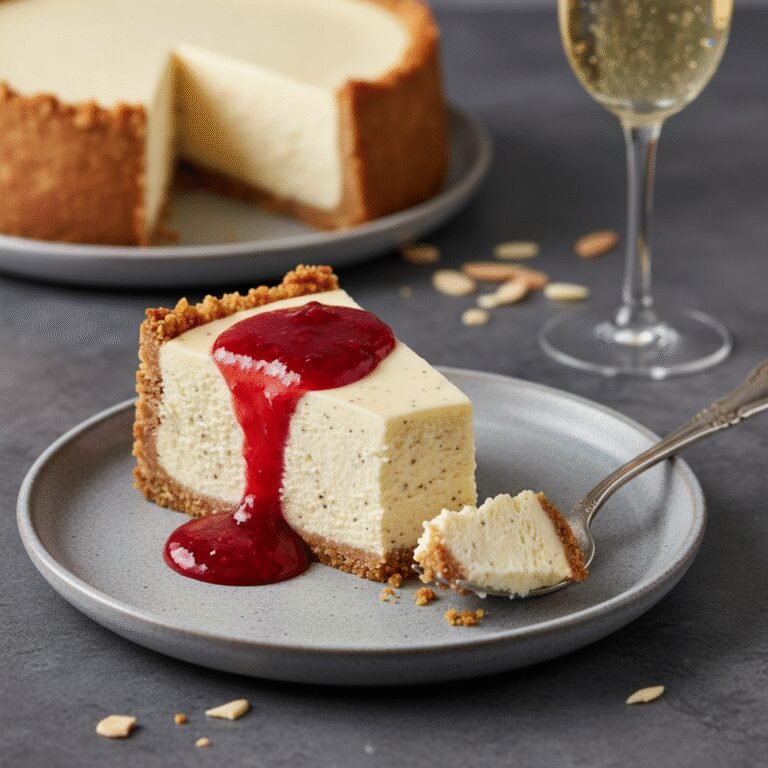
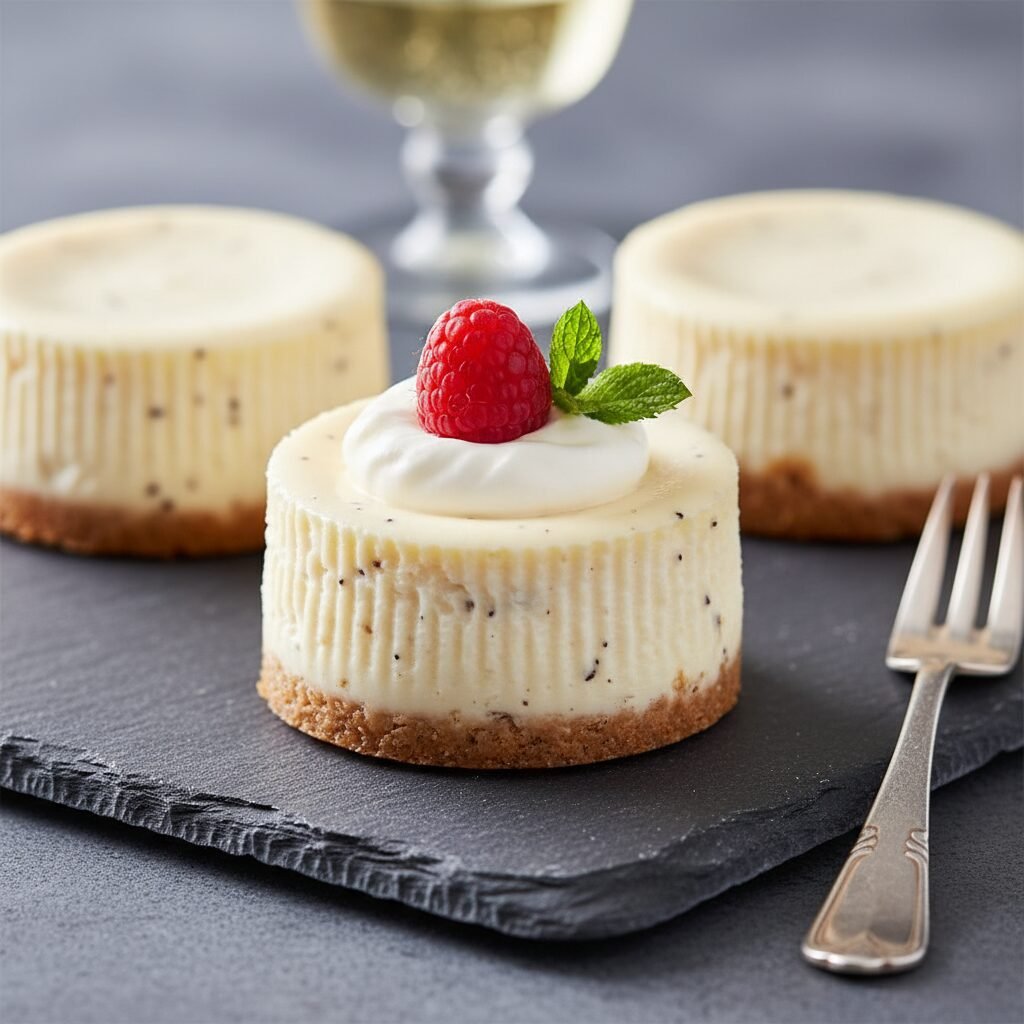
These velvety, bite-sized vanilla bean cheesecakes feature a classic buttery graham cracker crust and a rich, tangy filling that is impossibly smooth. They bake in half the time of a standard cheesecake with no water bath required, making them the ultimate stress-free dessert for parties or indulgent snacking.
20 minutes
18 minutes
3 hours (includes cooling time)
12 mini cheesecakes
Dessert
Baking
American
Vegetarian
There is something universally comforting about a classic cheesecake. It walks the delicate line between tangy and sweet, dense and fluffy, crunchy and creamy. However, the prospect of baking a full-sized New York-style cheesecake can be daunting for even seasoned home bakers. The dreaded water bath, the risk of surface cracks, the overnight cooling process, and the fear of a soggy crust often keep this beloved dessert off the weekly menu. Enter the Creamy Vanilla Mini Cheesecake: a brilliant solution that delivers all the decadence of the original in a fraction of the time and with virtually zero stress. These miniature delights are not just about convenience; they offer a superior texture experience. Because they are baked in a muffin tin, each cheesecake has a perfect edge-to-center ratio, ensuring that every bite contains the ideal amount of golden, buttery graham cracker crust and luscious, vanilla-flecked filling. The use of high-quality vanilla bean paste in this recipe elevates the flavor profile from standard to spectacular, adding those signature black specks that signal true gourmet quality. Whether you are hosting a bridal shower, looking for a portion-controlled dessert, or simply craving a sweet treat without the commitment of a 9-inch springform pan, this recipe is your new holy grail. They are customizable, freezer-friendly, and undeniably elegant. By removing the technical hurdles of traditional cheesecake making, we allow the pure, unadulterated flavor of cream cheese and vanilla to shine through in a format that is fun to eat and beautiful to serve.
History & Origins
The history of cheesecake is a journey that spans thousands of years and crosses continents, long before it became a staple of American diners and New York bakeries. Its origins can be traced back to ancient Greece, specifically on the island of Samos, where physical anthropologists have excavated cheese molds dating back to circa 2,000 B.C. In ancient times, cheesecake was considered a potent source of energy; historical records indicate that it was served to athletes during the first Olympic Games in 776 B.C. The Greeks called it ‘plakous’—a mixture of cheese, honey, and wheat heated in earthen pots. When the Romans conquered Greece, they adopted the recipe, adding crushed cheese and eggs, and renamed it ‘libum,’ often serving it as an offering to the gods or at special occasions. As the Roman Empire expanded, the recipe traveled across Europe, evolving as different cultures introduced their own local ingredients and cheese-making techniques. However, the cheesecake we know and love today is distinctly American, born out of a happy accident in the late 19th century. In 1872, a New York dairyman named William Lawrence was attempting to replicate the French cheese Neufchâtel. Instead, he accidentally added too much cream, creating a richer, more spreadable cheese that he eventually branded as ‘Philadelphia Cream Cheese.’ This invention revolutionized the dessert, replacing the grainy curd cheeses of the past with a smooth, dense base. By the early 1900s, the ‘New York Style’ cheesecake—characterized by its heavy use of cream cheese and egg yolks—became legendary. The evolution into ‘mini’ cheesecakes is a more modern adaptation, born from the mid-20th-century desire for convenience, faster baking times, and individual portioning, reflecting the changing pace of modern culinary life.
Why This Recipe Works
This recipe succeeds where many others fail due to a precise balance of ingredients and a specific baking methodology tailored for the miniature format. First, the ratio of full-fat cream cheese to sour cream is critical. While cream cheese provides the necessary structure and density, the addition of sour cream breaks up the heaviness, introducing a subtle tang and ensuring a velvety, melt-in-your-mouth texture that prevents the cheesecake from becoming cloying. Second, the instruction to use room-temperature ingredients is not merely a suggestion; it is a chemical necessity. When the cream cheese, eggs, and sour cream are at the same ambient temperature, they emulsify into a smooth batter without requiring excessive beating. Over-beating incorporates too much air, which expands in the oven and causes the cheesecakes to rise rapidly and then collapse and crack. By mixing on low speed just until combined, we maintain a dense, creamy consistency. Furthermore, the muffin tin acts as a superior heat conductor compared to a large springform pan. The individual wells allow heat to penetrate the batter evenly from all sides, significantly reducing bake time and eliminating the need for a cumbersome water bath. Finally, the cooling process—allowing the cheesecakes to cool in the turned-off oven with the door cracked—allows the proteins to set gradually. This prevents the thermal shock that leads to sinking centers, ensuring a flat, professional-looking surface ready for toppings.
Why You’ll Love This Recipe
- ✓No water bath required, simplifying the baking process significantly.
- ✓Bakes in just 15-18 minutes, compared to over an hour for full-sized cakes.
- ✓Built-in portion control with individual servings.
- ✓Highly customizable with various toppings like fruit, caramel, or chocolate.
- ✓Freezes beautifully for up to 3 months for make-ahead convenience.
- ✓Rich vanilla bean flavor with a perfectly crunchy graham cracker base.
Equipment You’ll Need
- ✓Standard 12-cup muffin tin
- ✓Paper cupcake liners
- ✓Electric hand mixer or stand mixer
- ✓Large mixing bowl
- ✓Medium mixing bowl
- ✓Rubber spatula
- ✓Measuring cups and spoons
- ✓Flat-bottomed shot glass or tamper (for pressing crust)
Ingredients
- ✓1 cup graham cracker crumbs (about 8-9 full sheets)
- ✓4 tablespoons unsalted butter, melted
- ✓1 1/2 tablespoons granulated sugar (for crust)
- ✓16 oz (2 blocks) full-fat cream cheese, softened to room temperature
- ✓1/2 cup granulated sugar (for filling)
- ✓1/2 cup full-fat sour cream, room temperature
- ✓1 teaspoon vanilla bean paste (or high-quality vanilla extract)
- ✓2 large eggs, room temperature
- ✓Pinch of salt
Instructions
- Preheat your oven to 325°F (163°C). Line a standard 12-cup muffin tin with paper liners.
- In a medium bowl, combine the graham cracker crumbs, melted butter, and 1.5 tablespoons of sugar. Stir until the mixture resembles wet sand.
- Distribute the crumb mixture evenly among the 12 muffin cups (about 1 heaping tablespoon per cup). Use a flat-bottomed shot glass or a small spoon to press the crumbs firmly into the bottom to form a compact crust. Bake for 5 minutes to set the crust, then remove from the oven and let cool slightly.
- In a large mixing bowl or the bowl of a stand mixer fitted with the paddle attachment, beat the softened cream cheese on medium-low speed until completely smooth and creamy. Scrape down the sides of the bowl.
- Add the 1/2 cup granulated sugar and a pinch of salt to the cream cheese. Beat on low speed until combined. Do not overmix.
- Mix in the sour cream and vanilla bean paste until just incorporated, scraping down the sides and bottom of the bowl to ensure no lumps remain.
- Add the eggs one at a time, mixing on the lowest speed setting just until the yellow disappears. Stop mixing as soon as the eggs are incorporated to avoid adding air bubbles.
- Divide the cheesecake batter evenly over the pre-baked crusts, filling each liner almost to the top.
- Bake for 15-18 minutes. The cheesecakes are done when the edges are set but the centers still have a slight jiggle when you gently shake the pan.
- Turn off the oven and crack the oven door open slightly. Leave the cheesecakes inside for 15-20 minutes to cool gradually. This helps prevent sinking and cracking.
- Remove the tin from the oven and let the cheesecakes cool completely at room temperature on a wire rack.
- Once cool, transfer the cheesecakes (still in the tin or on a tray) to the refrigerator to chill for at least 2 hours, preferably overnight, to fully set the texture.
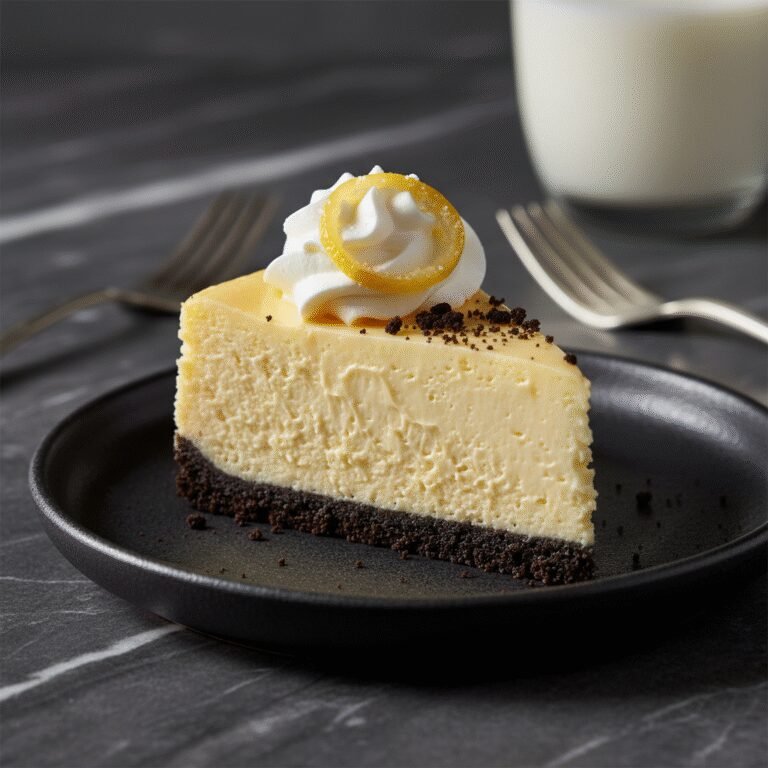
- Serve chilled, topped with fresh berries, whipped cream, or caramel sauce if desired.
Expert Cooking Tips
- ✓Room temperature ingredients are non-negotiable; cold cream cheese causes lumps.
- ✓Use full-fat brick cream cheese, not the tub variety meant for spreading on bagels.
- ✓Press the crust firmly; a loose crust will crumble when you unwrap the cheesecake.
- ✓Beat on low speed after adding eggs to prevent air bubbles, which cause cracks.
- ✓Do not overbake; the center should still look slightly underdone when you pull them out.
- ✓Use vanilla bean paste for visible specks of vanilla and a deeper flavor.
- ✓Chill thoroughly before removing the paper liners to ensure they peel off cleanly.
Substitutions and Variations
This recipe is versatile enough to accommodate several dietary needs and pantry limitations. For the crust, if you don’t have graham crackers, you can substitute vanilla wafers, digestive biscuits, or even Oreo cookies (remove the cream filling for a less sweet crust) crushed into fine crumbs. For a gluten-free version, simply use gluten-free graham style crackers or a nut-based crust made from almond flour, butter, and sugar. In the filling, full-fat Greek yogurt can be substituted for sour cream in a 1:1 ratio, though the flavor will be slightly tangier. While we recommend granulated sugar for texture, you can use a monk fruit sweetener or erythritol blend for a low-carb or keto-friendly version, provided you also swap the crust for a nut base. Do not substitute low-fat or fat-free cream cheese, as the stabilizers in these products can negatively affect the texture, leading to a rubbery or watery result. If you don’t have vanilla bean paste, a high-quality pure vanilla extract is a perfectly acceptable substitute.
Common Mistakes to Avoid
The most common mistake when making mini cheesecakes is using cold ingredients. If your cream cheese is even slightly cold, it will not blend with the sugar properly, resulting in a lumpy batter that no amount of mixing will fix. Another frequent error is overmixing the batter, particularly after adding the eggs. Mixing incorporates air; while this is good for a sponge cake, it is detrimental to cheesecake. Excess air expands in the heat of the oven, causing the cheesecakes to puff up like soufflés and then collapse, forming deep cracks or sunken centers. Opening the oven door repeatedly to check on them can also cause temperature fluctuations leading to sinking. Lastly, overbaking is a texture killer. If the cheesecakes look firm and dry in the center while in the oven, they are already overdone and will be grainy upon cooling. Trust the ‘jiggle’ test.
Serving Suggestions
These mini cheesecakes are a blank canvas for a myriad of toppings. For a classic approach, top each one with a dollop of freshly whipped cream and a single raspberry or strawberry slice. For a decadent dessert, drizzle with homemade salted caramel sauce and a sprinkle of sea salt, or a dark chocolate ganache. Fruit compotes, such as blueberry or cherry, work wonderfully to cut through the richness of the cheese. For seasonal variations, try topping with lemon curd in the spring, or spiced apple pie filling in the autumn. They look particularly elegant served on a tiered cake stand for afternoon tea or parties.
Storage and Reheating Tips
Proper storage is essential for maintaining the creamy texture of these cheesecakes. Once fully chilled, they can be stored in an airtight container in the refrigerator for up to 5 days. If you plan to keep them longer, they freeze exceptionally well. To freeze, place the chilled cheesecakes (without toppings) on a baking sheet in the freezer for about an hour until hard. Then, transfer them to a freezer-safe bag or airtight container. They can be frozen for up to 3 months. Thaw them overnight in the refrigerator before serving. Do not microwave them to thaw, as the cheese filling will melt and separate.
Nutrition Facts (Estimated)
| Serving Size | 1 mini cheesecake |
| Calories | 245 |
| Fat | 17g |
| Saturated Fat | 10g |
| Unsaturated Fat | 6g |
| Trans Fat | 0g |
| Cholesterol | 65mg |
| Sodium | 160mg |
| Carbohydrates | 19g |
| Fiber | 0.5g |
| Sugar | 14g |
| Protein | 4g |
Frequently Asked Questions
Why did my cheesecakes sink in the middle?
Sinking is usually caused by overmixing the batter (incorporating too much air) or cooling them too quickly. The gradual cooling step in the oven with the door cracked helps prevent this.
Do I really need to use room temperature ingredients?
Yes, absolutely. Room temperature ingredients emulsify much easier, resulting in a smooth batter without the need for excessive mixing.
Can I bake these without paper liners?
It is possible if you grease the pan very well, but it is risky. The crust tends to stick, making them difficult to remove intact. Paper liners are highly recommended for easy removal.
How do I know when they are done?
They are done when the edges are slightly puffy and set, but the center size of a quarter still jiggles like Jell-O when you shake the pan.
Can I make this recipe in a regular cake pan?
This batter is enough for a small 6-inch springform pan, but the baking time will increase significantly (approx 45-55 mins) and you may need a water bath.
Can I use low-fat cream cheese?
It is not recommended. Low-fat cream cheese contains more moisture and stabilizers which can result in a grainy or rubbery texture.
Why is my cheesecake lumpy?
Lumps occur when the cream cheese was too cold when you started mixing. To fix this in the future, ensure the cheese is very soft before adding sugar.
Can I make the batter ahead of time?
It is best to bake the batter immediately after mixing. However, you can bake the cheesecakes a day or two in advance and keep them in the fridge.
Conclusion
These Creamy Vanilla Cheesecake Mini Cheesecakes prove that good things really do come in small packages. They offer all the sophistication and flavor of a high-end bakery dessert with a foolproof method that anyone can master at home. Whether you are a cheesecake purist who loves them plain or a creative baker who wants to experiment with toppings, this recipe provides the perfect foundation. The creamy texture, the aromatic vanilla bean, and the buttery crust come together to create a bite that is nothing short of perfection. So, preheat your oven, grab your muffin tin, and get ready to impress your friends, family, and most importantly, your own taste buds with these delightful miniature treats.