The Ultimate Creamy Vanilla Cheesecake: A Masterclass in Springform Perfection
Creamy Vanilla Cheesecake In Springform Pan Recipe
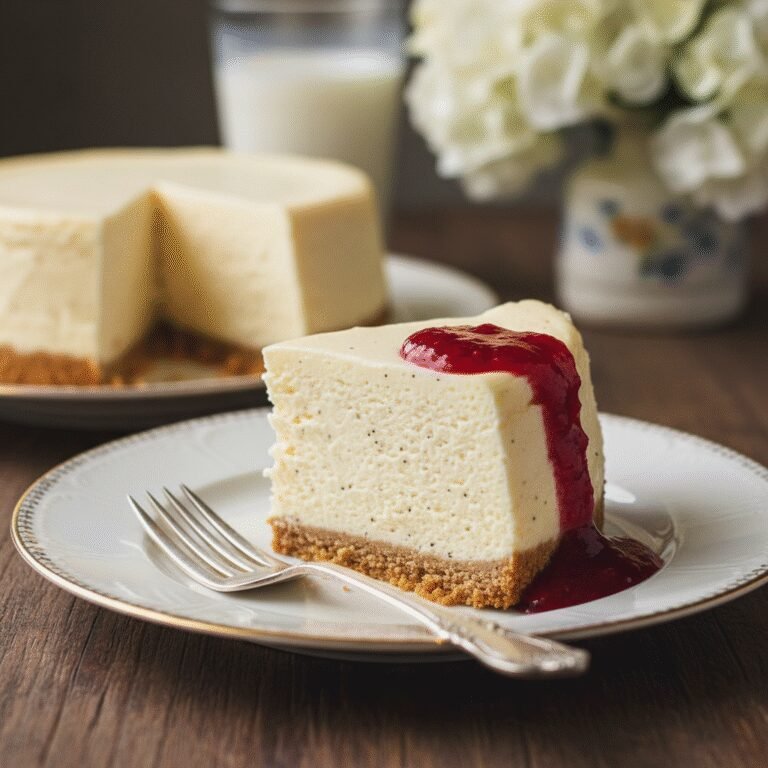
Experience the epitome of dessert luxury with this ultra-creamy vanilla cheesecake. Baked to perfection in a springform pan, this recipe delivers a velvety texture, a buttery graham cracker crust, and a rich vanilla bean flavor that rivals the finest New York bakeries.
30 minutes
1 hour 15 minutes
8 hours (includes cooling and chilling)
12 servings
Dessert
Baking
American
Vegetarian
There is something undeniably magical about a perfectly executed vanilla cheesecake. It stands as a testament to the beauty of simplicity, where a few high-quality ingredients transform into a dessert that is both sophisticated and deeply comforting. This isn’t just another cheesecake recipe; it is a comprehensive guide to achieving that elusive, silky-smooth texture that melts on your tongue, devoid of cracks or graininess. The allure of this specific recipe lies in its balance. We aren’t looking for a cake that is heavy or cloying; rather, we aim for a density that feels substantial yet creamy, with a tang that cuts through the richness of the cream cheese. Using a springform pan is non-negotiable here. It allows for that dramatic reveal, showcasing the smooth, pale sides of the cake and the distinct layers of golden crust and snowy filling.
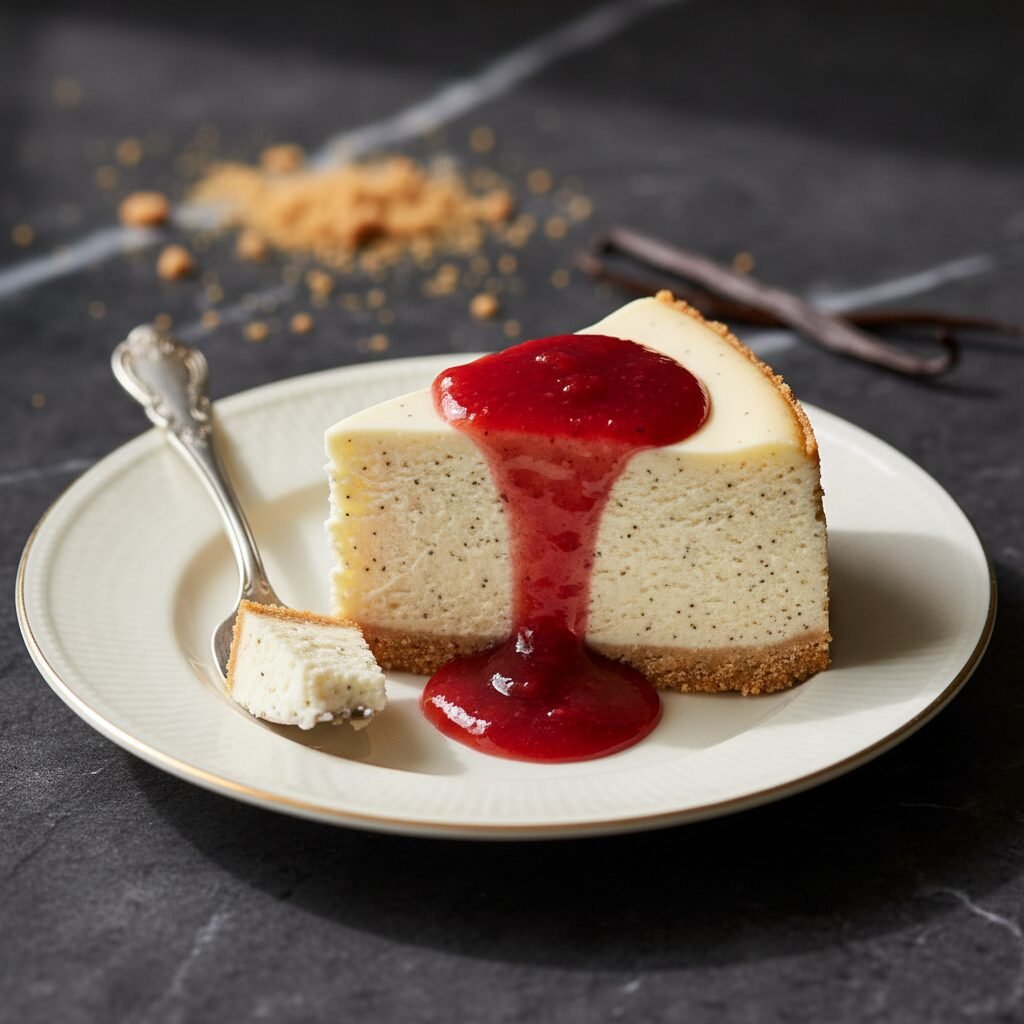
As a food blogger who has tested dozens of variations—from the ricotta-heavy Italian styles to the dense New York bricks—I have found that this specific formula hits the sweet spot. It incorporates both sour cream and heavy cream, a duo that ensures the filling remains moist and tender. The vanilla flavor is the star, so we use a double hit of vanilla bean paste and high-quality extract to ensure those beautiful black specks are visible throughout every slice. Whether you are baking this for a holiday centerpiece, a birthday celebration, or simply because you crave a slice of heaven on a Tuesday, this guide will walk you through every nuance of the process. Prepare your kitchen, preheat your oven, and get ready to bake the best cheesecake of your life.
History & Origins
The history of cheesecake is as rich and layered as the dessert itself, stretching back over 4,000 years. While many associate the iconic dish with New York City delis, its origins can be traced to ancient Greece. Excavations on the island of Samos have revealed cheese molds dating back to 2,000 B.C. In ancient Greece, cheesecake was considered a potent source of energy, and there is evidence that it was served to athletes during the first Olympic Games in 776 B.C. These early versions, known as ‘plakous’, were simpler mixtures of flour, wheat, honey, and cheese, baked in earthenware molds.
When the Romans conquered Greece, they adopted the recipe, modifying it with crushed cheese and eggs, and called it ‘libum’. It was often served on special occasions or offered to the gods. As the Roman Empire expanded, the concept of baking with cheese spread across Europe. Medieval cookbooks from England and France show variations that included elderflower and rose water. However, the modern cheesecake we know and love today owes its existence to a happy accident in 1872. William Lawrence, a dairyman from Chester, New York, was attempting to recreate the French cheese Neufchâtel. Instead, he accidentally produced a richer, creamier unripened cheese that eventually became Philadelphia Cream Cheese. This invention revolutionized the dessert, leading to the dense, smooth, cream cheese-based cakes that became the signature of New York dining in the early 20th century. This recipe honors that lineage, blending modern technique with the timeless appeal of baked custard.
Why This Recipe Works
This recipe succeeds because it meticulously controls the thermodynamics of baking a custard. Cheesecake is essentially a baked cheese custard, and like all custards, it is sensitive to heat. The combination of full-fat cream cheese, sour cream, and heavy whipping cream creates a fat structure that coats the proteins in the eggs. This prevents the proteins from coagulating too tightly, which is the primary cause of a grainy texture. By baking at a moderate temperature and utilizing a water bath (bain-marie), we generate a humid environment in the oven. This moisture keeps the surface of the cheesecake elastic, preventing it from drying out and cracking as it rises.
Furthermore, the ratio of sugar to dairy is calibrated to ensure the structure holds up without becoming gummy. The inclusion of a small amount of cornstarch acts as an insurance policy; the starch molecules swell and stabilize the liquid, preventing the eggs from scrambling if the temperature fluctuates slightly. Finally, the cooling process is just as critical as the baking. By turning off the oven and cracking the door, we allow the cheesecake to cool gradually. This slow reduction in temperature prevents thermal shock, which is the number one culprit for those dreaded surface cracks. The result is a flawlessly smooth top and a creamy interior every single time.
Why You’ll Love This Recipe
- ✓Velvety, ultra-smooth texture with no graininess.
- ✓Rich vanilla flavor enhanced by vanilla bean paste.
- ✓Sturdy yet buttery graham cracker crust that doesn’t get soggy.
- ✓Foolproof water bath method prevents cracking.
- ✓Freezes beautifully for make-ahead convenience.
- ✓Versatile base that pairs with any fruit topping or sauce.
Equipment You’ll Need
- ✓9-inch Springform Pan
- ✓Large Roasting Pan (for water bath)
- ✓Electric Stand Mixer or Hand Mixer
- ✓Heavy-duty Aluminum Foil
- ✓Rubber Spatula
- ✓Food Processor (for crust)
- ✓Measuring Cups and Spoons
- ✓Parchment Paper
Ingredients
- ✓2 cups graham cracker crumbs (about 14-15 full sheets)
- ✓1/2 cup unsalted butter, melted
- ✓1/4 cup granulated sugar (for crust)
- ✓1/4 teaspoon salt
- ✓32 oz (4 blocks) full-fat cream cheese, softened to room temperature
- ✓1 1/4 cups granulated sugar (for filling)
- ✓1 cup full-fat sour cream, room temperature
- ✓1/2 cup heavy whipping cream, room temperature
- ✓4 large eggs, room temperature
- ✓1 tablespoon vanilla bean paste or high-quality extract
- ✓2 tablespoons cornstarch
- ✓1 teaspoon lemon zest (optional, for brightness)
Instructions
- Preheat your oven to 325°F (163°C). Prepare your 9-inch springform pan by lining the bottom with parchment paper and greasing the sides lightly with butter.
- Make the crust: In a food processor, pulse the graham crackers until they are fine crumbs. Add the 1/4 cup sugar, salt, and melted butter. Pulse until the mixture resembles wet sand.
- Press the crust mixture firmly into the bottom and slightly up the sides of the prepared pan. Use the bottom of a measuring cup to pack it down evenly. Bake the crust for 10 minutes, then remove and let it cool completely on a wire rack.
- Prepare the pan for the water bath: Wrap the bottom and sides of the springform pan with 2-3 layers of heavy-duty aluminum foil to ensure no water seeps in. Place the wrapped pan inside a large roasting pan.
- Make the filling: In the bowl of a stand mixer fitted with the paddle attachment, beat the room temperature cream cheese and 1 1/4 cups sugar on medium-low speed until completely smooth and creamy (about 3-4 minutes). Scrape down the bowl frequently to ensure no lumps remain.
- Add the cornstarch, sour cream, heavy cream, vanilla bean paste, and lemon zest. Mix on low speed until just combined. Do not overmix.
- Add the eggs one at a time, mixing on low speed just until the yellow disappears after each addition. It is crucial not to incorporate too much air at this stage, as air bubbles can cause cracks.
- Pour the batter over the cooled crust. Smooth the top with a spatula. Tap the pan gently on the counter a few times to release any trapped air bubbles.
- Place the roasting pan in the oven. Carefully pour boiling water into the roasting pan until it reaches halfway up the sides of the springform pan.
- Bake for 60-75 minutes. The cheesecake is done when the edges are set and puffy, but the center still has a slight wobble (like Jell-O) when the pan is gently shaken.
- Turn off the oven and crack the door open about an inch. Let the cheesecake cool inside the oven for 1 hour. This slow cooling prevents cracks.
- Remove from the oven and water bath. Remove the foil. Run a thin knife around the edge of the cake to loosen it from the pan ring. Let it cool completely to room temperature on a wire rack.
- Cover the pan loosely with plastic wrap and refrigerate for at least 6 hours, preferably overnight, to allow the cheesecake to set completely before slicing.
Expert Cooking Tips
- ✓Ensure all dairy ingredients (cream cheese, eggs, sour cream, cream) are at true room temperature before starting. This guarantees a lump-free batter.
- ✓Do not skip the water bath. It regulates the heat and keeps the cheesecake moist.
- ✓Avoid overmixing the batter once the eggs are added. Overmixing introduces air, which leads to rising, falling, and cracking.
- ✓Use heavy-duty foil or a slow-cooker liner around the pan to absolutely prevent water leakage.
- ✓Don’t open the oven door during the first 45 minutes of baking to maintain consistent heat.
- ✓Scrape the bowl constantly during mixing. Hidden lumps of cream cheese at the bottom will show up in the final slice.
Substitutions and Variations
This recipe is quite adaptable to various dietary needs and pantry limitations. For the crust, if you don’t have graham crackers, you can substitute vanilla wafers, digestive biscuits, or even Oreos (remove the cream filling first for a pure chocolate crust) in equal weight. For a gluten-free version, simply use gluten-free graham cracker crumbs or nut meal (almond flour works well mixed with butter and sugar). Regarding the filling, full-fat ingredients are strongly recommended for the proper texture, but if you are in a pinch, you can substitute the sour cream with full-fat plain Greek yogurt. The heavy cream can be swapped for heavy whipping cream or even slightly more sour cream, though the texture may be slightly tangier. Can’t find vanilla bean paste? Use a high-quality pure vanilla extract, or scrape the seeds from two whole vanilla beans. Do not use ‘cream cheese spread’ or tub varieties; you must use the brick style cream cheese for the correct density.
Common Mistakes to Avoid
The most common mistake is using cold ingredients. If your cream cheese is cold, it won’t blend smoothly with the sugar, leading to a lumpy batter that you’ll be tempted to overbeat. Another frequent error is overbaking. Many home bakers wait until the center is firm, but by then, the eggs have overcooked, resulting in a dry, grainy texture and a cracked top. Trust the ‘wobble’ test—it should jiggle in the center. Leaking water baths are also a tragedy; if water seeps into your crust, it becomes a soggy mess. Always use multiple layers of wide, heavy-duty foil, or place the springform pan inside a slightly larger cake pan, and place *that* pan in the water bath. Finally, rushing the chilling process is a mistake. Cheesecake needs time for the structure to firm up in the fridge; cutting it too soon will result in a runny slice that doesn’t hold its shape.
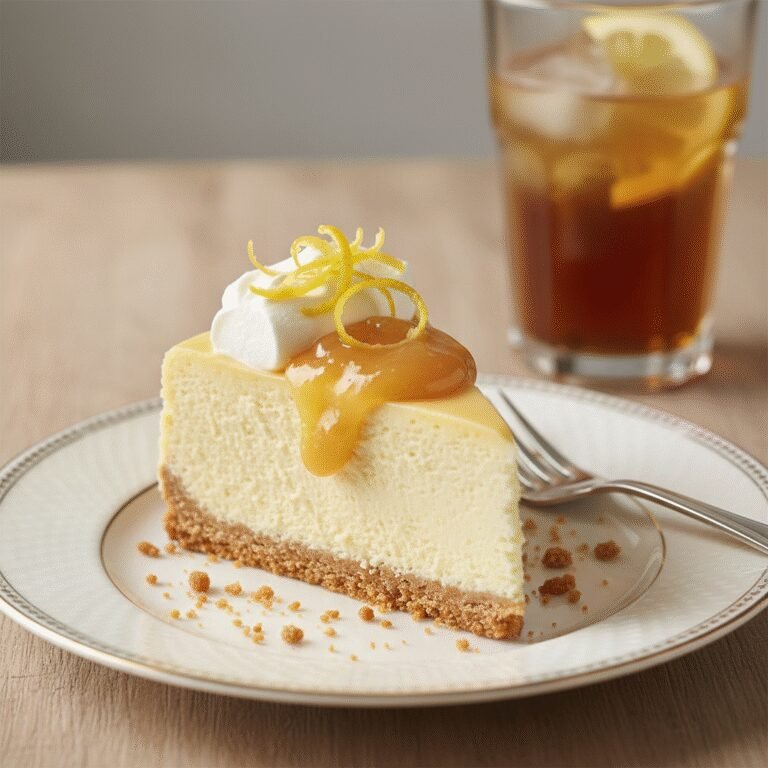
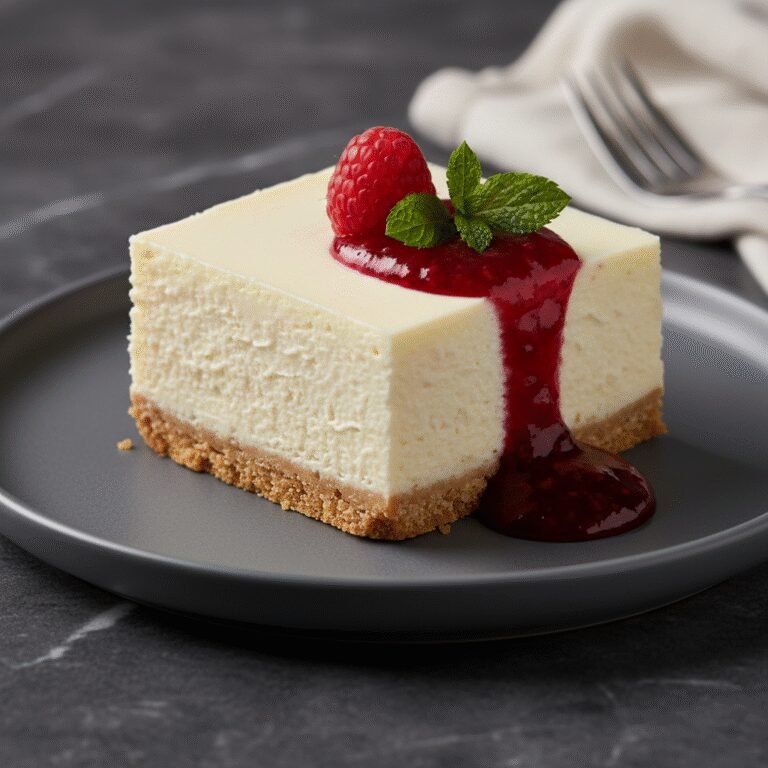
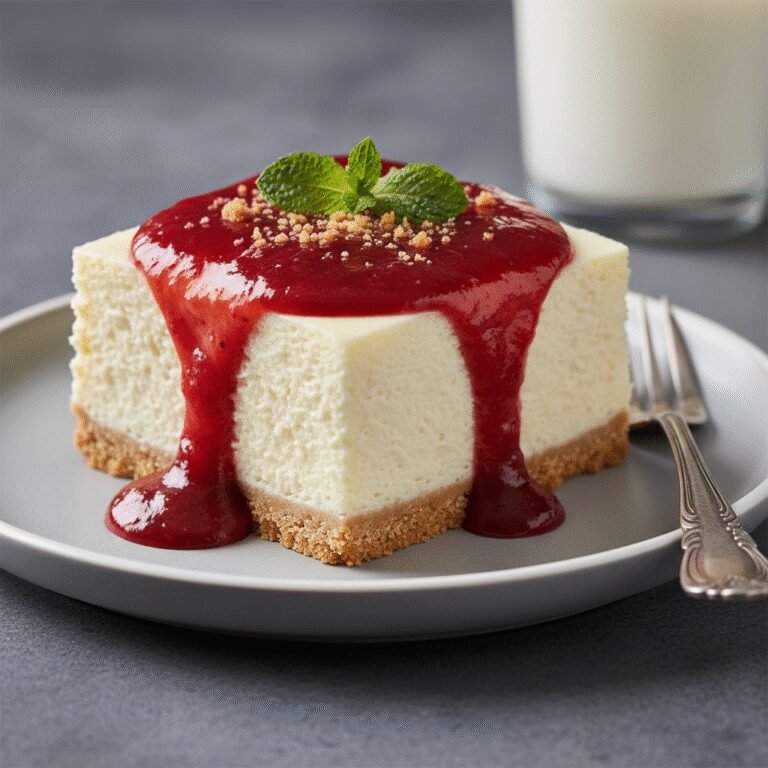
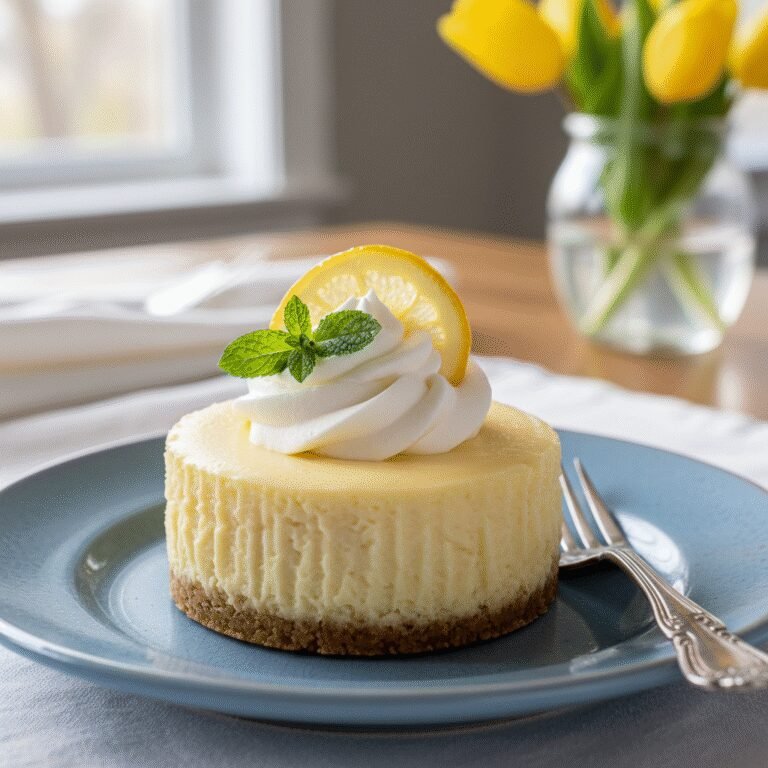
Serving Suggestions
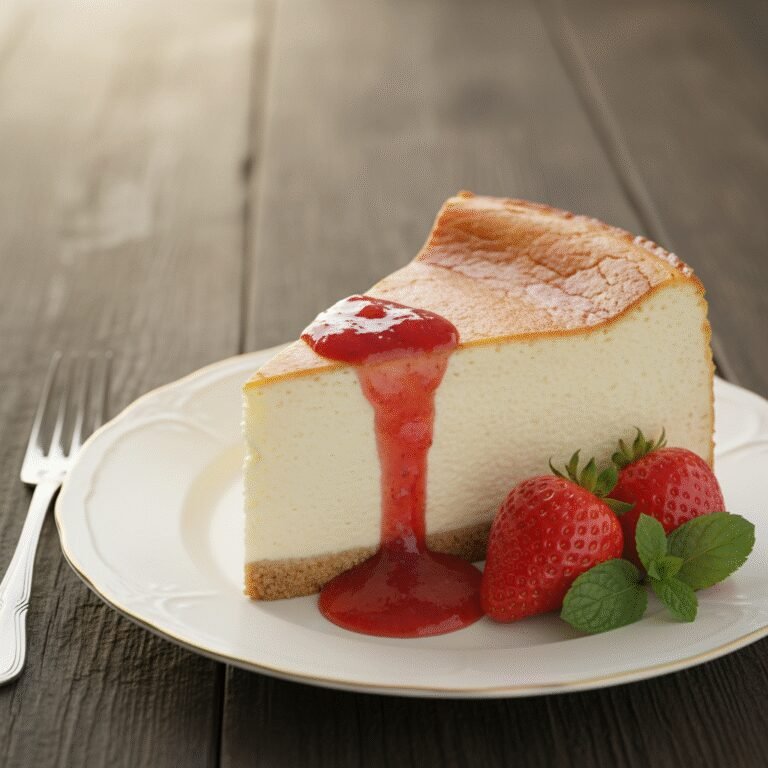
This creamy vanilla cheesecake is a blank canvas for toppings, though it is spectacular on its own. For a classic approach, serve with a mound of macerated strawberries or a fresh raspberry coulis. The tartness of the berries cuts through the richness of the cheese. Salted caramel sauce and toasted pecans turn this into a decadent turtle-style dessert. For a lighter touch, a dollop of unsweetened whipped cream and some lemon zest is refreshing. When slicing, use a sharp chef’s knife dipped in hot water and wiped dry between every single cut. This ensures clean, professional-looking edges that show off the creamy interior.
Storage and Reheating Tips
Cheesecake stores exceptionally well, making it a perfect make-ahead dessert. Once fully chilled, it can be kept in the refrigerator for up to 5 days. Keep it in the springform pan with plastic wrap, or transfer it to an airtight cake container. To freeze, cool the cake completely and chill overnight. Then, remove the ring and freeze the cake on the base for an hour until firm. Wrap the entire cake (or individual slices) tightly in two layers of plastic wrap, followed by a layer of aluminum foil. It will keep in the freezer for up to 3 months. Thaw overnight in the refrigerator before serving. Do not thaw in the microwave or at room temperature, as this can make the texture weep.
Nutrition Facts (Estimated)
| Serving Size | 1 slice |
| Calories | 450 |
| Fat | 34g |
| Saturated Fat | 20g |
| Unsaturated Fat | 12g |
| Trans Fat | 0g |
| Cholesterol | 115mg |
| Sodium | 320mg |
| Carbohydrates | 36g |
| Fiber | 1g |
| Sugar | 28g |
| Protein | 7g |
Frequently Asked Questions
Why did my cheesecake crack?
Cracks are usually caused by overmixing the batter (too much air), overbaking (drying it out), or cooling it too quickly (thermal shock). Following the water bath and slow-cooling instructions prevents this.
Do I really need a water bath?
Technically, no, but for a creamy, level, and crack-free cheesecake, it is highly recommended. Without it, the edges cook much faster than the center, and the texture will be denser and less silky.
Can I use low-fat cream cheese?
It is not recommended. Low-fat cream cheese has a higher water content and different stabilizers, which can prevent the cheesecake from setting properly and may lead to a rubbery texture.
How do I know when it is done?
The ‘jiggle test’ is best. Gently shake the pan. The outer 2-3 inches should look set and puffy, while the center 2-3 inches should wobble slightly like gelatin. It will firm up as it cools.
My springform pan leaks. What can I do?
Wrap the outside of the pan in at least two layers of heavy-duty foil. Alternatively, place your springform pan inside a slightly larger silicone cake pan or oven bag before placing it in the water bath.
Can I make this without a stand mixer?
Yes, a hand mixer works perfectly fine. Just be sure to mix on low speeds and scrape the bowl often. You can even mix by hand with a whisk if you have strong arms and very soft cream cheese!
Why does my cheesecake taste eggy?
An eggy taste usually comes from overbaking. When eggs are overcooked, they release sulfur compounds. Pull the cheesecake from the oven while it still has a wobble to avoid this.
Can I leave the cheesecake on the counter overnight?
No. Because of the high dairy and egg content, cheesecake must be refrigerated. It should not sit out at room temperature for more than 2 hours.
Conclusion
Mastering the art of the creamy vanilla cheesecake is a milestone for any home baker. While the steps may seem numerous, they are all designed to guide you toward a result that is nothing short of spectacular. The patience required for the cooling and chilling process pays off the moment you take that first bite—smooth, rich, and perfectly balanced. Whether you top it with fresh fruit, drizzle it with chocolate, or enjoy it plain in all its vanilla glory, this cheesecake is sure to become a requested favorite in your household. So, embrace the process, trust the water bath, and enjoy the delicious rewards of your baking labor.