The Ultimate Creamy Vanilla Cheesecake Bars with Buttery Graham Crust
Creamy Vanilla Cheesecake Cheesecake Bars Recipe
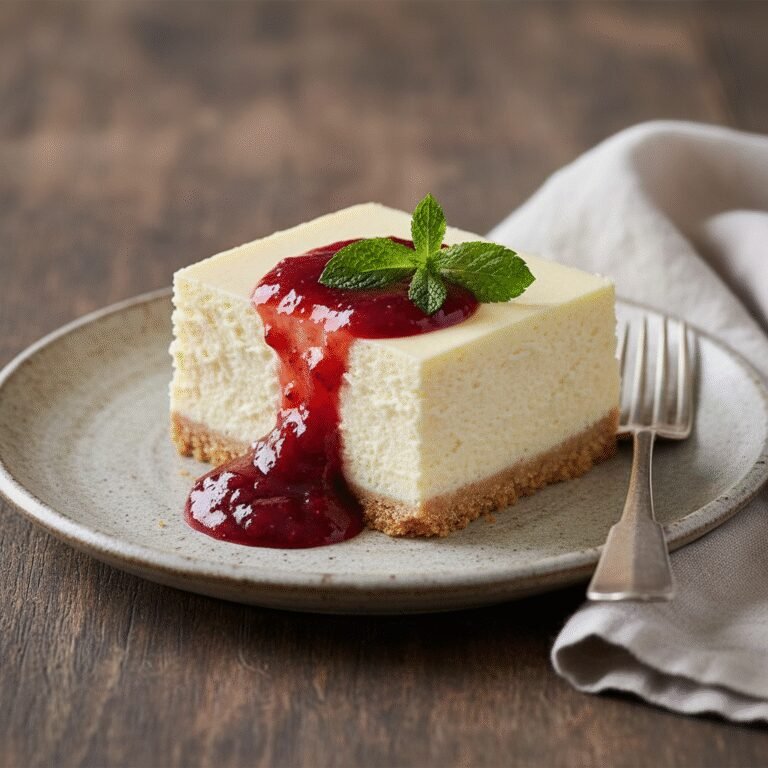
Indulge in the velvety smoothness of these classic vanilla cheesecake bars, featuring a rich, tangy filling atop a buttery graham cracker crust. Perfectly portioned and significantly easier to make than a traditional round cheesecake, these bars are the ultimate crowd-pleasing dessert for any gathering.
20 minutes
35 minutes
4 hours 55 minutes (includes cooling and chilling)
16 bars
Dessert
Baking
American
Vegetarian
There is something undeniably magical about the perfect cheesecake. It strikes a delicate balance between dense richness and fluffy elegance, a texture that melts on the tongue and leaves you craving just one more bite. However, the prospect of baking a full-sized cheesecake—complete with the daunting water bath, the risk of surface cracks, and the fear of a soggy bottom—can be intimidating for even seasoned home bakers. Enter the Creamy Vanilla Cheesecake Bar: the sophisticated yet approachable sibling of the classic New York-style cheesecake.
These bars offer everything you love about the traditional dessert but in a convenient, handheld format that is far more forgiving to bake. The ratio of crust to filling is optimized for those who believe the buttery crunch of graham crackers is just as important as the creamy topping. We use a specific blend of full-fat cream cheese and sour cream to ensure a tangy depth of flavor that cuts through the sweetness, while a generous amount of high-quality vanilla extract (or vanilla bean paste) provides that aromatic warmth which defines a truly great dessert. Whether you are prepping for a holiday potluck, a summer barbecue, or simply a Tuesday night treat, these bars are designed to impress without the stress. They chill beautifully, making them an excellent make-ahead option, and their sturdy structure allows for endless topping creativity, from fresh berry compotes to salted caramel drizzles.
History & Origins
While New York City often claims the cheesecake as its own culinary icon, the origins of this beloved dessert stretch back thousands of years, long before the invention of modern cream cheese. The earliest known reference to a cheesecake-like dish comes from ancient Greece, specifically the island of Samos, around 2000 B.C. These early versions were considered a potent source of energy and were even served to athletes during the first Olympic Games in 776 B.C. The recipe was simple, consisting of flour, wheat, honey, and cheese, pounded together and baked.
When the Romans conquered Greece, they adopted the recipe, modifying it into a dish called ‘libum,’ which was often used as an offering to the gods. As the Roman Empire expanded across Europe, so did the concept of the cheesecake, evolving as it encountered different local ingredients and dairy traditions. By the medieval era, cheesecake had found its way into English cookbooks. However, the cheesecake we know and love today is a distinctly American innovation, born out of a happy accident in 1872. William Lawrence, a dairyman from Chester, New York, was attempting to replicate the French cheese Neufchâtel. Instead, he added too much cream and created a richer, spreadable product that would eventually be marketed as Philadelphia Cream Cheese. This invention paved the way for the dense, creamy ‘New York Style’ cheesecake in the early 20th century. The ‘bar’ format is a more recent mid-century evolution, born from the American love for traybakes and the need for portable, potluck-friendly desserts that didn’t require plates and forks.
Why This Recipe Works
This recipe succeeds where others fail because it meticulously addresses the three most common cheesecake pitfalls: texture, cracking, and flavor balance. First, regarding texture, we rely on a precise combination of full-fat block cream cheese and sour cream. The cream cheese provides the necessary structure and density, while the sour cream introduces moisture and acidity, breaking up the heaviness and ensuring the bars remain creamy rather than chalky.
Secondly, the ‘bar’ format itself is a reason why this works so well. Baking in a 9×9 or 8×8 square pan creates a thinner layer of batter compared to a deep springform pan. This allows the heat to penetrate the center more evenly and quickly, significantly reducing the chance of the edges overcooking while the center remains raw. Because the surface area is smaller and the bake time is shorter, the notorious ‘water bath’ is completely unnecessary here.
Finally, the flavor profile is elevated by using room-temperature ingredients. This isn’t just a suggestion; it is the science of emulsification. When the dairy and eggs are at the same ambient temperature, they bond seamlessly without the need for excessive beating. Over-beating incorporates too much air, which causes cheesecakes to puff up in the oven and then collapse and crack as they cool. By mixing on low speed with tempered ingredients, we achieve a smooth, velvety consistency that is rich in vanilla flavor without the airy, soufflé-like texture that is undesirable in a dense cheesecake.
Why You’ll Love This Recipe
- ✓No water bath required, simplifying the baking process.
- ✓Perfect crust-to-filling ratio for graham cracker lovers.
- ✓Creamy, dense texture that rivals any bakery cheesecake.
- ✓Ideally portioned for parties, potlucks, and meal prep.
- ✓Highly customizable with various fruit or chocolate toppings.
- ✓Freezes exceptionally well for long-term storage.
Equipment You’ll Need
- ✓8×8 or 9×9 inch square baking pan
- ✓Parchment paper
- ✓Food processor or Ziploc bag (for crushing crackers)
- ✓Electric hand mixer or stand mixer
- ✓Large mixing bowl
- ✓Rubber spatula
- ✓Measuring cups and spoons
Ingredients
- ✓1 1/2 cups graham cracker crumbs (about 10-12 full sheets)
- ✓6 tablespoons unsalted butter, melted
- ✓1/4 cup granulated sugar (for crust)
- ✓16 oz (2 blocks) full-fat cream cheese, softened to room temperature
- ✓3/4 cup granulated sugar (for filling)
- ✓1/2 cup full-fat sour cream, room temperature
- ✓2 teaspoons pure vanilla extract
- ✓2 large eggs, room temperature
- ✓Pinch of salt
Instructions
- Preheat your oven to 350°F (175°C). Line an 8×8 or 9×9 inch baking pan with parchment paper, leaving an overhang on the sides to act as a sling for easy removal later.
- Make the crust: In a medium bowl, combine the graham cracker crumbs, 1/4 cup sugar, and melted butter. Stir until the mixture resembles wet sand.
- Press the crumb mixture firmly and evenly into the bottom of the prepared pan. You can use the bottom of a measuring cup or glass to pack it down tight. Bake the crust for 8-10 minutes until slightly golden. Remove and set aside to cool slightly while you make the filling.
- Reduce the oven temperature to 325°F (160°C). This lower temperature helps prevent cracks.
- In a large mixing bowl using a hand mixer or stand mixer fitted with the paddle attachment, beat the softened cream cheese and 3/4 cup sugar on medium-low speed until completely smooth and creamy (about 2-3 minutes). Scrape down the sides of the bowl.
- Add the sour cream, vanilla extract, and a pinch of salt. Mix on low speed until combined. Do not overmix.
- Add the eggs one at a time, mixing on the lowest speed just until the yolk disappears. Once the eggs are added, stop mixing immediately to avoid incorporating too much air.
- Pour the cheesecake batter over the baked crust and smooth the top with a rubber spatula.
- Bake for 30-35 minutes. The edges should be set and slightly puffy, but the center should still have a slight jiggle when you gently shake the pan. It will firm up as it cools.
- Turn off the oven and crack the door open slightly. Let the cheesecake cool in the oven for 20 minutes. This gradual cooling helps prevent cracking.
- Remove from the oven and let it cool completely on a wire rack at room temperature (about 1 hour).
- Once cool, cover the pan with plastic wrap and refrigerate for at least 3-4 hours, preferably overnight, to allow the cheesecake to fully set.
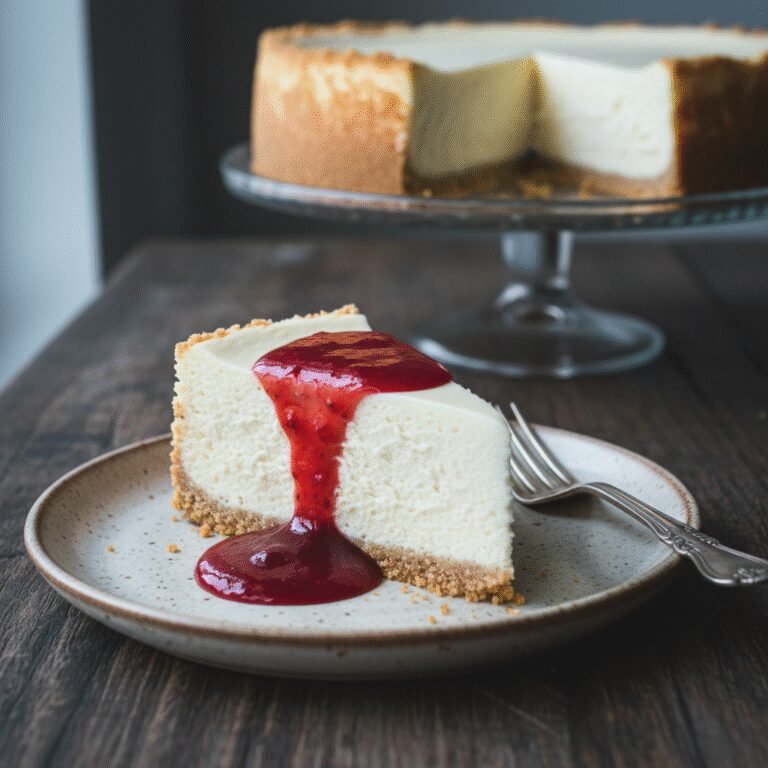
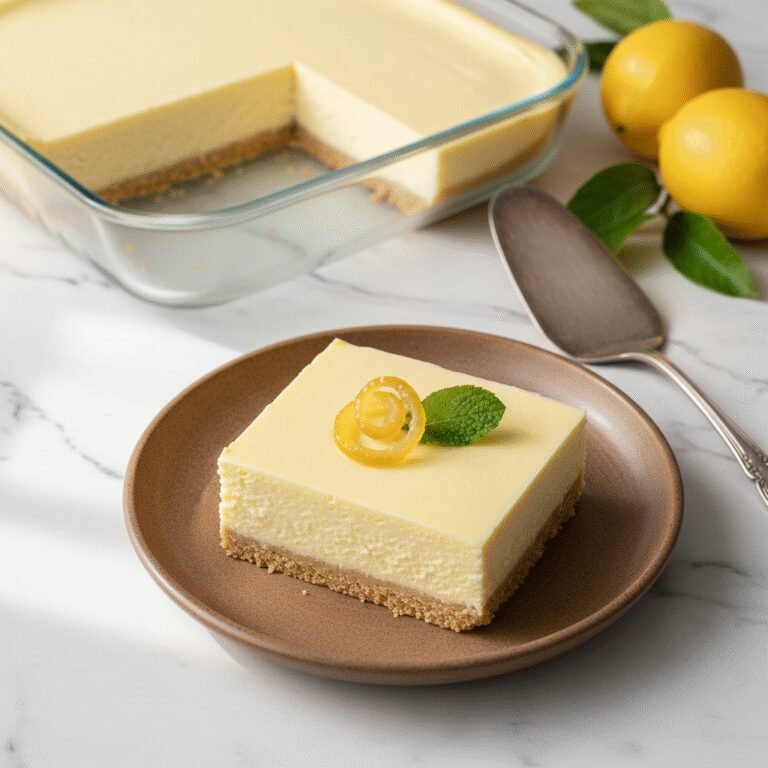
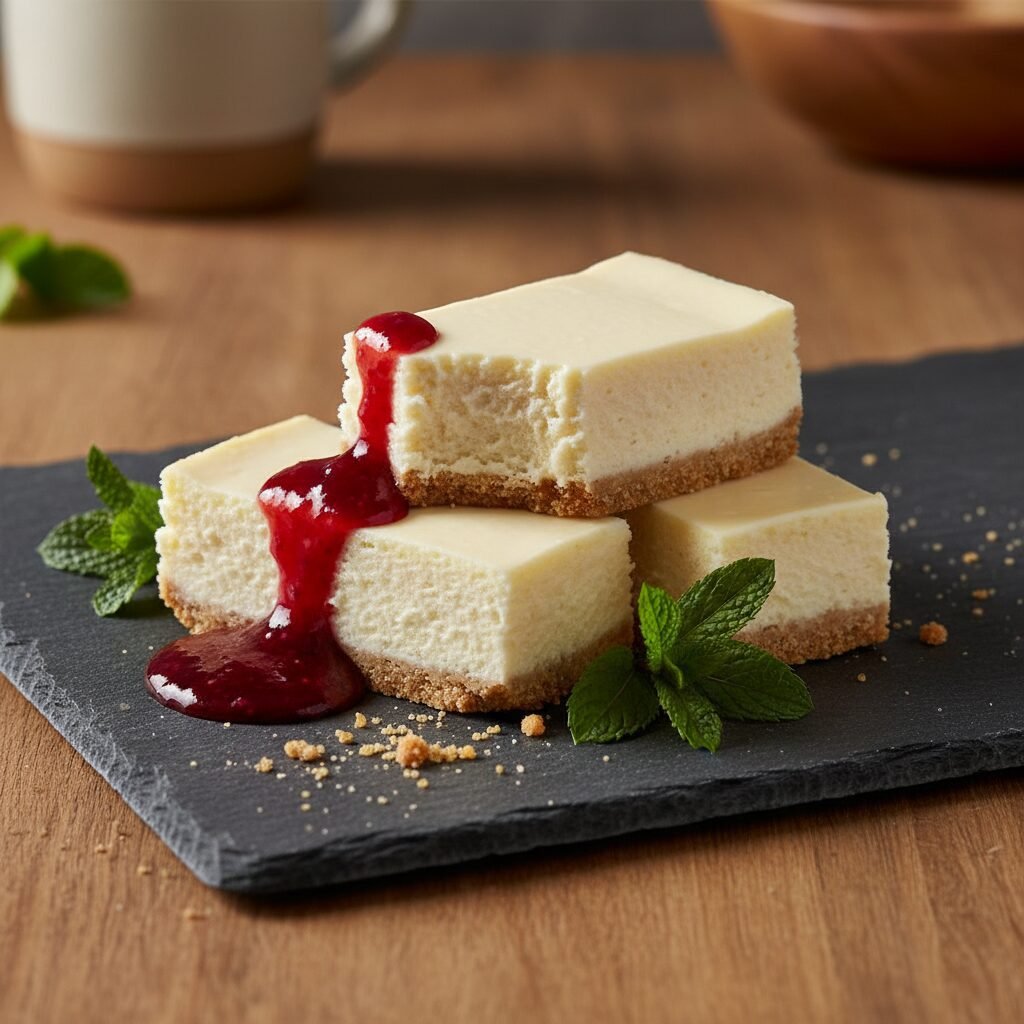
- To serve, lift the bars out of the pan using the parchment overhang. Slice into 16 squares using a sharp knife, wiping the blade clean between cuts for neat edges.
Expert Cooking Tips
- ✓Room temperature ingredients are non-negotiable. Cold cream cheese will result in a lumpy batter.
- ✓Do not overmix the batter once the eggs are added. Air bubbles cause cracks.
- ✓Use a flat-bottomed glass or measuring cup to press the crust down firmly for a solid base.
- ✓Line the pan with enough parchment paper to hang over the edges; this makes lifting the bars out easy.
- ✓Cool slowly. The transition from the hot oven to the cold fridge is what causes surface cracks.
- ✓For the cleanest cuts, dip your knife in hot water and wipe it dry before each slice.
- ✓If using a 9×9 pan, the bars will be slightly thinner and may need 3-5 minutes less baking time than an 8×8 pan.
Substitutions and Variations
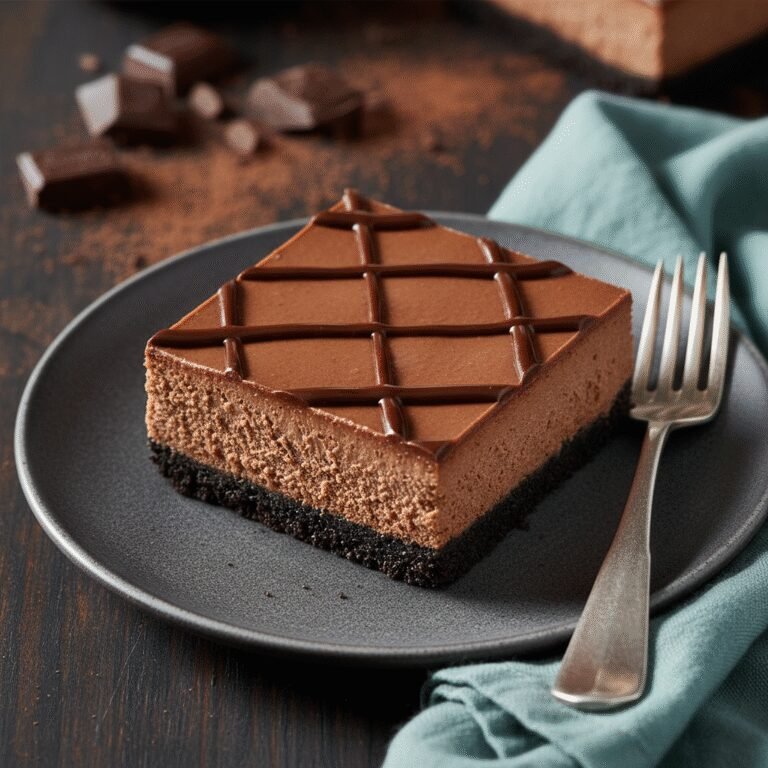
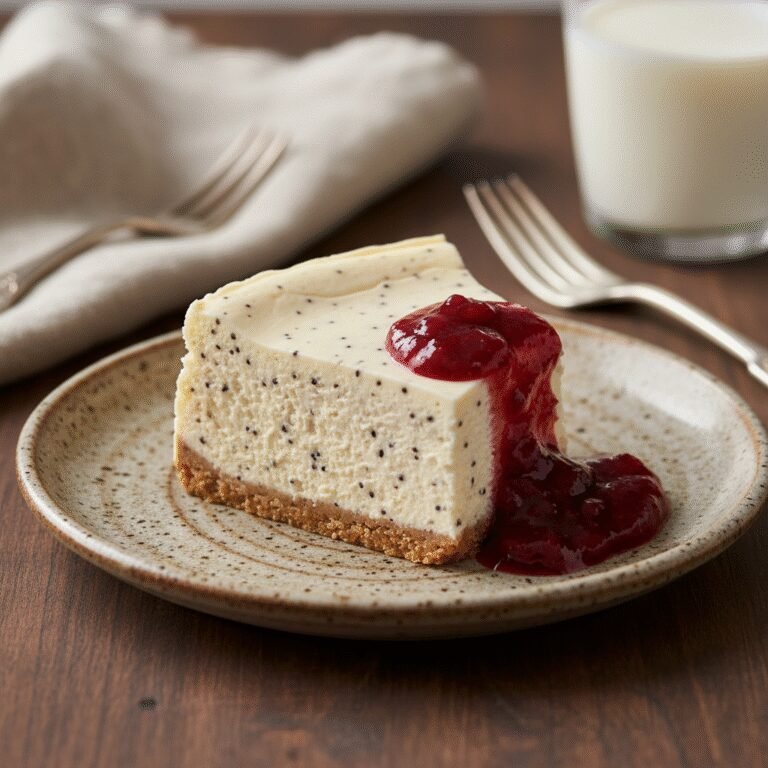
This recipe is quite versatile regarding ingredients. For the crust, if you don’t have graham crackers, you can use digestive biscuits, vanilla wafers, or even Oreos (remove the cream filling first) for a chocolate twist. For a gluten-free version, simply use gluten-free graham cracker crumbs. In the filling, full-fat brick cream cheese is essential; do not use the spreadable kind in tubs as it has a higher water content. If you don’t have sour cream, full-fat plain Greek yogurt is an excellent substitute that provides a similar tang and texture. You can also swap the vanilla extract for vanilla bean paste for a more intense flavor and visible vanilla specks. For a citrusy note, add a teaspoon of lemon zest to the batter.
Common Mistakes to Avoid
The most common mistake is using cold ingredients. If your cream cheese is cold, you will have to beat it longer to get the lumps out, which introduces air and leads to cracking. Another mistake is overbaking. People often wait until the center is firm before taking it out, but by then, the texture will be grainy and dry. Trust the ‘jiggle’ test—the center should move like set gelatin. Lastly, rushing the chilling process is a recipe for disaster. If you cut into the bars before they have chilled for at least 4 hours, they will be soft, messy, and won’t hold their shape. Patience is key for that dense, velvety texture.
Serving Suggestions
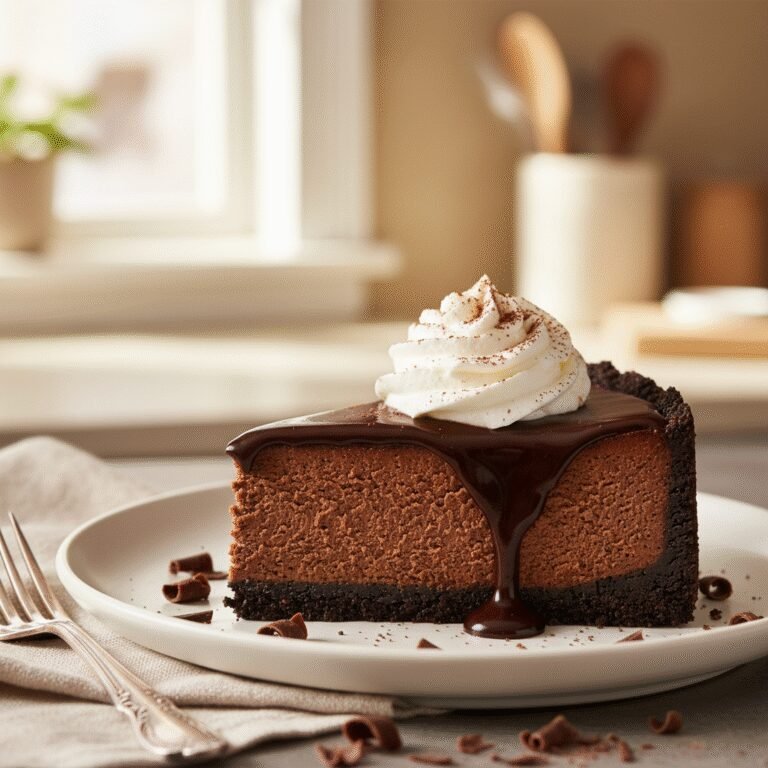
These bars are delicious on their own, but they serve as a perfect canvas for toppings. Fresh berries (strawberries, raspberries, or blueberries) add a tart contrast to the rich filling. A drizzle of salted caramel sauce or chocolate ganache transforms them into a decadent treat. For a fall twist, top with sautéed cinnamon apples or a dollop of pumpkin butter. Whipped cream and a sprig of mint make for an elegant presentation. You can also crush extra graham crackers or nuts on top for added texture.
Storage and Reheating Tips
Store the baked and cooled cheesecake bars in an airtight container in the refrigerator for up to 5 days. Avoid leaving them uncovered, as the high fat content can absorb odors from the fridge. For long-term storage, these bars freeze beautifully. Wrap individual bars tightly in plastic wrap, then place them in a freezer-safe bag or container. They can be frozen for up to 3 months. To thaw, place the wrapped bars in the refrigerator overnight or on the counter for about 30 minutes before serving.
Nutrition Facts (Estimated)
| Serving Size | 1 bar |
| Calories | 285 |
| Fat | 21g |
| Saturated Fat | 12g |
| Unsaturated Fat | 7g |
| Trans Fat | 0g |
| Cholesterol | 75mg |
| Sodium | 190mg |
| Carbohydrates | 22g |
| Fiber | 0.5g |
| Sugar | 18g |
| Protein | 4g |
Frequently Asked Questions
Why did my cheesecake bars crack?
Cracks are usually caused by two things: overmixing the batter (which adds air) or cooling the cheesecake too quickly. Ensure you mix on low speed and let the bars cool gradually in the turned-off oven.
Do I really need a water bath?
No! That’s the beauty of cheesecake bars. Because the layer of batter is thinner than a traditional round cheesecake, they bake more evenly and don’t require the steam or moisture of a water bath.
Can I double this recipe?
Yes, you can double the ingredients and bake it in a 9×13 inch pan. You may need to increase the baking time by 5-10 minutes. Keep an eye on the center jiggle.
How do I know when they are done?
The edges should be slightly puffed and set, but the center should still wobble slightly when you shake the pan. It shouldn’t be liquid, but it should move like firm Jell-O.
Can I use low-fat cream cheese?
Technically yes, but it is not recommended. Low-fat cream cheese has more water and stabilizers, which can affect the texture, making it less creamy and potentially rubbery. Full fat is best for the classic cheesecake experience.
How do I get the cream cheese to room temperature quickly?
Unwrap the blocks of cream cheese and cut them into small cubes. Spread them out on a plate. They should soften in about 20-30 minutes compared to hours for the whole block.
Why is my crust soggy?
This can happen if the butter wasn’t mixed thoroughly or if the crust wasn’t pre-baked. Pre-baking creates a barrier. Also, ensure your filling isn’t too liquid (don’t use low-fat ingredients).
Can I make this ahead of time?
Absolutely. In fact, cheesecake tastes better the next day as the flavors have time to meld and the texture fully sets. It’s the perfect make-ahead dessert.
Conclusion
Creamy Vanilla Cheesecake Bars are the ultimate proof that you don’t need complex techniques to create a bakery-quality dessert at home. By following these simple steps and respecting the science of temperature and timing, you can achieve a dessert that is rich, decadent, and universally loved. Whether you serve them plain to highlight the pure vanilla flavor or dress them up with elaborate toppings, they are sure to disappear quickly. So, grab your mixer, soften that cream cheese, and get ready to bake the best cheesecake bars of your life. Don’t forget to pin this recipe for your next gathering!