The Ultimate Creamy New York Cheesecake With Oreo Crust
Creamy New York Cheesecake With Oreo Crust Recipe
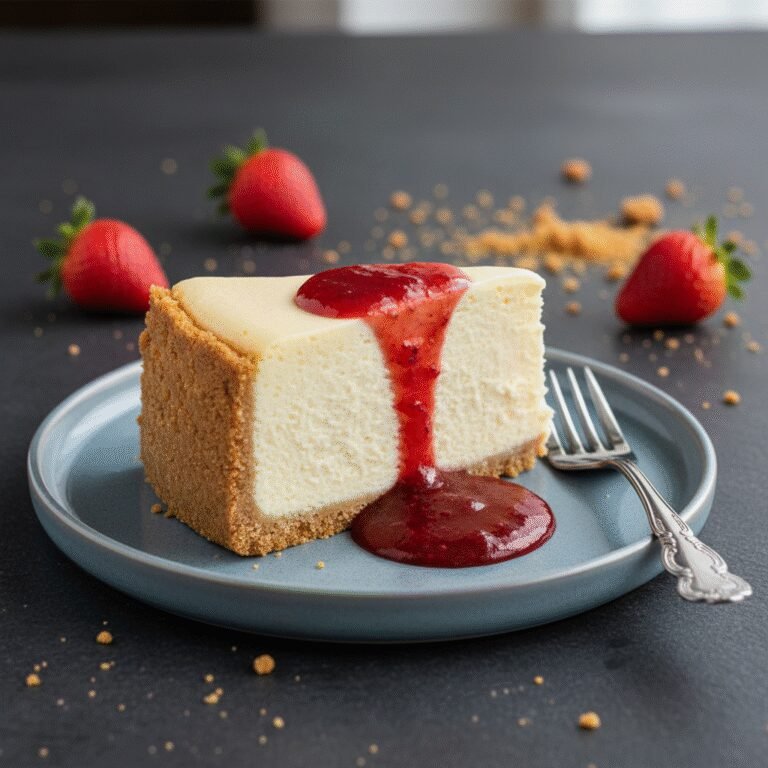
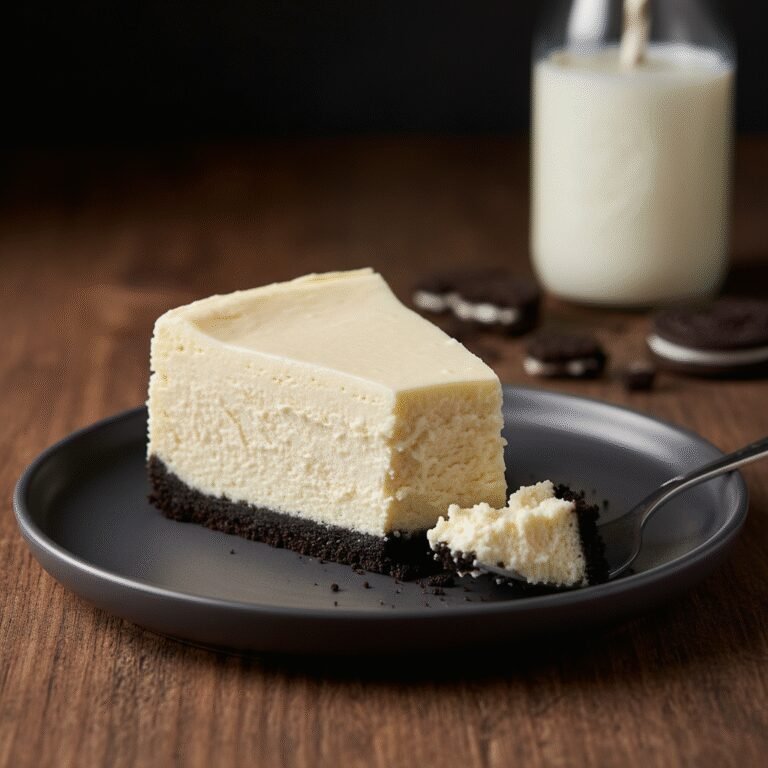
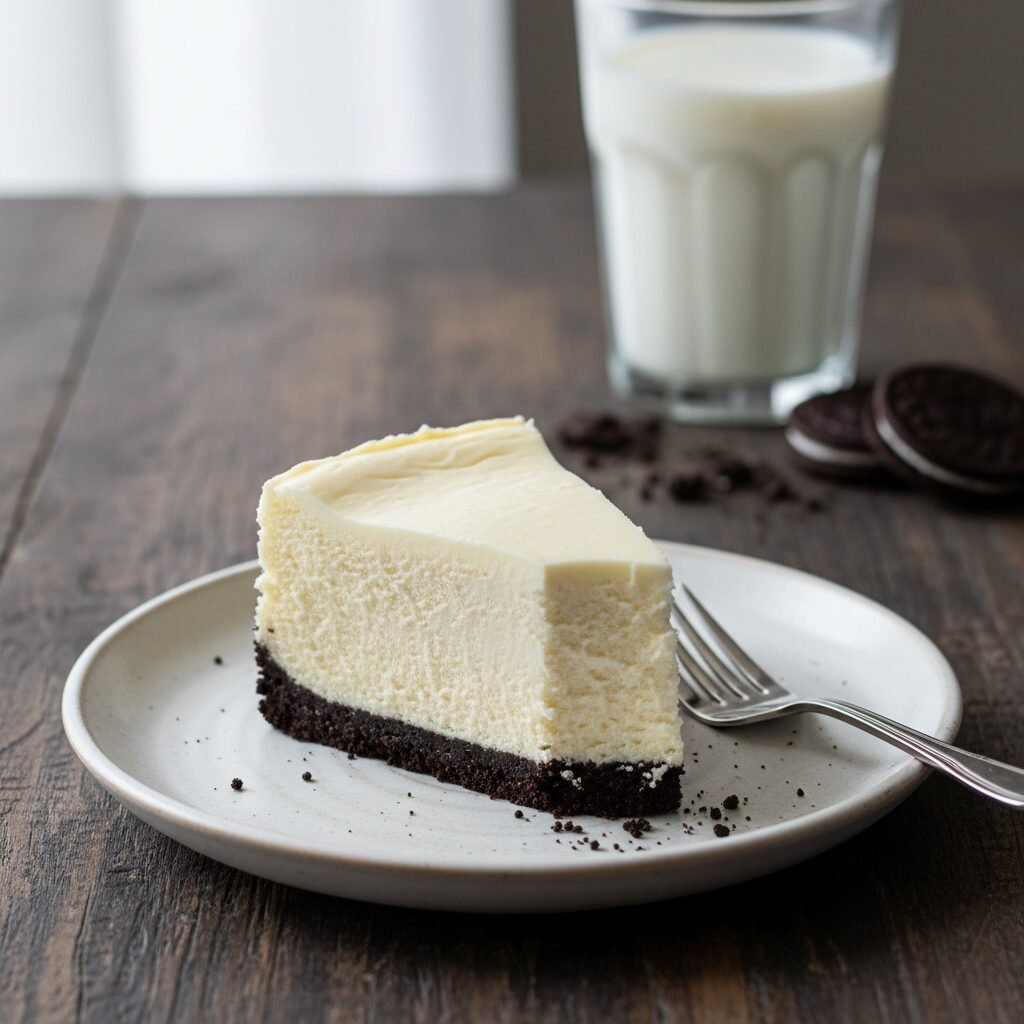
Indulge in the velvety smoothness of a classic New York style cheesecake, perfectly contrasted by a crunchy, dark chocolate Oreo cookie crust. This foolproof recipe delivers a dense yet creamy texture without cracks, making it the ultimate showstopper dessert for any special occasion or holiday gathering.
30 minutes
1 hour 15 minutes
8 hours (includes cooling and chilling)
12-14 servings
Dessert
Baking
American
Vegetarian
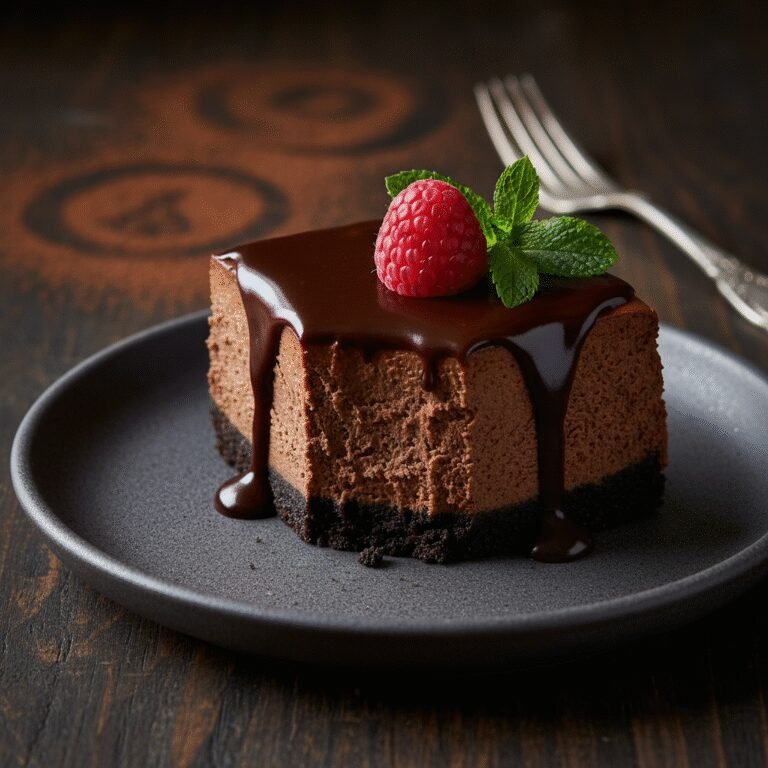
There are few desserts as universally adored and simultaneously intimidating as the classic New York Cheesecake. It is the gold standard of cheesecakes—dense, rich, and impossibly creamy, standing tall with a distinct tang that cuts through the sweetness. While many home bakers shy away from this culinary icon due to fears of cracked tops or grainy textures, this recipe is designed to dispel those anxieties completely. By swapping the traditional graham cracker base for a decadent Oreo crust, we elevate the flavor profile, introducing a deep cocoa bitterness that perfectly balances the sweet, vanilla-scented filling.
The magic of a true New York cheesecake lies in its simplicity and its method. Unlike its lighter, fluffier counterparts that rely on whipped egg whites or heavy cream, this version is unapologetically heavy on the cream cheese, resulting in that signature satin-like mouthfeel that coats the palate. The addition of the Oreo crust adds a modern twist, providing a satisfying crunch and a visual drama of black-and-white contrast that looks stunning on a dessert plate.
Whether you are hosting a sophisticated dinner party or simply craving a slice of bakery-quality indulgence at home, this recipe guides you through every step of the process. From creating the perfect leak-proof water bath to the crucial slow-cooling method that ensures a pristine, crack-free surface, we cover it all. Prepare to impress your friends, family, and most importantly, your own taste buds with a dessert that rivals famous New York delis.
History & Origins
The history of cheesecake is a journey that spans thousands of years, long before it became synonymous with the bustling streets of New York City. The earliest origins can be traced back to ancient Greece, specifically the island of Samos, where physical anthropologists excavated cheese molds dating back to 2,000 B.C. It was considered a potent source of energy and was famously served to athletes during the first Olympic Games in 776 B.C. The Romans later adopted the recipe after conquering Greece, calling it ‘libum’ and often serving it as an offering to their gods.
As the Roman Empire expanded, the concept of a cheese-based cake spread across Europe, evolving with local ingredients. However, the New York Cheesecake as we know it today owes its existence to a serendipitous accident in the late 19th century. In 1872, a New York dairyman named William Lawrence was attempting to replicate the French cheese Neufchâtel. Instead, he accidentally added too much cream and created a richer, more spreadable substance that would eventually be marketed as Philadelphia Cream Cheese.
The iconic ‘New York Style’ cheesecake emerged in the early 1900s. While many claim credit, Arnold Reuben, the owner of the legendary Turf Restaurant in NYC (and the inventor of the Reuben sandwich), is often cited as the creator of the modern recipe. Legend has it that after tasting a cheese pie at a dinner party, he began experimenting until he perfected the dense, cream-cheese-heavy version that defines the style today. The substitution of an Oreo crust is a more contemporary American evolution, reflecting the mid-20th-century love affair with the famous sandwich cookie, adding a chocolatey dimension to the ancient classic.
Why This Recipe Works
This recipe succeeds where others fail because it meticulously balances the ratio of fat, protein, and moisture while utilizing specific techniques to control thermodynamics. First, the inclusion of both cornstarch and sour cream is scientifically significant. Cornstarch acts as a stabilizer; its starch molecules swell and get in the way of egg proteins, preventing them from over-coagulating, which is the primary cause of a grainy texture. Sour cream adds acidity, which tenderizes the protein network, ensuring the cheesecake remains silky rather than rubbery, while also providing that signature tang.
Furthermore, the baking method is non-negotiable for a crack-free result. We utilize a water bath (bain-marie), which surrounds the springform pan with hot water. Water boils at 212°F (100°C), meaning the edges of the cheesecake are never exposed to the harsh, direct heat of the oven. This promotes even baking from the outside in. Finally, the ‘slow cool’ technique—leaving the cake in the turned-off oven with the door cracked—allows the structure to set gradually. Sudden temperature changes cause the cheesecake to contract rapidly, leading to surface cracks. By letting it cool gently, the structure settles evenly, resulting in a perfectly flat, smooth top every time.
Why You’ll Love This Recipe
- ✓Dense, velvety New York-style texture.
- ✓Rich dark chocolate Oreo crust for flavor contrast.
- ✓Foolproof water bath method prevents cracking.
- ✓Make-ahead friendly; flavor improves after 24 hours.
- ✓Customizable with various toppings like berries or ganache.
- ✓Serves a large crowd, perfect for holidays.
Equipment You’ll Need
- ✓9-inch Springform Pan
- ✓Large Roasting Pan (for water bath)
- ✓Electric Hand Mixer or Stand Mixer
- ✓Food Processor (for cookie crumbs)
- ✓Heavy-duty Aluminum Foil
- ✓Rubber Spatula
- ✓Measuring Cups and Spoons
- ✓Parchment Paper
Ingredients
- ✓24 whole Oreo cookies (filling included)
- ✓5 tablespoons unsalted butter, melted
- ✓32 oz (4 blocks) full-fat cream cheese, softened to room temperature
- ✓1 1/4 cups granulated white sugar
- ✓1 cup full-fat sour cream, room temperature
- ✓2 teaspoons vanilla extract
- ✓2 teaspoons fresh lemon juice
- ✓4 large eggs, room temperature
- ✓2 tablespoons cornstarch
Instructions
- Preheat your oven to 350°F (175°C). Line the bottom of a 9-inch springform pan with parchment paper and lightly grease the sides.
- To make the crust, pulse the whole Oreo cookies in a food processor until they are fine crumbs. Pour in the melted butter and pulse until the mixture resembles wet sand.
- Press the crumb mixture firmly into the bottom and slightly up the sides of the prepared springform pan. Bake the crust for 9 minutes. Remove and let it cool while you prepare the filling. Reduce oven temperature to 325°F (160°C).
- Prepare the pan for the water bath: Wrap the outside of the springform pan with 2-3 layers of heavy-duty aluminum foil to ensure no water seeps in. Alternatively, place the springform pan inside a slightly larger cake pan, and place that inside the roasting pan.
- In a large mixing bowl or stand mixer fitted with the paddle attachment, beat the softened cream cheese and sugar on medium-low speed until completely smooth and creamy (about 2-3 minutes). Scrape down the bowl to ensure no lumps remain.
- Add the sour cream, vanilla extract, lemon juice, and cornstarch. Beat on low speed until combined. Do not overmix.
- Add the eggs one at a time, beating on low speed just until the yolk disappears. It is critical not to overbeat once the eggs are added, as incorporating too much air will cause the cheesecake to crack.
- Pour the batter over the cooled crust. Tap the pan gently on the counter a few times to release any trapped air bubbles.
- Place the foil-wrapped springform pan into the large roasting pan. Pour boiling water into the roasting pan until it reaches about halfway up the side of the springform pan.
- Bake at 325°F (160°C) for 60-75 minutes. The cheesecake is done when the edges are set but the center still jiggles slightly like Jell-O.
- Turn off the oven and leave the door slightly ajar (use a wooden spoon to hold it open if needed). Let the cheesecake cool inside the oven for 1 hour. This gradual cooling prevents cracks.
- Remove from the oven and water bath. Run a thin knife around the edge of the cake to loosen it from the pan (this helps prevent cracking as it shrinks while cooling).
- Let it cool completely to room temperature on a wire rack, then cover and refrigerate for at least 6 hours, preferably overnight, to firm up before slicing.
Expert Cooking Tips
- ✓Room Temperature Ingredients: This is the most critical tip. Cream cheese, eggs, and sour cream must be at room temperature to emulsify properly without lumps.
- ✓Don’t Overmix: Once you add the eggs, mix on the lowest speed possible. Too much air leads to rising and falling, which causes cracks.
- ✓Scrape the Bowl: Frequently scrape the bottom and sides of the bowl to ensure all cream cheese is incorporated.
- ✓The Jiggle Test: Don’t wait for the center to be firm. It should wobble slightly when you nudge the pan. It will firm up in the fridge.
- ✓Leak-Proofing: If you are worried about water getting in, place the springform pan inside a slightly larger regular cake pan, then place that in the water bath.
- ✓Clean Slices: Dip your knife in hot water and wipe it clean between every single slice for professional-looking cuts.
Substitutions and Variations
If you cannot find Oreos, any chocolate sandwich cookie or chocolate wafer cookie will work for the crust. For a gluten-free version, simply use gluten-free chocolate sandwich cookies and ensure your cornstarch is certified gluten-free. If you prefer a traditional crust, swap the Oreos for 1.5 cups of graham cracker crumbs, 2 tablespoons of sugar, and increase the butter to 6 tablespoons. While full-fat ingredients yield the best texture, you can substitute the sour cream with full-fat plain Greek yogurt in a pinch, though the flavor profile will be slightly tangier. Do not substitute low-fat cream cheese, as the stabilizers in them can ruin the texture of the cake. Lemon juice can be omitted if you prefer a purely vanilla flavor, or swapped for a small amount of heavy cream for extra richness.
Common Mistakes to Avoid
The most common mistake is using cold ingredients, which leads to a lumpy batter that requires overbeating to smooth out. Overbeating incorporates air bubbles that expand in the oven and collapse later, causing cracks. Another frequent error is skipping the water bath; without it, the edges will overcook and curdle before the center is done. Opening the oven door frequently during baking causes temperature fluctuations that can sink the cake. Finally, cutting into the cheesecake too soon is a disaster; the cake needs the cold refrigeration time to set its structure completely. Serving it warm will result in a runny, unstable mess.
Serving Suggestions
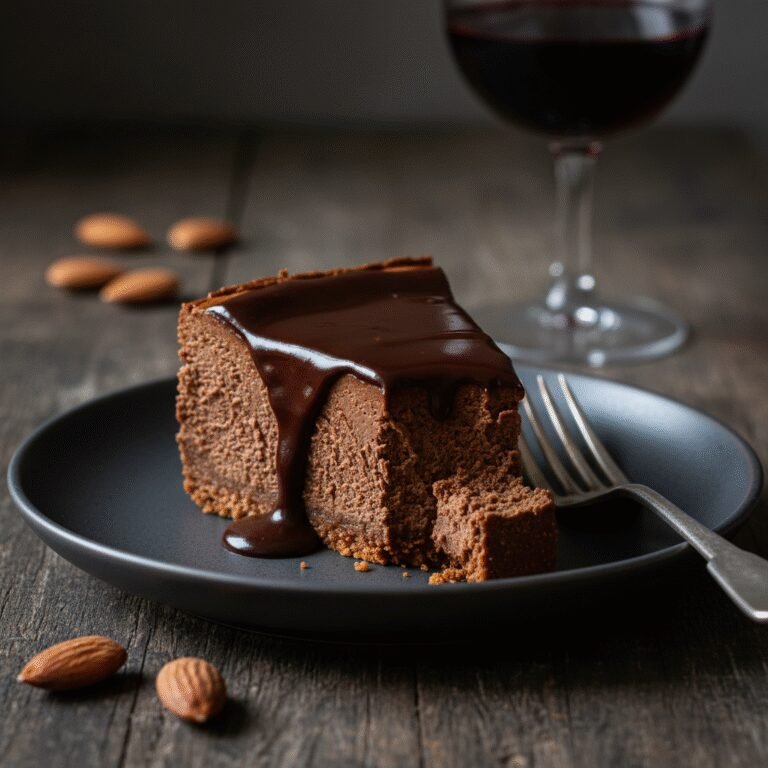
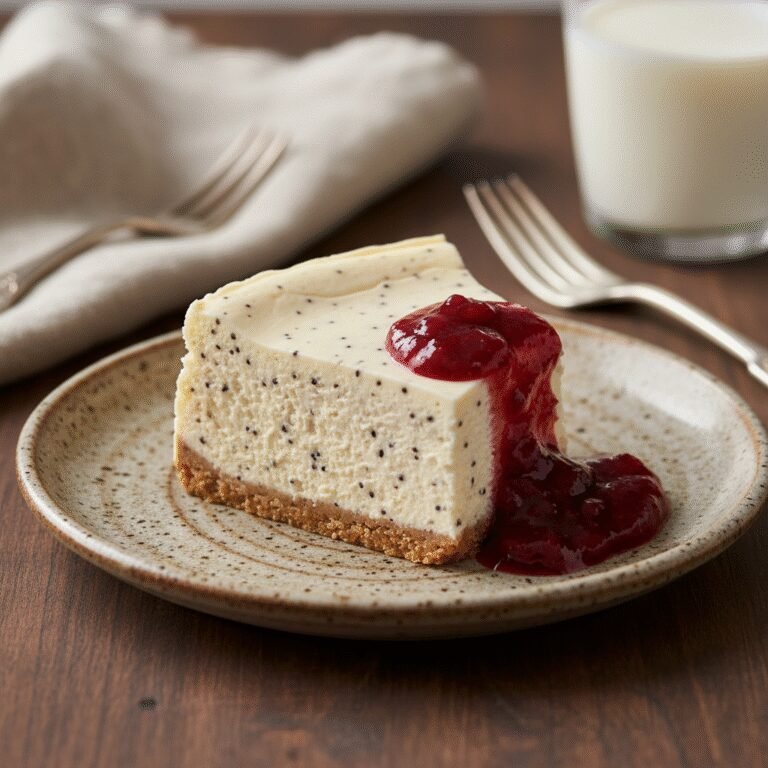
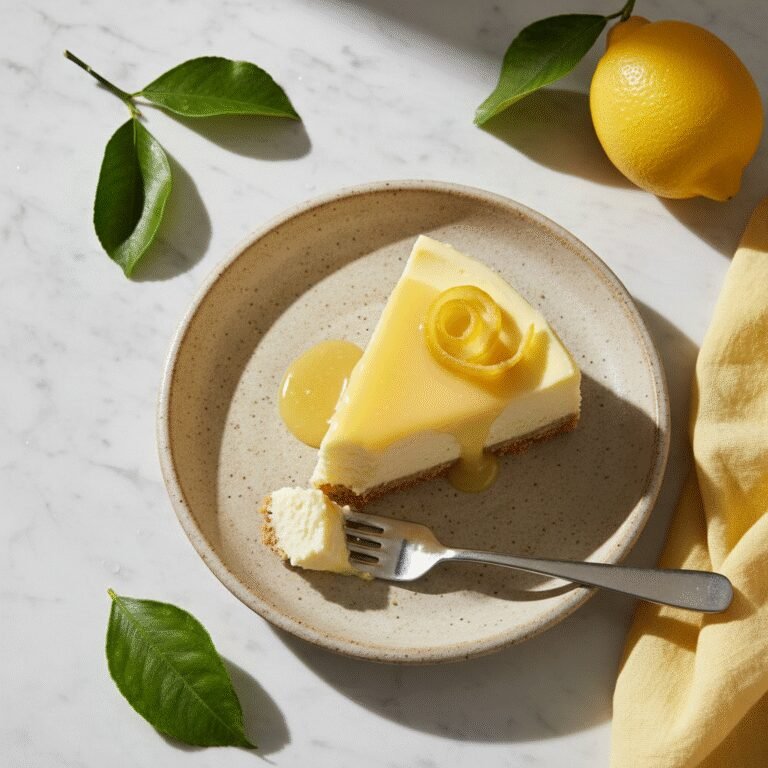
This rich cheesecake is stunning on its own, but it pairs beautifully with tart elements to cut through the richness. A fresh berry compote (strawberry, raspberry, or blueberry) is a classic choice. For chocolate lovers, a warm dark chocolate ganache drizzled over the top amplifies the Oreo flavor. You can also top the entire cheesecake with a layer of sweetened sour cream or whipped cream and garnish with more crushed Oreos. Serve with a hot cup of black coffee or espresso to balance the sweetness.
Storage and Reheating Tips
Store the cheesecake in the springform pan or an airtight container in the refrigerator for up to 5 days. Ideally, keep the ring on until you are ready to serve to protect the sides. For long-term storage, this cheesecake freezes exceptionally well. To freeze, cool the cake completely and chill overnight. Remove it from the pan, wrap the entire cake (or individual slices) tightly in plastic wrap, followed by a layer of heavy-duty aluminum foil. It can be frozen for up to 3 months. Thaw overnight in the refrigerator before serving. Do not refreeze thawed cheesecake.
Nutrition Facts (Estimated)
| Serving Size | 1 slice |
| Calories | 580 |
| Fat | 42g |
| Saturated Fat | 24g |
| Unsaturated Fat | 15g |
| Trans Fat | 0.5g |
| Cholesterol | 145mg |
| Sodium | 340mg |
| Carbohydrates | 48g |
| Fiber | 1g |
| Sugar | 38g |
| Protein | 8g |
Frequently Asked Questions
Why did my cheesecake crack?
Cracks are usually caused by overmixing the batter (introducing too much air), overbaking (drying it out), or cooling it too quickly (thermal shock). Using the water bath and the oven-door-ajar cooling method virtually eliminates this risk.
Can I make this without a water bath?
Technically yes, but it is not recommended. Without a water bath, the texture will be less creamy and more akin to a dense pie, and the edges may brown or dry out. The water bath ensures the silky, custard-like consistency typical of NY cheesecake.
How do I know when it is done?
Gently shake the pan. The outer 2-3 inches should look set and puffy, while the center should still jiggle like gelatin. If the center is liquid, it needs more time. If it is stiff, it is overbaked.
My springform pan leaked water into the crust. Is it ruined?
It might be a bit soggy, but it is likely still edible. To prevent this next time, use extra wide heavy-duty foil, or place the springform pan inside a slightly larger silicone or metal cake pan before placing it in the water bath.
Can I use low-fat cream cheese?
It is highly discouraged. Low-fat cream cheese contains fillers and higher water content, which can prevent the cheesecake from setting properly and result in a rubbery texture.
Why do I need to run a knife around the edge after baking?
As the cheesecake cools, it shrinks slightly. If the edges are stuck to the pan, the tension will pull the cake apart in the center, creating a large crack. Loosening it allows it to contract freely.
Can I make this recipe in a smaller pan?
Yes, you can halve the recipe for a 6-inch or 7-inch pan. The baking time will need to be reduced; start checking for doneness around the 45-50 minute mark.
How long does the cheesecake need to chill?
A minimum of 6 hours is required, but 24 hours is ideal. The flavor develops and the texture improves significantly after resting overnight in the fridge.
Conclusion
Mastering the New York Cheesecake with an Oreo crust is a culinary achievement that yields incredibly delicious rewards. While the process requires patience and attention to detail—particularly with the temperature management—the result is a dessert that is superior to anything you can buy in a store. The contrast between the dark, cocoa-rich crust and the pale, creamy filling is a feast for the eyes and the palate. Whether for a birthday, Thanksgiving, or just a Tuesday treat, this recipe is bound to become a cherished favorite in your repertoire. Happy baking!