The Ultimate Creamy New York Cheesecake With Buttery Graham Cracker Crust
Creamy New York Cheesecake With Graham Cracker Crust Recipe
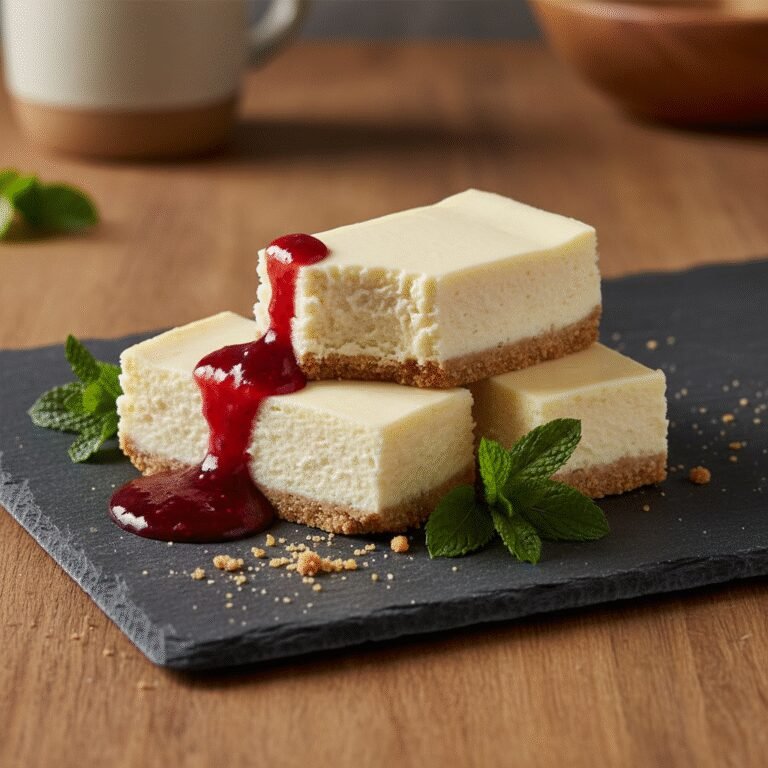
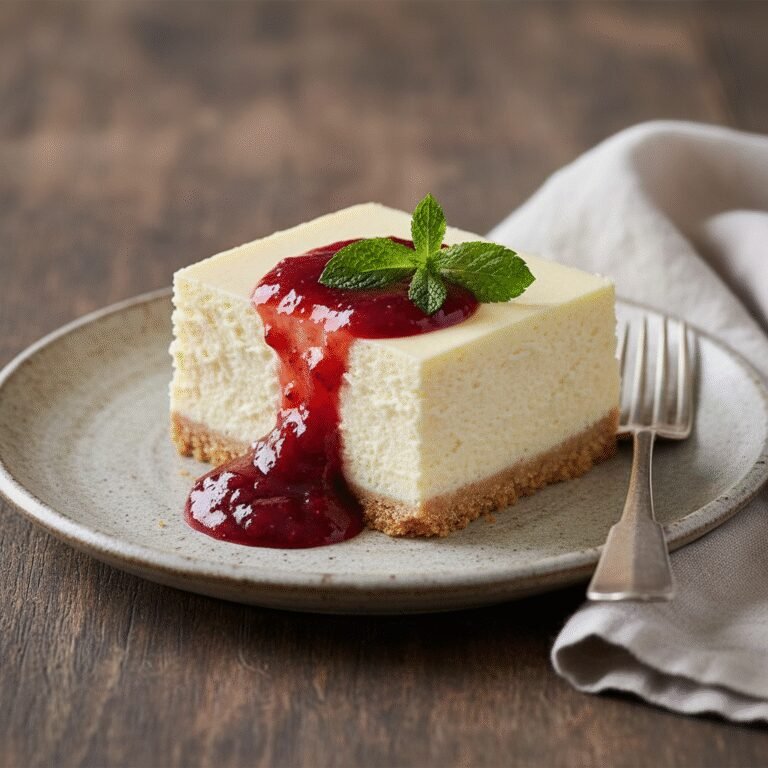
Experience the epitome of dessert luxury with this authentic New York Cheesecake recipe. Featuring a dense, velvety filling that melts in your mouth and a thick, buttery graham cracker crust, this showstopper is surprisingly easy to master at home.
30 minutes
1 hour 15 minutes
8 hours (includes cooling)
12 servings
Dessert
Baking
American
Vegetarian
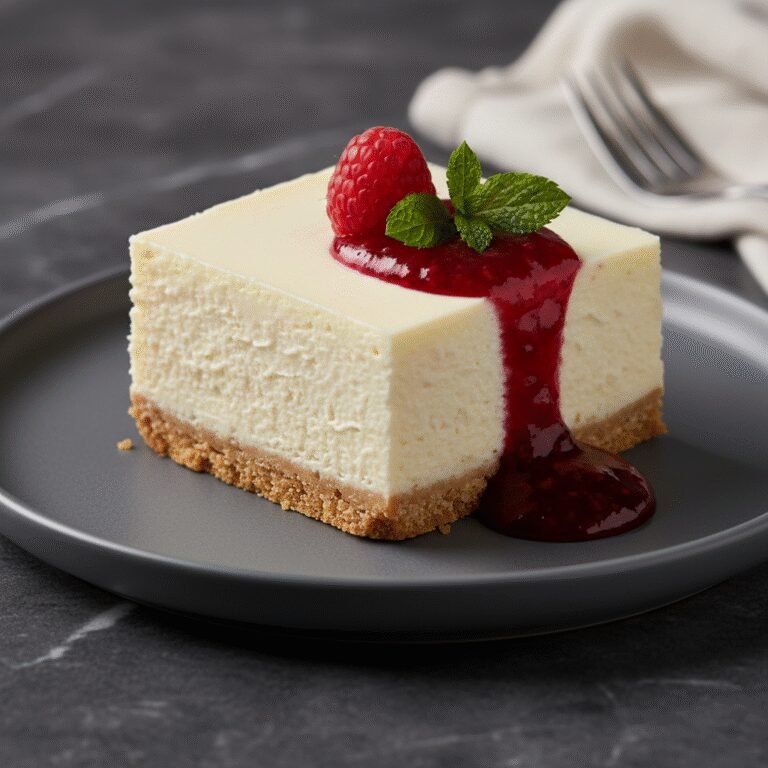
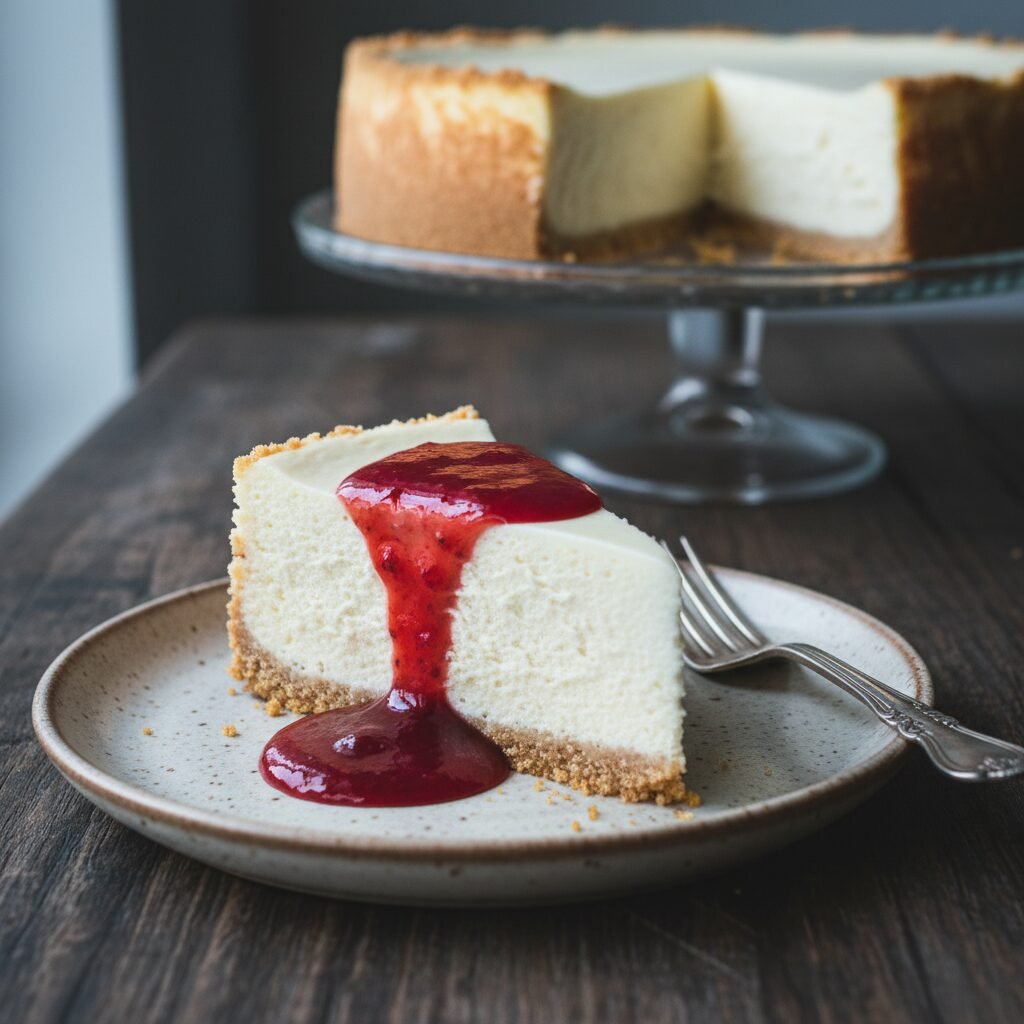
There are desserts, and then there is the New York Cheesecake. Standing tall, dense, and unapologetically rich, this iconic cake is the crown jewel of American baking. Unlike its fluffier counterparts or the ricotta-based Italian versions, a true New York style cheesecake relies on heavy cream or sour cream and high-fat cream cheese to create a texture that is simultaneously firm and impossibly smooth. It is a dessert that demands attention, usually served plain to showcase the mastery of its custard, though often accompanied by a fruit coulis to cut through the richness.
For many home bakers, the cheesecake is a source of anxiety. Tales of cracked tops, soggy crusts, and curdled textures scare many away from attempting this classic. However, this recipe is designed to dismantle those fears. We strip away the complexity and focus on the science of emulsion and gentle heat. By using room temperature ingredients and a water bath, we ensure a pristine, crack-free surface without the need for excessive flour or cornstarch fillers. The result is a flavor profile that is tangy, sweet, and deeply creamy, resting on a foundation of golden, toasted graham crackers. Whether you are hosting a holiday dinner or simply craving a slice of nostalgia, this recipe brings the legendary flavor of a Manhattan deli straight to your kitchen.
History & Origins
The lineage of the cheesecake traces back far beyond the streets of New York City, finding its earliest roots in ancient Greece. Known as ‘plakous’, these early cheese cakes were served to athletes at the first Olympic Games in 776 B.C. for energy. The Romans later adopted the recipe, spreading it across Europe as they expanded their empire. However, these early iterations were vastly different from what we know today, often using yeast and ricotta or curd cheese.
The New York Cheesecake as we know it was born out of a happy accident in 1872. A New York dairyman named William Lawrence was attempting to replicate the French cheese Neufchâtel. In the process, he added too much cream and created a richer, spreadable cheese that would eventually be branded as ‘Philadelphia Cream Cheese’. This invention revolutionized the dessert.
By the early 1900s, New York delis were competing for the title of the best cheesecake. The distinct ‘New York Style’—characterized by its dense, smooth consistency and lack of fancy toppings—is often attributed to Arnold Reuben (of Reuben sandwich fame). Legend has it that after tasting a cheese pie at a dinner party, he spent years perfecting his own recipe using Lawrence’s cream cheese. Another contender, Leo Lindemann of Lindy’s restaurant, made his version famous in the 1920s by incorporating a cream cheese and heavy cream base cooked at a high temperature initially to set the crust. Today, the New York Cheesecake is a global symbol of indulgence, representing the melting pot of culinary history and American innovation.
Why This Recipe Works
This recipe succeeds where others fail because it meticulously controls the two enemies of a perfect custard: air and heat shock. First, the texture. Many recipes result in a grainy or chalky mouthfeel because the ingredients were cold or over-mixed. By insisting on room temperature cream cheese and eggs, we allow the fats to emulsify smoothly with the liquids. We also mix on low speed to avoid incorporating air bubbles, which expand in the oven and cause the cheesecake to rise and then collapse, leading to cracks.
Secondly, the baking method. New York cheesecake is dense, meaning heat takes a long time to penetrate the center. If you bake it at a high temperature, the eggs on the outer rim will curdle and scramble before the center is set. We utilize a water bath (bain-marie) to regulate the heat. Water cannot exceed 212°F (100°C), creating a gentle, humid environment that cooks the custard evenly from edge to center. Finally, the ‘cool down’ phase is critical. By turning off the oven and letting the cake cool inside with the door cracked, we allow the structure to settle slowly. Drastic temperature changes cause the proteins to contract rapidly, pulling the cake apart; this slow cooling process ensures a perfectly flat, pristine top every time.
Why You’ll Love This Recipe
- ✓Achieves the classic dense and creamy New York texture.
- ✓Uses a water bath method to guarantee a crack-free surface.
- ✓Features a thick, sturdy graham cracker crust that doesn’t get soggy.
- ✓Balanced flavor profile with a hint of lemon zest to cut the richness.
- ✓Can be made ahead of time, tasting even better the next day.
Equipment You’ll Need
- ✓9-inch springform pan
- ✓Large roasting pan (for water bath)
- ✓Electric stand mixer or hand mixer
- ✓Aluminum foil (heavy duty)
- ✓Rubber spatula
- ✓Food processor (for crust)
- ✓Cooling rack
Ingredients
- ✓2 cups graham cracker crumbs (about 14 sheets)
- ✓1/2 cup unsalted butter, melted
- ✓1/4 cup granulated sugar (for crust)
- ✓32 oz (4 blocks) full-fat cream cheese, softened to room temperature
- ✓1 1/2 cups granulated sugar (for filling)
- ✓1 cup full-fat sour cream, room temperature
- ✓1 tablespoon vanilla extract
- ✓2 teaspoons fresh lemon juice
- ✓1 teaspoon lemon zest
- ✓4 large eggs, room temperature
Instructions
- Preheat your oven to 350°F (175°C). Prepare your 9-inch springform pan by wrapping the bottom and sides securely with three layers of heavy-duty aluminum foil to prevent water from seeping in.
- Make the crust: In a food processor, pulse graham crackers until fine crumbs form. Add the melted butter and 1/4 cup sugar, pulsing until the mixture resembles wet sand.
- Press the crumb mixture firmly into the bottom and slightly up the sides of the springform pan. Use the bottom of a measuring cup to pack it down tight. Bake for 10 minutes to set the crust. Remove and let cool slightly. Reduce oven temperature to 325°F (160°C).
- Make the filling: In a large bowl using a handheld or stand mixer fitted with a paddle attachment, beat the cream cheese and 1 1/2 cups sugar on medium-low speed until completely smooth and creamy (about 2-3 minutes). Scrape down the sides and bottom of the bowl constantly.
- Add the sour cream, vanilla extract, lemon juice, and lemon zest. Beat on low speed until combined and smooth.
- Add the eggs one at a time, beating on low speed just until combined after each addition. Do not overmix. Stop mixing as soon as the last egg is incorporated.
- Pour the batter over the cooled crust. Tap the pan gently on the counter a few times to release any trapped air bubbles.
- Place the springform pan inside the large roasting pan. Place the roasting pan in the oven, then carefully pour boiling water into the roasting pan until it reaches halfway up the sides of the springform pan.
- Bake for 60-75 minutes. The cheesecake is done when the edges are set and puffy, but the center still has a slight wobble (like Jell-O) when the pan is gently shaken.
- Turn off the oven and crack the oven door open slightly (use a wooden spoon to hold it ajar if needed). Let the cheesecake cool in the oven for 1 hour. This prevents cracking.
- Remove the cheesecake from the water bath and foil. Run a thin knife around the edge to loosen it from the pan. Let it cool completely on a wire rack.
- Refrigerate the cheesecake for at least 6 hours, preferably overnight, to let it firm up completely before slicing.
Expert Cooking Tips
- ✓Room temperature ingredients are non-negotiable; cold ingredients lead to lumpy batter.
- ✓Do not overmix the batter once the eggs are added, or the cheesecake will puff up and crack.
- ✓Use heavy-duty foil or slow cooker liners to ensure the water bath doesn’t leak into the crust.
- ✓Don’t open the oven door during the first 45 minutes of baking to maintain consistent heat.
- ✓The wobble test is key; if the center looks liquid, it needs more time, but if it’s stiff, it’s overbaked.
- ✓Slice with a knife dipped in hot water and wiped clean between cuts for perfect slices.
Substitutions and Variations
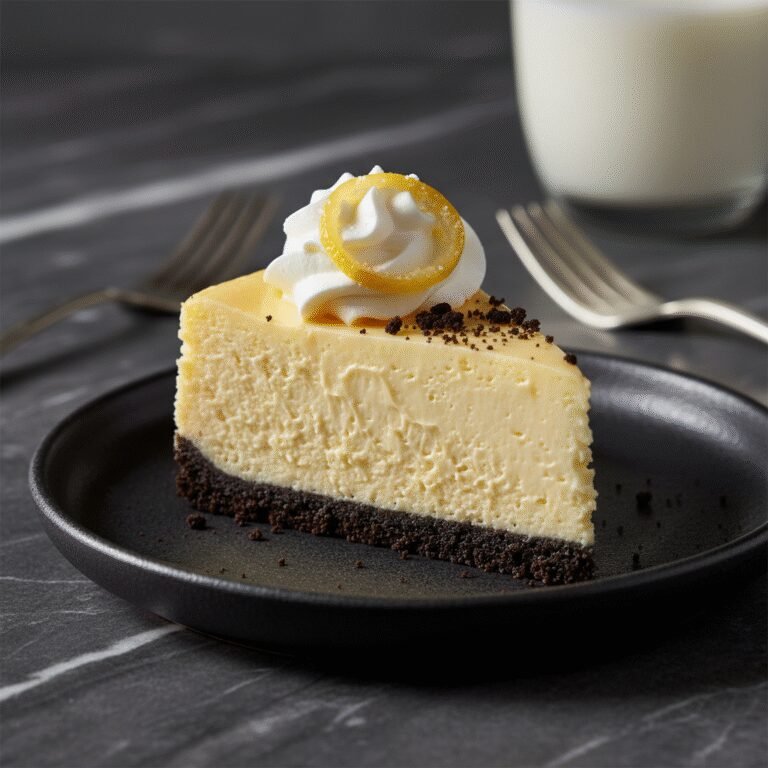
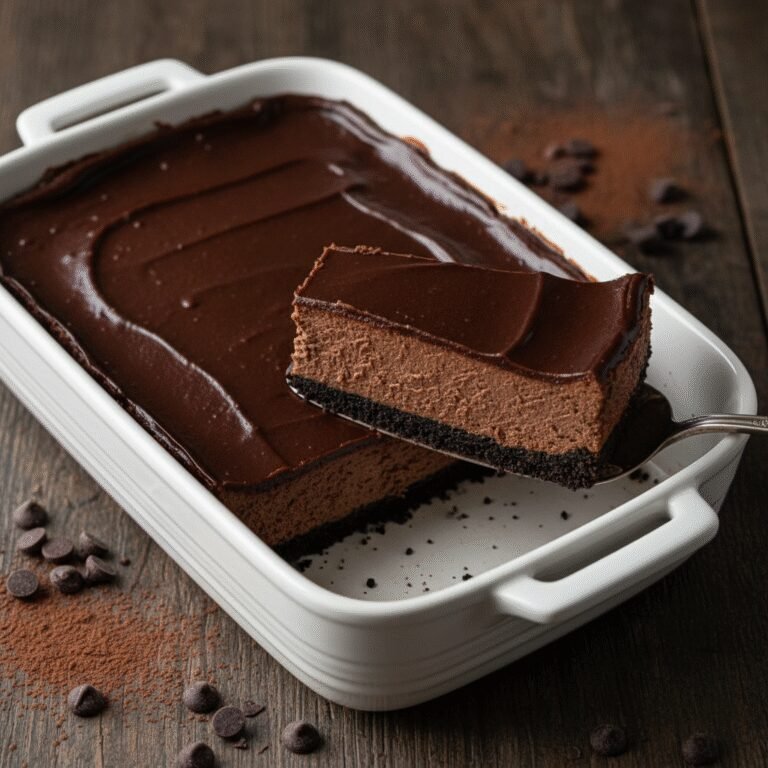
While this recipe relies on specific ratios for the classic texture, there are some safe substitutions. For the crust, you can swap graham crackers for digestive biscuits, vanilla wafers, or even Oreos (remove the cream filling) for a chocolate twist. If you are gluten-free, simply use gluten-free graham style crackers; the texture remains largely the same. In the filling, full-fat ingredients are essential. Do not use low-fat or whipped cream cheese, as the stabilizers will ruin the texture. However, you can substitute the sour cream with full-fat plain Greek yogurt or heavy cream if you prefer a milder tang. If you don’t have lemons on hand, the zest and juice can be omitted for a pure vanilla flavor, or swapped for orange zest for a citrus variation.
Common Mistakes to Avoid
The most common mistake is overbeating the batter. Incorporating too much air causes the cake to rise like a soufflé in the oven and then collapse, leading to a cracked, cratered surface. Keep your mixer on low speed. Another frequent error is rushing the cooling process. Putting a hot cheesecake directly into the fridge will cause condensation to form, making the crust soggy and the top sticky. It also causes thermal shock, leading to cracks. Always cool it gradually in the oven, then on the counter, and finally in the fridge. Lastly, water bath leakage is a tragedy. If you don’t have wide foil, place the springform pan inside a slightly larger cake pan, and then place that entire assembly into the water bath.
Serving Suggestions
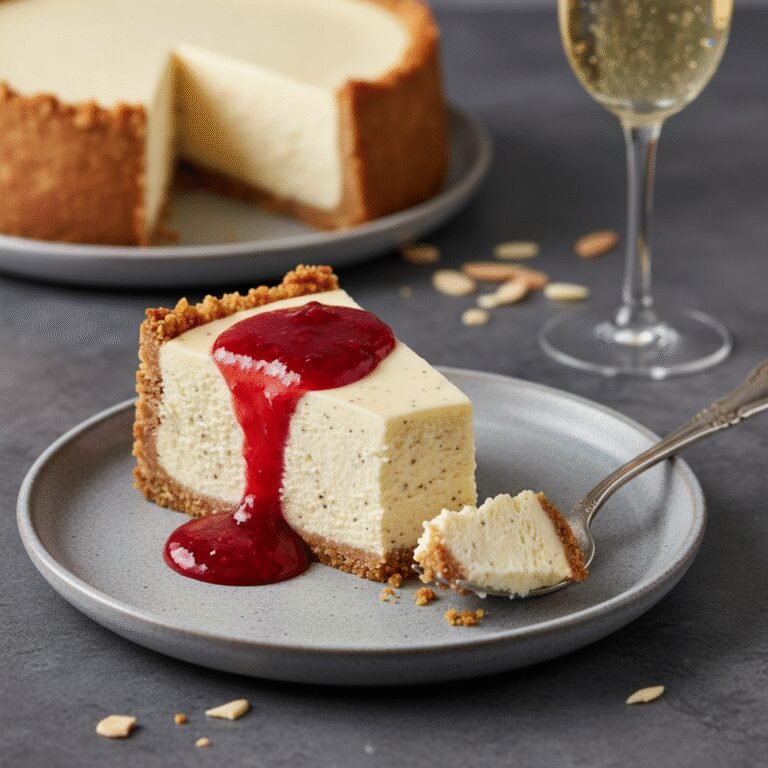
A classic New York cheesecake is traditionally served plain to let the rich, tangy custard shine. However, it pairs beautifully with a variety of toppings. A fresh strawberry or raspberry coulis is the most popular choice, adding a tart contrast to the sweet filling. You can also top it with fresh berries, a dollop of whipped cream, or a drizzle of salted caramel or chocolate ganache. For a fall twist, serve with spiced apple compote. Always serve chilled, but let the slices sit at room temperature for 10-15 minutes before eating for the creamiest texture.
Storage and Reheating Tips
Cheesecake stores exceptionally well, making it a perfect make-ahead dessert. Store leftovers in the springform pan tightly wrapped in plastic wrap, or transfer slices to an airtight container in the refrigerator for up to 5 days. To freeze, wrap individual slices or the whole cooled cake tightly in plastic wrap, followed by a layer of aluminum foil. It can be frozen for up to 3 months. Thaw overnight in the refrigerator before serving. Do not refreeze thawed cheesecake as the texture will become grainy.
Nutrition Facts (Estimated)
| Serving Size | 1 slice |
| Calories | 520 |
| Fat | 38g |
| Saturated Fat | 22g |
| Unsaturated Fat | 14g |
| Trans Fat | 1g |
| Cholesterol | 165mg |
| Sodium | 380mg |
| Carbohydrates | 42g |
| Fiber | 1g |
| Sugar | 34g |
| Protein | 9g |
Frequently Asked Questions
Why did my cheesecake crack?
Cracks usually happen due to overmixing the batter (adding air), overbaking (drying it out), or cooling it too quickly (thermal shock). Follow the cooling instructions carefully to avoid this.
Do I really need a water bath?
Yes. While it is possible to bake without one, the water bath ensures gentle, even heat. Without it, the edges will overcook and become grainy before the center is set.
Can I make this without a springform pan?
It is difficult to remove a cheesecake from a standard cake pan without ruining it. If you don’t have a springform pan, line a deep cake pan with parchment paper that hangs over the sides so you can lift the cake out once frozen.
How do I know when it is done?
Gently shake the pan. The outer 2-3 inches should look set and puffy, while the center should wobble slightly like Jell-O. It will continue to set as it cools.
Why is my cheesecake runny in the middle?
It was likely underbaked or not chilled long enough. The chilling time (at least 6 hours) is crucial for the fats to solidify and the structure to hold.
Can I use low-fat cream cheese?
It is not recommended. Low-fat products have higher water content and added stabilizers that can prevent the cheesecake from setting properly or result in a rubbery texture.
How do I prevent the water bath from leaking in?
Use extra-wide heavy-duty foil. Wrap the pan in at least 3 layers, rotating the pan each time. Alternatively, place the springform pan inside a slightly larger baking pan, then put that in the water bath.
Can I freeze the cheesecake?
Absolutely. Wrap it tightly in plastic and foil. Freeze for up to 3 months. Thaw in the fridge overnight before serving.
Conclusion
Mastering the New York Cheesecake is a rite of passage for any home baker, and with this guide, you are well on your way to perfection. The patience required for the water bath and the slow cooling process pays off the moment you take that first bite of dense, creamy, tangy goodness. It is a dessert that commands respect and brings joy to any table. Whether topped with ruby-red strawberries or enjoyed in its pure, unadulterated form, this cheesecake is sure to become a requested favorite in your household. Happy baking!