The Ultimate Creamy New York Cheesecake Recipe
Creamy New York Cheesecake Recipe
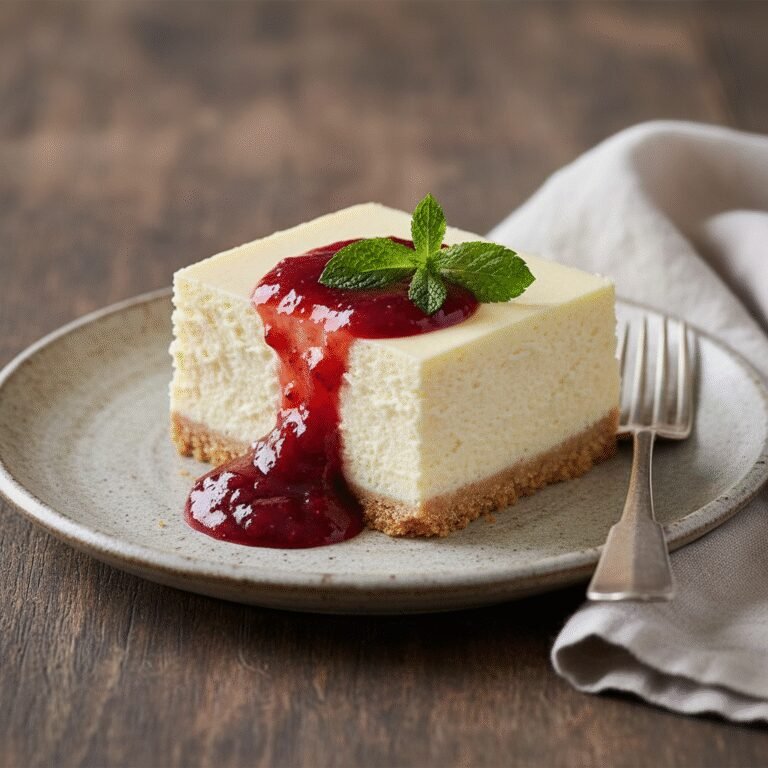
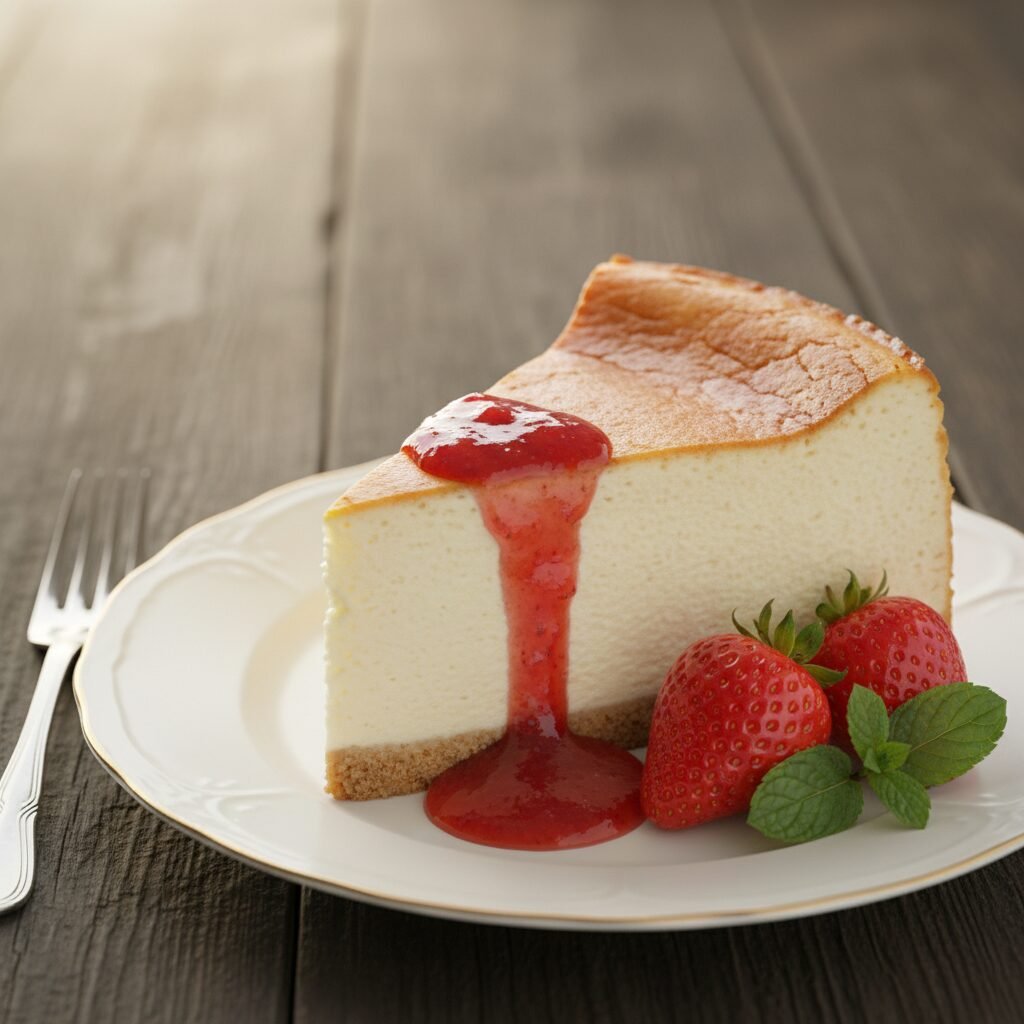
Rich, dense, and incredibly smooth, this classic New York Cheesecake is the dessert of dreams. Featuring a buttery graham cracker crust and a velvety, tall cream cheese filling, this recipe demystifies the water bath method to deliver a bakery-quality slice right from your own oven.
30 minutes
1 hour 15 minutes
8 hours (includes cooling and chilling)
12 servings
Dessert
Baking
American
Vegetarian
There are few desserts in the culinary canon that command as much respect and desire as a perfectly executed New York Cheesecake. Unlike its fluffier, lighter counterparts found in other regions or the ricotta-based Italian versions, the New York style is unapologetically dense, rich, and satiny smooth. It is a dessert that demands you sit down and savor it, with a texture that coats the palate in a luxurious embrace of tangy cream cheese and sweet vanilla. For many home bakers, the cheesecake is a source of intimidation. Tales of cracked tops, soggy crusts, and curdled centers have scared many away from attempting this classic at home. However, this recipe is designed to dispel those fears completely. We are stripping away the mystery and focusing on the science of the emulsion. The secret lies not in fancy equipment, but in patience—specifically, the patience to let ingredients reach room temperature before mixing and the patience to let the cake cool gradually in the fading heat of the oven. This recipe produces a tall, majestic cake with the signature golden-brown surface and a creamy, ivory interior that is firm yet yielding. Whether you serve it plain, in its pure glory, or topped with a vibrant strawberry compote or rich chocolate ganache, this cheesecake is the ultimate showstopper for holidays, birthdays, or any day that requires a slice of heaven.
History & Origins
The lineage of the cheesecake is as rich and layered as the dessert itself, stretching back thousands of years before it ever reached the streets of Manhattan. The earliest recorded mention of a cheesecake-like dish comes from ancient Greece, specifically the island of Samos, where anthropologists have found cheese molds dating back to 2,000 B.C. It was considered a potent source of energy and was even served to athletes during the first Olympic Games in 776 B.C. The Romans later adopted the recipe, adding eggs and baking it under hot bricks, calling it ‘libum’ or ‘savillum.’ As the Roman Empire expanded, so did the cheesecake, evolving into various regional iterations across medieval Europe. However, the New York Cheesecake as we know and love it today owes its existence to a happy accident in 1872. A distinctively American dairyman named William Lawrence, based in Chester, New York, was attempting to replicate the soft, French cheese Neufchâtel. In the process, he accidentally added too much cream, creating a heavier, richer spread that would eventually be marketed as Philadelphia Cream Cheese. This invention revolutionized the dessert. In the 1920s, Arnold Reuben, the owner of the legendary Turf Restaurant in NYC (and the claimant to the Reuben sandwich), is credited with creating the first ‘New York Style’ cheesecake by using this cream cheese base instead of the traditional cottage cheese curds. The recipe was further immortalized by Leo ‘Lindy’ Lindemann of Lindy’s Restaurant in Midtown, cementing the dense, cream-cheese-heavy cake as a culinary icon of the city.
Why This Recipe Works
This recipe succeeds where others fail because it meticulously controls the two biggest enemies of a good cheesecake: aeration and thermal shock. First, the texture. A New York cheesecake should be dense, not airy like a soufflé. Many recipes fail by over-beating the eggs, which introduces air bubbles that expand in the oven and then collapse, causing cracks. In this method, we cream the sugar and cheese until smooth but add the eggs last and mix them on the lowest speed, ensuring a creamy, gap-free structure. Secondly, we utilize a water bath (bain-marie). Cheesecake is essentially a custard; it relies on the gentle coagulation of egg proteins to set. Direct, harsh oven heat can cause the outer edges to overcook and curdle before the center is set. The water bath insulates the pan, keeping the temperature around the edges at a steady 212°F (100°C), ensuring even cooking from edge to center. Finally, the ‘cool-down’ method is critical. By turning the oven off and cracking the door while the cheesecake is still inside, we allow the cake to cool slowly. This prevents the structure from contracting too quickly, which is the primary cause of the dreaded surface crack. The addition of cornstarch also acts as an insurance policy, binding to liquids and preventing the eggs from curdling if the temperature spikes slightly.
Why You’ll Love This Recipe
- ✓Produces a tall, bakery-style cheesecake with a flat, golden top.
- ✓Uses a water bath method to ensure a silky, crack-free texture.
- ✓Features a classic graham cracker crust that stays crisp.
- ✓Balances the richness of cream cheese with the tang of sour cream.
- ✓Freezes beautifully for make-ahead convenience.
Equipment You’ll Need
- ✓9-inch Springform Pan
- ✓Stand Mixer with Paddle Attachment
- ✓Large Roasting Pan (for water bath)
- ✓Heavy Duty Aluminum Foil
- ✓Rubber Spatula
- ✓Measuring Cups and Spoons
Ingredients
- ✓2 cups graham cracker crumbs (about 14 full sheets)
- ✓1/2 cup unsalted butter, melted
- ✓1/4 cup granulated sugar (for crust)
- ✓32 oz (4 blocks) full-fat cream cheese, softened to room temperature
- ✓1 1/2 cups granulated sugar (for filling)
- ✓1 cup full-fat sour cream, room temperature
- ✓1 tablespoon vanilla extract
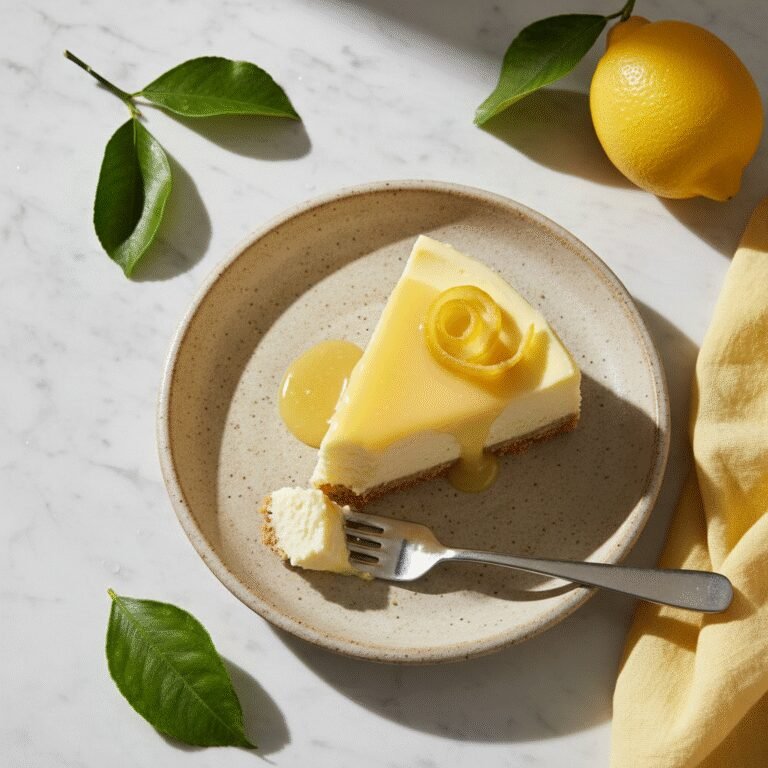
- ✓2 teaspoons lemon juice
- ✓1 teaspoon lemon zest
- ✓3 tablespoons cornstarch
- ✓4 large eggs, room temperature
- ✓1/4 teaspoon salt
Instructions
- Preheat your oven to 350°F (175°C). Prepare a 9-inch springform pan by greasing the bottom and sides lightly with butter.
- Mix the graham cracker crumbs, melted butter, and 1/4 cup sugar in a medium bowl until the mixture resembles wet sand.
- Press the crumb mixture firmly into the bottom and slightly up the sides of the springform pan. Use the bottom of a measuring cup to pack it down tight. Bake for 10 minutes, then remove and let cool. Reduce oven temperature to 325°F (163°C).
- While the crust cools, prepare the filling. In the bowl of a stand mixer fitted with the paddle attachment, beat the softened cream cheese and 1 1/2 cups sugar on medium speed until perfectly smooth and creamy (about 3 minutes). Scrape down the sides of the bowl.
- Add the sour cream, vanilla extract, lemon juice, lemon zest, salt, and cornstarch. Beat on medium-low speed until combined. Scrape the bowl again to ensure no lumps of cheese remain at the bottom.
- Add the eggs one at a time, mixing on the LOWEST speed just until each egg is incorporated. Do not overmix after adding eggs, as this adds air which causes cracks.
- Wrap the bottom and sides of the springform pan with 2-3 layers of heavy-duty aluminum foil to prevent water from seeping in. Place the springform pan inside a large roasting pan.
- Pour the cheesecake batter over the cooled crust, smoothing the top with a spatula.
- Place the roasting pan in the oven. Carefully pour boiling water into the roasting pan until it reaches halfway up the sides of the springform pan.
- Bake at 325°F for 60-75 minutes. The cheesecake is done when the edges are set and puffy, but the center still has a slight wobble (like Jell-O) when you gently shake the pan. It should not be liquid, but it should not be solid stiff either.
- Turn off the oven and crack the door open about an inch (stick a wooden spoon in the door if needed). Let the cheesecake cool in the oven for 1 hour. This slow cooling prevents cracks.
- Remove from the oven and water bath. Run a thin knife around the edge of the cake to release it from the pan sides (this helps prevent cracking as it shrinks while cooling).
- Let it cool completely to room temperature on a wire rack, then cover loosely and refrigerate for at least 6 hours, preferably overnight, before slicing.
Expert Cooking Tips
- ✓Room Temperature is Law: Ensure your cream cheese, sour cream, and eggs are truly at room temperature before starting. Cold ingredients lead to lumpy batter and overmixing.
- ✓Don’t Skip the Water Bath: It creates a gentle, humid environment that ensures creamy texture and prevents the edges from drying out.
- ✓Scrape the Bowl: Mixer paddles often miss the very bottom. Scrape down the bowl frequently to avoid finding a chunk of unmixed cream cheese in your baked cake.
- ✓The Wobble Test: Do not wait for the center to look firm. If it looks firm in the oven, it is already overcooked. Trust the wobble.
- ✓Slice with Heat: For clean, professional slices, dip your knife in hot water and wipe it dry between every single cut.
- ✓Avoid the Mixer Whisk: Use the paddle attachment. The whisk incorporates too much air, which is the enemy of a dense NY cheesecake.
Substitutions and Variations
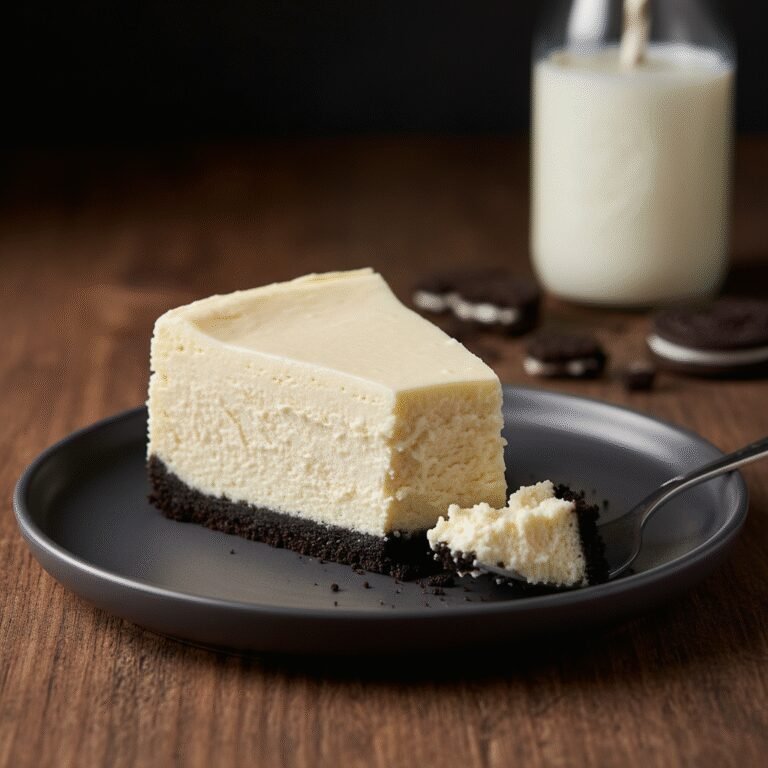
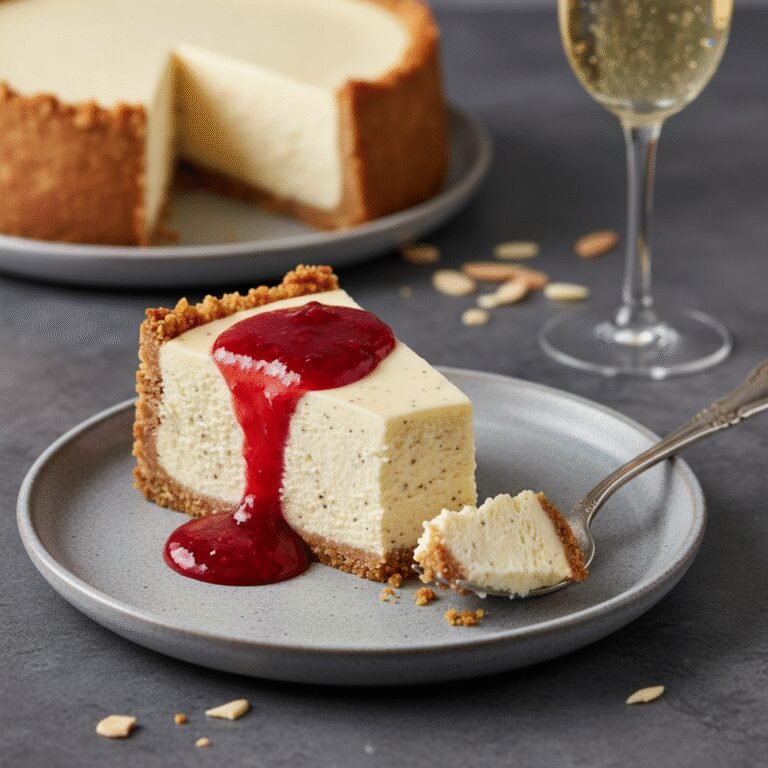
While the classic recipe is divine, there is room for variation. For the crust, you can substitute graham crackers with crushed Oreo cookies (remove the cream filling first or reduce butter slightly), Biscoff cookies, or vanilla wafers. If you are gluten-free, simply use gluten-free graham style crackers or a nut-based crust made from almond flour and butter. For the filling, full-fat ingredients are non-negotiable for the correct texture, but you can swap the sour cream for heavy whipping cream for a slightly richer, less tangy flavor. If you do not have cornstarch, all-purpose flour can be used as a thickener in the exact same quantity. For a flavor twist, you can omit the lemon zest and add almond extract, or swirl in a fruit reduction before baking.
Common Mistakes to Avoid
The most common mistake is overmixing the batter once the eggs are added. This incorporates air bubbles that expand in the heat and then burst, causing the cheesecake to fall and crack. Another frequent error is opening the oven door during the first 45 minutes of baking; the draft can cause the cake to sink. Many bakers also overbake the cheesecake because they think the jiggly center means it’s raw; remember, carryover cooking will finish setting the center as it cools. Finally, rushing the cooling process by putting a warm cheesecake directly into the fridge will almost guarantee condensation on the surface (soggy top) and structural cracks due to thermal shock.
Serving Suggestions
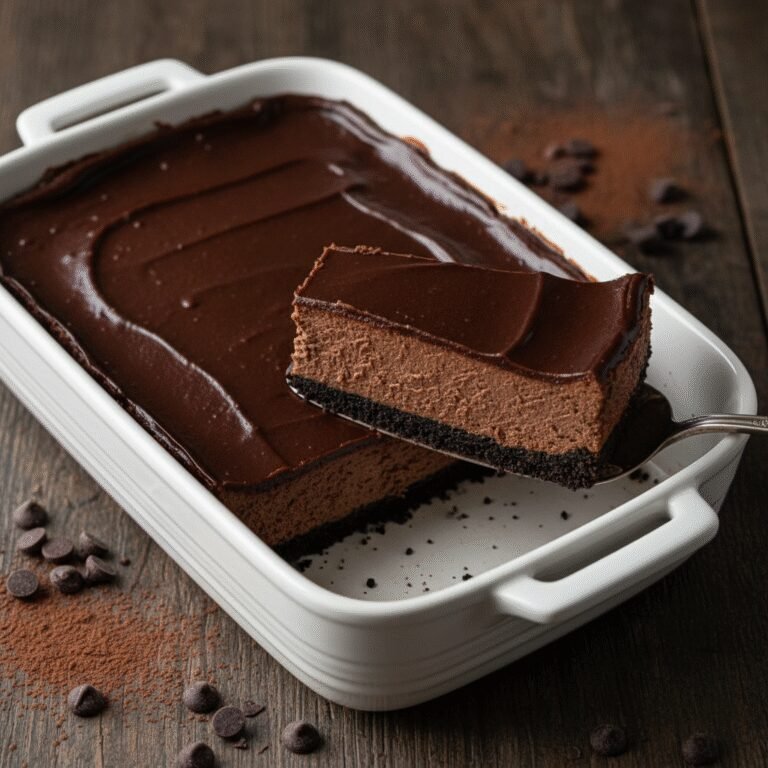
A classic New York Cheesecake is rich enough to stand on its own, perhaps with just a dusting of powdered sugar. However, it pairs beautifully with tart elements to cut through the richness. A homemade strawberry or raspberry coulis is traditional. Fresh berries, a dollop of unsweetened whipped cream, or a drizzle of salted caramel sauce are also excellent choices. For a decadent twist, serve with a warm chocolate ganache. Serve the cheesecake chilled, but let the slices sit at room temperature for 15-20 minutes before eating for the optimal creamy texture and flavor release.
Storage and Reheating Tips
Store leftover cheesecake in the refrigerator, tightly covered with plastic wrap or in an airtight container, for up to 5 days. Cheesecake also freezes exceptionally well. To freeze, cool the cake completely, then chill it in the fridge overnight. You can freeze the whole cake or individual slices. Wrap each slice tightly in plastic wrap, then again in aluminum foil. Place the wrapped slices in a freezer-safe bag. It will keep for up to 3 months. Thaw overnight in the refrigerator before serving. Do not refreeze thawed cheesecake.
Nutrition Facts (Estimated)
| Serving Size | 1 slice |
| Calories | 540 |
| Fat | 38g |
| Saturated Fat | 22g |
| Unsaturated Fat | 14g |
| Trans Fat | 0g |
| Cholesterol | 165mg |
| Sodium | 360mg |
| Carbohydrates | 42g |
| Fiber | 1g |
| Sugar | 28g |
| Protein | 9g |
Frequently Asked Questions
Do I really need a water bath?
Yes, absolutely. While you *can* bake it without one, the texture will be different—likely rubbery on the edges and drier. The water bath ensures that silky, creamy consistency that defines a NY cheesecake.
My cheesecake cracked! Can I fix it?
Once it’s cracked, you can’t ‘heal’ it, but you can hide it. Cover the top with a layer of sour cream sweetened with sugar (bake for 10 more mins to set), or top with fruit compote, whipped cream, or ganache. It will still taste delicious.
Can I use low-fat cream cheese?
It is not recommended. Low-fat cream cheese has a higher water content and stabilizers that can affect the setting ability and creamy texture of the cake. For the best results, stick to full-fat brick style cream cheese.
How do I prevent the water bath from leaking into the pan?
Use heavy-duty foil and wrap the pan in multiple layers, changing the angle of the foil each time. Alternatively, place the springform pan inside a slightly larger cake pan, and place *that* pan into the water bath.
Why did my cheesecake sink in the middle?
This usually happens if the batter was overmixed (too much air) or if the oven door was opened too early, causing a sudden temperature drop that collapsed the structure.
Can I make this ahead of time?
Yes, cheesecake is actually better the next day. It needs at least 6-8 hours to chill and firm up, so making it 24 hours in advance is ideal.
Can I use a hand mixer instead of a stand mixer?
Yes, a hand mixer works fine. Just be extra careful not to overbeat the mixture once the eggs are added, and ensure you move the beaters around the bowl to get all the lumps out.
How do I know when it is done?
The ‘Jell-O jiggle’ is the key. Bump the side of the pan with a spoon. The outer 2 inches should look firm, but the center should wobble slightly like gelatin. If it ripples like liquid milk, it needs more time.
Conclusion
Mastering the New York Cheesecake is a milestone for any home baker, and with this detailed guide, it is entirely within your reach. The result is a dessert that feels special, looks professional, and tastes infinitely better than anything you can buy from a freezer aisle. The combination of the buttery crunch of the crust and the cool, melting richness of the filling is timeless. So, gather your ingredients, clear your schedule, and prepare to impress your friends, family, and most importantly, yourself. Don’t forget to share your results and let us know what toppings you chose!