The Ultimate Creamy Chocolate Cheesecake With Buttery Graham Cracker Crust
Creamy Chocolate Cheesecake With Graham Cracker Crust Recipe
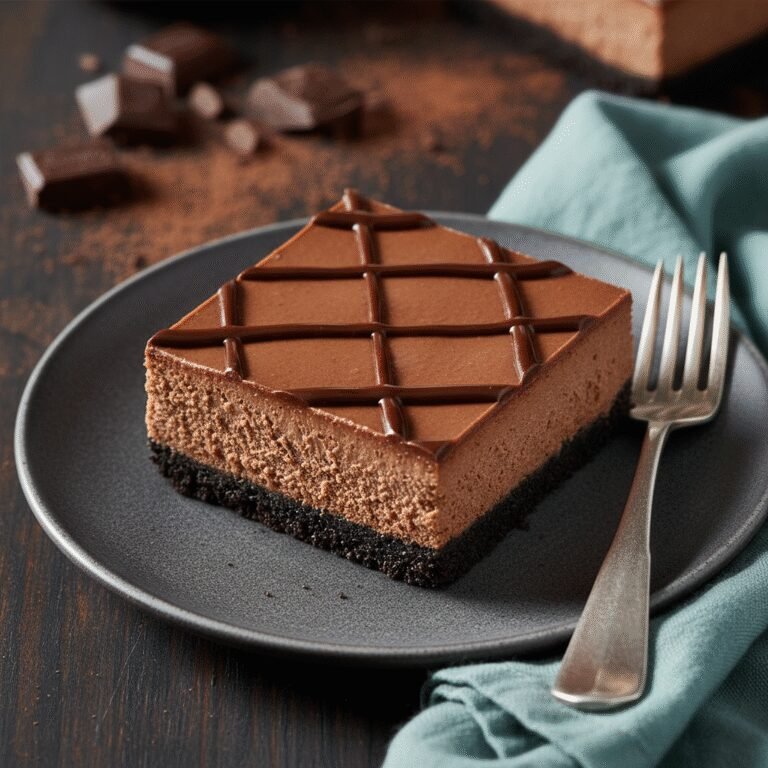
Indulge in the ultimate chocolate lover’s dream: a velvety, rich chocolate cheesecake resting on a classic, buttery graham cracker crust. This foolproof recipe guarantees a crack-free, restaurant-quality dessert that is perfect for holidays, birthdays, or any time you need a slice of pure decadence.
30 minutes
1 hour 15 minutes
8 hours (includes cooling and chilling)
12 servings
Dessert
Baking
American
Vegetarian
If there is one dessert that universally commands respect and admiration at the dinner table, it is the cheesecake. But not just any cheesecake—we are talking about a Creamy Chocolate Cheesecake that bridges the gap between a sophisticated mousse and a dense, traditional New York-style slice. This recipe is a love letter to cocoa, designed for those who believe that dessert isn’t complete without chocolate. The texture is the star of the show here; it is incredibly smooth, avoiding the chalkiness that sometimes plagues chocolate-based baked goods.
What makes this specific recipe a staple in my kitchen is the balance. Often, chocolate cheesecakes can be overwhelmingly heavy, sitting like a brick in your stomach. However, by incorporating sour cream and a specific blend of semi-sweet chocolate and cocoa powder, we achieve a lightness in mouthfeel without sacrificing that deep, fudge-like intensity. The foundation, a golden, toasted graham cracker crust, provides a necessary textural contrast. The slight salinity and crunch of the buttery crumbs cut through the richness of the filling, creating a perfect bite every time.
Whether you are an experienced baker or a novice intimidated by the concept of a water bath, this guide breaks down every barrier. We will explore the science of why ingredients must be at room temperature, how to cool the cake to prevent the dreaded surface cracks, and how to style it for that Pinterest-perfect presentation. Prepare to make the best dessert of your life.
History & Origins
The history of cheesecake is a journey that spans millennia, long before the invention of the graham cracker or the discovery of chocolate by Europeans. The earliest roots can be traced back to ancient Greece, specifically the island of Samos, where physical anthropologists excavated cheese molds dated to circa 2,000 B.C. It was considered a potent source of energy, and there is evidence that it was served to athletes during the first Olympic Games in 776 B.C. The Romans later adopted the recipe, calling it ‘libum,’ and spread it across Europe as they expanded their empire.
However, the creamy, dense style of cheesecake we know and love today is a distinctly American innovation, born out of a fortunate accident. In 1872, a New York dairy farmer named William Lawrence was attempting to replicate the French cheese Neufchâtel. Instead, he added too much cream and created a richer, spreadable cheese that would eventually be branded as ‘Philadelphia Cream Cheese.’ This became the cornerstone of the New York Cheesecake.
The chocolate variation is a more modern twist, gaining popularity in the mid-20th century as chocolate became more affordable and accessible to home bakers. But the crust has its own fascinating backstory. The Graham Cracker was invented in the early 19th century by Sylvester Graham, a Presbyterian minister and dietary reformer. He created the coarse, whole wheat flour cracker as part of a bland diet intended to suppress ‘carnal urges.’ It is one of the culinary world’s greatest ironies that his humble, health-focused cracker is now the buttery, sugary foundation for one of the most sinful and indulgent desserts in existence. Combining the ancient Greek concept, the New York dairy innovation, and the temperance movement’s cracker creates the modern masterpiece that is the Chocolate Graham Cracker Cheesecake.
Why This Recipe Works
This recipe succeeds where many others fail because it meticulously addresses the physics and chemistry of baking a custard. A cheesecake is, essentially, a baked cheese custard. The primary challenge with chocolate cheesecake is that chocolate solidifies as it cools, which can lead to a grainy or overly stiff texture. To combat this, we use a dual-chocolate approach: melted semi-sweet chocolate for richness and structure, and unsweetened cocoa powder for deep flavor without the added cocoa butter that hardens the texture.
Furthermore, the inclusion of sour cream is non-negotiable. It introduces an acidic component that tenderizes the protein strands in the eggs and cheese, ensuring the final product is silky rather than rubbery. We also utilize the ‘low and slow’ baking method combined with a water bath (bain-marie). The water bath regulates the heat, ensuring the eggs cook gently and evenly, preventing the edges from drying out before the center is set.
Finally, the cooling process is designed to prevent thermal shock. By turning off the oven and letting the cheesecake cool inside with the door cracked, we allow the structure to settle gradually. Sudden temperature changes are the number one cause of cracks. This recipe doesn’t just give you ingredients; it gives you a method engineered for perfection.
Why You’ll Love This Recipe
- ✓Velvety, mousse-like texture that isn’t too dense.
- ✓Deep, double-chocolate flavor using melted chocolate and cocoa.
- ✓Foolproof water bath method prevents cracking.
- ✓Buttery, crisp graham cracker crust holds up to the filling.
- ✓Can be made up to 2 days in advance for stress-free hosting.
- ✓Freezes beautifully for long-term storage.
Equipment You’ll Need
- ✓9-inch Springform Pan
- ✓Large Roasting Pan (for water bath)
- ✓Electric Hand Mixer or Stand Mixer
- ✓Rubber Spatula
- ✓Food Processor (for crust)
- ✓Heavy-duty Aluminum Foil
- ✓Parchment Paper
- ✓Wire Cooling Rack
Ingredients
- ✓1 1/2 cups Graham Cracker crumbs (about 10-12 full sheets)
- ✓6 tbsp Unsalted Butter, melted
- ✓1/4 cup Granulated Sugar (for crust)
- ✓1 pinch Fine Sea Salt
- ✓24 oz (3 blocks) Full-fat Cream Cheese, softened to room temperature
- ✓1 cup Granulated Sugar (for filling)
- ✓1/4 cup Unsweetened Cocoa Powder
- ✓8 oz Semi-sweet Chocolate, melted and slightly cooled
- ✓3 large Eggs, room temperature
- ✓1/2 cup Sour Cream, room temperature
- ✓2 tsp Pure Vanilla Extract
- ✓1/2 cup Heavy Cream
Instructions
- Preheat your oven to 325°F (163°C). Prepare a 9-inch springform pan by lightly greasing the bottom and sides. Wrap the outside bottom of the pan in 2-3 layers of heavy-duty aluminum foil to ensure no water seeps in during the water bath.
- To make the crust: In a food processor, pulse graham crackers until fine crumbs form. Add the melted butter, 1/4 cup sugar, and salt. Pulse until the mixture resembles wet sand.
- Press the crumb mixture firmly into the bottom and slightly up the sides of the prepared springform pan. You can use the bottom of a measuring cup to pack it down evenly. Bake the crust for 10 minutes. Remove and let cool while you prepare the filling.
- In a small bowl, melt the semi-sweet chocolate in the microwave in 20-second intervals, stirring in between, until smooth. Set aside to cool slightly (it should be liquid but not hot).
- In a large mixing bowl or stand mixer fitted with the paddle attachment, beat the room temperature cream cheese and 1 cup sugar on medium-low speed until completely smooth and creamy. Scrape down the sides of the bowl.
- Sift the cocoa powder into the cream cheese mixture and mix on low speed until combined.
- Add the slightly cooled melted chocolate, sour cream, and vanilla extract. Mix on medium-low speed until incorporated, scraping down the sides and bottom of the bowl to ensure no white streaks remain.
- Add the eggs one at a time, mixing on low speed just until the yolk disappears. Do not overmix at this stage, as incorporating too much air can cause the cheesecake to crack.
- Stir in the heavy cream gently by hand or on the lowest mixer setting.
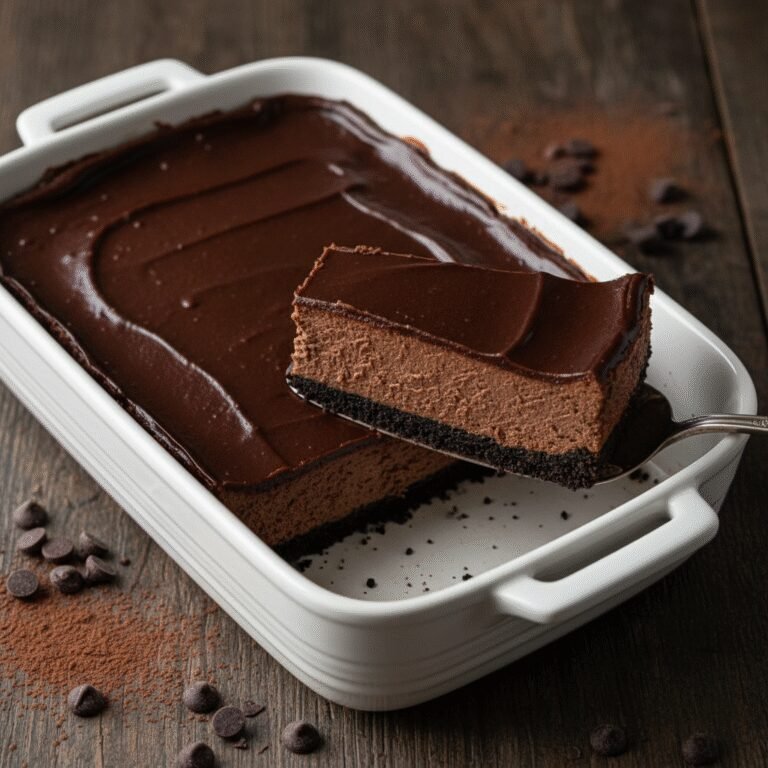
- Pour the batter over the cooled crust and smooth the top with a spatula.
- Place the foil-wrapped springform pan into the large roasting pan. Place the roasting pan into the oven. Carefully pour boiling water into the roasting pan until it reaches about halfway up the sides of the springform pan.
- Bake for 60 to 75 minutes. The edges should be set and slightly puffed, but the center should still have a wobble like Jell-O when you gently shake the pan.
- Turn off the oven and crack the oven door open slightly (you can use a wooden spoon to hold it ajar). Let the cheesecake cool in the oven for 1 hour. This slow cooling helps prevent cracks.
- Remove the cheesecake from the water bath and foil. Run a thin knife around the edge to loosen it from the pan. Let it cool completely on a wire rack.
- Cover with plastic wrap and refrigerate for at least 6 hours, preferably overnight, to firm up before slicing.
Expert Cooking Tips
- ✓Room temperature ingredients are crucial. Cold cream cheese will result in a lumpy batter.
- ✓Do not overbeat the eggs. Once eggs are added, keep the mixer on low to avoid trapping air bubbles.
- ✓Use high-quality chocolate. Since chocolate is the main flavor, use a brand you enjoy eating on its own.
- ✓The water bath is your best friend. It keeps the oven moisture high and the heat gentle.
- ✓Don’t rush the cooling process. The hour spent cooling in the turned-off oven is essential for texture.
- ✓Grease the sides of the pan well, but don’t flour them. This helps the cake release as it shrinks slightly.
- ✓Slice with a hot knife. Dip your knife in hot water and wipe it clean between every single slice for professional-looking cuts.
Substitutions and Variations
This recipe is versatile enough to handle several substitutions without ruining the chemistry. For the crust, if you want a double-chocolate experience, substitute the graham crackers with an equal weight of Oreo cookies (remove the cream filling for a crunchier crust, or keep it for a sweeter one—if keeping cream, reduce butter by 2 tbsp). For a gluten-free version, simply use gluten-free graham crackers or nut-based crusts like almond flour pressed with butter.
In the filling, if you don’t have sour cream, full-fat Greek yogurt is an excellent substitute that provides similar tang and texture. You can also replace the semi-sweet chocolate with bittersweet chocolate (60-70% cocoa) for a darker, less sweet, and more intense flavor profile. Do not use milk chocolate chips, as the wax content is higher and the cocoa butter content is lower, which can affect the set. If you are out of heavy cream, you can omit it, though the texture will be slightly denser.
Common Mistakes to Avoid
The most common mistake is using cold ingredients. If your cream cheese is cold, you will have to beat it longer to get the lumps out, which introduces air into the batter. Air bubbles expand in the oven and then collapse, causing cracks. Another major error is overbaking. Many people wait until the center looks firm. If the center is firm in the oven, it will be dry and rubbery once cooled. You must trust the ‘wobble’—the center 2-3 inches should jiggle.
Skipping the water bath is another frequent error. While it is a hassle to set up, baking without it exposes the custard to harsh, direct heat, leading to curdled eggs and a cracked surface. Lastly, rushing the chilling time is a mistake. Cheesecake needs time for the fats to solidify again. Cutting into it while warm or merely cool will result in a runny mess that doesn’t hold its shape.
Serving Suggestions
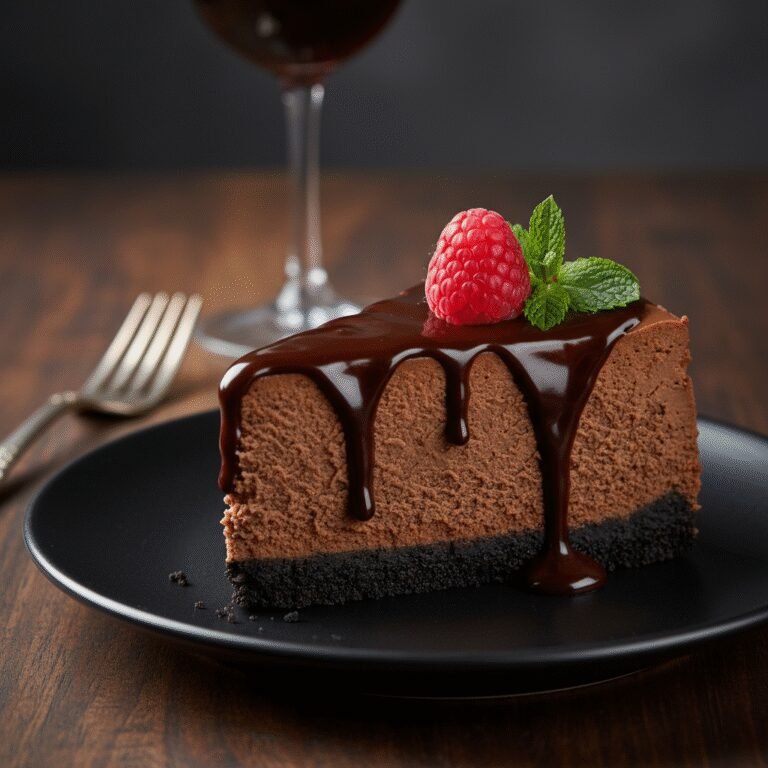
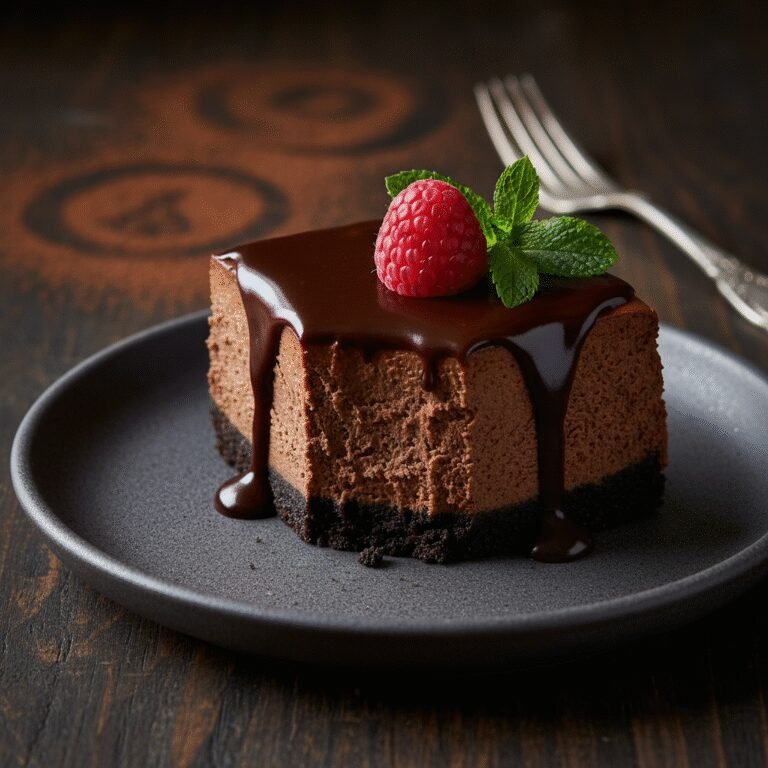
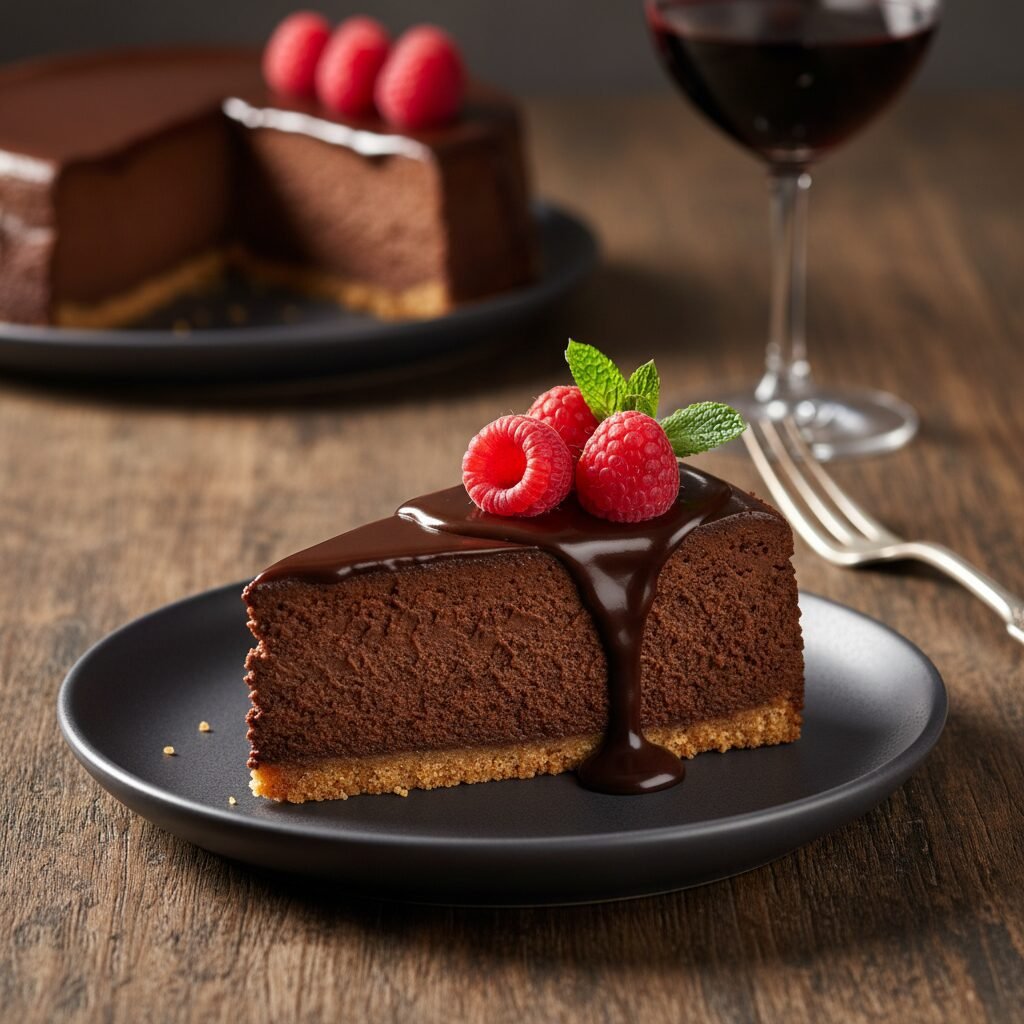
This rich cheesecake pairs beautifully with tart or light accompaniments to cut through the chocolate intensity. A classic serving suggestion is a dollop of unsweetened or lightly sweetened whipped cream and a handful of fresh raspberries or strawberries. The tartness of the berries balances the sugar. For a more decadent presentation, pour a warm chocolate ganache over the whole cake before serving, allowing it to drip down the sides.
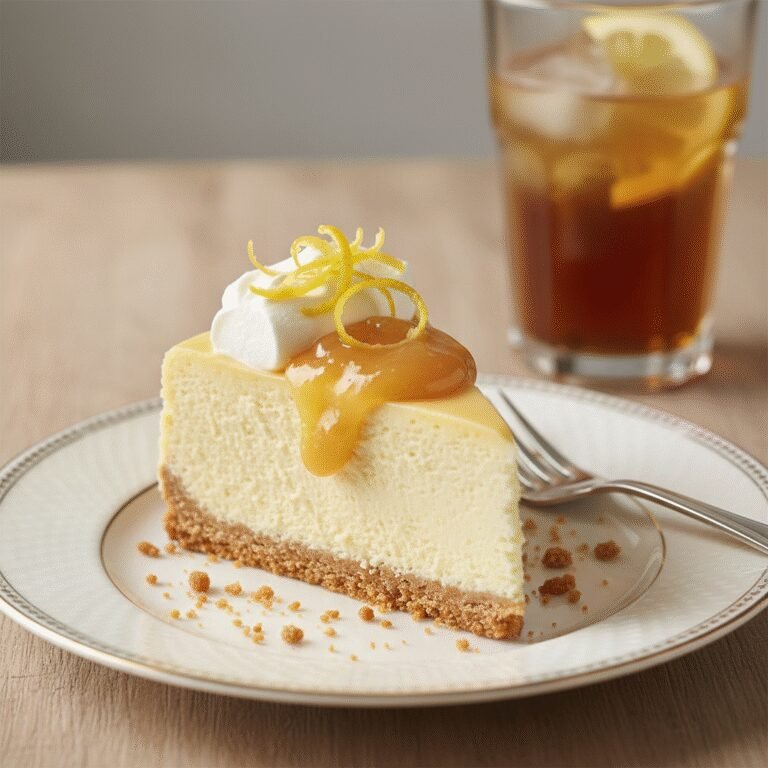
Caramel sauce and sea salt are also fantastic pairings for a ‘salted caramel chocolate’ vibe. Beverage-wise, this dessert screams for a strong cup of hot coffee, a shot of espresso, or a glass of bold red wine like a Cabernet Sauvignon or a Ruby Port. If serving for a holiday, crushed peppermint candies sprinkled over whipped cream adds a festive touch.
Storage and Reheating Tips
Cheesecake is one of the best make-ahead desserts because it stores exceptionally well. In the refrigerator, store the cheesecake in the springform pan covered tightly with plastic wrap or aluminum foil. It will stay fresh for up to 5 days.
For longer storage, freezing is a great option. You can freeze the whole cake or individual slices. To freeze, cool the cake completely and chill overnight. Then, remove it from the pan base. Wrap the cake (or slices) tightly in plastic wrap, followed by a layer of heavy-duty aluminum foil to prevent freezer burn. It can be frozen for up to 2 months. Thaw the cheesecake in the refrigerator overnight before serving. Do not thaw in the microwave, as this will melt the fats and ruin the texture.
Nutrition Facts (Estimated)
| Serving Size | 1 slice |
| Calories | 580 |
| Fat | 42g |
| Saturated Fat | 24g |
| Unsaturated Fat | 16g |
| Trans Fat | 0.5g |
| Cholesterol | 145mg |
| Sodium | 340mg |
| Carbohydrates | 48g |
| Fiber | 3g |
| Sugar | 38g |
| Protein | 9g |
Frequently Asked Questions
Why did my cheesecake crack?
Cracks are usually caused by overmixing the batter (adding too much air), overbaking (drying out the eggs), or cooling too quickly (thermal shock). Following the water bath and ‘oven door ajar’ cooling method prevents this.
Can I make this without a springform pan?
It is difficult to remove a cheesecake from a standard cake pan without ruining it. If you don’t have a springform pan, line a regular round cake pan with enough parchment paper to hang over the sides, so you can lift the cake out once it’s frozen solid.
Do I really need to use a water bath?
Technically no, but highly recommended. Without it, the texture will be closer to a dense pie, the edges may overcook, and the surface will likely crack. The steam from the water bath ensures a creamy, uniform consistency.
Can I use chocolate chips instead of baking bars?
Yes, high-quality semi-sweet chocolate chips (like Ghirardelli or Guittard) work well. Avoid cheap generic chips as they often contain stabilizers that prevent smooth melting.
How do I know when it is done?
Gently shake the pan. The outer ring (about 2 inches from the edge) should look puffed and set, while the center circle should jiggle like gelatin. It will firm up as it cools.
Can I use low-fat cream cheese?
It is not recommended. Low-fat cream cheese has a higher water content and stabilizers that can affect the set and creaminess. For the best texture, stick to full-fat brick cream cheese.
How long should I chill the cheesecake?
A minimum of 6 hours is required, but overnight (12-24 hours) is best. This allows the flavors to meld and the structure to firm up for clean slicing.
Can I use a pre-made graham cracker crust?
Standard store-bought crusts are usually too small for this volume of batter. This recipe makes a tall, thick cheesecake that requires a 9-inch deep springform pan.
Why do ingredients need to be room temperature?
Room temperature ingredients emulsify much easier. If you mix cold cream cheese with room temp chocolate, the chocolate will seize and create hard bits in your batter.
Conclusion
Mastering this Creamy Chocolate Cheesecake with Graham Cracker Crust is a milestone for any home baker. It combines the nostalgia of a childhood treat with the sophistication of a fine dining dessert. While the process requires patience and attention to detail, the reward is a slice of pure heaven that melts in your mouth. Whether you are celebrating a milestone or simply satisfying a Tuesday night craving, this recipe promises to deliver joy. Don’t forget to snap a photo of your masterpiece before it disappears—and trust me, it will disappear fast!