The Ultimate Creamy Chocolate Cheesecake In 9×13 Pan Recipe
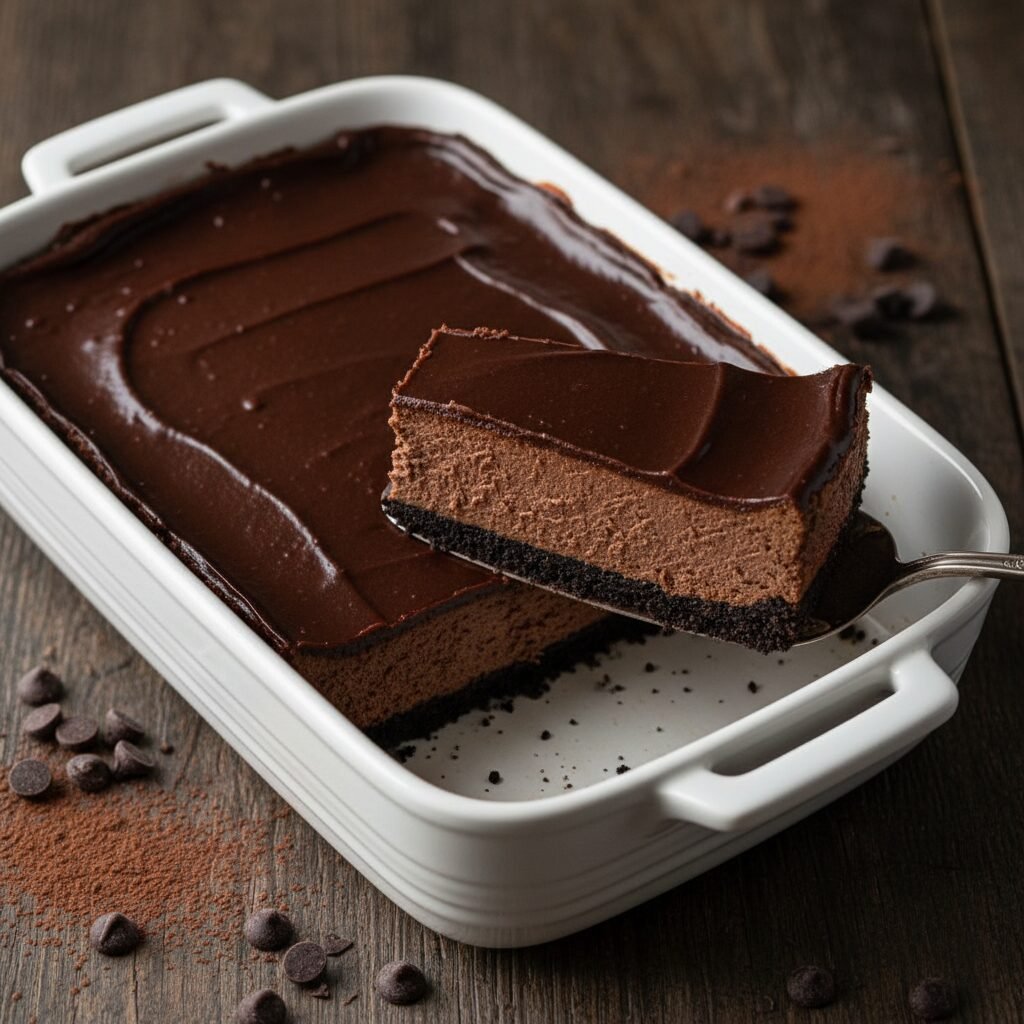
Creamy Chocolate Cheesecake In 9×13 Pan Recipe
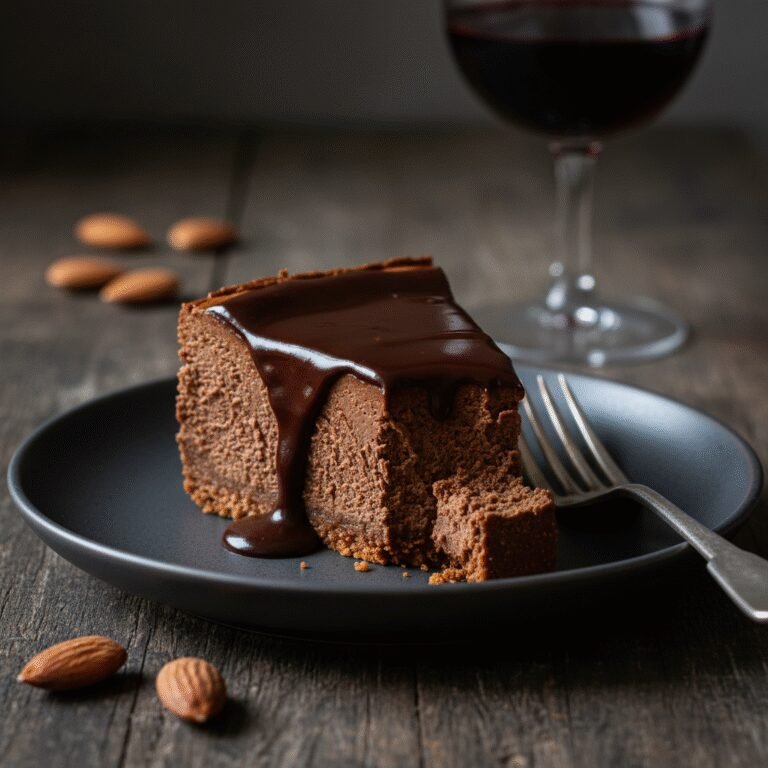
Indulge in the ultimate chocolate lover’s dream with this incredibly smooth and decadent chocolate cheesecake baked right in a 9×13 pan. Perfect for feeding a crowd, these rich cheesecake bars feature a buttery Oreo crust and a velvety filling that requires no water bath!
25 minutes
45 minutes
1 hour 10 minutes (plus chilling time)
24 servings
Dessert
Baking
American
Vegetarian
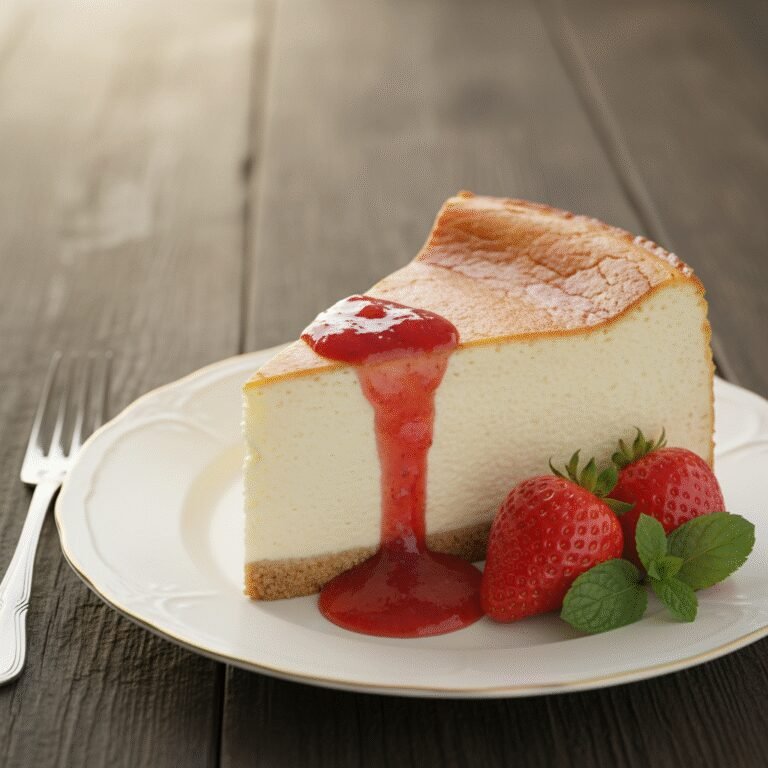
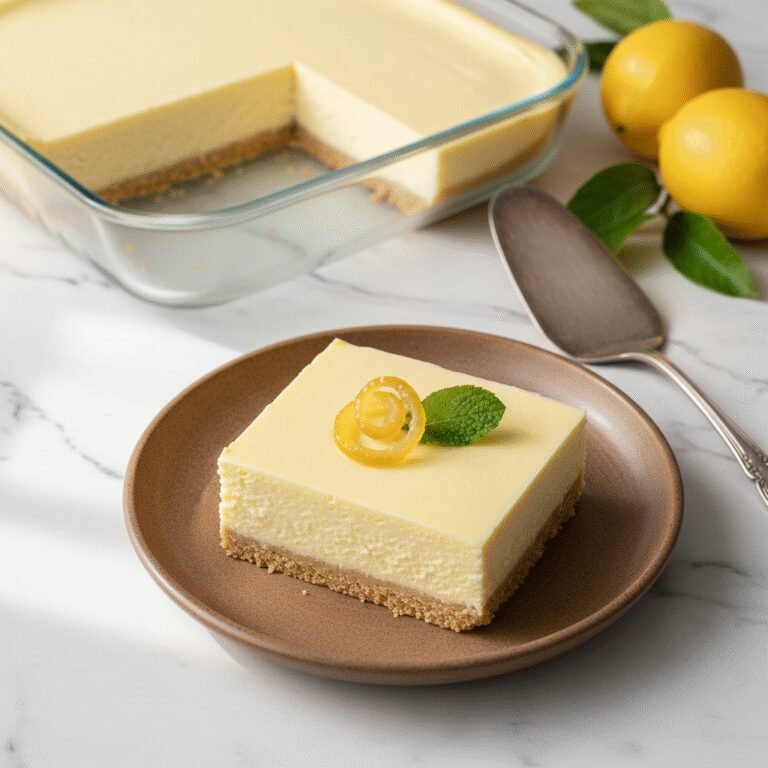
If there is a dessert that speaks the universal language of comfort and luxury, it is undoubtedly chocolate cheesecake. But let’s be honest—traditional round cheesecakes baked in springform pans can be intimidating. The water baths, the fear of cracking, and the precarious slicing can deter even the most enthusiastic home bakers. Enter the 9×13 pan chocolate cheesecake: the unsung hero of potlucks, holiday gatherings, and late-night cravings. This recipe transforms the classic elegance of a New York-style cheesecake into an accessible, shareable format without sacrificing an ounce of flavor or texture.
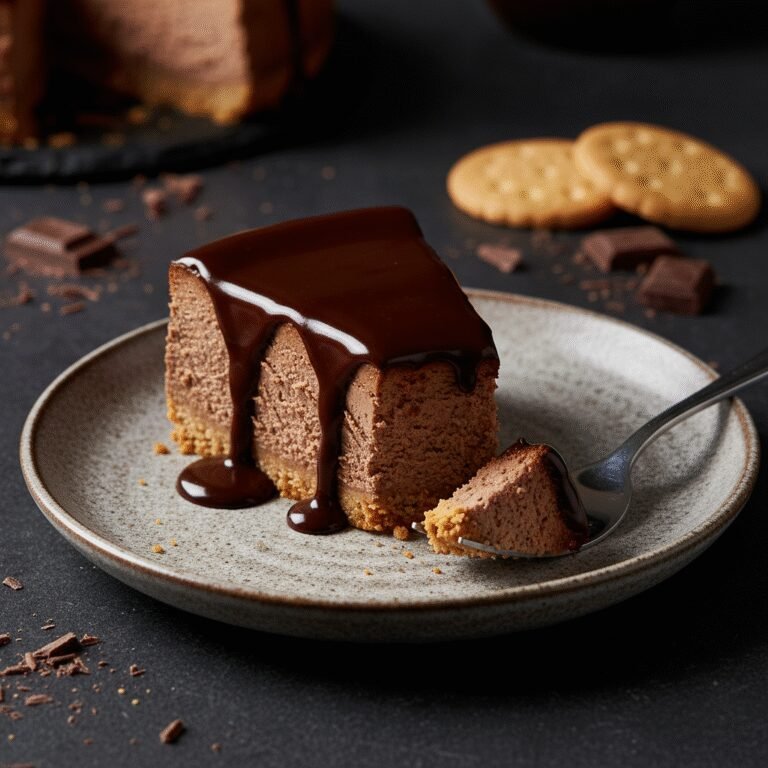
Imagine a dessert where the crust is not just a vessel but a crunchy, chocolaty foundation made from crushed Oreos and melted butter. On top of that sits a filling so creamy and dense it practically melts on your tongue, infused with high-quality semi-sweet chocolate and a hint of espresso to deepen the cocoa profile. The beauty of baking this in a rectangular pan lies in its forgiving nature; the larger surface area allows for even heat distribution, significantly reducing the risk of the dreaded center crack. Plus, cutting it into squares makes it perfect for effortless entertaining. Whether you are a seasoned baker looking for a reliable crowd-pleaser or a novice wanting to impress, this creamy chocolate cheesecake is your ticket to dessert stardom.
History & Origins
The history of cheesecake is a journey that spans millennia, long before the invention of the 9×13 baking pan or even chocolate as a dessert ingredient. Its origins can be traced back to ancient Greece, specifically the island of Samos, where physical anthropologists have excavated cheese molds dating back to 2,000 B.C. In ancient times, cheesecake was considered a potent source of energy, and there is evidence that it was served to athletes during the first Olympic Games in 776 B.C. The Romans later adopted the recipe after conquering Greece, calling it ‘libum’ and often serving it as an offering to the gods.
However, the cheesecake we know and love today is largely a product of an accidental discovery in New York in 1872. William Lawrence, a dairyman from Chester, New York, was attempting to replicate a French cheese known as Neufchâtel. Instead, he stumbled upon a process that resulted in an unripened cheese that was richer and creamier—what we now know as Philadelphia cream cheese. This invention revolutionized cheesecake, moving it away from the grainy curd textures of the past to the smooth, dense consistency of the modern New York style.
The integration of chocolate into cheesecake is a relatively modern American innovation, likely gaining popularity in the mid-20th century as chocolate became more accessible and affordable. As home baking exploded in popularity during the post-war era, the 9×13 pan became a staple in American kitchens, giving rise to the ‘bar’ or ‘sheet’ cake phenomenon. Merging the sophisticated chocolate cheesecake with the humble, practical sheet pan created a dessert hybrid that perfectly encapsulates the American spirit of culinary ingenuity and abundance.
Why This Recipe Works
This recipe succeeds where many others fail due to the specific ratio of fat to moisture and the strategic use of the 9×13 pan. Traditional cheesecakes often crack because the outer edges cook much faster than the center, creating tension. By using a 9×13 pan, the batter is spread thinner than in a deep springform pan. This allows the heat to penetrate the center more evenly and quickly, ensuring the eggs set gently without curdling or seizing, which is the primary cause of a grainy texture.
Furthermore, we utilize a dual-chocolate approach: melted semi-sweet chocolate and high-quality cocoa powder. The melted chocolate provides the density and richness, acting as a stabilizer as it cools and solidifies. The cocoa powder, meanwhile, offers a deep, complex flavor without adding extra moisture that could throw off the baking time. We also incorporate a small amount of sour cream. The acidity in the sour cream breaks down the protein strands in the egg whites and cream cheese, resulting in a tender, silky crumb rather than a rubbery one. Finally, baking at a slightly lower temperature of 325°F (163°C) ensures a slow, gentle bake, eliminating the need for a cumbersome water bath.
Why You’ll Love This Recipe
- ✓No water bath required, simplifying the baking process.
- ✓Feeds a large crowd, yielding up to 24 bars.
- ✓Deep, rich chocolate flavor using both melted chocolate and cocoa.
- ✓Sturdy Oreo crust that holds up perfectly when sliced.
- ✓Creamy, dense texture similar to a New York-style cheesecake.
- ✓Freezes beautifully for make-ahead convenience.
Equipment You’ll Need
- ✓9×13 inch baking pan
- ✓Electric hand mixer or stand mixer
- ✓Large mixing bowl
- ✓Medium microwave-safe bowl
- ✓Food processor (for crust)
- ✓Rubber spatula
- ✓Parchment paper
Ingredients
- ✓36 Oreo cookies (regular, not double stuff), crushed into fine crumbs
- ✓1/2 cup unsalted butter, melted
- ✓4 packages (8 oz each) cream cheese, softened to room temperature
- ✓1 1/2 cups granulated sugar
- ✓1/4 cup unsweetened cocoa powder
- ✓4 large eggs, room temperature
- ✓10 oz semi-sweet chocolate chips, melted and slightly cooled
- ✓1 cup sour cream, room temperature
- ✓2 teaspoons pure vanilla extract
- ✓1/2 teaspoon espresso powder (optional, to enhance chocolate flavor)
Instructions
- Preheat your oven to 325°F (163°C). Line a 9×13 inch baking pan with parchment paper, leaving an overhang on the sides for easy removal later. Grease the paper lightly with cooking spray.
- In a medium bowl, combine the crushed Oreo crumbs and melted butter. Mix until the crumbs are evenly moistened and resemble wet sand.
- Press the crumb mixture firmly into the bottom of the prepared pan. You can use the bottom of a measuring cup to pack it down tightly. Bake the crust for 8-10 minutes while you prepare the filling. Remove and let cool slightly.
- In a large mixing bowl or the bowl of a stand mixer fitted with the paddle attachment, beat the softened cream cheese and granulated sugar on medium speed until smooth and creamy, about 3 minutes. Scrape down the sides of the bowl.
- Add the cocoa powder and mix on low speed until fully incorporated.
- Add the eggs one at a time, mixing on low speed just until the yellow disappears after each addition. Do not overmix, as this adds air which can cause cracks.
- Stir in the melted (and slightly cooled) chocolate, sour cream, vanilla extract, and espresso powder. Mix gently until the batter is uniform in color and no white streaks remain.
- Pour the cheesecake batter over the pre-baked crust and spread it evenly with a rubber spatula or offset spatula.
- Bake in the preheated oven for 40-50 minutes. The edges should be set and slightly puffed, but the center should still have a slight jiggle (like set Jell-O) when you gently shake the pan.
- Turn off the oven and crack the door open slightly. Let the cheesecake cool inside the oven for 1 hour. This slow cooling helps prevent cracking.
- Remove from the oven and let it cool completely to room temperature on a wire rack.
- Cover with plastic wrap and refrigerate for at least 6 hours, preferably overnight, to allow the cheesecake to firm up completely before slicing.
Expert Cooking Tips
- ✓Ensure all dairy ingredients (cream cheese, eggs, sour cream) are at room temperature to prevent lumps.
- ✓Do not overbeat the eggs; incorporating too much air leads to surface cracks.
- ✓Use high-quality chocolate chips or baking bars for the best flavor and texture.
- ✓Line the pan with parchment paper with an overhang to lift the bars out easily.
- ✓Cool the melted chocolate slightly before adding it to the mix so it doesn’t cook the eggs.
- ✓Use a hot knife (dipped in hot water and wiped dry) for clean slices.
- ✓If the top cracks, simply cover it with ganache or whipped cream—it will still taste delicious!
Substitutions and Variations
This recipe is quite versatile if you need to make swaps. For the crust, if you prefer a traditional flavor, you can substitute the Oreos with 2 cups of graham cracker crumbs mixed with 3 tablespoons of sugar and 1/2 cup of butter. For a gluten-free version, simply use gluten-free chocolate sandwich cookies. Regarding the filling, full-fat cream cheese is essential for the texture, but you can swap the sour cream for full-fat Greek yogurt in a pinch. If you prefer a lighter chocolate flavor, use milk chocolate chips instead of semi-sweet, though you may want to reduce the sugar by 1/4 cup. The espresso powder is optional but highly recommended as it amplifies the chocolate flavor without making the cake taste like coffee.
Common Mistakes to Avoid
The most common mistake is using cold ingredients. Cold cream cheese will not blend smoothly, leaving you with tiny white lumps in your dark chocolate batter. Another frequent error is overbaking. Many home cooks wait until the center is completely firm before taking it out, but the cheesecake continues to cook as it cools. If it’s firm in the oven, it will be dry on the plate. Additionally, rushing the cooling process by putting a hot cheesecake directly into the fridge creates condensation, resulting in a soggy crust and a ‘sweaty’ surface. Always cool gradually.
Serving Suggestions
These rich bars are best served chilled. For an elegant presentation, drizzle with warm chocolate ganache or salted caramel sauce just before serving. A dollop of freshly whipped cream or a side of tart raspberry coulis cuts through the richness perfectly. You can also garnish with chocolate shavings, fresh strawberries, or crushed peppermint candies during the holidays. Serve alongside a hot espresso or a glass of cold milk.
Storage and Reheating Tips
Store leftover cheesecake bars in an airtight container in the refrigerator for up to 5 days. For longer storage, these freeze exceptionally well. Wrap individual bars tightly in plastic wrap, then place them in a heavy-duty freezer bag or container. They can be frozen for up to 3 months. Thaw overnight in the refrigerator before serving. Do not refreeze thawed cheesecake as the texture will suffer.
Nutrition Facts (Estimated)
| Serving Size | 1 bar |
| Calories | 340 |
| Fat | 24g |
| Saturated Fat | 14g |
| Unsaturated Fat | 8g |
| Trans Fat | 0g |
| Cholesterol | 75mg |
| Sodium | 190mg |
| Carbohydrates | 28g |
| Fiber | 2g |
| Sugar | 22g |
| Protein | 5g |
Frequently Asked Questions
Can I use a 9×9 pan instead?
Yes, but the cheesecake will be much thicker and will require a significantly longer baking time, likely 55-65 minutes. You may also need to use a water bath to prevent the edges from burning before the center sets.
Why did my cheesecake crack?
Cracks usually happen due to overmixing the batter (adding too much air), overbaking, or cooling the cheesecake too quickly. Following the ‘cooling in the oven’ step helps prevent this.
Can I make this ahead of time?
Absolutely! In fact, cheesecake tastes better the next day as the flavors have time to meld. It’s the perfect make-ahead dessert for parties.
How do I know exactly when it’s done?
Perform the ‘jiggle test’. Gently shake the pan. The outer 2-3 inches should look firm and matte, while the center circle should wobble slightly, similar to gelatin.
Can I use low-fat cream cheese?
It is not recommended. Low-fat cream cheese has a higher water content and stabilizers that can affect the setting ability and creamy texture of the cheesecake.
Do I really need parchment paper?
For a 9×13 pan where you want to lift the bars out to cut them, yes. If you plan to cut and serve directly from the pan, greasing the pan well is sufficient.
My chocolate seized when melting, can I use it?
Unfortunately, no. Seized chocolate is grainy and hard. Start over with fresh chocolate and ensure no water comes into contact with it while melting.
Can I add nuts to the crust?
Yes! Adding 1/2 cup of finely chopped pecans or walnuts to the Oreo crumb mixture adds a lovely texture and nutty flavor.
Conclusion
There you have it—a foolproof guide to creating the most luscious, creamy chocolate cheesecake right in your trusty 9×13 pan. This recipe proves that you don’t need fancy equipment or complicated techniques to create a bakery-quality dessert. Whether you are celebrating a special occasion or just treating yourself after a long week, these chocolate cheesecake bars are sure to deliver pure happiness in every bite. So grab your mixer, preheat that oven, and get ready to fall in love with your new favorite chocolate dessert. Happy baking!