The Ultimate Creamy Chocolate Cheesecake Bars: A Decadent Dessert Guide
Creamy Chocolate Cheesecake Cheesecake Bars Recipe
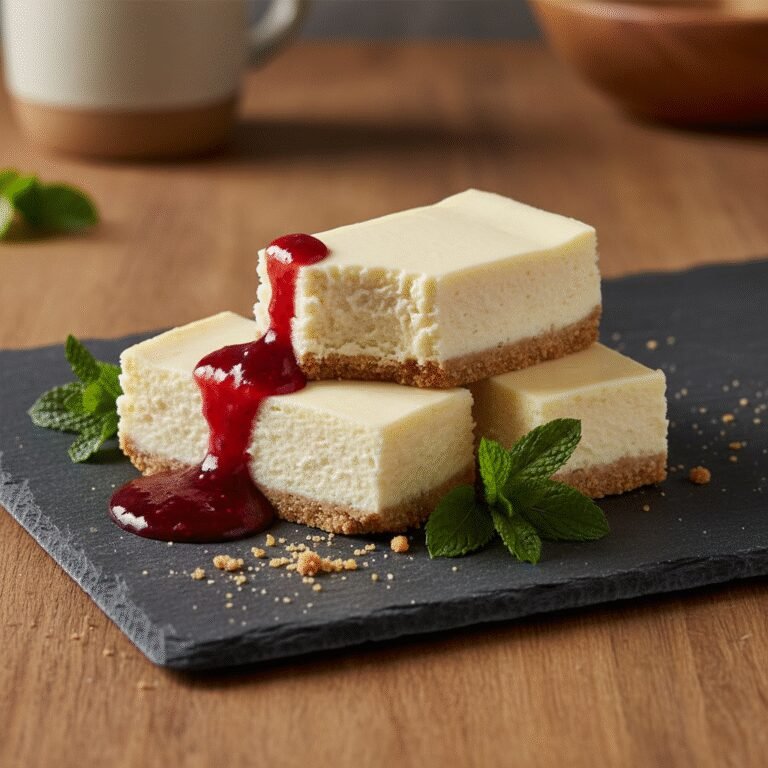
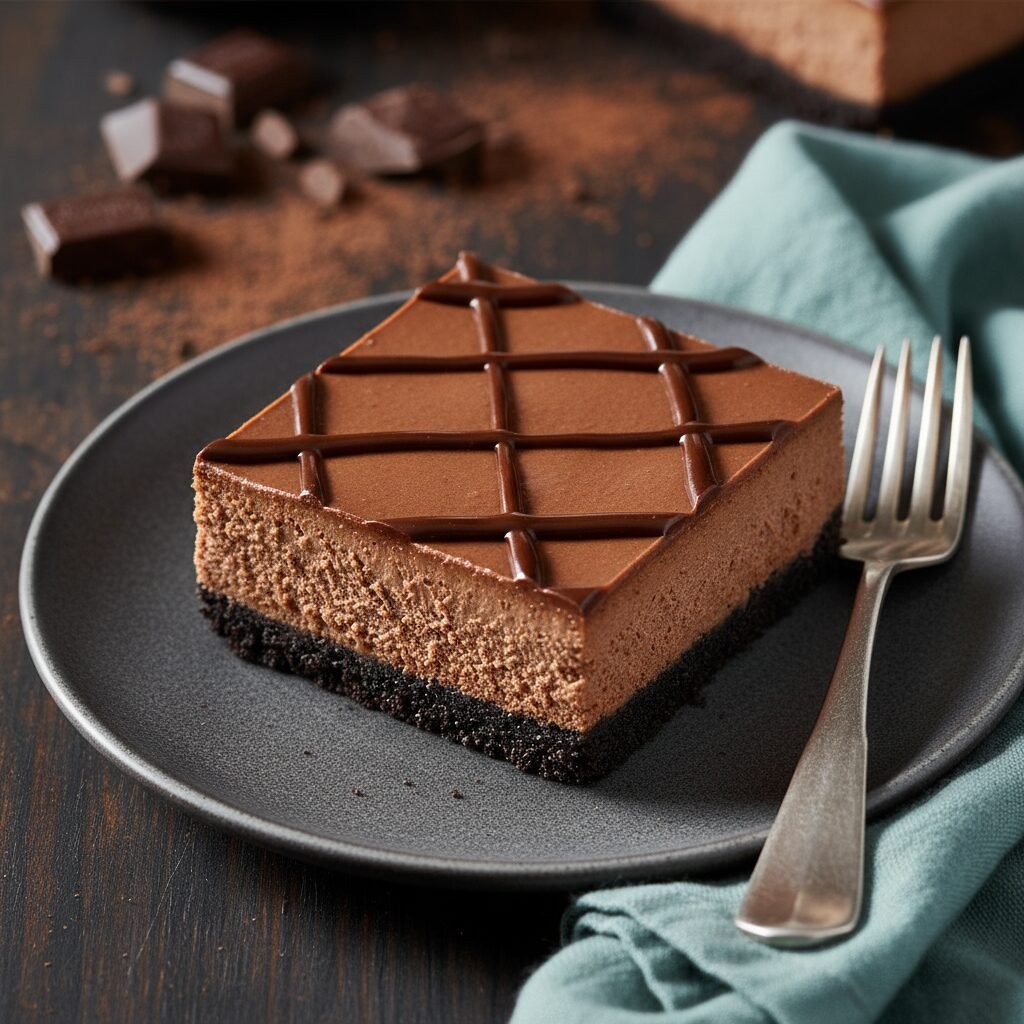
Indulge in the ultimate dessert experience with these Creamy Chocolate Cheesecake Bars. Featuring a buttery Oreo crust and a velvety, rich chocolate filling, these bars are surprisingly easy to make and perfect for any crowd.
20 minutes
35 minutes
55 minutes (plus 4 hours chilling)
16 bars
Dessert
Baking
American
Vegetarian
There are few desserts that command the room quite like a perfectly executed chocolate cheesecake. It is the meeting point of two culinary titans: the tangy, velvety richness of classic cheesecake and the deep, soulful allure of premium chocolate. These Creamy Chocolate Cheesecake Bars are designed to be the ultimate crowd-pleaser, offering all the sophistication of a full-sized cheesecake without the stress of water baths or the fear of cracking surfaces. Imagine a dessert where the crust is not just a vessel but a crunchy, chocolatey counterpoint made from crushed Oreos and melted butter. On top of that sits a filling so smooth and luxurious it practically melts on your tongue, carrying notes of vanilla, cocoa, and a hint of espresso to deepen the chocolate profile.
This recipe is a love letter to chocolate lovers who crave texture and depth. Unlike traditional cheesecakes that can be dense or heavy, the bar format allows for a perfect ratio of crust to filling in every bite. Whether you are hosting a sophisticated dinner party, looking for a show-stopping contribution to a potluck, or simply satisfying a Tuesday night craving, these bars deliver. We explore the nuances of choosing the right chocolate—why semi-sweet often beats milk chocolate in baking—and the importance of room-temperature ingredients to achieve that lump-free, glossy batter. Prepare to elevate your baking game with a recipe that looks as professional as it tastes homemade.
History & Origins
The history of cheesecake is a journey that spans millennia and crosses continents, evolving from a simple energy source to the decadent dessert we cherish today. Believe it or not, the earliest iterations of cheesecake date back to Ancient Greece, specifically on the island of Samos around 2000 B.C. Anthropologists have found cheese molds from this era, and historical records indicate that cheesecake was served to athletes during the first Olympic Games in 776 B.C. as a source of energy. These early versions were far simpler than our modern bars, consisting of flour, wheat, honey, and cheese pounded together and baked.
When the Romans conquered Greece, they adopted the recipe, added eggs, and called it ‘libum,’ often serving it for special occasions or offering it to their gods. As the Roman Empire expanded, the recipe traveled across Europe, where each culture added its own twist. However, the modern cheesecake we know—rich, creamy, and dense—is largely an American innovation. The turning point occurred in 1872 in Chester, New York, when a dairyman named William Lawrence accidentally invented cream cheese while trying to replicate the French cheese Neufchâtel. This smoother, richer cheese became the foundation of the iconic New York Style cheesecake.
The marriage of chocolate and cheesecake is a more recent 20th-century evolution, coinciding with the mass availability of affordable, high-quality chocolate. As baking technology improved and home ovens became standard, the concept of ‘cheesecake bars’ emerged as a practical adaptation. Bars offered a faster baking time and easier serving method, perfect for the fast-paced American lifestyle of the mid-century. Today, chocolate cheesecake bars represent the culmination of this long history—a blend of ancient tradition, accidental invention, and modern convenience.
Why This Recipe Works
This recipe succeeds where others fail because it meticulously balances moisture, structure, and flavor intensity. First, the foundation: we use a chocolate sandwich cookie crust (like Oreos) rather than traditional graham crackers. This provides a deeper chocolate flavor profile from the bottom up and ensures the crust holds together firmly when sliced. The filling utilizes a combination of semi-sweet chocolate and a touch of cocoa powder. Using melted chocolate provides the primary structure and richness as it cools, while the cocoa powder intensifies the flavor without adding extra moisture that could make the bars soggy.
Another reason this recipe works is the technique regarding ingredient temperature. We emphasize using room-temperature cream cheese and eggs. This is not just a suggestion; it is chemical necessity. Cold ingredients do not emulsify properly, leading to a lumpy batter and over-beating in an attempt to smooth it out. Over-beating introduces too much air, which causes the cheesecake to puff up in the oven and then collapse and crack while cooling. By gently mixing room-temperature ingredients, we ensure a dense, creamy texture free of air bubbles. Finally, baking these in a square pan at a slightly lower temperature than a standard cake ensures even heat distribution, eliminating the need for a fussy water bath often required for round springform cheesecakes.
Why You’ll Love This Recipe
- ✓Rich, double-chocolate flavor profile with an Oreo crust.
- ✓No water bath required, simplifying the baking process.
- ✓Perfectly creamy texture that slices cleanly.
- ✓Can be made ahead of time, improving flavor after chilling.
- ✓Versatile topping options, from ganache to fresh berries.
Equipment You’ll Need
- ✓9×9 inch square baking pan
- ✓Parchment paper
- ✓Food processor or rolling pin
- ✓Large mixing bowl
- ✓Electric hand mixer or stand mixer
- ✓Rubber spatula
- ✓Microwave-safe bowl or double boiler
- ✓Measuring cups and spoons
Ingredients
- ✓24 Chocolate sandwich cookies (e.g., Oreos), whole with filling
- ✓5 tbsp Unsalted butter, melted
- ✓16 oz Cream cheese, full-fat, softened to room temperature
- ✓1/2 cup Granulated sugar
- ✓1/4 cup Sour cream, room temperature
- ✓1 tsp Vanilla extract
- ✓2 large Eggs, room temperature
- ✓8 oz Semi-sweet chocolate chips or chopped baking bar, melted and slightly cooled
- ✓1 tbsp Unsweetened cocoa powder (optional for extra darkness)
- ✓Pinch of salt
Instructions
- Preheat your oven to 325°F (163°C). Line a 9×9 inch baking pan with parchment paper, leaving an overhang on the sides to easily lift the bars out later.
- Place the chocolate sandwich cookies (filling included) into a food processor. Pulse until they are fine crumbs. Alternatively, place them in a sealed bag and crush with a rolling pin.
- Pour the melted butter over the crumbs and mix until the mixture resembles wet sand.
- Press the crumb mixture firmly and evenly into the bottom of the prepared pan. You can use the bottom of a measuring cup to pack it down. Bake the crust for 8 minutes, then remove and let it cool slightly while you make the filling.
- In a large bowl using a hand mixer or stand mixer fitted with the paddle attachment, beat the softened cream cheese and sugar on medium speed until completely smooth and creamy (about 2-3 minutes). Scrape down the sides of the bowl.
- Add the sour cream, vanilla extract, cocoa powder, and salt. Mix until combined.
- Add the eggs one at a time, mixing on low speed just until blended. Do not overmix after adding the eggs, as this adds air that causes cracks.
- Fold in the melted (and slightly cooled) chocolate using a rubber spatula until the batter is uniform in color and no white streaks remain.
- Pour the batter over the baked crust and smooth the top with an offset spatula.
- Bake for 30-35 minutes. The edges should be set, but the center should still have a slight jiggle when you gently shake the pan. Do not overbake.
- Remove from the oven and place the pan on a wire rack to cool completely to room temperature (about 1 hour).
- Once cool, cover the pan with plastic wrap and refrigerate for at least 4 hours, preferably overnight, to allow the cheesecake to firm up.
- To serve, lift the bars out of the pan using the parchment overhang. Slice into 16 squares using a sharp knife, wiping the blade clean between cuts for neat edges.
Expert Cooking Tips
- ✓Ensure your cream cheese is truly at room temperature to avoid lumps in your batter.
- ✓Melt the chocolate slowly in 20-second intervals in the microwave to prevent scorching.
- ✓Do not overbeat the batter once the eggs are added; this prevents cracking.
- ✓Let the melted chocolate cool slightly before adding it to the cream cheese mixture so it doesn’t cook the eggs.
- ✓Use a glass or metal measuring cup to press the crust down firmly for a solid base.
- ✓For the cleanest slices, dip your knife in hot water and wipe it dry before each cut.
- ✓If you want a glossier finish, pour a simple chocolate ganache over the cooled bars before chilling.
Substitutions and Variations
Baking is a science, but there is room for flexibility with these bars. If you don’t have chocolate sandwich cookies, you can use chocolate graham crackers or even standard digestive biscuits mixed with a tablespoon of cocoa powder and an extra tablespoon of sugar. For the cream cheese, strictly stick to full-fat brick style; tub varieties have too much water and won’t set properly. However, you can substitute the sour cream with full-fat Greek yogurt for a slightly tangier profile without compromising texture. Regarding the chocolate, semi-sweet is the gold standard here for balance, but dark chocolate (60-70%) works beautifully for a less sweet, more intense flavor. Avoid milk chocolate as the main flavoring agent, as it can make the batter too sweet and soft. To make this gluten-free, simply use gluten-free sandwich cookies for the crust; the filling is naturally gluten-free.
Common Mistakes to Avoid
The most frequent error when making cheesecake bars is using cold ingredients. If your cream cheese is cold, it will not blend with the sugar, resulting in small white lumps that no amount of mixing will remove. Another common mistake is overbaking. Many home bakers wait until the center is firm before taking it out of the oven. By then, the residual heat will continue to cook the cheesecake, leading to a dry, chalky texture. You must trust the ‘jiggle’—the center should move like set gelatin. Additionally, rushing the chilling process is a recipe for disaster. Cheesecake needs time in the fridge to set its structure. Cutting into it while it’s still warm or even just room temperature will result in a gooey mess rather than a clean slice.
Serving Suggestions
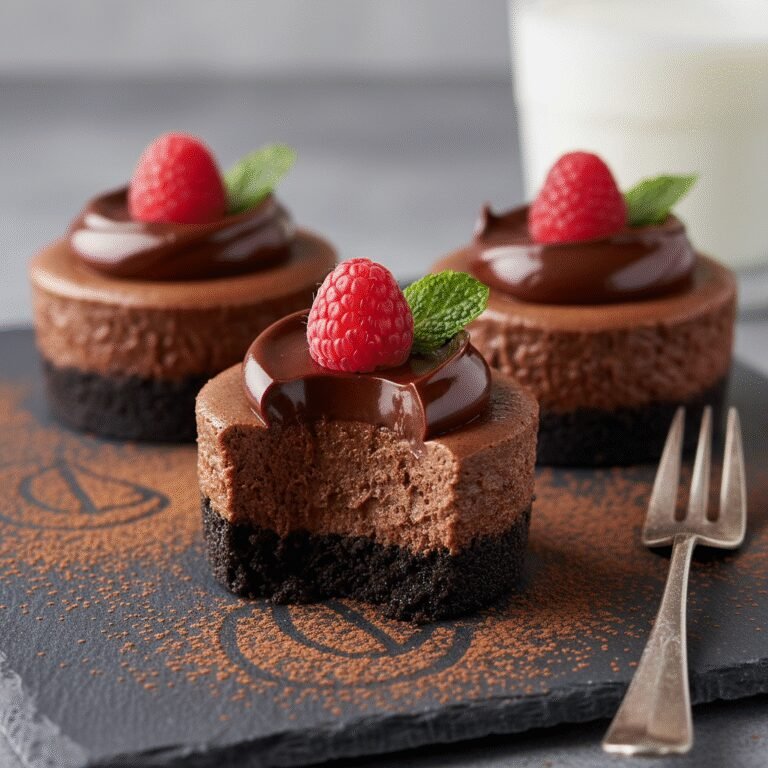
These Creamy Chocolate Cheesecake Bars are rich enough to stand alone, but they pair wonderfully with contrasting elements. A dollop of lightly sweetened whipped cream or a drizzle of salted caramel sauce breaks up the density of the chocolate. Fresh raspberries or strawberries are also excellent companions; their natural acidity cuts through the richness of the cream cheese and chocolate. For an elegant dinner party presentation, plate a single bar with a dusting of cocoa powder and a sprig of fresh mint. If you are serving these at a casual gathering, keep them chilled until the last moment, as they taste best cold.
Storage and Reheating Tips
Proper storage is key to maintaining the texture of cheesecake. Leftover bars should be stored in an airtight container in the refrigerator, where they will keep fresh for up to 5 days. Because of the high dairy content, they should not be left out at room temperature for more than 2 hours. These bars also freeze exceptionally well. To freeze, wrap individual bars tightly in plastic wrap, then place them in a freezer-safe bag or container. They can be frozen for up to 3 months. When you are ready to eat, thaw them in the refrigerator overnight. Do not microwave them to thaw, as the texture will melt and separate.
Nutrition Facts (Estimated)
| Serving Size | 1 Bar |
| Calories | 320 |
| Fat | 22g |
| Saturated Fat | 13g |
| Unsaturated Fat | 8g |
| Trans Fat | 0g |
| Cholesterol | 65mg |
| Sodium | 180mg |
| Carbohydrates | 29g |
| Fiber | 2g |
| Sugar | 24g |
| Protein | 5g |
Frequently Asked Questions
Can I use low-fat cream cheese?
It is not recommended. Low-fat cream cheese contains more moisture and stabilizers that can affect the set and creaminess of the cheesecake. For the best velvety texture, stick to full-fat brick cream cheese.
Why did my cheesecake bars crack?
Cracks are usually caused by overmixing the batter (which incorporates too much air) or overbaking. Sudden temperature changes can also cause cracks, so avoid opening the oven door frequently while baking.
Do I need a water bath for this recipe?
No! That is the beauty of cheesecake bars. Because they are baked in a square pan at a lower temperature and have less volume than a standard round cheesecake, they bake evenly without a water bath.
Can I make this recipe in a 9×13 pan?
Yes, but the bars will be much thinner and will cook faster. You would need to reduce the baking time to approximately 20-25 minutes. Alternatively, you can double the recipe to fill a 9×13 pan for thick bars.
How do I get clean cuts when slicing?
The secret is temperature. Ensure the bars are thoroughly chilled. Dip a sharp knife into hot water, wipe it dry with a paper towel, and make one cut. Repeat the dip-and-wipe process for every single slice.
Can I use chocolate chips instead of a baking bar?
Yes, high-quality chocolate chips work fine. However, baking bars often melt more smoothly because they contain fewer stabilizers than chips. If using chips, be careful not to overheat them.
What if I don’t have a food processor for the crust?
No problem. Place the cookies in a sturdy zip-top bag, squeeze the air out, and crush them with a rolling pin or a heavy pan until they are fine crumbs.
Can I leave the filling in the Oreos?
Absolutely. The filling adds sweetness and helps bind the crust together. Keep the filling in the cookies when you crush them.
Conclusion
These Creamy Chocolate Cheesecake Bars are the ultimate testament to the magic that happens when simplicity meets quality ingredients. They offer the sophisticated flavor profile of a high-end bakery dessert with the approachable ease of a home kitchen recipe. By following the tips on temperature and baking times, you are guaranteed a dessert that is velvety, rich, and deeply satisfying. Whether you are a seasoned baker or a novice looking to impress, this recipe is a reliable addition to your repertoire. So, grab your chocolate, soften that cream cheese, and get ready to enjoy one of the most decadent treats you will ever make. Happy baking!