The Ultimate Gooey Brownie Mug Cake Without Egg (Ready in 2 Minutes!)
Easy Brownie Mug Cake Without Egg Recipe
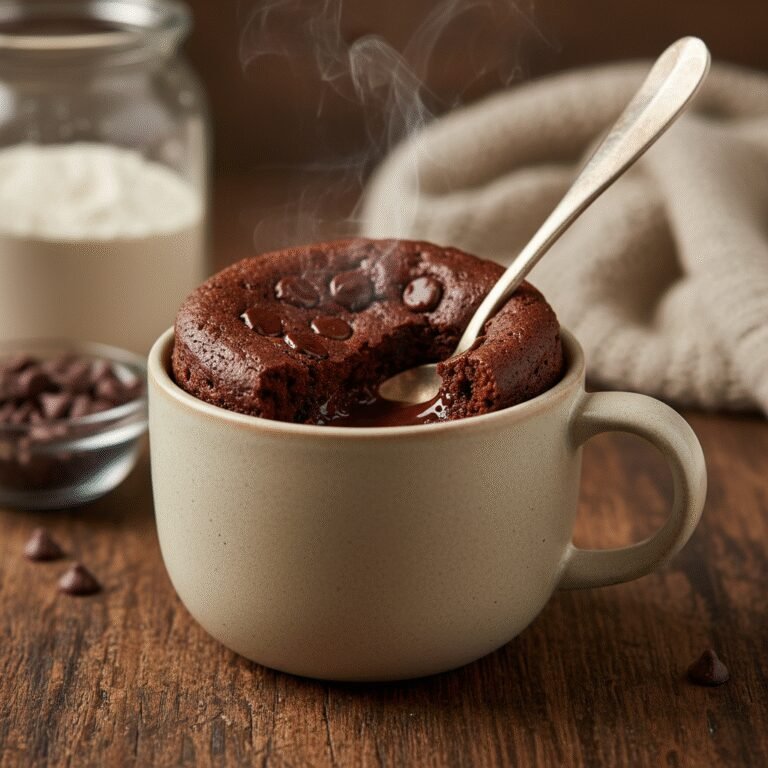
Satisfy your deepest chocolate cravings in mere minutes with this rich, fudgy brownie mug cake that requires absolutely no eggs. It is the perfect single-serving dessert that delivers a molten, gooey center and a tender crumb without the hassle of dragging out the mixer or waiting for the oven to preheat.
3 minutes
1 minute 30 seconds
4 minutes 30 seconds
1 generous serving
Dessert
Microwave
American
Vegetarian
We have all been there: it is 9:00 PM on a Tuesday, the house is quiet, and suddenly, a craving for chocolate strikes with an intensity that cannot be ignored. You want something warm, homemade, and decadent, but the thought of baking an entire tray of brownies—measuring out massive quantities of sugar, cracking eggs, dirtying multiple bowls, and waiting forty-five minutes for the oven—feels like an impossible chore. Enter the hero of modern snacking: the Egg-Free Brownie Mug Cake. This recipe is not just a shortcut; it is a revelation in texture and flavor. Unlike many microwave desserts that turn out rubbery or sponge-like due to the rapid coagulation of egg proteins, this recipe omits the egg entirely. The result is a texture that sits perfectly between a moist cake and a dense, fudgy brownie. It is rich, dark, and deeply chocolaty, with a molten center that mimics a lava cake. Because it is made in a mug, it offers built-in portion control, though you might find yourself tempted to make a second round. Whether you are a college student with limited kitchen access, a busy parent needing a quick treat after bedtime, or simply a chocolate lover looking for instant gratification, this recipe is your new best friend. It uses standard pantry staples you likely already have, requires only a spoon for mixing, and goes from raw ingredients to a steaming hot dessert in less than five minutes. Prepare to meet your new favorite late-night indulgence.
History & Origins
The history of the brownie mug cake is a fascinating intersection of classic American confectionery and the digital age’s demand for speed. To understand the mug cake, we must first look at the brownie itself. The brownie is a distinctly American invention, with legends pointing to the Palmer House Hotel in Chicago during the 1893 World’s Columbian Exposition. Bertha Palmer reportedly requested a dessert for ladies attending the fair that would be smaller than a slice of cake but easily eaten from boxed lunches. The result was a dense, fudgy bar made with walnuts and an apricot glaze. However, the first printed recipes for ‘brownies’ didn’t appear until the early 20th century, evolving into the chocolate icons we know today. Fast forward to the early 2000s. As the internet began to democratize cooking and food blogging gained traction, a new trend emerged: ‘microwave cooking’ was rebranding itself from a necessity for reheating leftovers to a legitimate method for ‘hacks.’ The mug cake phenomenon truly exploded around 2008-2010 with the rise of Pinterest and YouTube. Content creators realized that the visual appeal of a cake rising in a cup, combined with the promise of ‘instant’ gratification, was viral gold. Early iterations were often criticized for their texture—often described as ‘scrambled eggs’ due to the inclusion of whole eggs in such a small volume of batter cooked under high heat. This led to the culinary evolution of the ‘eggless’ mug cake. Home cooks and food scientists realized that for a single serving, the binding power of an egg was overkill and detrimental to the texture. By removing the egg and relying on baking powder and the interaction between milk and flour, the modern, superior brownie mug cake was born—a dessert that honors the rich history of the brownie while embracing the fast-paced lifestyle of the 21st century.
Why This Recipe Works
This recipe succeeds where many other mug cakes fail specifically because of the decision to eliminate the egg. In traditional baking, eggs provide structure, leavening, and richness. However, microwave cooking is a violent process compared to a conventional oven; microwaves penetrate the food and agitate water molecules, generating heat rapidly throughout the mass. When an egg is microwaved in a small volume of batter, the proteins coagulate almost instantly, often resulting in a tough, rubbery texture that feels more like an omelet than a dessert. By removing the egg, we rely on a precise ratio of milk and oil to provide moisture and tenderness. The oil ensures the cake remains soft and fudgy, as fats coat the flour proteins (gluten), preventing them from forming long, tough strands. We use a combination of white and brown sugar; the molasses in the brown sugar adds moisture and a depth of flavor that mimics a traditional oven-baked brownie. Furthermore, the addition of a pinch of salt and a splash of vanilla extract is crucial—they cut through the density of the cocoa and sugar, elevating the flavor profile from ‘sweet’ to ‘gourmet.’ Finally, the cooking time is calibrated to leave the center slightly underdone. In a microwave, carryover cooking is significant; the cake continues to cook for a minute after the timer beeps. By stopping just before it looks fully set, we guarantee a gooey, saucy center rather than a dry, puck-like result.
Why You’ll Love This Recipe
- ✓Ready in under 5 minutes from start to finish.
- ✓Egg-free recipe ensures a fudgy, non-rubbery texture.
- ✓Uses basic pantry staples you likely have on hand.
- ✓Perfect single-serving portion control.
- ✓Highly customizable with nuts, caramel, or fruit.
- ✓Minimal cleanup required—just one mug and one spoon.
Equipment You’ll Need
- ✓Microwave-safe mug (12oz capacity or larger recommended)
- ✓Tablespoon
- ✓Teaspoon
- ✓Mixing spoon
Ingredients
- ✓4 tablespoons all-purpose flour
- ✓2 tablespoons granulated sugar
- ✓2 tablespoons brown sugar, packed
- ✓2 tablespoons unsweetened cocoa powder (Dutch-processed preferred)
- ✓1/4 teaspoon baking powder
- ✓1 pinch of salt
- ✓3 tablespoons milk (dairy or non-dairy)
- ✓2 tablespoons vegetable oil or melted butter
- ✓1/4 teaspoon vanilla extract
- ✓1 tablespoon semi-sweet chocolate chips (optional but recommended)
Instructions
- Select a microwave-safe mug that holds at least 10-12 ounces of liquid to prevent overflowing.
- Add the dry ingredients directly into the mug: flour, granulated sugar, brown sugar, cocoa powder, baking powder, and salt.
- Use a spoon to mix the dry ingredients thoroughly, ensuring there are no large clumps of cocoa powder or brown sugar.
- Add the wet ingredients: milk, vegetable oil (or melted butter), and vanilla extract.
- Stir the mixture vigorously until the batter is smooth and glossy. Be sure to scrape the bottom edges of the mug to incorporate any hidden pockets of flour.
- Sprinkle the chocolate chips on top of the batter. You can gently push them down, but they will naturally sink slightly during cooking.
- Place the mug in the center of the microwave. Cook on high power for 60 to 90 seconds. The exact time depends on your microwave wattage (see cooking tips). The cake should rise and look set around the edges but may still look slightly wet in the very center.
- Carefully remove the mug from the microwave (the handle may be hot). Let it sit for 1-2 minutes to cool slightly and finish setting.
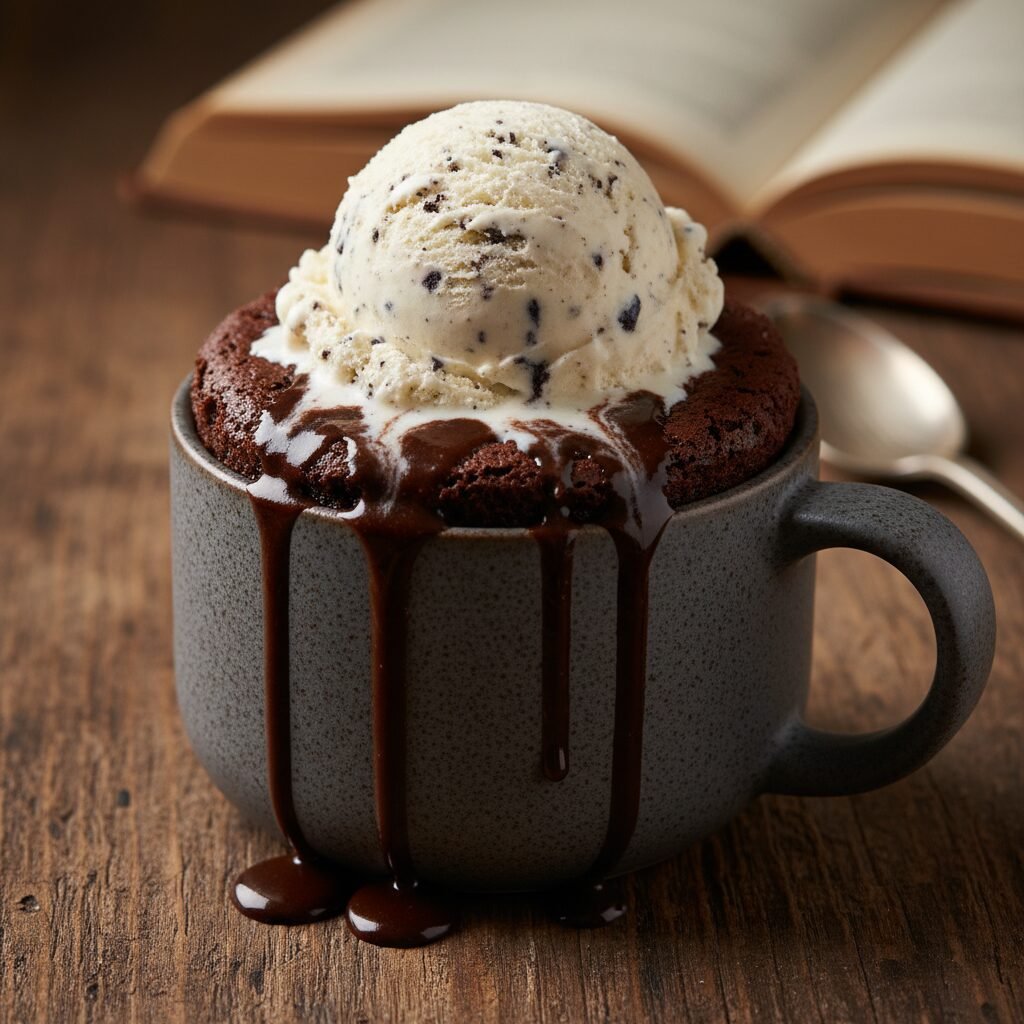
- Serve warm, ideally topped with a scoop of vanilla ice cream or a dollop of whipped cream.
Expert Cooking Tips
- ✓Know your microwave wattage: Start with 60 seconds. If it is still raw liquid, add 15-second intervals. Overcooking is the enemy of fudginess.
- ✓Use a wide mug rather than a tall, narrow one. A wider surface area allows for more even cooking and prevents the batter from rising over the rim.
- ✓Do not skip the salt. Even a tiny pinch amplifies the chocolate flavor significantly.
- ✓Mix the dry ingredients first. This prevents the baking powder from clumping, which can cause bitter pockets in the final cake.
- ✓If you use melted butter instead of oil, the cake will be richer but slightly denser. Oil provides the moistest texture.
- ✓Allow the cake to rest. That 1-2 minute wait time allows the steam to settle and the crumb to structure itself without drying out.
- ✓For a molten center, push a piece of solid chocolate into the center of the batter just before cooking.
Substitutions and Variations
This recipe is incredibly forgiving and adaptable to various dietary needs. For a gluten-free version, substitute the all-purpose flour with a 1:1 gluten-free baking flour blend; avoid almond flour or coconut flour as they absorb liquid differently and will result in a dry crumble. To make this vegan, simply use a plant-based milk like almond, soy, or oat milk, and ensure your chocolate chips are dairy-free. The vegetable oil can be swapped for melted coconut oil, which adds a lovely subtle coconut flavor, or melted unsalted butter for a classic bakery taste. If you don’t have brown sugar, you can use all white sugar, though the texture will be slightly less chewy. Conversely, using all brown sugar will make it very moist and rich, almost like a sticky toffee pudding. For a healthier twist, you can substitute the sugar with a granulated sweetener like erythritol or monk fruit, but be aware that the texture may be slightly drier. Dutch-processed cocoa powder gives a darker, smoother chocolate flavor, but regular natural cocoa powder works perfectly fine as well.
Common Mistakes to Avoid
The most common mistake with mug cakes is overcooking. Because microwaves vary so wildly in power, following the time on the recipe blindly can lead to a hard, rock-like puck. Always err on the side of undercooking; you can always zap it for another 10 seconds, but you cannot un-cook it. Another frequent error is using a mug that is too small. The batter rises rapidly and significantly while cooking; if the mug is too small, you will end up with a chocolate volcano on your microwave turntable. Always use a standard 12-ounce mug or larger. Failing to mix the batter at the bottom of the mug is another pitfall; often, pockets of dry flour get stuck in the bottom corners. Make sure to really dig the spoon in and scrape the edges. Lastly, do not forget the liquid. It sounds obvious, but in the rush to make a quick treat, it is easy to miscount tablespoons, leading to a dry, crumbly mess.
Serving Suggestions
While this brownie mug cake is delicious on its own, toppings take it to the next level. The contrast of hot cake and cold ice cream is unbeatable; a scoop of vanilla bean or salted caramel ice cream melting into the warm brownie is pure bliss. Fresh berries, such as raspberries or strawberries, add a tart freshness that cuts through the rich chocolate. A dollop of freshly whipped cream and a dusting of cocoa powder makes it feel like a cafe-style dessert. For texture lovers, chopped walnuts, pecans, or crushed pretzels added on top after cooking provide a nice crunch. Drizzling hot fudge sauce, caramel sauce, or even peanut butter over the top can turn this simple snack into a decadent sundae.
Storage and Reheating Tips
Mug cakes are designed to be eaten immediately. The texture is at its absolute peak 2-5 minutes after cooking. As they cool completely, they can become stale or chewy quite fast due to the microwave cooking method. However, if you absolutely cannot finish it, you can cover the mug tightly with plastic wrap and store it in the refrigerator for up to 24 hours. To reheat, remove the plastic and microwave on high for 15-20 seconds. Do not freeze this mug cake, as the texture will deteriorate significantly upon thawing. If you want to meal prep, you can mix the dry ingredients in small jars or ziplock bags in advance. When the craving strikes, simply dump a bag into a mug, add the wet ingredients, and cook.
Nutrition Facts (Estimated)
| Serving Size | 1 mug cake |
| Calories | 420 |
| Fat | 22g |
| Saturated Fat | 6g |
| Unsaturated Fat | 14g |
| Trans Fat | 0g |
| Cholesterol | 5mg |
| Sodium | 280mg |
| Carbohydrates | 58g |
| Fiber | 4g |
| Sugar | 35g |
| Protein | 6g |
Frequently Asked Questions
Can I bake this in an oven instead of a microwave?
Technically yes, but it defeats the purpose of a ‘quick’ mug cake. If you must, use an oven-safe ramekin and bake at 350°F (175°C) for about 15-20 minutes.
Why did my mug cake turn out hard?
It was likely overcooked. Microwaves are powerful. Next time, reduce the cooking time by 15-20 seconds. It should look slightly wet on top when you take it out.
Can I double the recipe?
You can, but do not cook it in the same mug unless it is a massive soup mug. It is better to make two separate mugs and cook them one at a time to ensure even cooking.
Can I use water instead of milk?
You can, but the result will be less rich and flavorful. Milk adds fat and sugar (lactose) that contribute to the tender texture.
Is baking powder necessary?
Yes, baking powder is the leavening agent. Without it, you will have a dense, heavy paste rather than a fluffy brownie cake.
Can I add protein powder?
Yes, you can replace about 1 tablespoon of flour with protein powder, but you may need to add an extra teaspoon of milk as protein powder absorbs a lot of liquid.
Why is my cake rubbery?
This usually happens if the batter was overmixed (developing too much gluten) or overcooked. Mix just until combined and watch the time closely.
Can I use self-rising flour?
Yes. If you use self-rising flour, omit the baking powder and the salt from the recipe.
Can I make this keto-friendly?
Yes, use almond flour (you may need slightly less), a keto-friendly sweetener, and heavy cream or almond milk. You may need to adjust liquid ratios slightly.
Can I add peanut butter?
Absolutely. Add a tablespoon of peanut butter into the center of the batter before cooking for a molten peanut butter core.
Conclusion
The Easy Brownie Mug Cake Without Egg is more than just a recipe; it is a lifestyle hack for the chocolate obsessed. It bridges the gap between the desire for a homemade dessert and the reality of a busy schedule. With its foolproof instructions, pantry-friendly ingredients, and consistently delicious results, it proves that you don’t need a culinary degree or a free afternoon to create something truly satisfying. So, the next time the chocolate craving hits, put down the car keys, forget about the store-bought candy bars, and grab your favorite mug. In less than five minutes, you’ll be spooning into warm, fudgy perfection.