5-Minute Easy Red Velvet Mug Cake With Sprinkles
Easy Red Velvet Mug Cake With Sprinkles Recipe
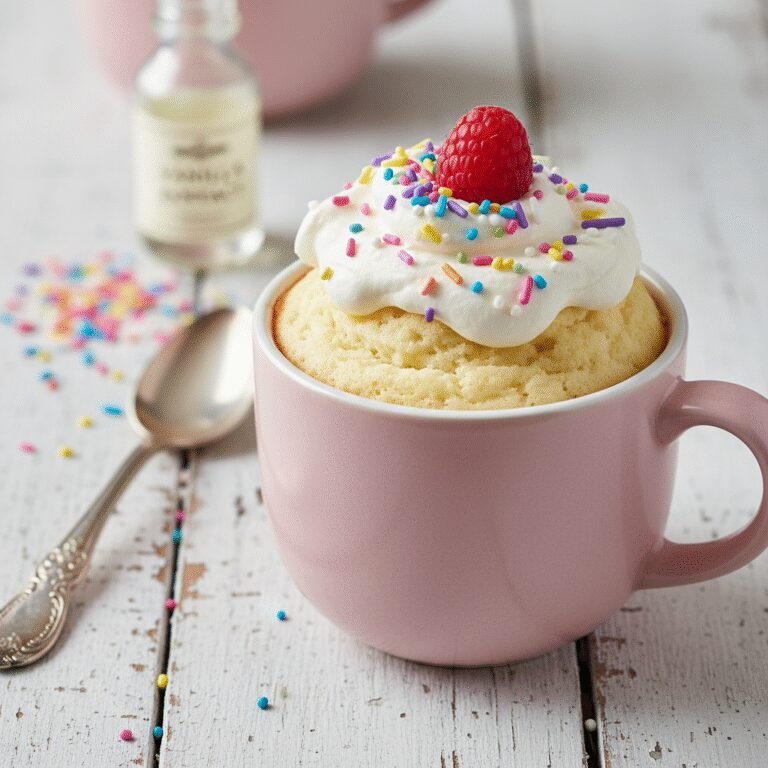
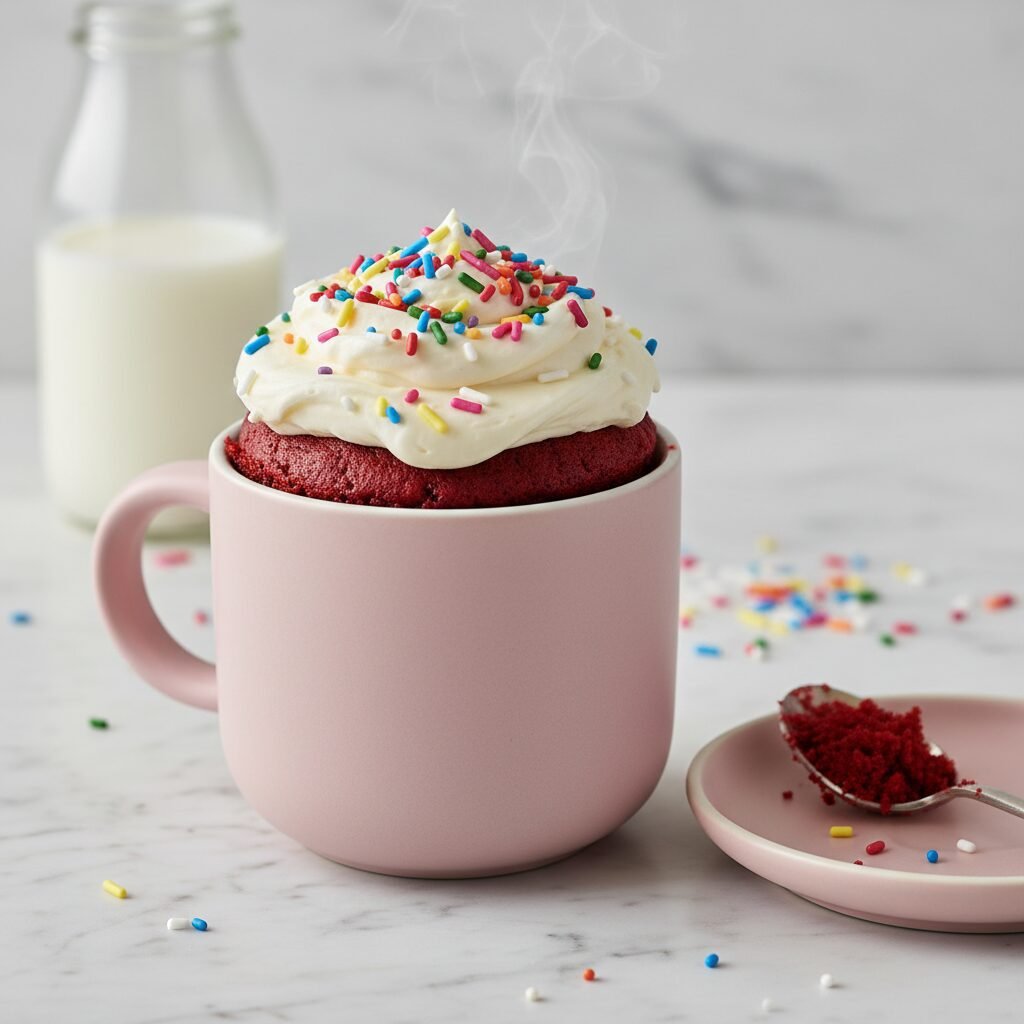
Craving a slice of decadent cake but don’t want to bake a whole tier? This Easy Red Velvet Mug Cake With Sprinkles is your answer! It is a single-serving, fluffy, and moist dessert that comes together in the microwave in just minutes, offering that classic cocoa-vanilla flavor with a festive pop of color.
5 minutes
2 minutes
7 minutes
1 serving
Dessert
Microwave
American
Vegetarian
Let’s be honest: we have all been there. It is 9:00 PM on a Tuesday, you are curled up on the couch watching your favorite show, and suddenly, the craving hits. You don’t just want something sweet; you want cake. specifically, the plush, velvety texture and distinct tangy-cocoa flavor of a classic Red Velvet cake. But the thought of dragging out the stand mixer, preheating the oven, and waiting an hour for a cake to bake—only to be left with an entire cake sitting on the counter—is enough to make you ignore the craving. Enter the Easy Red Velvet Mug Cake With Sprinkles. This recipe is the ultimate game-changer for dessert lovers and solo diners alike. It captures everything you love about the traditional Southern classic but condenses it into a single, perfectly portioned serving that is ready to eat in less than five minutes.
Unlike many mug cakes that can turn out rubbery or dry, this recipe has been meticulously tested to ensure a crumb that is tender and moist. The secret lies in the ratio of fat to flour and the omission of eggs, which often make microwave cakes tough. We are using a hint of cocoa powder to get that signature mild chocolate taste, a splash of vanilla for aroma, and, of course, red food coloring for that iconic dramatic hue. Adding sprinkles isn’t just for aesthetics; they add a delightful little crunch and a burst of joy to every spoonful. Whether you are celebrating a mini-victory, looking for a quick Valentine’s Day treat, or just treating yourself because you deserve it, this mug cake is the cozy, warm hug in a mug you didn’t know you needed.
History & Origins
The history of Red Velvet cake is as rich and colorful as the cake itself, though often debated. Its origins can be traced back to the Victorian era when ‘velvet’ cakes were a category of their own, distinguished by their soft, velvety crumb, which was achieved by using almond flour, cornstarch, or cocoa. The specific ‘Red Velvet’ we know today likely emerged in the early 20th century in the United States. Originally, the redness wasn’t due to food coloring but rather a chemical reaction between the cocoa powder (which was not Dutch-processed at the time) and acidic ingredients like buttermilk and vinegar. This reaction revealed the red anthocyanins in the cocoa, giving the cake a reddish-brown tint.
Legend often attributes the cake’s fame to the Waldorf Astoria Hotel in New York City, which claims to have created it, while others point to the Adams Extract company in Texas, which popularized the cake during the Great Depression by selling red food coloring with tear-off recipe cards to boost sales. This marketing move cemented the bright red color as a non-negotiable standard.
The concept of the ‘mug cake’ is a much more modern invention, rising in popularity with the advent of the microwave oven in household kitchens during the 1980s. However, early microwave cakes were often packaged mixes. The ‘from scratch’ mug cake trend exploded with the rise of food blogging and Pinterest in the 2010s, as home cooks sought instant gratification and single-serving portion control. Combining the historic, elegant flavors of Red Velvet with the modern, utilitarian convenience of microwave cooking creates a fascinating culinary bridge between the elaborate tea parties of the past and the fast-paced lifestyle of the present.
Why This Recipe Works
Mug cakes are notoriously difficult to get right. Because microwaves cook food by vibrating water molecules, they can easily dry out baked goods or turn them into rubbery sponges. This specific Red Velvet Mug Cake recipe works because it addresses the three main pitfalls of microwave baking: texture, moisture, and flavor balance. First, we omit the egg. In a full-sized cake, eggs provide structure and lift, but in a tiny mug cake cooked rapidly, an entire egg is too much protein, resulting in a tough, omelet-like texture. By relying on baking powder for lift, we keep the crumb tender.
Secondly, we use oil instead of butter. While butter tastes great, it contains water and milk solids that can behave unpredictably in a microwave. Oil is 100% fat and remains liquid at room temperature, ensuring the cake stays moist even as it cools. We also incorporate a mixture of milk and a tiny splash of vinegar (or buttermilk if you have it). This acidity is crucial for Red Velvet; it tenderizes the gluten in the flour and reacts with the baking soda/powder to create a fluffier rise. Finally, the cooking time is optimized. We recommend cooking in short bursts. Microwaves vary wildly in wattage, so checking the cake at the 60-second mark prevents that tragic moment of overcooking where the cake becomes hard as a rock. The addition of sprinkles is the final touch—using ‘jimmies’ (the rod-shaped sprinkles) ensures the colors don’t bleed excessively into the batter while baking.
Why You’ll Love This Recipe
- ✓Ready in under 5 minutes from start to finish.
- ✓No eggs required, preventing a rubbery texture.
- ✓Perfect single-serving portion control.
- ✓Moist, tender crumb that rivals oven-baked cakes.
- ✓Uses standard pantry staples you likely already have.
- ✓Minimal cleanup—mix and bake in the same mug!
Equipment You’ll Need
- ✓Microwave-safe mug (12oz or larger)
- ✓Tablespoon
- ✓Teaspoon
- ✓Small mixing bowl (optional, can mix in mug)
- ✓Microwave
Ingredients
- ✓4 tablespoons All-purpose flour
- ✓2 tablespoons Granulated sugar
- ✓1/2 teaspoon Unsweetened cocoa powder
- ✓1/4 teaspoon Baking powder
- ✓Pinch of Salt
- ✓3 tablespoons Milk (dairy or non-dairy)
- ✓1/2 teaspoon White vinegar or lemon juice (or swap milk+vinegar for buttermilk)
- ✓1 tablespoon Vegetable oil or melted coconut oil
- ✓1/2 teaspoon Red food coloring (liquid or gel)
- ✓1/4 teaspoon Vanilla extract
- ✓1 tablespoon Rainbow sprinkles (jimmies work best)
- ✓Optional: 1 tablespoon White chocolate chips
- ✓Optional Topping: Cream cheese frosting or whipped cream
Instructions
- In a microwave-safe mug (at least 12 ounces in size to prevent overflow), whisk together the dry ingredients: flour, sugar, cocoa powder, baking powder, and salt. Make sure there are no clumps.
- Add the wet ingredients to the mug: milk, vinegar, vegetable oil, red food coloring, and vanilla extract.
- Stir vigorously with a spoon or small whisk until the batter is completely smooth. Ensure you scrape the bottom edges of the mug so no pockets of dry flour remain.
- Gently fold in half of the sprinkles (and white chocolate chips if using), being careful not to overmix.
- Microwave on High for 60 to 90 seconds. Start with 60 seconds. The cake should look set and risen, but slightly shiny on top. If it looks wet, add 10-15 seconds. Do not overcook.
- Remove the mug carefully from the microwave (it will be hot!).
- Let the cake cool for 1-2 minutes. This allows the structure to firm up slightly.
- Top with the remaining sprinkles, a dollop of cream cheese frosting, or whipped cream, and enjoy warm.
Expert Cooking Tips
- ✓Use a wide mug rather than a tall, narrow one to ensure even cooking.
- ✓Do not skip the vinegar; it mimics buttermilk and is essential for the classic Red Velvet flavor.
- ✓Mix the dry ingredients first to prevent baking powder clumps which taste bitter.
- ✓If using gel food coloring, you only need a tiny drop compared to liquid coloring.
- ✓Eat the cake while it is still warm for the best texture; mug cakes tend to dry out as they sit.
- ✓Place a paper towel or plate under the mug in the microwave just in case it overflows.
Substitutions and Variations
This recipe is quite versatile if you need to swap ingredients. For the flour, you can use a 1:1 Gluten-Free baking blend to make this gluten-free; avoid almond flour or coconut flour as they require different liquid ratios. If you are dairy-free or vegan, simply use soy milk, almond milk, or oat milk in place of cow’s milk—the result is nearly identical. You can omit the red food coloring if you prefer a ‘velvet’ cake without the dye; the flavor will remain the same, though the color will be a light cocoa brown. For a natural coloring alternative, a teaspoon of beet powder can be used, though it may impart an earthy flavor. If you don’t have vegetable oil, melted butter works, but the texture will be slightly denser. You can also substitute applesauce for the oil to reduce fat, though the cake will be more sponge-like.
Common Mistakes to Avoid
The most common mistake with mug cakes is overcooking. Microwaves are powerful, and even 15 seconds too long can turn a moist cake into a hard puck. Always err on the side of undercooking; you can always put it back in for 10 seconds, but you can’t undo overcooking. Another mistake is using the wrong size mug. The batter rises significantly due to the baking powder. If your mug is too small (standard 8oz coffee cups are often too tight), the batter will spill over the sides. Always use a 12oz mug or larger. Finally, failing to mix the bottom of the mug results in a mouthful of dry flour at the end. Take an extra ten seconds to really scrape the bottom corners of the mug with your spoon before cooking.
Serving Suggestions
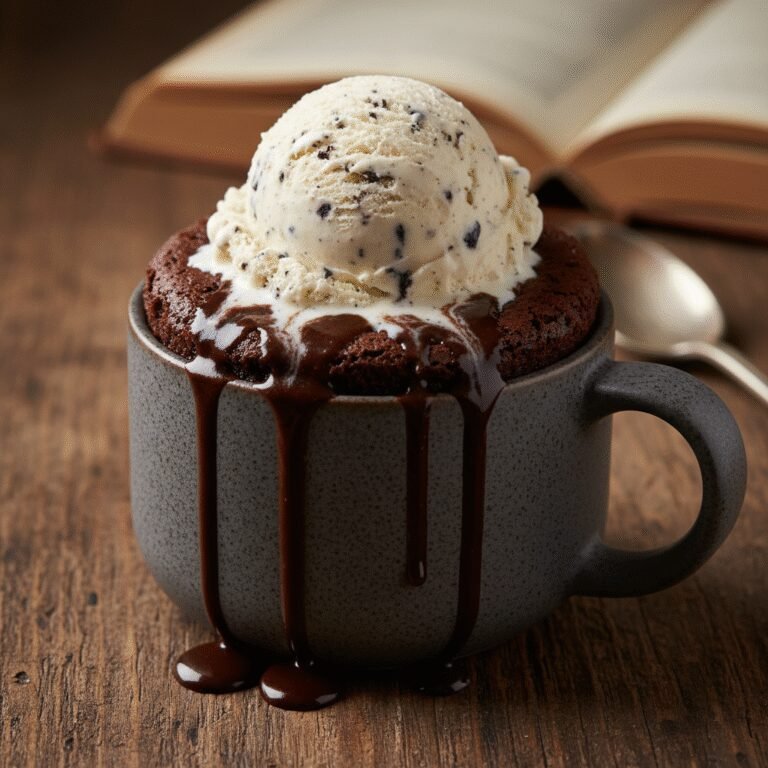
While this cake is delicious on its own, the toppings elevate it to a true dessert experience. A classic Red Velvet pairing is cream cheese frosting. You can make a quick ‘cheat’ version by mixing a tablespoon of softened cream cheese with a teaspoon of powdered sugar. Alternatively, a scoop of vanilla bean ice cream melting over the hot cake creates a delightful hot-cold contrast. For a lighter option, a dollop of whipped cream and fresh raspberries or strawberries adds freshness that cuts through the sweetness. Dusting the top with a little extra cocoa powder or powdered sugar is also a simple, elegant finish.
Storage and Reheating Tips
Mug cakes are designed to be eaten immediately. Because they lack the preservatives of store-bought cakes and the structural integrity of oven-baked cakes, they stale very quickly. If you absolutely must save it, cover the mug tightly with plastic wrap and store it in the refrigerator for up to 24 hours. To reheat, microwave for 10-15 seconds. However, note that the texture will likely be tougher upon reheating. It is highly recommended to mix the dry ingredients in advance and store them in a baggie (a ‘mug cake mix’), then add the wet ingredients only when you are ready to eat, rather than baking the cake and trying to store the finished product.
Nutrition Facts (Estimated)
| Serving Size | 1 mug cake |
| Calories | 420 |
| Fat | 18g |
| Saturated Fat | 3g |
| Unsaturated Fat | 14g |
| Trans Fat | 0g |
| Cholesterol | 10mg |
| Sodium | 180mg |
| Carbohydrates | 58g |
| Fiber | 1g |
| Sugar | 32g |
| Protein | 4g |
Frequently Asked Questions
Why is my mug cake rubbery?
Rubberiness usually comes from two things: overmixing the batter (which develops gluten) or overcooking it in the microwave. Mix just until combined and reduce your cooking time.
Can I make this in the oven?
Technically yes, but you would need an oven-safe ramekin. Bake at 350°F (175°C) for about 12-15 minutes. However, the primary appeal of this recipe is the speed of the microwave.
Do I have to use red food coloring?
No, the food coloring is purely for aesthetics. Without it, the cake will taste exactly the same but will be a light brown color.
Can I double the recipe?
Do not double the recipe in a single mug; it will overflow and cook unevenly. If you want two servings, make them in two separate mugs and cook them one at a time.
Why is my cake dry?
You likely cooked it too long. Microwaves vary in power (watts). If you have a high-wattage microwave (1000W+), try reducing the power to 80% or checking the cake at 50 seconds.
Can I use self-rising flour?
Yes. If you use self-rising flour, omit the baking powder and salt from the recipe.
Can I add an egg?
For a single mug cake, a whole egg is too much liquid and protein, leading to a spongy texture. If you really want to use egg, use only 1 tablespoon of whisked egg, but the eggless version is generally superior for this size.
What kind of sprinkles should I use?
Use ‘jimmies’ (the elongated rod-shaped sprinkles). Nonpareils (the tiny balls) tend to bleed their color quickly into the batter, turning it a muddy color.
Conclusion
This Easy Red Velvet Mug Cake with Sprinkles proves that you don’t need a special occasion or hours of free time to enjoy a slice of luxury. It is the perfect intersection of convenience and indulgence, offering a warm, sweet escape in the middle of a busy day. Whether you are a college student in a dorm, a busy parent needing a midnight treat, or just a lover of all things Red Velvet, this recipe is sure to become a staple in your repertoire. So grab your favorite mug, raid your pantry, and treat yourself—you are only five minutes away from cake bliss!