5-Minute Easy Red Velvet Mug Cake With Chocolate Chips
Easy Red Velvet Mug Cake With Chocolate Chips Recipe
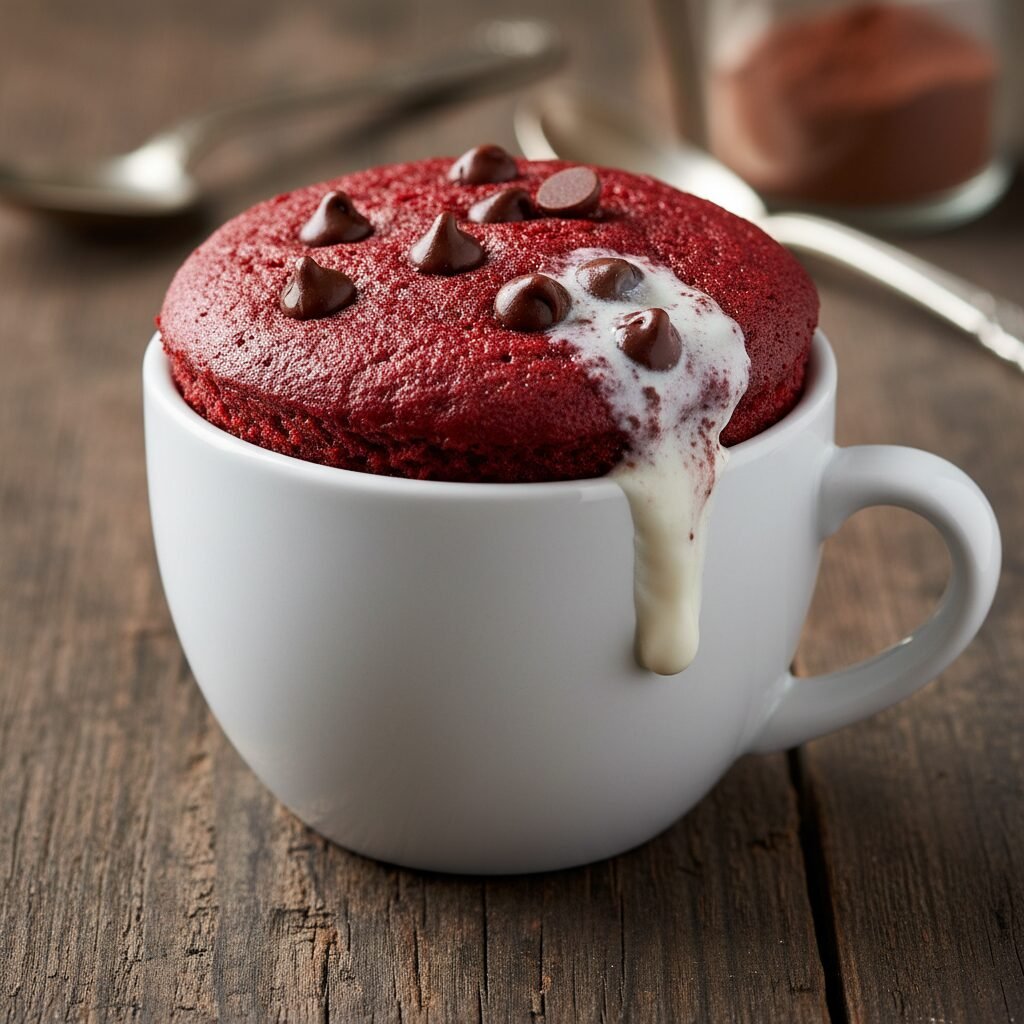
Satisfy your sudden dessert cravings in under five minutes with this ultra-moist, single-serving Red Velvet Mug Cake. Packed with melty chocolate chips and boasting that classic cocoa-vanilla flavor, it is the ultimate quick fix for a cozy night in without the hassle of baking a full cake.
5 minutes
2 minutes
7 minutes
1 serving
Dessert
Microwave
American
Vegetarian
There is something undeniably magical about the concept of a mug cake. It bridges the gap between the desperate need for a homemade dessert and the absolute refusal to dirty every bowl in the kitchen or wait an hour for an oven to preheat. Among the pantheon of microwave marvels, the Red Velvet Mug Cake stands out as a luxurious treat that feels far more sophisticated than its preparation method suggests. This isn’t just a chocolate cake disguised with dye; it is a distinct flavor profile that marries mild cocoa notes with a subtle tang, reminiscent of traditional buttermilk red velvet cakes, all elevated by pockets of gooey, semi-sweet chocolate chips.
Creating the perfect mug cake is often a game of trial and error. Many attempts result in rubbery, sponge-like textures that feel more like a sweet omelet than a decadent cake. However, this specific recipe has been refined to ensure a tender crumb that rivals oven-baked goods. We focus on the chemistry of moisture retention in the microwave, utilizing oil instead of butter and omitting the egg to prevent that dreaded toughness. The result is a fluffy, moist, and rich spoonful of happiness that comes together in the time it takes to brew a cup of coffee. Whether you are celebrating a solo Valentine’s Day, needing a pick-me-up after a long work week, or simply craving chocolate at midnight, this Easy Red Velvet Mug Cake with Chocolate Chips is your new best friend. It captures the essence of the Southern classic—the vibrant color, the hint of acid, the chocolate undertones—and delivers it in a warm, spoonable format that is ready to eat almost instantly.
History & Origins
The history of Red Velvet cake is as colorful and layered as the cake itself. While many associate the bright red hue with modern food coloring, the origins trace back to the Victorian era’s ‘Velvet’ cakes, so named for their smooth, soft texture which was distinct from the coarser sponge cakes of the time. The reddish tint originally wasn’t artificial; it was a result of a chemical reaction. In the early 20th century, cocoa powder was not ‘Dutch-processed’ or alkalized as it is today. When this natural cocoa powder was mixed with acidic ingredients like buttermilk and vinegar, the anthocyanins in the cocoa turned a reddish-brown color. This subtle mahogany shade was the hallmark of the original ‘Red Velvet.’
The cake gained massive popularity in the United States during the Great Depression, largely due to the marketing efforts of the Adams Extract company. To boost sales during a time when people were baking less, John A. Adams created a point-of-sale poster with a tear-off recipe card for a Red Velvet cake that utilized his red food coloring and butter extract. This cemented the vibrant, artificial red color we know today. Another popular legend attributes the cake to the Waldorf-Astoria Hotel in New York, though this is often debated by food historians.
The concept of the ‘Mug Cake’ is a much more recent culinary evolution, born out of the microwave cooking boom of the late 20th century and refined by the internet age of instant gratification. Early microwave cakes were often dry or rubbery, but as food bloggers experimented with ratios—specifically removing eggs from single-serving portions—the mug cake transformed from a sad substitute into a legitimate dessert category. This recipe combines the deep, historical roots of Southern Red Velvet with the modern convenience of microwave cookery.
Why This Recipe Works
This recipe succeeds where many other mug cakes fail primarily due to the exclusion of eggs and the careful balance of fat and liquid. In a standard oven-baked cake, eggs provide structure and stability. However, in the intense, rapid-heat environment of a microwave, eggs often coagulate too quickly, turning a small amount of batter into a rubbery, tough puck that tastes sulfurous. By removing the egg, we rely on the gluten in the flour and the chemical leavening of baking powder to provide just enough lift without creating a chewy texture. This results in a fudgy, tender consistency that feels like a proper cake.
Furthermore, this recipe utilizes vegetable oil rather than melted butter. While butter offers great flavor, it contains water and milk solids that can lead to a drier texture in the microwave as the water evaporates rapidly. Oil is 100% fat and remains liquid at room temperature, ensuring the cake stays moist and soft even as it cools. We also mimic the traditional ‘buttermilk’ tang essential to red velvet by using a splash of milk mixed with a tiny bit of vinegar (or actual buttermilk if you have it). This acidity not only tenderizes the gluten strands for a softer crumb but also activates the baking powder for a better rise. Finally, the addition of chocolate chips provides moisture pockets and textual contrast, breaking up the sponge with melty decadence that masks any potential dryness characteristic of microwave cooking.
Why You’ll Love This Recipe
- ✓Ready in under 7 minutes from start to finish.
- ✓No egg required, resulting in a fudgier, less rubbery texture.
- ✓Perfect single-serving portion control.
- ✓Rich chocolate chips add a luxurious texture.
- ✓Uses standard pantry staples you likely already have.
- ✓Minimal cleanup with mixing done directly in the mug.
Equipment You’ll Need
- ✓Microwave-safe mug (12oz capacity recommended)
- ✓Tablespoon set
- ✓Teaspoon set
- ✓Small mixing spoon or fork
Ingredients
- ✓4 tablespoons All-Purpose Flour
- ✓2 tablespoons Granulated Sugar
- ✓1/2 teaspoon Unsweetened Cocoa Powder
- ✓1/4 teaspoon Baking Powder
- ✓Pinch of Salt
- ✓3 tablespoons Milk (any kind)
- ✓1/2 teaspoon White Vinegar or Lemon Juice
- ✓1 1/2 tablespoons Vegetable Oil (or melted butter)
- ✓1/2 teaspoon Red Food Coloring (liquid)
- ✓1/4 teaspoon Vanilla Extract
- ✓1 tablespoon Semi-Sweet Chocolate Chips (plus more for topping)
Instructions
- In a standard microwave-safe mug (approx. 12oz), add the flour, sugar, cocoa powder, baking powder, and salt.
- Whisk the dry ingredients together with a fork or small spoon until well combined and no lumps remain.
- Add the milk, vinegar, vegetable oil, red food coloring, and vanilla extract to the mug.
- Stir the batter gently but thoroughly. Ensure you scrape the bottom corners of the mug so no pockets of dry flour are left behind. Do not overmix; stop as soon as the batter is smooth.
- Fold in the chocolate chips, pushing some down into the batter.
- Microwave on high power for 60 to 90 seconds. The timing depends heavily on your microwave’s wattage (see tips). The cake should rise and look set in the center, but it may still look slightly shiny or damp on top.
- Carefully remove the mug from the microwave (it will be hot). Let the cake sit for 1-2 minutes to cool and finish setting.
- Top with extra chocolate chips, whipped cream, or cream cheese frosting if desired, and enjoy warm.
Expert Cooking Tips
- ✓Use a mug with straight sides for the most even cooking; tapered mugs can cause the bottom to overcook.
- ✓Start with 60 seconds. If the batter is still very liquid, add 10-second intervals. Microwaves vary wildly in power.
- ✓Do not overmix the batter once the wet ingredients are added, or the gluten will develop too much and create a rubbery texture.
- ✓If you want a molten center, you can push a piece of solid chocolate into the middle of the batter before cooking.
- ✓Letting the cake rest for a minute after cooking is crucial as it completes the cooking process via residual heat.
- ✓Place a paper towel under the mug in the microwave just in case of any overflow.
Substitutions and Variations
This recipe is quite versatile. For a **gluten-free** version, substitute the all-purpose flour with a 1:1 gluten-free baking flour blend (ensure it contains xanthan gum). If you are **vegan or dairy-free**, use almond, soy, or oat milk instead of dairy milk, and ensure your chocolate chips are dairy-free. The vinegar is necessary to react with the baking powder and create the ‘buttermilk’ flavor, but lemon juice works perfectly as a substitute. You can replace the **vegetable oil** with melted coconut oil or melted butter, though butter may result in a slightly drier texture once cooled. For the **sweetener**, you can use brown sugar for a deeper molasses flavor, though it will darken the red color. If you prefer to avoid artificial **food coloring**, you can use beet powder or natural food dye, though the red vibrancy will be more muted and earthy.
Common Mistakes to Avoid
The most common mistake with mug cakes is **overcooking**. Because microwaves cook from the inside out, a cake that looks perfectly dry on top is likely scorched and hard in the middle. It is better to slightly undercook it and let it set while cooling. Another frequent error is **using the wrong size mug**. If the mug is too small, the batter will overflow and create a mess; if it’s too wide, the cake will be a thin, dry disk. Aim for a standard 10-12oz coffee mug. Finally, **skipping the mixing step** where you scrape the bottom is a pitfall; finding a clump of dry, unmixed flour at the bottom of your finished cake is a disappointing end to the dessert.
Serving Suggestions
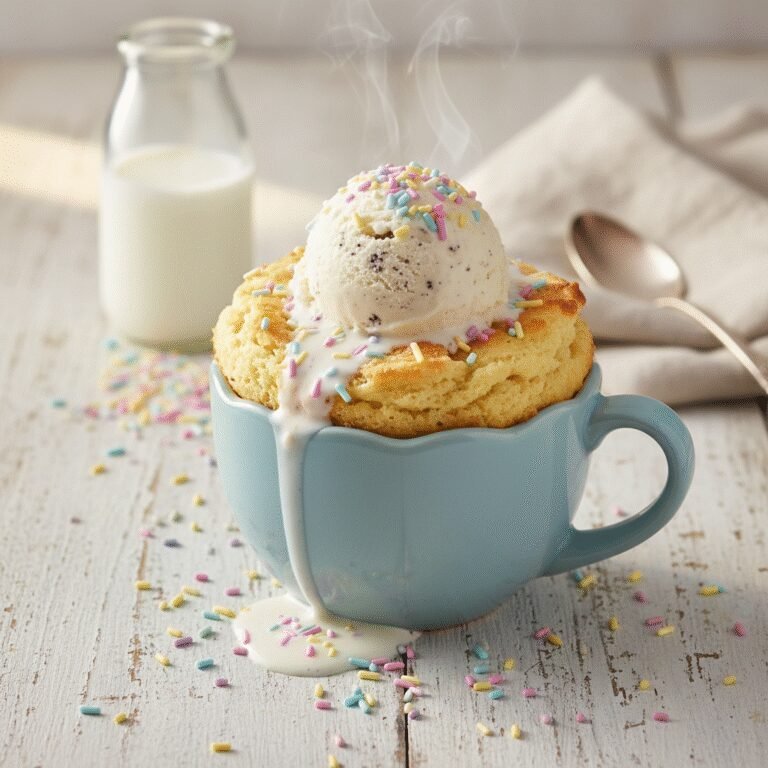
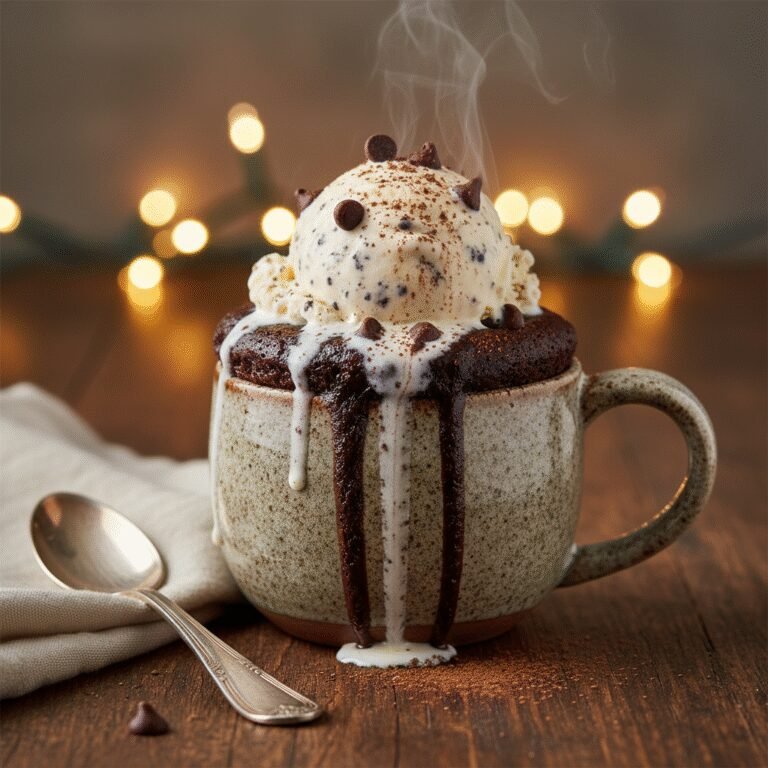
While delicious on its own, this Red Velvet Mug Cake shines with toppings. The most classic pairing is a dollop of **cream cheese frosting** or a simple glaze made from powdered sugar and milk to mimic the traditional cake. For a lighter option, a swirl of **whipped cream** and fresh berries (raspberries or strawberries) cuts through the richness. If you want to turn it into a decadent sundae, add a scoop of **vanilla bean ice cream** immediately after heating so it melts into the warm sponge. A dusting of powdered sugar or extra cocoa powder also adds a professional finish.
Storage and Reheating Tips
Mug cakes are designed to be eaten immediately and do not store particularly well. The texture tends to harden and become stale within a few hours. However, if you absolutely must save it, cover the mug tightly with plastic wrap to trap moisture and keep it at room temperature for up to 24 hours. Do not refrigerate, as this will dry it out instantly. To reheat, sprinkle a few drops of water on top and microwave for 10-15 seconds to revive the texture slightly.
Nutrition Facts (Estimated)
| Serving Size | 1 mug cake |
| Calories | 420 |
| Fat | 18g |
| Saturated Fat | 6g |
| Unsaturated Fat | 11g |
| Trans Fat | 0g |
| Cholesterol | 5mg |
| Sodium | 210mg |
| Carbohydrates | 58g |
| Fiber | 2g |
| Sugar | 32g |
| Protein | 5g |
Frequently Asked Questions
Why did my mug cake turn out rubbery?
Rubbery texture is usually caused by two things: overmixing the batter (which develops too much gluten) or overcooking it. Try mixing just until combined and reducing your microwave time by 10-15 seconds.
Can I make this without food coloring?
Absolutely. The food coloring is purely aesthetic. Without it, you will have a delicious, light brown chocolate chip cake that tastes exactly the same.
Can I use an egg in this recipe?
We recommend against it for this specific single-serving size. A whole egg is too much liquid and protein for this amount of flour, leading to a tough texture. If you must, use only the yolk to add richness without the rubbery egg white effect.
Can I double this recipe?
Do not double the ingredients in the same mug, as it will not cook evenly and will likely overflow. If you want to make two, prepare them in separate mugs and cook them one at a time.
Can I bake this in an oven instead?
Technically yes, but the batter is formulated for the microwave. If you want to bake it, use an oven-safe ramekin and bake at 350°F (175°C) for about 15-20 minutes, but be aware the texture might differ from a standard cake recipe.
Why is my cake bitter?
This can happen if you use too much baking powder or baking soda, or if your cocoa powder is very strong. Ensure you are measuring the small amounts accurately with measuring spoons, not silverware.
Is this recipe keto-friendly?
As written, no. It uses wheat flour and sugar. To make it keto, you would need to substitute almond flour (ratios will change) and a keto-friendly sweetener like erythritol.
Can I use dark chocolate chips?
Yes! Dark chocolate chips work beautifully and add a nice contrast to the sweet cake base. White chocolate chips are also a very popular choice for red velvet.
Conclusion
The Easy Red Velvet Mug Cake with Chocolate Chips is the ultimate hack for dessert lovers who value both quality and convenience. It strips away the intimidation of baking a layer cake and replaces it with the simple joy of a warm, homemade treat in minutes. Whether you are a college student in a dorm, a busy parent needing a moment of peace, or just someone with a sweet tooth, this recipe delivers consistent, delicious results. Don’t forget to experiment with your favorite toppings to make it truly your own. If you enjoyed this recipe, please share it on Pinterest and leave a comment below about how it turned out for you!