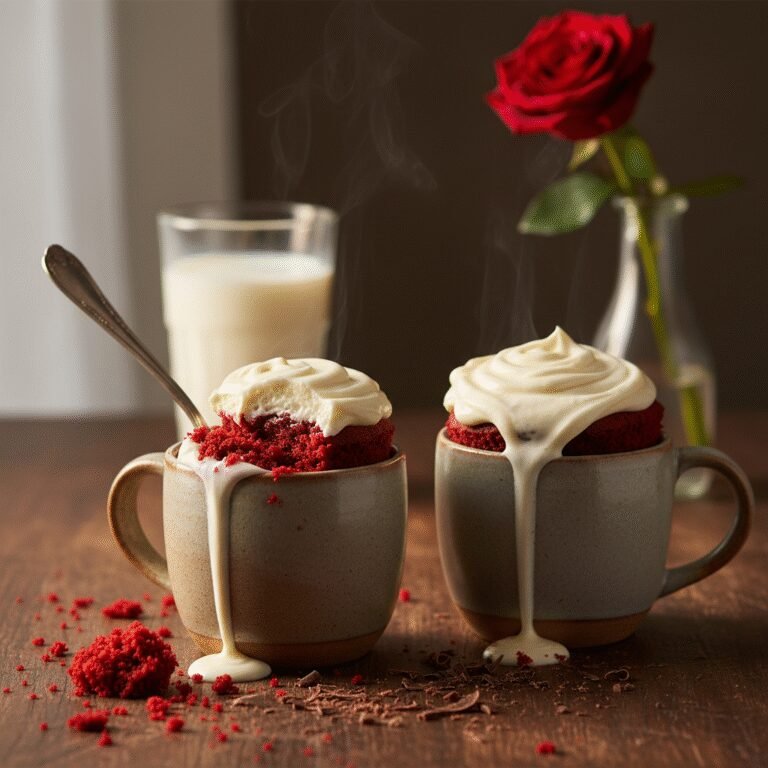
The Ultimate Easy Red Velvet Mug Cake Recipe: Ready in 2 Minutes
Easy Red Velvet Mug Cake Recipe
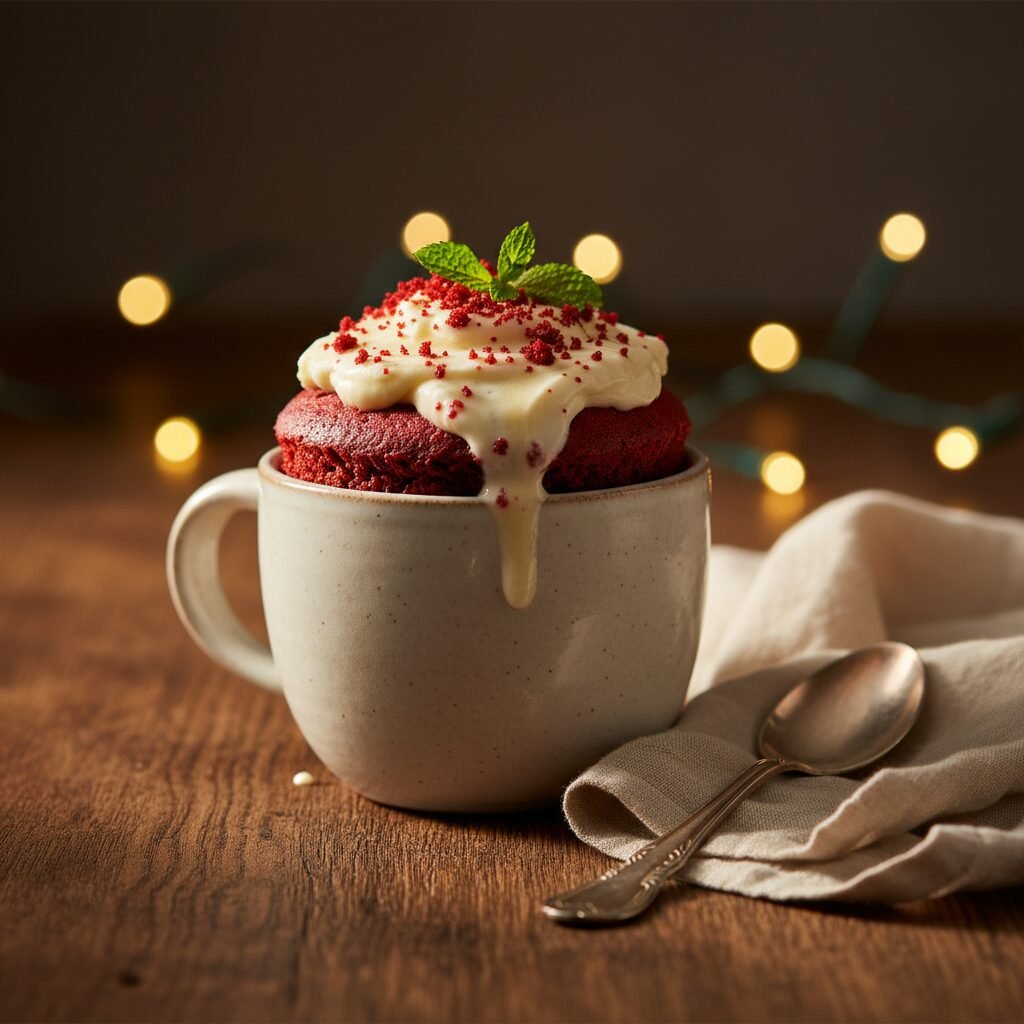
Craving a slice of decadent red velvet cake but don’t want to bake a whole tier? This easy red velvet mug cake recipe is your fluffy, moist, and vibrant answer. It cooks in the microwave in under two minutes and delivers that classic cocoa-buttermilk tang you love.
3 minutes
1 minute 30 seconds
4 minutes 30 seconds
1 serving
Dessert
Microwave
American
Vegetarian
There are moments in life that simply demand cake. Not a scheduled birthday party or a planned dinner gathering, but a sudden, undeniable Tuesday night craving for something sweet, soft, and comforting. In the past, this meant preheating an oven, dirtying multiple mixing bowls, and waiting an hour for a result. Enter the revolution of the mug cake. Specifically, this Easy Red Velvet Mug Cake recipe is designed for the modern dessert lover who wants gourmet flavor without the gourmet effort. Red velvet is a unique beast in the pastry world; it isn’t just chocolate, and it isn’t just vanilla. It occupies a delicious middle ground defined by a subtle cocoa flavor, a distinct tang from buttermilk and vinegar, and, of course, that striking crimson hue.
Creating the perfect mug cake is often harder than it looks. Many recipes result in a rubbery, sponge-like texture that feels more like a science experiment than a treat. However, after extensive testing, this recipe nails the delicate balance of moisture and crumb. We utilize a specific ratio of fat to flour and rely on the acidity of buttermilk to tenderize the gluten strands quickly. The result is a single-serving dessert that tastes incredibly close to a bakery-style cupcake. Whether you are curling up with a book, needing a quick Valentine’s Day treat, or just treating yourself because you deserve it, this red velvet mug cake is the ultimate solution. It’s warm, gooey, and topped with a simple cream cheese frosting, it transports you straight to dessert heaven.
History & Origins
The history of Red Velvet cake is as rich and layered as the cake itself, shrouded in a bit of culinary mystery and marketing genius. The concept of a ‘velvet’ cake dates back to the Victorian era, where the term served to distinguish cakes with a soft, fine crumb from the coarser sponge cakes of the day. This texture was usually achieved by using almond flour, cornstarch, or cocoa. The specific ‘Red’ Velvet origin is often debated. Some claim it originated at the Waldorf-Astoria Hotel in New York City during the 1920s, known as the Waldorf-Astoria Cake. Others trace it to the American South.
Originally, the red color wasn’t the result of a bottle of food dye. It was a chemical reaction. Traditional recipes used unprocessed cocoa powder, which contains anthocyanins. When this acidic cocoa mixed with the baking soda and buttermilk, the reaction revealed a reddish-brown tint. During the Great Depression, families used beet juice to enhance moisture and color when other ingredients were rationed. However, the bright, vibrant red we know today is largely credited to the Adams Extract company in Texas. In an effort to sell more food coloring and vanilla during the Depression, John A. Adams created a tear-off recipe card for a ‘Red Velvet Cake’ that used a significant amount of red dye. This marketing ploy cemented the cake’s modern identity. The mug cake iteration is a much more recent phenomenon, born from the internet age’s desire for instant gratification and single-serving portion control, adapting this historic, labor-intensive dessert into a two-minute wonder.
Why This Recipe Works
Microwave baking is fundamentally different from oven baking. An oven heats from the outside in using convection or conduction, creating a crust and a browned exterior. A microwave excites water molecules, essentially steaming the cake from the inside out. This is why many mug cakes end up rubbery or tough—they are often over-steamed or lack sufficient fat to coat the flour proteins. This Easy Red Velvet Mug Cake works because we have meticulously adjusted the hydration and fat content to suit the microwave environment.
First, the use of oil instead of butter is crucial here. Butter contains water and milk solids that can lead to a tougher crumb in the microwave; oil is 100% fat, ensuring the cake stays moist and tender even after cooling slightly. Second, the buttermilk is non-negotiable. Its acidity does double duty: it reacts with the baking soda to provide the lift (leavening) since we aren’t creaming butter and sugar to trap air, and it breaks down the gluten strands to prevent toughness. Finally, we use a precise amount of cocoa powder. Too much cocoa can dry out a small batter like this; we use just enough for that hint of chocolate flavor without compromising the structure. The addition of a tiny splash of vinegar reinforces the red color and the classic tang, mimicking the traditional chemical reaction of the original cakes.
Why You’ll Love This Recipe
- ✓Ready in under 5 minutes from start to finish.
- ✓Perfect single-serving portion control.
- ✓No mixer or heavy equipment required.
- ✓Classic tangy and sweet red velvet flavor profile.
- ✓Egg-free batter makes it safe to taste before cooking.
- ✓Highly customizable with fillings and toppings.
Equipment You’ll Need
- ✓Microwave-safe mug (12-14 oz capacity)
- ✓Measuring spoons
- ✓Small whisk or fork
- ✓Microwave
Ingredients
- ✓4 tablespoons all-purpose flour
- ✓2 tablespoons granulated sugar
- ✓1/2 teaspoon unsweetened cocoa powder
- ✓1/4 teaspoon baking powder
- ✓Pinch of salt
- ✓3 tablespoons buttermilk (room temperature)
- ✓1 1/2 tablespoons vegetable oil or melted coconut oil
- ✓1/2 teaspoon red food coloring (liquid or gel)
- ✓1/2 teaspoon pure vanilla extract
- ✓1/4 teaspoon white vinegar (optional, for authentic tang)
- ✓1 tablespoon white chocolate chips (optional center)
Instructions
- Prepare your mug: Ensure you have a microwave-safe mug that holds at least 12 ounces to prevent overflowing.
- Mix dry ingredients: In the mug, whisk together the flour, sugar, cocoa powder, baking powder, and salt until well combined and no lumps remain.
- Add wet ingredients: Pour in the buttermilk, vegetable oil, food coloring, vanilla extract, and vinegar.
- Whisk batter: Using a small whisk or a fork, mix the wet and dry ingredients together gently. Be sure to scrape the bottom edges of the mug to incorporate all the flour. Do not overmix; stop as soon as the batter is smooth.
- Add filling (optional): If using white chocolate chips, press them into the center of the batter now. They will melt and create a gooey core.
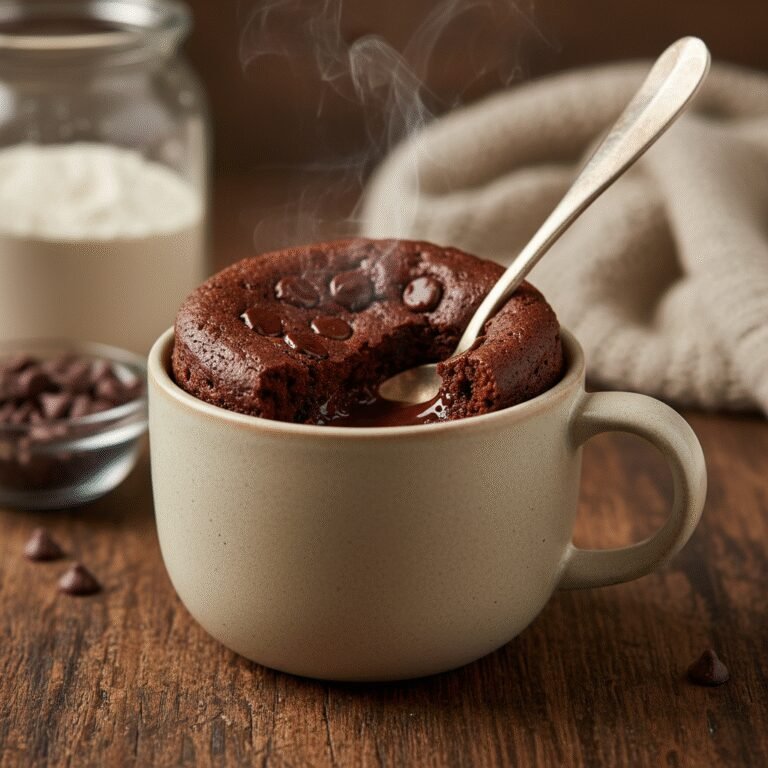
- Cook: Microwave on high for 60 seconds. Check the cake. It should look set and springy to the touch but may look slightly wet in the very center. If it is still raw, microwave in 15-second intervals until done. Avoid overcooking.
- Cool and Top: Let the mug cake sit for 1-2 minutes to cool slightly (this completes the cooking process). Top with cream cheese frosting, whipped cream, or a dusting of powdered sugar before eating.
Expert Cooking Tips
- ✓Don’t overfill the mug; the batter rises significantly while cooking.
- ✓Use room temperature buttermilk if possible to prevent the oil from seizing, though it’s less critical in this oil-based recipe.
- ✓If you don’t have buttermilk, make a quick substitute by adding a few drops of lemon juice to regular milk and letting it sit for 5 minutes.
- ✓Microwave wattages vary; start with less time to avoid a rubbery texture.
- ✓Place a paper towel under the mug in the microwave just in case of spills.
Substitutions and Variations
This recipe is quite forgiving and allows for several substitutions. For a **Gluten-Free** version, substitute the all-purpose flour with a high-quality 1:1 gluten-free flour blend; the texture may be slightly denser but still delicious. If you are **Dairy-Free**, swap the buttermilk for almond milk or oat milk mixed with a 1/2 teaspoon of apple cider vinegar to mimic the acidity. You can also use a neutral oil like canola, grapeseed, or melted coconut oil interchangeably. For a **Natural Color** option, omit the red food dye and use 1 teaspoon of beet powder, though this may impart a slight earthy flavor. If you want to reduce **Sugar**, you can use a granulated sweetener like erythritol or monk fruit, but be aware that sugar contributes to the moist texture, so the result might be slightly drier.
Common Mistakes to Avoid
The most common mistake with mug cakes is **overcooking**. Because microwaves cook unevenly and quickly, leaving the cake in for even 15 seconds too long can turn it into a hard, dry puck. Always err on the side of undercooking, as the cake continues to cook from residual heat once removed. Another error is **using the wrong size mug**. If the mug is too narrow, the cake may not cook evenly in the middle; if it’s too small, it will overflow. A standard 12-14oz coffee mug is ideal. Finally, **forgetting to mix the bottom**. It is very easy to leave a pocket of dry flour at the base of the mug. Make sure to really get the fork into the corners of the mug when mixing.
Serving Suggestions
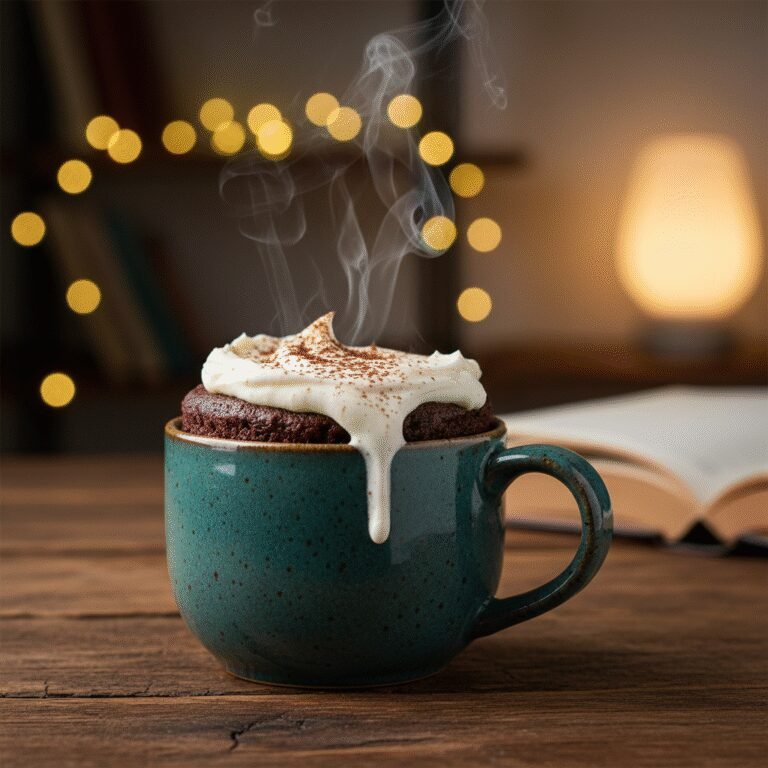
This Red Velvet Mug Cake is best served warm, straight from the microwave. The classic pairing is a dollop of sweetened cream cheese frosting. You can make a quick version by mixing 1 tablespoon of softened cream cheese with 1 tablespoon of powdered sugar. Alternatively, a scoop of vanilla bean ice cream creates a wonderful hot-cold contrast. For texture, sprinkle some mini chocolate chips or chopped pecans on top. If you are serving this for a romantic occasion, garnish with fresh raspberries or strawberries and a dusting of cocoa powder.
Storage and Reheating Tips
Mug cakes are designed to be eaten immediately. The texture degrades fairly quickly, becoming stale or rubbery after a few hours. However, if you simply cannot finish it, you can cover the mug tightly with plastic wrap and store it in the refrigerator for up to 24 hours. To reheat, remove the plastic wrap and microwave on high for 10-15 seconds. Do not freeze this mug cake, as the thawing process will ruin the texture completely.
Nutrition Facts (Estimated)
| Serving Size | 1 mug cake |
| Calories | 420 |
| Fat | 22g |
| Saturated Fat | 3g |
| Unsaturated Fat | 18g |
| Trans Fat | 0g |
| Cholesterol | 2mg |
| Sodium | 180mg |
| Carbohydrates | 52g |
| Fiber | 1g |
| Sugar | 28g |
| Protein | 4g |
Frequently Asked Questions
Can I make this recipe without a microwave?
Yes, you can bake it in an oven-safe ramekin at 350°F (175°C) for about 12-15 minutes, but this defeats the ‘quick’ aspect of the recipe.
Why is my mug cake rubbery?
Rubbery texture usually comes from overmixing the batter (developing too much gluten) or cooking it for too long. Mix just until combined and watch the time closely.
Can I use an egg in this recipe?
Most mug cake recipes, including this one, omit eggs because one whole egg is too much for this small amount of flour, leading to a spongy, omelet-like texture. Stick to the oil and buttermilk for moisture.
Do I have to use red food coloring?
No, the food coloring is purely for aesthetics. The cake will taste exactly the same without it, though it will be a light brown color.
Can I double the recipe?
Do not double the recipe in a single mug; it will overflow and cook unevenly. If you want two servings, make them in two separate mugs and cook them one at a time.
What if I don’t have baking powder?
You can use baking soda, but use only 1/8 teaspoon, as it is stronger. Since the recipe contains buttermilk and vinegar (acids), baking soda will work well to leaven the cake.
Is it safe to eat the batter?
Since this recipe contains no eggs, the batter is generally safer to taste than traditional cake batter, provided you are comfortable eating raw flour (which carries a small risk).
Can I use self-rising flour?
Yes, if you use self-rising flour, omit the baking powder and salt from the recipe.
Conclusion
In the world of quick desserts, the Easy Red Velvet Mug Cake stands out as a champion of flavor and convenience. It proves that you don’t need a special occasion or hours of free time to enjoy a luxurious, bakery-quality treat. With pantry staples and a few minutes, you can create a warm, comforting bowl of red velvet goodness that satisfies the soul. Whether you are a novice baker or a seasoned pro looking for a quick fix, this recipe is sure to become a staple in your late-night repertoire. Grab your favorite mug, and happy baking!