The Ultimate 5-Minute Vanilla Mug Cake with Chocolate Chips
Easy Vanilla Mug Cake With Chocolate Chips Recipe
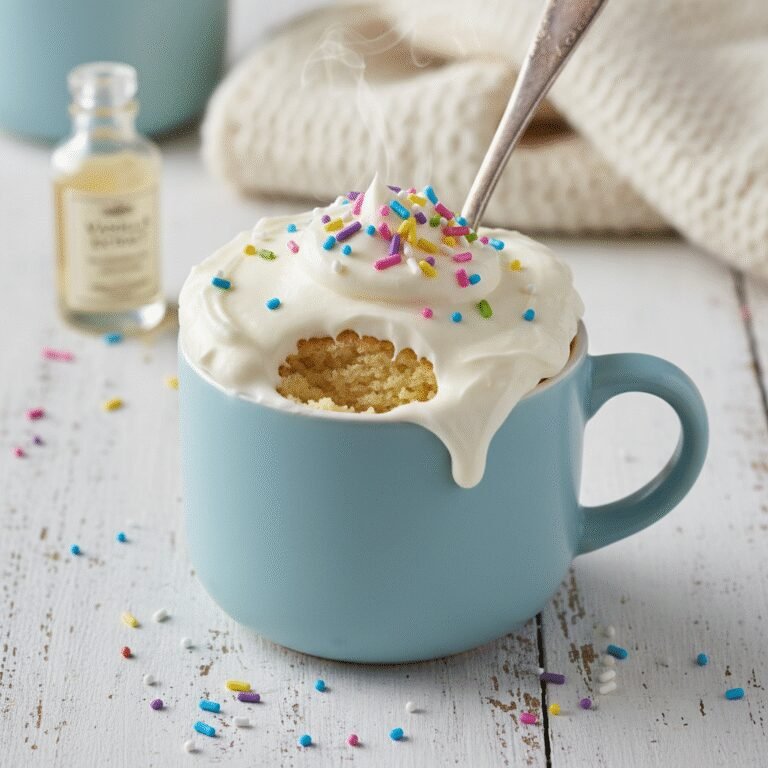
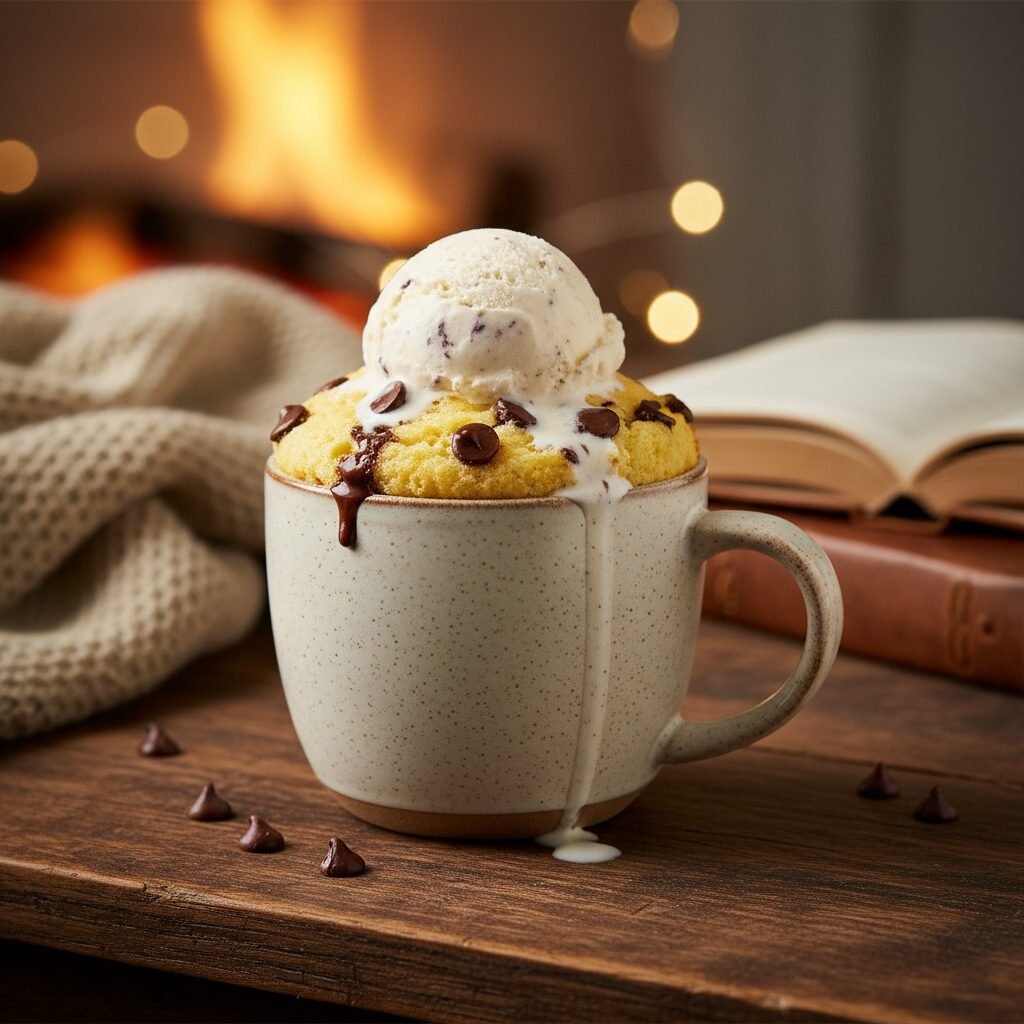
Craving a warm, fluffy dessert without the hassle of baking a whole cake? This viral 5-minute vanilla mug cake recipe delivers a moist, tender crumb studded with melting chocolate chips, all made in a single mug for the perfect instant sweet treat.
2 minutes
1 minute 30 seconds
4 minutes
1 large serving
Dessert
Microwave
American
Vegetarian
There is a specific kind of magic that happens when a craving strikes late at night, and you realize you are mere minutes away from a warm, homemade cake. We have all been there: sitting on the couch, watching a movie, and suddenly the need for something sweet and comforting becomes overwhelming. Baking an entire cake feels like a chore, involving preheating ovens, dirtying mixing bowls, and waiting an hour for the finished product. Enter the vanilla mug cake with chocolate chips—the ultimate solution for the impatient dessert lover.
This isn’t just a compromise for a ‘real’ cake; when done correctly, a mug cake rivals the texture of a traditional oven-baked cupcake. The secret lies in the balance of ingredients. Many mug cake recipes suffer from a rubbery, sponge-like texture, often caused by the inclusion of an egg in such a small batter volume. Our recipe bypasses this common pitfall, resulting in a crumb that is tender, moist, and incredibly fluffy. The vanilla bean paste or extract infuses the batter with a nostalgic aroma, while the semi-sweet chocolate chips create pockets of gooey decadence in every spoonful.
Whether you are a college student in a dorm room, a busy parent needing a quick escape, or simply someone who believes that dessert should be instant, this recipe is your new best friend. It requires nothing more than a standard microwave-safe mug, a spoon, and a handful of pantry staples you likely already have. It is the epitome of low-effort, high-reward cooking, providing a single-serving portion that eliminates the temptation of leftover cake staring at you from the counter for days. Get ready to transform your dessert game with this foolproof method.
History & Origins
While the concept of ‘cup cake’ dates back to the late 18th century—referring to cakes measured by the cup rather than by weight—the modern ‘mug cake’ is a distinct culinary evolution tied closely to the rise of the microwave oven. The microwave oven was patented in 1945 by Percy Spencer and became a household staple by the late 1970s and early 1980s. Early microwave cookbooks often featured ‘cup cakes’ or ‘microwave cakes,’ but these were frequently large cakes cooked in ring molds or glass dishes rather than single-serving portions.
The true birth of the mug cake as a cultural phenomenon aligns with the rise of the internet and social media, specifically in the late 2000s and early 2010s. As food blogging exploded and platforms like Pinterest gained traction, the visual appeal of a cake inside a cute coffee mug became irresistible. It fit perfectly into the ‘life hack’ culture that dominated the era—a dessert that hacked the traditional baking process for speed and convenience.
Culturally, the mug cake represents a shift towards hyper-individualism in dining and the demand for instant gratification. It moves away from the communal act of slicing a cake for a family towards a cozy, solitary moment of indulgence. In recent years, the mug cake has evolved from a novelty internet trend into a respected category of baking, with gourmet chefs and food scientists refining recipes to overcome the textural limitations of microwave cooking. Today, you can find pre-packaged mug cake mixes in grocery stores globally, but nothing beats the homemade version that traces its roots back to inventive home cooks looking for a quick sugar fix.
Why This Recipe Works
This recipe succeeds where many others fail primarily because of the exclusion of eggs. In a standard cake recipe, an egg provides structure and richness for a large volume of batter. However, in a tiny 12-ounce mug cake, a whole egg is simply too much protein. When microwaved, which cooks food by agitating water molecules and generating heat rapidly from the inside out, that excess egg protein coagulates quickly, turning what should be a fluffy cake into a sweet, rubbery omelet. By removing the egg, we rely on baking powder for lift and milk combined with melted butter for moisture and tenderness.
Furthermore, the ratio of fat to flour is critical in microwave baking. We use melted butter rather than oil in this specific vanilla version because butter provides a superior flavor profile that mimics a classic yellow birthday cake. The milk adds the necessary liquid to hydrate the flour, creating steam that helps the baking powder expand the batter rapidly. The addition of chocolate chips isn’t just for flavor; the fat in the chocolate melts into the surrounding crumb, creating localized areas of extreme moisture that prevent the cake from feeling dry, a common complaint with microwave desserts. Finally, the cooking time is calibrated to prevent ‘over-baking.’ Microwaves continue to cook food for a few moments after the timer beeps due to residual heat; stopping just when the center looks set ensures the cake remains soft rather than turning into a hockey puck.
Why You’ll Love This Recipe
- ✓Ready in under 5 minutes from start to finish.
- ✓No egg required, preventing a rubbery texture.
- ✓Uses standard pantry staples you already have.
- ✓Perfect single-serving portion control.
- ✓Highly customizable with different mix-ins.
- ✓Minimal cleanup—just one mug and one spoon.
Equipment You’ll Need
- ✓Microwave-safe mug (12oz or larger)
- ✓Tablespoon
- ✓Teaspoon
- ✓Microwave
Ingredients
- ✓4 tablespoons All-Purpose Flour
- ✓3 tablespoons Granulated Sugar
- ✓1/2 teaspoon Baking Powder
- ✓1 pinch Salt
- ✓3 tablespoons Whole Milk (room temperature is best)
- ✓1 tablespoon Unsalted Butter, melted
- ✓1/2 teaspoon Pure Vanilla Extract
- ✓2 tablespoons Semi-Sweet Chocolate Chips (plus more for topping)
Instructions
- Start by placing the butter in your microwave-safe mug. Microwave it for 20-30 seconds until fully melted.
- Add the milk, vanilla extract, and sugar to the mug with the melted butter. Stir vigorously with a spoon until the sugar is mostly dissolved and the liquid is well combined.
- Add the flour, baking powder, and salt directly into the mug. Stir gently but thoroughly, ensuring you scrape the bottom corners of the mug so no pockets of dry flour remain. Do not overmix; stop as soon as the batter is smooth.
- Fold in about 1.5 tablespoons of the chocolate chips, pushing some down into the batter.
- Sprinkle the remaining chocolate chips on top of the batter.
- Microwave on high power for 60 to 90 seconds. The timing depends on your microwave wattage (usually 70-90 seconds is perfect for a 1000W microwave). The cake should rise and look set in the center, but slightly shiny.
- Carefully remove the mug from the microwave (the handle may be hot). Let it sit for 1-2 minutes to cool slightly and finish setting.
- Enjoy warm directly from the mug!
Expert Cooking Tips
- ✓Use a mug that holds at least 12 ounces to prevent the batter from overflowing during cooking.
- ✓Do not overmix the batter once the flour is added, or the gluten will develop and make the cake tough.
- ✓Check the expiration date on your baking powder; if it is old, the cake will not rise.
- ✓If using a lower wattage microwave (700W), you may need to cook for up to 2 minutes.
- ✓Place a paper towel or small plate under the mug in the microwave just in case of spills.
- ✓Eat the cake while it is still warm for the best texture; mug cakes tend to dry out as they cool completely.
Substitutions and Variations
This recipe is highly adaptable to various dietary needs and pantry limitations. If you need a gluten-free option, a 1:1 gluten-free baking flour blend works wonderfully, though the texture may be slightly denser. For a dairy-free or vegan version, swap the dairy milk for almond, soy, or oat milk, and replace the butter with melted coconut oil or a vegan butter alternative. If you don’t have granulated sugar, brown sugar can be used for a deeper, caramel-like flavor, or a liquid sweetener like maple syrup can be used (though reduce the milk by a teaspoon if doing so). While semi-sweet chocolate chips are standard, you can easily substitute them with white chocolate chips, butterscotch chips, dried fruit like cranberries, or even chopped nuts for crunch. If you only have self-rising flour, you can use 4 tablespoons of that and omit the baking powder and salt entirely.
Common Mistakes to Avoid
The most common mistake when making a mug cake is overcooking it. Because microwaves vary wildly in power, following the time exactly can lead to a hard, dry puck. It is always better to undercook slightly and add 10-second bursts than to zap it for too long initially. Another frequent error is using a mug that is too narrow or small. The batter expands significantly—sometimes doubling in height—before sinking back down slightly. If your mug is too small, you will end up with a mess on your microwave turntable. Finally, failing to mix the batter at the very bottom of the mug often results in a mouthful of dry, cooked flour at the end of your dessert. Make sure to dig the spoon deep into the ‘corners’ of the mug when mixing.
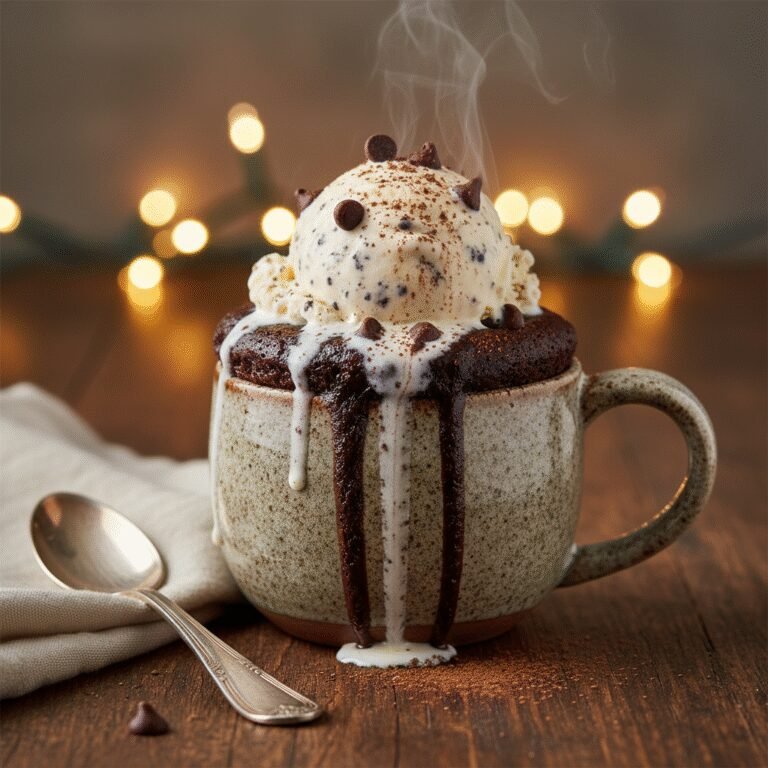
Serving Suggestions
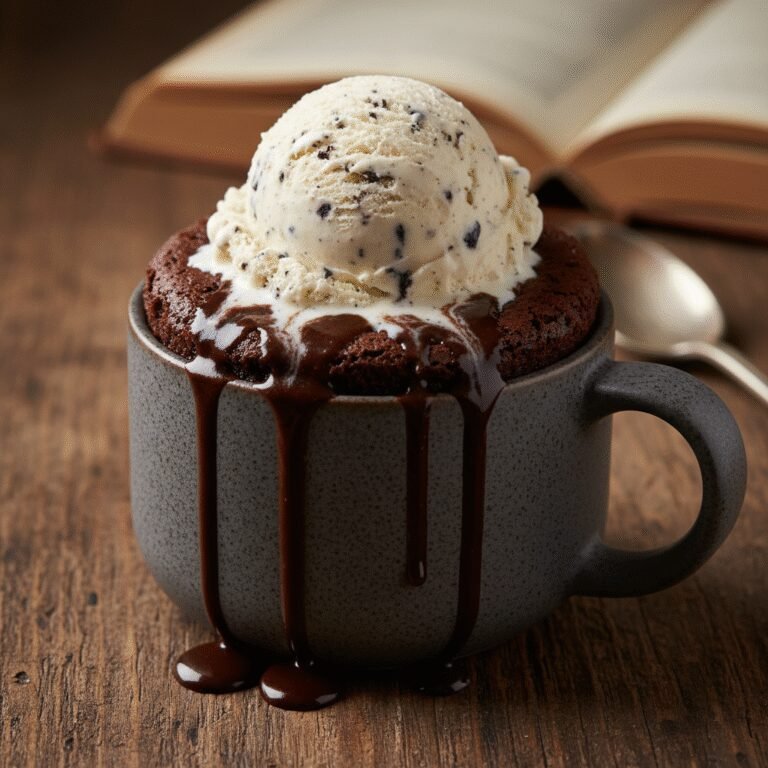
While this mug cake is delicious on its own, dressing it up can turn it into a cafe-quality dessert. The classic pairing is a scoop of vanilla bean ice cream placed right on top of the hot cake, allowing it to melt into a creamy sauce. A dollop of freshly whipped cream and a dusting of cocoa powder is another excellent option. For a fruity contrast, top with fresh raspberries or sliced strawberries to cut through the sweetness. If you are feeling extra indulgent, drizzle caramel sauce or hot fudge over the top before serving. It is best enjoyed with a cold glass of milk or a hot cup of coffee.
Storage and Reheating Tips
Mug cakes are specifically designed to be eaten immediately. The texture relies on the steam generated during the microwave process, and once they cool completely, the starches retrograde, often causing the cake to become hard or stale-tasting very quickly. Therefore, storage is not recommended. However, if you absolutely must save it, cover the mug tightly with plastic wrap and store it at room temperature for no more than 24 hours. To eat, you must reheat it in the microwave for 10-15 seconds to soften the crumb and melt the chocolate chips again. Freezing is not recommended for this type of quick-bread recipe.
Nutrition Facts (Estimated)
| Serving Size | 1 mug cake |
| Calories | 420 |
| Fat | 18g |
| Saturated Fat | 11g |
| Unsaturated Fat | 6g |
| Trans Fat | 0g |
| Cholesterol | 30mg |
| Sodium | 210mg |
| Carbohydrates | 58g |
| Fiber | 2g |
| Sugar | 28g |
| Protein | 5g |
Frequently Asked Questions
Can I make this in the oven if I don’t have a microwave?
Yes, you can. Use an oven-safe ramekin instead of a mug. Bake at 350°F (175°C) for approximately 12-15 minutes. The texture will be slightly different, more like a traditional cupcake, and it takes significantly longer than the microwave version.
Why did my mug cake turn out hard and rubbery?
This is almost always due to overcooking or overmixing. Gluten develops when you mix flour and liquid; too much agitation makes it tough. Overcooking evaporates all the moisture. Try reducing the cooking time by 15 seconds next time.
Can I double the recipe?
You can double the ingredients, but do not try to cook a double batch in one standard mug—it will overflow. You should split a double batch into two separate mugs and cook them one at a time for the best results.
Is it safe to eat if the center looks a little wet?
Yes. Since this recipe contains no eggs, there is no risk of salmonella from undercooked eggs. The flour is the only ingredient that technically needs heat, and the microwave gets it hot enough. A slightly gooey center often tastes better than a dry one.
Can I use oil instead of butter?
Absolutely. Vegetable oil, canola oil, or melted coconut oil all work. Oil actually keeps the cake moister for longer than butter, though you will lose that distinct buttery flavor.
Why did my chocolate chips sink to the bottom?
Batter density varies. If the batter is too thin, heavy chips sink. You can try tossing the chocolate chips in a tiny pinch of flour before adding them, or just sprinkle most of them on top of the batter before cooking.
Can I make the batter ahead of time?
It is not recommended. Baking powder is double-acting, meaning it reacts once with liquid and again with heat. If the batter sits too long, the first reaction will fizzle out, and your cake won’t rise as high.
Can I use water instead of milk?
You can, but the result will be less rich and flavorful. Milk adds fat and sugar (lactose) which aids in browning and tenderness. If using water, consider adding a splash of cream or a bit more butter.
Is this recipe keto-friendly?
As written, no. It uses wheat flour and sugar. To make it keto, you would need to use almond flour, a keto-friendly sweetener like erythritol, and ensure your chocolate chips are sugar-free. The ratios would also need adjustment.
How do I know when it is done?
The cake should rise to the top (or near the top) of the mug. The surface should look dry-ish and set, though it might be slightly tacky to the touch. It should pull away slightly from the sides of the mug.
Conclusion
The Easy Vanilla Mug Cake with Chocolate Chips is more than just a recipe; it is a reliable companion for those moments when you need a little joy in a cup. It proves that homemade desserts don’t need to be complicated, time-consuming, or messy to be delicious. With its fluffy crumb, rich vanilla flavor, and pockets of melted chocolate, it satisfies the soul just as well as a bakery treat. So, the next time you have five minutes and a craving, grab your favorite mug and treat yourself to this warm, delightful creation. You might just find that the microwave is the most underrated tool in your baker’s arsenal.