The Ultimate Moist Red Velvet Cupcakes with Fluffy Peanut Butter Frosting
Moist Red Velvet Cupcake With Peanut Butter Frosting Recipe
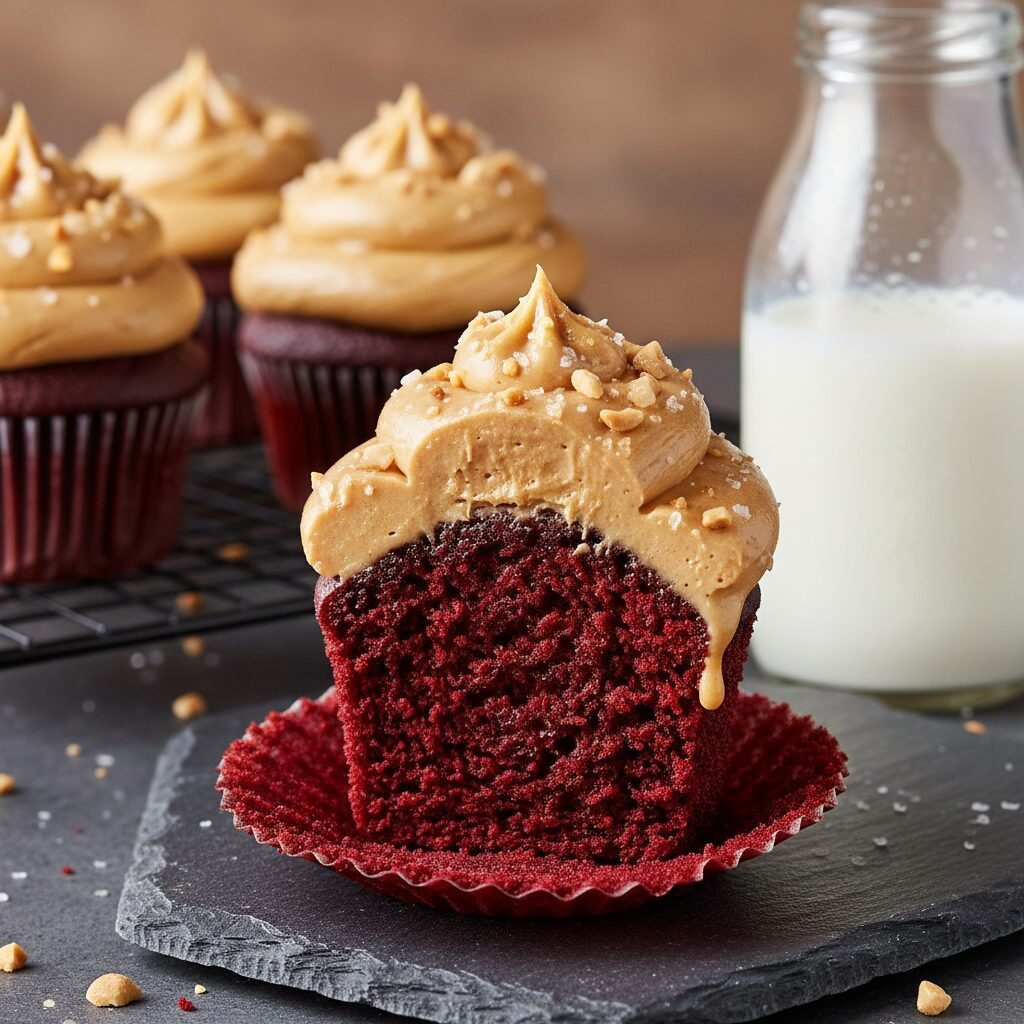
Discover the perfect marriage of Southern charm and nutty indulgence with these ultra-moist Red Velvet Cupcakes topped with a creamy, whipped Peanut Butter Frosting. This unexpected flavor combination balances the tangy buttermilk cocoa crumb with a salty-sweet finish that is absolutely addictive.
20 minutes
20 minutes
40 minutes
14 cupcakes
Dessert
Baking
American
Vegetarian
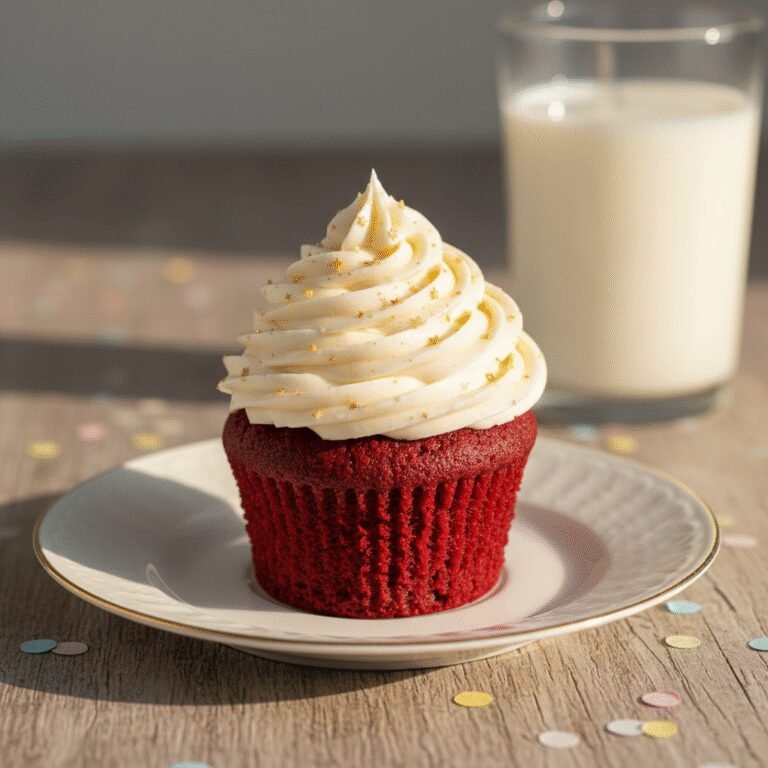
There is something undeniably magical about the allure of a red velvet cupcake. It is the diva of the dessert world—striking, dramatic, and unapologetically indulgent. Traditionally, this scarlet-hued beauty is paired with cream cheese frosting, a classic duo that has graced bakery counters for decades. However, today we are breaking tradition and elevating this Southern staple with a twist that might just become your new obsession: Peanut Butter Frosting. If you have never experienced the combination of the mild chocolate and buttermilk tang of red velvet paired with the salty, nutty richness of peanut butter, you are in for a revelation. It is a flavor profile reminiscent of a gourmet confectionery, where the earthiness of the cocoa anchors the sweetness of the peanut butter, creating a harmony that is neither too sweet nor too savory. These cupcakes are designed to be impossibly moist, boasting a tender, velvety crumb that melts in your mouth, thanks to a carefully balanced blend of oil, buttermilk, and vinegar. The frosting is whipped to an ethereal cloud-like consistency, piping beautifully atop the vibrant red cakes. Whether you are baking for a Valentine’s Day treat, a birthday party, or simply because you crave something extraordinary, this recipe delivers a visual and gustatory masterpiece that will have everyone asking for your secret.
History & Origins
The history of Red Velvet cake is as colorful and layered as the cake itself, often shrouded in culinary myths and marketing legends. The concept of a ‘velvet’ cake dates back to the Victorian era, where the term was used to distinguish cakes with a soft, fine crumb from the coarser sponge cakes of the time. The reddish hue originally wasn’t the result of food dye, but rather a chemical reaction between unprocessed cocoa powder (which contains anthocyanins) and the acidic ingredients like buttermilk and vinegar. This reaction revealed a ruddy, mahogany tint in the batter. The modern, vibrant red version we know today gained traction during the Great Depression, thanks to the Adams Extract company in Texas, which sold red food coloring with tear-off recipe cards to boost sales. Another famous origin story ties the cake to the Waldorf-Astoria Hotel in New York City, which claims the cake as its signature creation in the 1930s. However, the specific pairing of Red Velvet with peanut butter is a much more modern American innovation. As the cupcake boom of the early 2000s encouraged bakers to experiment with bold flavor profiles, the ‘Elvis’ influence (banana and peanut butter) and the popularity of chocolate-peanut butter combinations led adventurous bakers to swap the traditional cream cheese frosting for peanut butter buttercream. This recipe honors the historical texture of the Victorian velvet cake while embracing the modern American love affair with peanut butter.
Why This Recipe Works
This recipe succeeds where many others fail because it prioritizes texture and moisture retention above all else. Many red velvet recipes rely on butter for the cake base, which provides flavor but can often lead to a drier crumb once the cupcake cools. We utilize a neutral oil (like vegetable or canola) instead; oil remains liquid at room temperature, ensuring the sensation of moisture in every bite, even days after baking. Furthermore, the specific combination of buttermilk, vinegar, and baking soda is crucial. This isn’t just for the classic ‘red’ reaction; it creates a powerful leavening action that aerates the batter, resulting in that signature fluffy, ‘velvet’ texture that isn’t dense or heavy. Regarding the flavor profile, the cocoa powder is kept to a specific ratio—enough to provide a hint of chocolate depth without overpowering the vanilla and buttermilk notes. The peanut butter frosting works because of salt and fat content. Red velvet is a sweet, slightly tangy cake. A standard vanilla buttercream would make it cloyingly sweet. The peanut butter introduces a savory, salty element that cuts through the sugar, providing a sophisticated balance that keeps you coming back for another bite. The frosting uses creamy peanut butter and heavy cream, whipped to incorporate air, ensuring it is spreadable and stable enough for beautiful piping.
Why You’ll Love This Recipe
- ✓Incredibly moist crumb that stays soft for days.
- ✓Unique flavor twist with salty-sweet peanut butter frosting.
- ✓Vibrant, eye-catching red color perfect for festive occasions.
- ✓Easy one-bowl method for the cake batter.
- ✓Perfect balance of tangy, sweet, and nutty flavors.
- ✓Frosting is stable enough for intricate piping designs.
Equipment You’ll Need
- ✓Standard 12-cup muffin tin
- ✓Cupcake liners
- ✓Large mixing bowl
- ✓Medium mixing bowl
- ✓Whisk
- ✓Electric hand mixer or stand mixer
- ✓Rubber spatula
- ✓Piping bag and star tip (e.g., Wilton 1M)
- ✓Wire cooling rack
Ingredients
- ✓1 1/2 cups All-Purpose Flour
- ✓1 cup Granulated Sugar
- ✓1 tbsp Unsweetened Cocoa Powder (natural, not Dutch-processed)
- ✓1 tsp Baking Soda
- ✓1/2 tsp Fine Sea Salt
- ✓1 large Egg, room temperature
- ✓1 cup Buttermilk, room temperature
- ✓3/4 cup Vegetable Oil or Canola Oil
- ✓1 tsp Distilled White Vinegar
- ✓1 tsp Pure Vanilla Extract
- ✓1-2 tbsp Red Gel Food Coloring (adjust for desired intensity)
- ✓FOR THE FROSTING:
- ✓1/2 cup Unsalted Butter, softened to room temperature
- ✓1 cup Creamy Peanut Butter (standard commercial brand, not natural)
- ✓1 1/2 cups Powdered Sugar, sifted
- ✓1 tsp Pure Vanilla Extract
- ✓2-3 tbsp Heavy Cream or Milk
- ✓Pinch of Salt (optional, to taste)
Instructions
- Preheat your oven to 350°F (175°C). Line a standard muffin tin with cupcake liners. This recipe makes about 14 cupcakes, so have a second pan ready or bake in two batches.
- In a medium bowl, sift together the flour, sugar, cocoa powder, baking soda, and salt. Whisk well to ensure the cocoa and leavening agents are evenly distributed. Set aside.
- In a large mixing bowl, whisk together the egg, buttermilk, vegetable oil, vinegar, and vanilla extract until fully combined and emulsified.
- Add the red food coloring to the wet ingredients. Start with 1 tablespoon and whisk; add more if you desire a deeper, more vibrant red hue.
- Slowly pour the dry ingredients into the wet ingredients. Whisk gently or fold with a spatula just until the flour disappears and no large lumps remain. Do not overmix, or the cupcakes will be tough.
- Fill the cupcake liners about 2/3 full. Do not overfill, as the batter is liquidy and will rise significantly.
- Bake for 18-22 minutes, or until a toothpick inserted into the center comes out clean or with just a few moist crumbs attached. The tops should spring back when gently touched.
- Remove from the oven and let the cupcakes cool in the pan for 5 minutes, then transfer them to a wire rack to cool completely. They must be 100% cool before frosting.
- While cupcakes cool, make the frosting. In a large bowl or stand mixer, beat the softened butter and creamy peanut butter on medium-high speed for 2-3 minutes until smooth and creamy.
- Reduce mixer speed to low and gradually add the sifted powdered sugar. Once incorporated, increase speed to high and beat for another 2 minutes until fluffy.
- Add the vanilla extract and 2 tablespoons of heavy cream. Beat for another minute. If the frosting is too stiff, add more cream, one teaspoon at a time, until you reach the desired piping consistency.
- Transfer the frosting to a piping bag fitted with your preferred tip. Pipe generous swirls onto the cooled cupcakes.
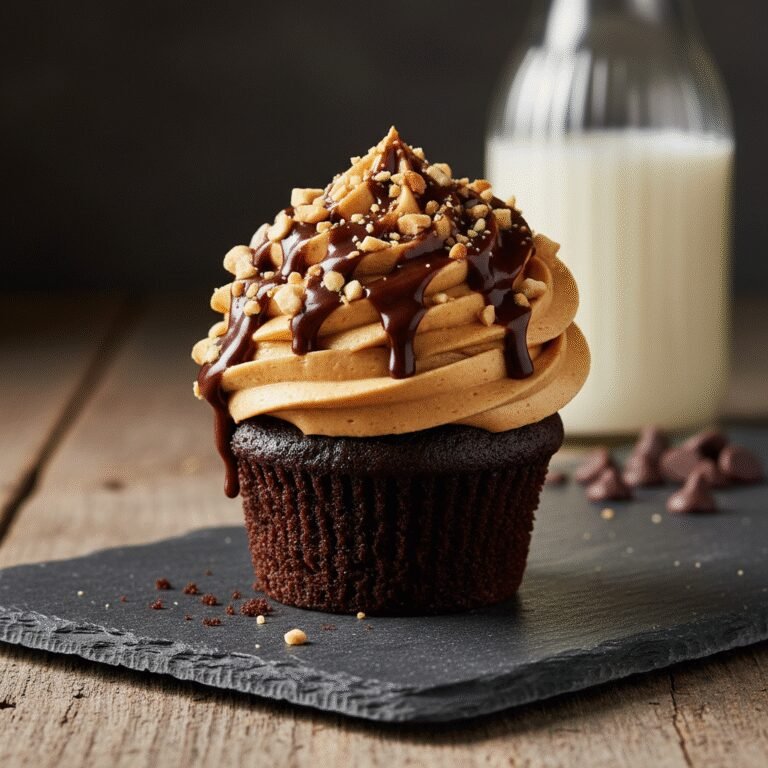
- Optional: Garnish with crushed peanuts, a drizzle of chocolate sauce, or sprinkles before serving.
Expert Cooking Tips
- ✓Room Temperature Ingredients: Ensure your egg and buttermilk are at room temperature. This helps them emulsify with the oil properly, creating a uniform crumb.
- ✓Don’t Overmix: Once the wet and dry ingredients meet, mix only until combined. Overmixing develops gluten, which makes the cupcake dense rather than velvety.
- ✓Cocoa Choice: Use natural unsweetened cocoa powder rather than Dutch-processed. The natural acidity in regular cocoa reacts better with the baking soda and vinegar.
- ✓Food Coloring Type: Gel food coloring is more concentrated than liquid. If using gel, you need less. If using liquid dye from the grocery store, you may need the full 2 tablespoons.
- ✓Cooling is Key: Peanut butter frosting has a lower melting point than pure buttercream. If the cupcakes are even slightly warm, the frosting will slide right off.
- ✓Sift the Sugar: Always sift your powdered sugar before making frosting to avoid gritty lumps that can clog your piping tip.
Substitutions and Variations
If you do not have buttermilk on hand, you can make a quick DIY version by adding 1 tablespoon of lemon juice or white vinegar to a measuring cup and filling it to the 1-cup line with whole milk; let it sit for 5 minutes until curdled. For the flour, cake flour can be used for an even lighter crumb, but all-purpose flour works perfectly for this recipe’s structure. Regarding the oil, melted coconut oil can be substituted, though it may impart a slight coconut flavor; grapeseed oil is another excellent neutral alternative. For the frosting, it is critical to use a standard commercial peanut butter (like Jif or Skippy) rather than ‘natural’ peanut butter that requires stirring. Natural peanut butter separates easily and can cause the frosting to break or become oily. If you need a nut-free option, cookie butter (Speculoos) or sunflower seed butter can be swapped into the frosting recipe with a similar ratio.
Common Mistakes to Avoid
The most common mistake with red velvet is overbaking. Because the cake is dark, it is hard to see it browning. Rely on the toothpick test and the ‘spring back’ test; if you bake it until it looks dry, it will be crumbly. Another frequent error is skipping the vinegar. Some bakers think it is unnecessary, but the acid is vital for activating the baking soda and tenderizing the gluten strings. Without it, the cupcakes will be flat and dense. In the frosting stage, a common mistake is adding the heavy cream too quickly. Add it slowly; you can always add more, but you cannot take it out if the frosting becomes soupy. Lastly, using cold butter for the frosting will result in lumps that are impossible to beat out, so plan ahead and leave your butter on the counter for at least an hour.
Serving Suggestions
These cupcakes are rich and decadent, making them a perfect standalone dessert. However, they pair exceptionally well with a cold glass of milk, which cuts through the richness of the peanut butter. For a more sophisticated pairing, serve them with a dark roast coffee or an espresso; the bitterness of the coffee complements the sweet and salty notes of the cupcake. If serving at a party, consider garnishing them to indicate the flavor profile—a mini peanut butter cup placed on top, a drizzle of melted dark chocolate, or a sprinkling of chopped roasted peanuts adds texture and visual appeal. They look stunning arranged on a white ceramic platter or a rustic wooden board for a farmhouse-chic presentation.
Storage and Reheating Tips
Because the frosting contains dairy (cream and butter), these cupcakes are best stored in the refrigerator, especially in warm climates. Place them in an airtight container to prevent the cake from drying out; they will keep for up to 4-5 days. However, buttercream tastes best at room temperature, so remove the cupcakes from the fridge about 30 minutes before serving to allow the frosting to soften and the cake to relax. If you want to freeze them, you can freeze the unfrosted cupcakes for up to 3 months. Wrap each cupcake tightly in plastic wrap and then place in a freezer bag. Thaw on the counter before frosting. Frosted cupcakes can also be frozen; freeze them on a baking sheet until the frosting is solid, then wrap them carefully.
Nutrition Facts (Estimated)
| Serving Size | 1 cupcake |
| Calories | 380 |
| Fat | 22g |
| Saturated Fat | 8g |
| Unsaturated Fat | 12g |
| Trans Fat | 0g |
| Cholesterol | 45mg |
| Sodium | 210mg |
| Carbohydrates | 42g |
| Fiber | 2g |
| Sugar | 28g |
| Protein | 5g |
Frequently Asked Questions
Can I make this recipe as a whole cake instead of cupcakes?
Yes, this recipe can be baked in a standard 8-inch or 9-inch round cake pan. You will need to increase the baking time to approximately 30-35 minutes. Double the recipe for a 2-layer cake.
Why do I need to use vinegar in a cake recipe?
Vinegar provides the necessary acid to react with the baking soda, creating carbon dioxide bubbles that lift the cake. It also helps preserve the red color and tenderizes the flour proteins.
Can I use beet juice instead of food coloring?
Yes, you can use roasted beet puree or beet powder for a natural color, but the red will be more muted and brownish compared to commercial dye, and it may impart a slight earthy flavor.
Is Red Velvet just chocolate cake with food dye?
Not exactly. While it has cocoa, it contains significantly less cocoa than a standard chocolate cake. The texture is also distinct—finer and softer due to the buttermilk and vinegar reaction.
My cupcakes sank in the middle. What happened?
This usually happens if the oven door was opened too early, causing a temperature drop, or if the batter was over-mixed, incorporating too much air that collapsed during cooling.
Can I use natural peanut butter for the frosting?
It is not recommended. The oil in natural peanut butter separates, which can cause your frosting to curdle or become greasy. Use a stabilized brand like Jif or Skippy for the best texture.
How do I get the frosting to look like the pictures?
Use a large star piping tip (like a Wilton 1M or 2D). Start in the center, spiral out to the edge, and then spiral upward, lifting the bag as you finish to create a peak.
Can I make the batter ahead of time?
It is best to bake the batter immediately after mixing because the baking soda reacts with the vinegar instantly. If you wait too long, the bubbles will dissipate, and the cupcakes won’t rise.
Conclusion
These Moist Red Velvet Cupcakes with Peanut Butter Frosting are more than just a dessert; they are a conversation starter and a comfort food wrapped in one elegant package. The interplay between the tangy, tender crimson cake and the savory-sweet, fluffy peanut butter topping creates a culinary experience that is truly hard to beat. Whether you are an experienced baker or a novice in the kitchen, this forgiving and reliable recipe ensures you will produce bakery-quality treats right at home. Don’t forget to share your creations on Pinterest and tag us—we love seeing your beautiful bakes! Happy baking, and enjoy every velvety, nutty bite.