The Ultimate Moist Chocolate Cupcake For Baby Shower Recipe
Moist Chocolate Cupcake For Baby Shower Recipe
Celebrate the new arrival with the most decadent, velvety chocolate cupcakes imaginable. These treats are specifically engineered to stay moist for days, making them the perfect stress-free dessert for busy baby shower planning.
20 minutes
20 minutes
1 hour 10 minutes (includes cooling)
24 cupcakes
Dessert
Baking
American
Vegetarian
Planning a baby shower is a labor of love, a joyful culmination of anticipation and community support for expectant parents. Amidst the diaper cakes, pastel balloons, and carefully curated gift registries, the dessert table often stands as the centerpiece of the celebration. While theme-colored macarons and fondant cookies are visually stunning, nothing satisfies a crowd quite like a classic, deeply rich chocolate cupcake. However, not all cupcakes are created equal. We have all experienced the disappointment of biting into a beautifully decorated cupcake only to find the cake itself dry, crumbly, and lackluster. That ends today. This recipe for the Ultimate Moist Chocolate Cupcake is designed specifically for high-stakes events like baby showers where preparation time and reliability are paramount.
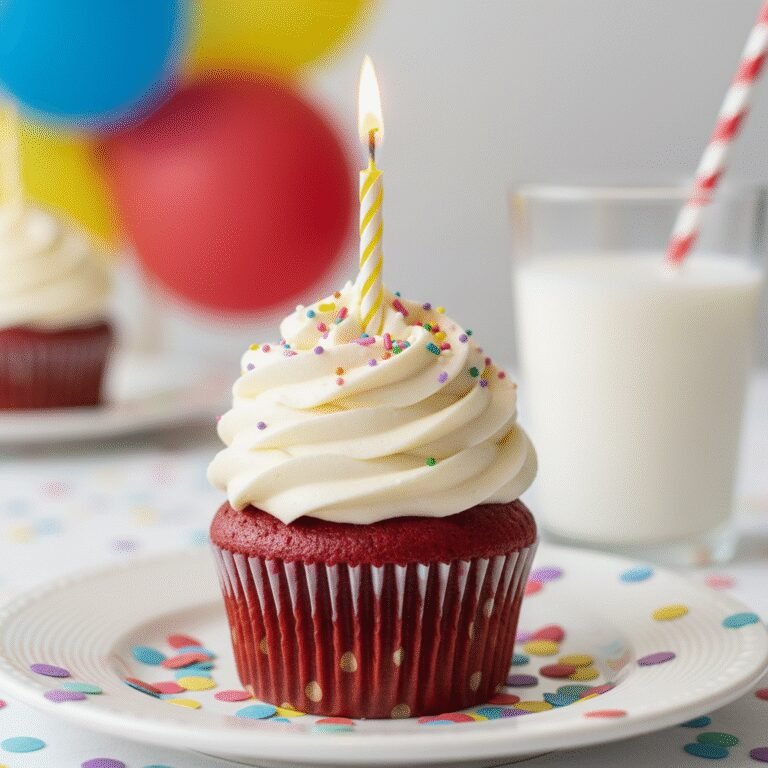
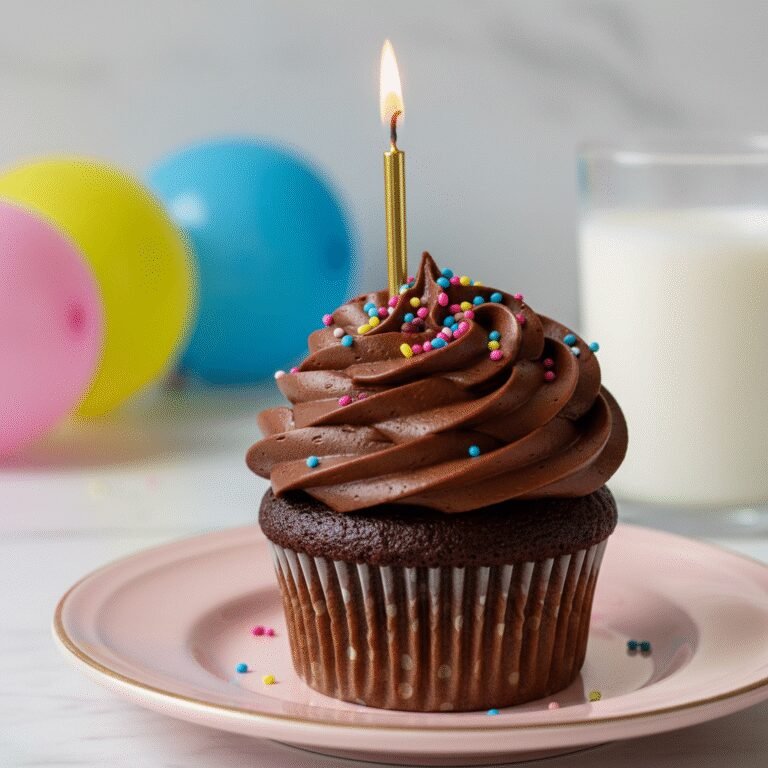
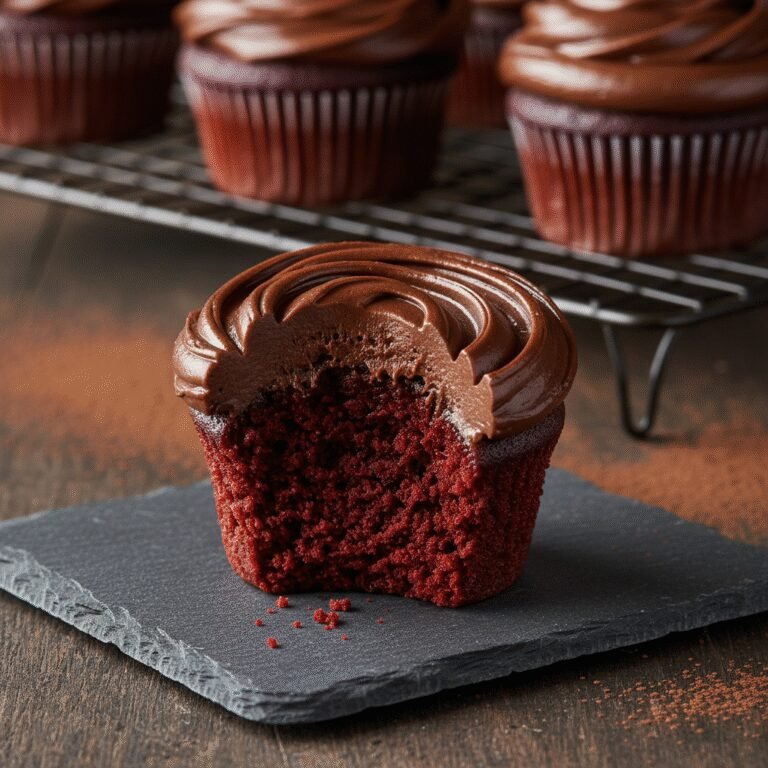
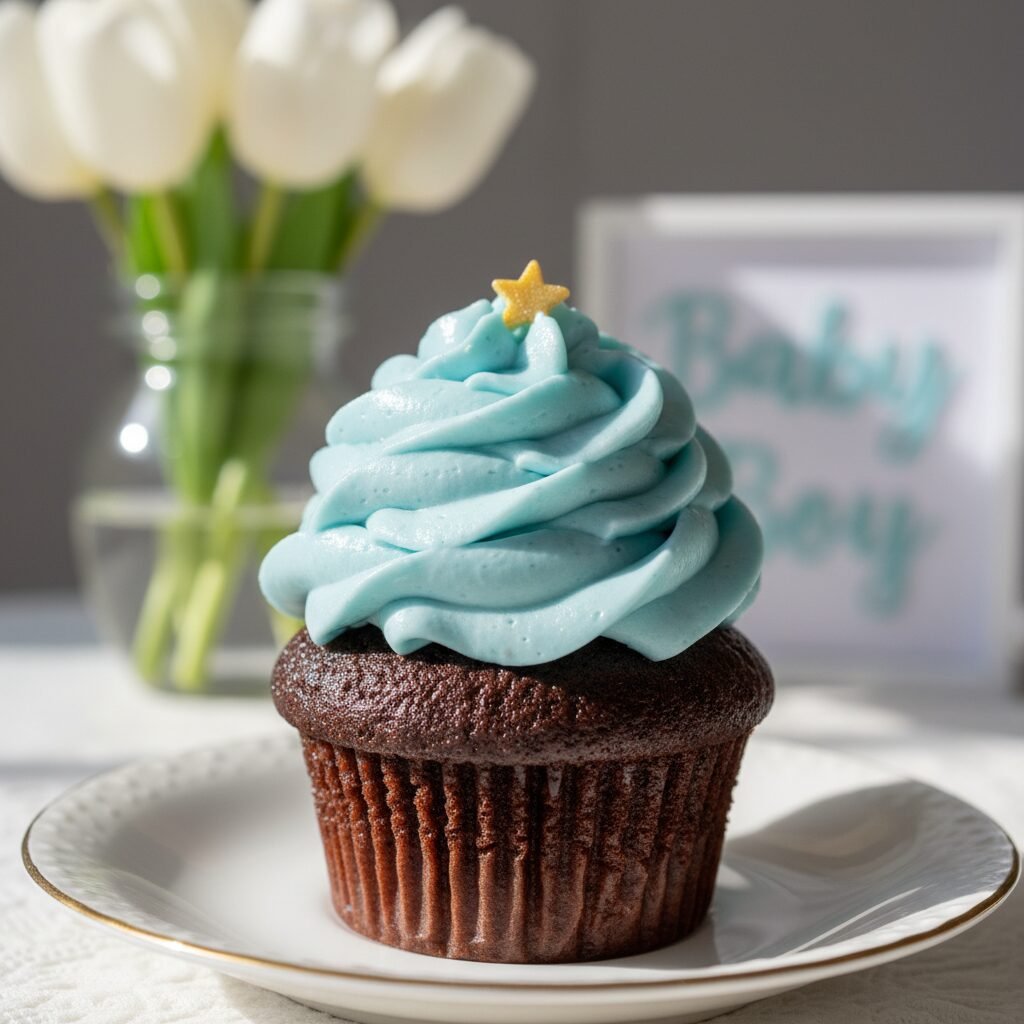
What sets this recipe apart is its incredible texture. We are talking about a crumb that is soft, plush, and undeniably moist, holding its texture even if baked a day in advance. The flavor profile is a sophisticated balance of deep cocoa notes, enhanced by a secret step of blooming the cocoa powder, ensuring that every bite delivers a profound chocolate punch that isn’t overly cloying. These cupcakes serve as the perfect canvas for your baby shower theme; whether you top them with a swirl of sky-blue buttercream, a dollop of blush-pink ganache, or neutral gender-reveal sprinkles, the sturdy yet tender dome supports toppings beautifully. This article will guide you through the science of moisture retention in baking, the history of these beloved miniature cakes, and the step-by-step process to ensure you look like a professional pastry chef in front of your guests.
History & Origins
The humble cupcake has a surprisingly long and storied history that dates back much further than the modern bakery trends of the early 2000s. The first known reference to a cake to be baked in small cups rather than a large pan appeared in ‘American Cookery’ by Amelia Simmons in 1796, where she described ‘a light cake to bake in small cups.’ However, the actual term ‘cupcake’ didn’t gain traction until the early 19th century. In those days, the name was derived from the method of measurement—ingredients were measured by the cupful (similar to the 1-2-3-4 cake method)—rather than the vessel they were baked in. These were also occasionally referred to as ‘number cakes’ because of the mnemonic device used to remember the proportions of ingredients.
Parallel to the rise of the cupcake is the evolution of the Baby Shower. Ancient cultures, including the Egyptians and Greeks, held rituals to celebrate birth, though these usually occurred after the child was born to ensure the mother and infant survived the dangerous process of labor. The modern American baby shower finds its roots in the Victorian era, where tea parties were held for new grandmothers, and eventually, these evolved into the gift-giving parties we recognize today during the post-WWII baby boom. The intersection of these two histories—the convenient, individual-sized cake and the gathering of women to celebrate new life—created a staple in American party culture. By the mid-20th century, with the advent of commercial muffin tins and paper liners, the cupcake became the quintessential party food, offering a hygienic, pre-portioned treat that required no cutlery, making it perfect for the mingling atmosphere of a baby shower.
Why This Recipe Works
This recipe succeeds where many others fail due to a specific combination of fat sources and liquid temperature. First and foremost, we utilize vegetable oil instead of butter for the batter. While butter provides a wonderful flavor, it contains water and milk solids that can lead to a drier texture once the cake cools. Oil, being 100% fat and liquid at room temperature, coats the flour proteins more effectively, inhibiting gluten formation and ensuring the cupcake remains soft and moist for days after baking. This is crucial for baby showers, where you often need to bake ahead of time.
Secondly, the inclusion of boiling water is the ‘magic’ step. Mixing boiling water with cocoa powder is known as ‘blooming.’ This process dissolves the cocoa solids and releases flavor compounds that are otherwise trapped, resulting in a more intense chocolate flavor. Furthermore, the hot liquid reacts with the chemical leaveners (baking soda and powder) to give the batter an initial lift before it even hits the oven, creating a lighter, airier crumb structure. Finally, the addition of sour cream or buttermilk introduces acidity. This acidity tenderizes the gluten strands in the flour, contributing to that ‘melt-in-your-mouth’ sensation, while the thickness of the dairy adds richness without making the batter heavy. It is a scientifically balanced formula designed for foolproof results.
Why You’ll Love This Recipe
- ✓Stays moist for up to 4 days without drying out.
- ✓Deep, intense chocolate flavor due to the blooming technique.
- ✓Sturdy enough to hold heavy frosting or fondant toppers.
- ✓One-bowl method minimizes cleanup for busy hosts.
- ✓Can be made in advance and frozen perfectly.
- ✓Yields a flat to slightly domed top, perfect for decorating.
Equipment You’ll Need
- ✓Two 12-cup standard muffin tins
- ✓Cupcake liners (themed for the shower)
- ✓Large mixing bowl
- ✓Stand mixer or electric hand mixer
- ✓Whisk
- ✓Rubber spatula
- ✓Cookie scoop or measuring cup for batter
- ✓Wire cooling rack
Ingredients
- ✓2 cups granulated sugar
- ✓1 3/4 cups all-purpose flour
- ✓3/4 cup unsweetened cocoa powder (high quality preferred)
- ✓1 1/2 teaspoons baking powder
- ✓1 1/2 teaspoons baking soda
- ✓1 teaspoon salt
- ✓2 large eggs, room temperature
- ✓1 cup whole milk (or buttermilk for extra tenderness)
- ✓1/2 cup vegetable oil (or canola oil)
- ✓2 teaspoons pure vanilla extract
- ✓1 cup boiling water
- ✓For the Frosting: 1 cup unsalted butter (softened), 3 cups powdered sugar, 1 tsp vanilla, 2 tbsp heavy cream
Instructions
- Preheat your oven to 350°F (175°C). Line two 12-cup muffin tins with your chosen paper liners.
- In the bowl of a stand mixer (or a large bowl using a hand mixer), whisk together the sugar, flour, cocoa, baking powder, baking soda, and salt. Ensure there are no large lumps of cocoa.
- Add the eggs, milk (or buttermilk), vegetable oil, and vanilla extract to the dry ingredients.
- Beat on medium speed for exactly 2 minutes. The batter will look smooth and creamy. Do not skimp on this time; it builds the structure.
- Reduce the mixer speed to the lowest setting. Carefully pour in the boiling water. The batter will become very thin and watery—this is completely normal, so don’t panic!
- Remove the bowl from the mixer and use a rubber spatula to scrape the bottom and sides, ensuring everything is incorporated.
- Pour or scoop the batter into the prepared liners. Fill them about 2/3 full. Do not overfill, or they will spill over and flatten.
- Bake for 18-22 minutes. Test for doneness by inserting a wooden toothpick into the center of a cupcake; it should come out clean or with just a few moist crumbs attached.
- Remove from the oven and let the cupcakes cool in the pans for 10 minutes. This prevents them from collapsing.
- Transfer the cupcakes to a wire rack to cool completely before frosting. If you frost them while warm, the icing will melt.
- To make the frosting: Beat softened butter until creamy. Gradually add powdered sugar and cocoa (if making chocolate frosting) or vanilla. Add cream one tablespoon at a time until desired consistency is reached. Pipe onto cooled cupcakes.
Expert Cooking Tips
- ✓Do not over-bake. Start checking at the 18-minute mark. Chocolate cake dries out fast if left too long.
- ✓Use room temperature eggs and milk. This helps the batter emulsify properly for a smoother texture.
- ✓If using black cocoa powder for a darker color, mix it 50/50 with regular cocoa to avoid a bitter taste.
- ✓Fill the cupcake liners using a spring-loaded ice cream scoop to ensure every cupcake is the exact same size.
- ✓Don’t skip the boiling water. Even hot tap water isn’t enough; it needs to be boiling to bloom the cocoa.
- ✓Tap the pan on the counter once before baking to release any large air bubbles.
- ✓For a baby shower, consider coring the center and adding a pink or blue sprinkle surprise inside.
Substitutions and Variations
This recipe is quite resilient, allowing for several substitutions to accommodate dietary needs. For a Gluten-Free version, substitute the all-purpose flour with a high-quality 1:1 gluten-free baking flour blend that includes xanthan gum. To make this Dairy-Free, swap the milk for almond milk, soy milk, or oat milk, and ensure you use a dairy-free frosting alternative. If you don’t have vegetable oil, melted coconut oil or canola oil works perfectly; avoid olive oil as the flavor is too strong. You can substitute the boiling water with boiling hot coffee. The coffee enhances the chocolate flavor significantly without making the cupcakes taste like a mocha latte—it simply adds depth. If you are out of fresh eggs, commercial egg replacers or flax eggs (1 tbsp flax meal + 3 tbsp water per egg) can work, though the rise may be slightly less dramatic.
Common Mistakes to Avoid
The most common mistake with this recipe is being alarmed by the thin batter and adding more flour. Trust the process; the liquid batter creates the moistest crumb. Another error is opening the oven door too frequently during baking. This causes temperature fluctuations that can lead to the cupcakes sinking in the middle. Overfilling the liners is another frequent issue; filling them to the brim will result in ‘muffin tops’ that fuse together and create a mess. Lastly, using old baking powder or soda will result in dense, flat pucks. Always check the expiration date on your leavening agents before starting a baking project, especially for an important event like a baby shower.
Serving Suggestions
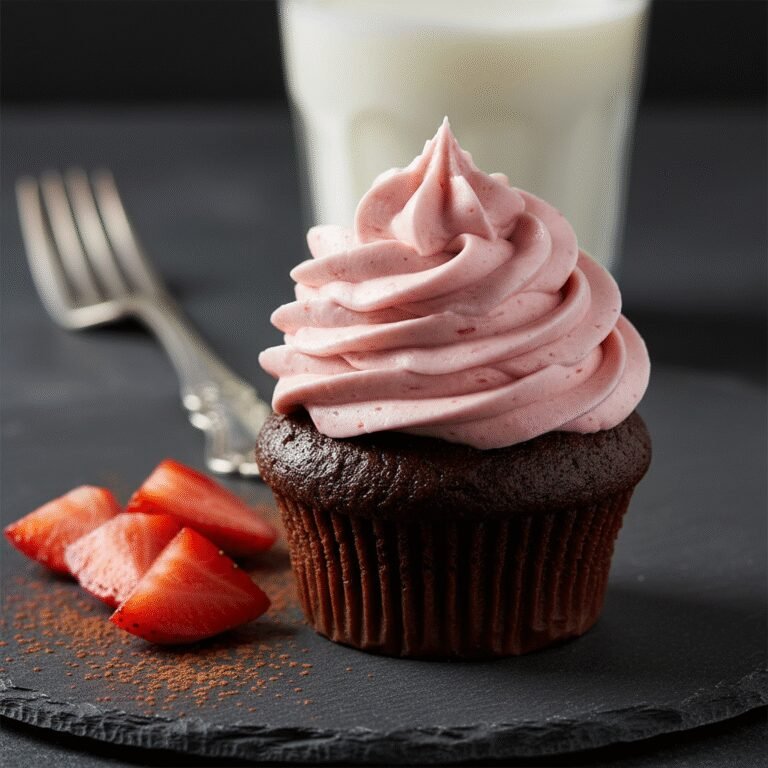
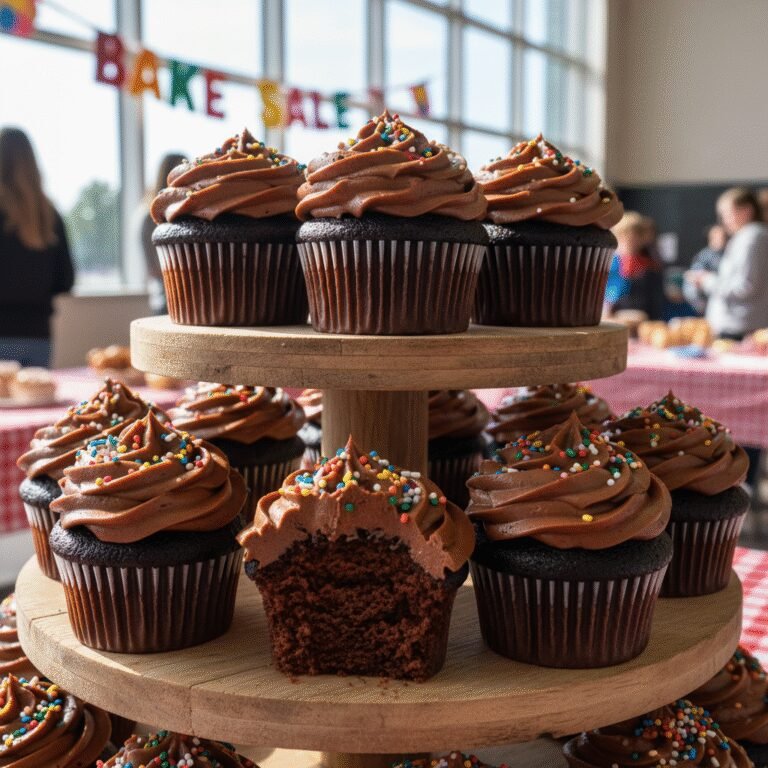
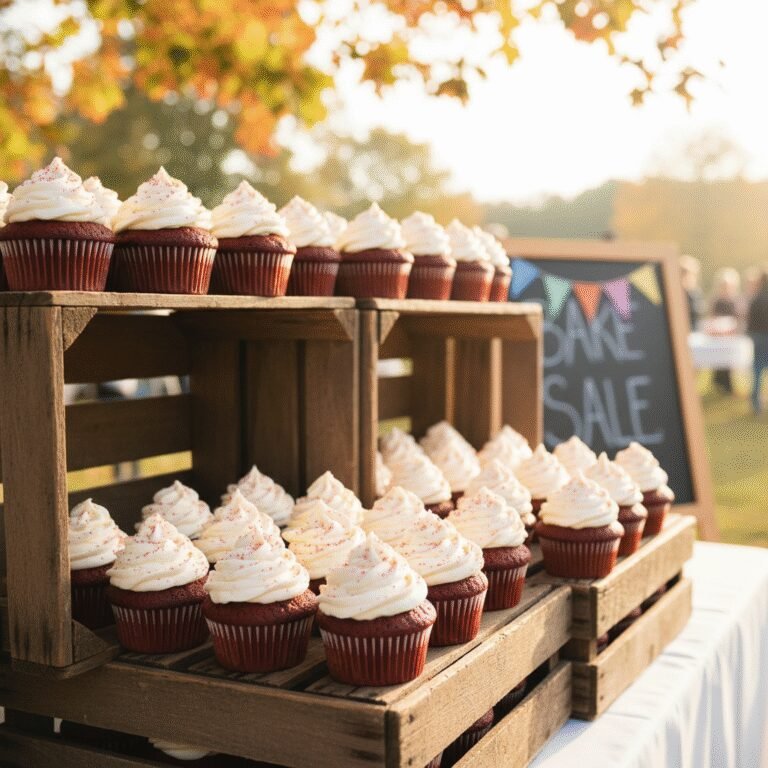
For a baby shower, presentation is key. Serve these cupcakes on a tiered cupcake stand to create a focal point for the dessert table. You can color the vanilla buttercream in pastel shades to match the party theme or use gender-neutral colors like sage green and gold. Top with edible glitter, fresh berries, or fondant toppers shaped like rattles or onesies. These pair wonderfully with coffee, cold milk, or a non-alcoholic sparkling punch. If you are doing a ‘sprinkle’ shower, consider dipping the edges of the frosting in a bowl of sprinkles for a festive rim.
Storage and Reheating Tips
These cupcakes store exceptionally well, which is ideal for party prep. Unfrosted cupcakes can be kept at room temperature in an airtight container for up to 3 days. If you have already frosted them, they can stay at room temperature for 2 days (provided the frosting isn’t cream cheese based). For longer storage, freeze the unfrosted cupcakes wrapped individually in plastic wrap for up to 3 months. Thaw them on the counter for an hour before decorating. If you must freeze frosted cupcakes, flash freeze them on a baking sheet for an hour until the frosting is hard, then transfer to a container.
Nutrition Facts (Estimated)
| Serving Size | 1 Cupcake (with frosting) |
| Calories | 320 |
| Fat | 16g |
| Saturated Fat | 4g |
| Unsaturated Fat | 11g |
| Trans Fat | 0g |
| Cholesterol | 35mg |
| Sodium | 180mg |
| Carbohydrates | 42g |
| Fiber | 2g |
| Sugar | 28g |
| Protein | 4g |
Frequently Asked Questions
Can I make these cupcakes ahead of time?
Yes! In fact, the flavor often develops and improves the next day. You can bake them 1-2 days before the shower and store them in an airtight container.
Why is the batter so runny?
The batter is thin because of the ratio of liquid to flour, specifically the boiling water. This high hydration level is what ensures the cupcakes stay moist rather than drying out.
Can I use this recipe for a layer cake instead?
Absolutely. This recipe makes two 8-inch round cakes or two 9-inch round cakes. You will need to increase the baking time to approximately 30-35 minutes.
My cupcakes sank in the middle. Why?
This usually happens if the oven door was opened too early, the oven wasn’t fully preheated, or there was too much leavening agent measured. Ensure your oven temperature is accurate.
Can I reduce the sugar?
You can reduce the sugar by about 1/4 cup without ruining the structure, but sugar helps with moisture retention. Reducing it too much will result in a drier, bread-like texture.
Do I have to use a mixer?
No, this recipe is very forgiving. You can mix it entirely by hand with a whisk, just ensure you whisk the eggs and sugar vigorously before adding the liquids.
How do I transport these to the venue?
Use a dedicated cupcake carrier with individual slots. If you don’t have one, place them in a shallow box and use a little dab of frosting on the bottom of the liner to ‘glue’ them to the box.
Can I use Dutch-process cocoa?
This recipe uses both baking powder and baking soda, so natural cocoa is preferred for the acidity. However, because there is plenty of leavening, Dutch-process will work but may yield a slightly denser, fudgier cupcake.
Conclusion
In the whirlwind of excitement that surrounds a baby shower, having a reliable, show-stopping dessert recipe in your arsenal is a game-changer. These moist chocolate cupcakes are not just a sweet treat; they are a gesture of love and celebration. Their rich flavor, foolproof preparation, and ability to stay fresh make them the ultimate choice for hosting duties. Whether you are the expectant mother, the grandmother-to-be, or a best friend planning the big day, this recipe guarantees smiles all around. Don’t forget to pin this recipe to your Baby Shower board on Pinterest so you can easily find it when the next celebration arises!