The Ultimate Moist Chocolate Cupcake Recipe: Better Than Bakery
Moist Chocolate Cupcake Recipe
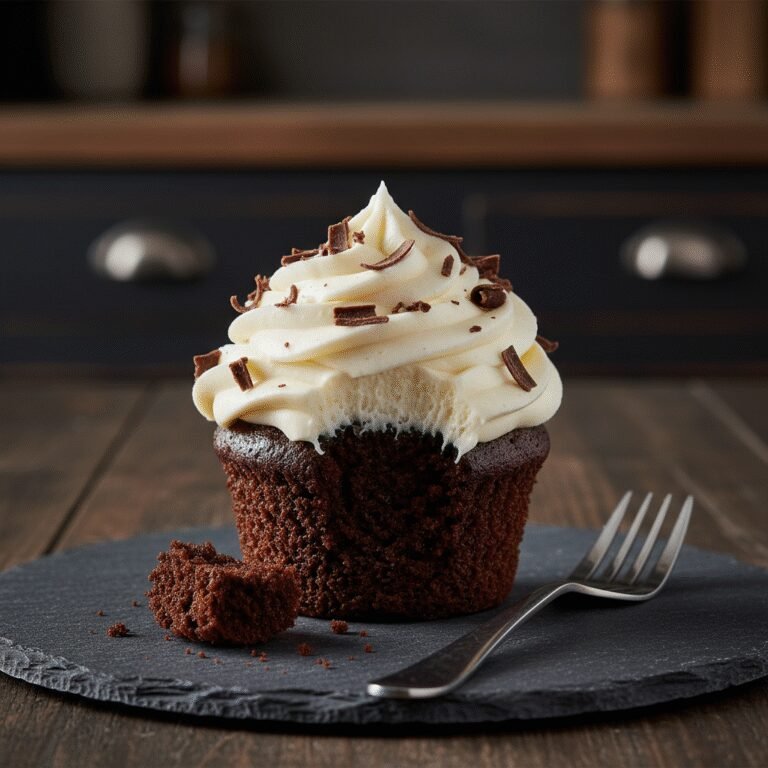
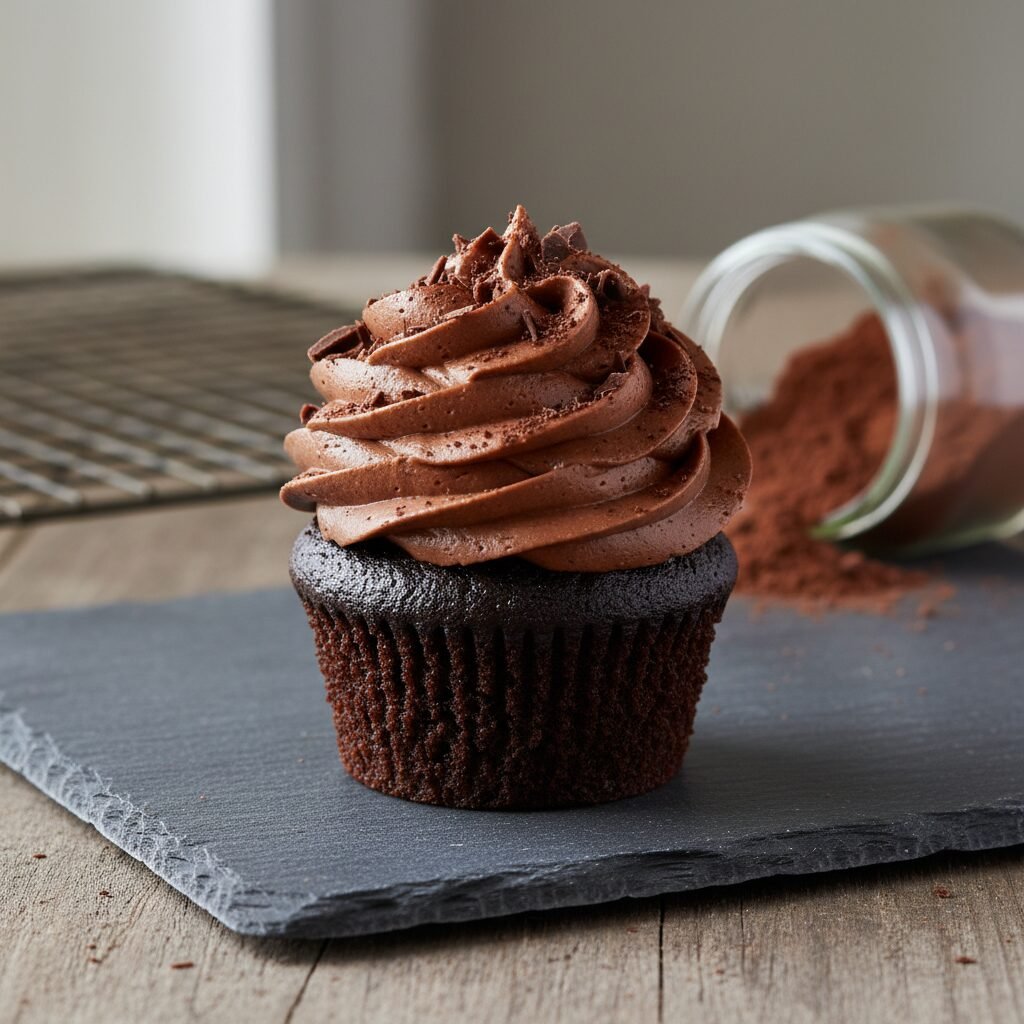
Discover the secret to the softest, richest chocolate cupcakes you will ever taste. Infused with hot coffee and buttermilk, these cupcakes boast an impossibly tender crumb and a deep, luxurious chocolate flavor that stays moist for days.
20 minutes
20 minutes
40 minutes
12-14 Cupcakes
Dessert
Baking
American
Vegetarian
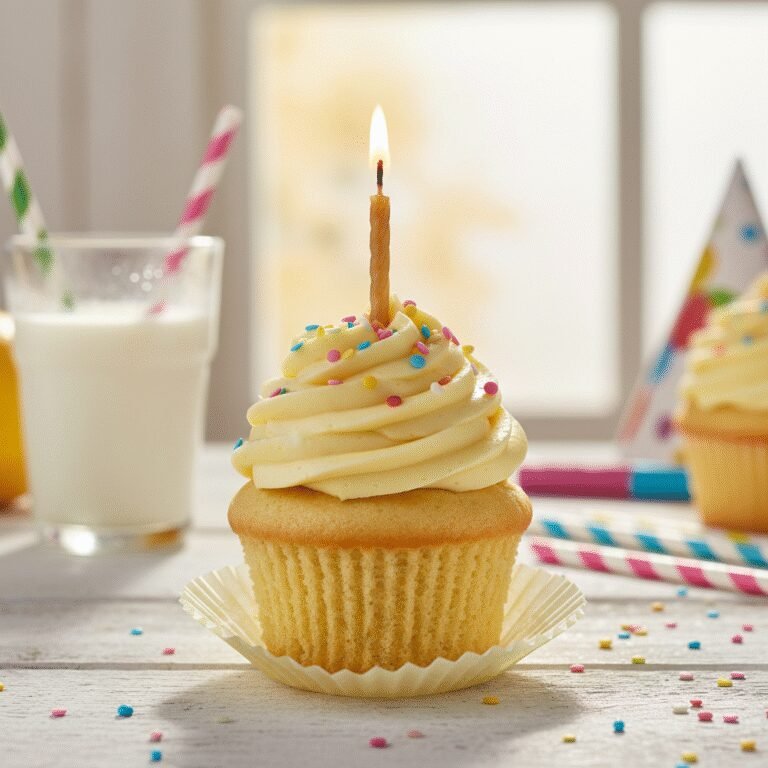
There is something undeniably nostalgic and comforting about a perfectly baked chocolate cupcake. It is the quintessential treat for birthdays, celebrations, or simply a quiet Tuesday night when the craving for something sweet strikes. However, finding a recipe that delivers on the promise of ‘moist’ can be a lifelong culinary struggle. Far too often, home bakers are met with dry, crumbly sponges that rely entirely on the frosting for moisture. This recipe changes everything. We have stripped back the traditional methods and rebuilt the chocolate cupcake to prioritize texture and depth of flavor above all else. The result is a cupcake that is dark, decadent, and incredibly soft. The magic lies in the specific combination of fat and liquid. Unlike butter-based recipes that can firm up when cool, this oil-based batter ensures the crumb remains tender and springy even after sitting out. Furthermore, we introduce a secret weapon: hot brewed coffee. You won’t taste the coffee in the final product, but it acts as a catalyst, blooming the cocoa powder and intensifying the chocolate notes to create a sophisticated, bakery-style profile. Whether you are a novice baker or a seasoned pro, this recipe is foolproof. It requires just one bowl, no electric mixer, and simple pantry staples. Prepare to ruin yourself for all other chocolate cupcakes, because once you try this ultra-moist version, you will never go back to the dry, lackluster alternatives of the past.
History & Origins
The humble cupcake has a surprisingly long and storied history in American culinary tradition, dating back significantly further than the trendy cupcake boutiques of the early 2000s. The earliest known reference to what we would consider a cupcake appeared in 1796 in Amelia Simmons’ ‘American Cookery’, the first cookbook authored by an American. She wrote of ‘a cake to be baked in small cups’, a revolutionary idea at the time that moved baking away from massive hearth cakes to individual portions that cooked faster and more evenly. However, the actual term ‘cupcake’ didn’t surface until 1828 in Eliza Leslie’s ‘Receipts’. Interestingly, in the 19th century, the term had a dual meaning. It could refer to the baking vessel, such as small pottery cups or ramekins, or it could refer to the method of measurement, as the industry shifted from weighing ingredients to the volume-based ‘cup’ system (similar to the 1-2-3-4 cake). The chocolate cupcake specifically gained traction as cocoa powder became more accessible and affordable in the late 19th and early 20th centuries, thanks to the invention of the cocoa press and the Dutching process. The cupcake experienced a massive renaissance in the early 21st century, largely credited to the exposure of Magnolia Bakery in New York City on popular television shows like ‘Sex and the City’. This sparked a global craze for gourmet cupcakes, transforming them from a child’s lunchbox snack into a high-end dessert canvas for elaborate frostings and fillings. Today, the chocolate cupcake remains a global icon of celebration, constantly evolving with new techniques to achieve the perfect texture.
Why This Recipe Works
The science behind this recipe is what sets it apart from standard butter-sugar-creaming methods. First and foremost, we use oil instead of butter. While butter provides flavor, it contains water and milk solids that can lead to a drier texture, and it solidifies at room temperature. Oil remains liquid at room temperature, which means your cupcakes stay sensationally soft and moist on the counter. Secondly, the inclusion of buttermilk is crucial. Buttermilk is acidic, and this acidity reacts vigorously with the baking soda. This reaction produces carbon dioxide gas, which creates the lift and fluffy structure of the cupcake, while also breaking down long strands of gluten to ensure a tender, melt-in-your-mouth crumb. The third and perhaps most critical element is the hot liquid—specifically, hot coffee. Adding boiling hot liquid to the batter does two things: it helps dissolve the sugar completely so the cake isn’t grainy, and more importantly, it ‘blooms’ the cocoa powder. Cocoa powder is full of flavor compounds that are encapsulated; the heat releases these compounds, resulting in a chocolate flavor that is robust and complex rather than flat and dusty. Finally, we use a mix of white and brown sugar. The molasses in the brown sugar is hygroscopic, meaning it attracts and holds onto moisture from the air, acting as an insurance policy against dryness.
Why You’ll Love This Recipe
- ✓Uses the ‘blooming’ technique with hot coffee for intense chocolate flavor.
- ✓Oil-based batter ensures cupcakes stay soft for 3-4 days.
- ✓One-bowl method requires no electric mixer.
- ✓Perfectly domed tops that are easy to frost.
- ✓Dairy-free friendly with simple substitutions.
- ✓Uses both baking powder and baking soda for maximum lift.
Equipment You’ll Need
- ✓Standard 12-cup muffin tin
- ✓Paper cupcake liners
- ✓Large mixing bowl
- ✓Medium mixing bowl
- ✓Whisk
- ✓Rubber spatula
- ✓Measuring cups and spoons
- ✓Wire cooling rack
- ✓Ice cream scoop (for even batter distribution)
Ingredients
- ✓1 1/2 cups All-purpose flour
- ✓1 1/2 cups Granulated sugar (or half brown sugar for extra moisture)
- ✓3/4 cup Unsweetened cocoa powder (Dutch-processed preferred)
- ✓1 1/2 tsp Baking soda
- ✓3/4 tsp Baking powder
- ✓3/4 tsp Fine sea salt
- ✓2 large Eggs, room temperature
- ✓3/4 cup Buttermilk, room temperature
- ✓3/4 cup Warm water or hot brewed coffee
- ✓1/4 cup Vegetable oil or canola oil
- ✓1 tsp Pure vanilla extract
Instructions
- Preheat your oven to 350°F (175°C). Line a standard muffin tin with paper liners. This recipe creates a very liquid batter, so ensure your liners are high-quality.
- In a large mixing bowl, sift together the all-purpose flour, sugar, cocoa powder, baking soda, baking powder, and salt. Whisk thoroughly to ensure all dry ingredients are evenly distributed and there are no lumps of cocoa.
- In a separate medium bowl, whisk together the eggs, buttermilk, vegetable oil, and vanilla extract until the mixture is smooth and fully combined.
- Pour the wet ingredient mixture into the large bowl of dry ingredients. Begin to whisk gently or mix with a spatula.
- While mixing, slowly pour in the hot coffee (or hot water). The batter will be very thin and liquid—this is completely normal and essential for the moist texture. Do not overmix; stop as soon as the flour streaks disappear.
- Fill the cupcake liners about 2/3 full. Using an ice cream scoop with a trigger release helps keep the portions even and reduces mess. Avoid overfilling, or the cupcakes will spill over and sink in the middle.
- Bake in the center rack of the oven for 18-21 minutes. Test for doneness by inserting a wooden toothpick into the center of a cupcake; it should come out clean or with just a few moist crumbs attached, but no wet batter.
- Remove the pan from the oven and let the cupcakes cool in the tin for exactly 5 minutes. This helps them set without becoming soggy.
- Transfer the cupcakes to a wire rack to cool completely before frosting. Attempting to frost warm cupcakes will result in melted, sliding frosting.
Expert Cooking Tips
- ✓Do not overmix the batter once the flour is added, as this develops gluten and leads to tough cupcakes.
- ✓Ensure your baking soda and powder are fresh; expired leavening agents are the #1 cause of flat cupcakes.
- ✓Room temperature ingredients (eggs and buttermilk) emulsify better, creating a more uniform crumb.
- ✓If you don’t have buttermilk, make a substitute by adding 1 tablespoon of vinegar to a cup of milk and letting it sit for 5 minutes.
- ✓Using hot coffee really does make a difference; it deepens the chocolate flavor without making the cake taste like coffee.
- ✓Invest in high-quality cocoa powder (like Valrhona or Ghirardelli) for the best flavor payoff.
Substitutions and Variations
This recipe is quite versatile if you find yourself missing an ingredient. If you do not have buttermilk, you can easily make ‘sour milk’ by adding one tablespoon of white vinegar or lemon juice to a cup of regular milk and letting it sit for 5 to 10 minutes until it curdles slightly. Alternatively, you can use plain Greek yogurt or sour cream thinned with a little water to match the consistency of buttermilk. For the oil, while vegetable or canola oil is recommended for a neutral flavor, you can use melted coconut oil or even a light olive oil, though this may impart a slight flavor. If you want to avoid caffeine, decaf coffee works perfectly, or simply use hot water. The hot liquid is the key, not the caffeine. For a gluten-free version, substitute the all-purpose flour with a high-quality 1:1 gluten-free baking flour blend that includes xanthan gum. If you are out of eggs, ¼ cup of unsweetened applesauce or a flax egg (1 tbsp flax meal + 3 tbsp water) can work, though the rise may be slightly less dramatic.
Common Mistakes to Avoid
The most common mistake with chocolate cupcakes is overbaking. Because the batter is dark, you cannot rely on golden-browning visual cues. Rely strictly on the toothpick test and the bounce-back test (lightly press the top; it should spring back). Overbaking by even 2-3 minutes can dry out the oil-based crumb. Another mistake is opening the oven door too early. The rush of cold air can cause the cupcakes to collapse before the structure has set. Wait until at least 15 minutes into the baking time before checking. Additionally, using cold ingredients can cause the batter to curdle or not mix properly. Always bring eggs and dairy to room temperature. Finally, filling the liners too high is a frequent error. This batter rises significantly; filling more than 2/3 full will cause them to overflow, creating a ‘muffin top’ that fuses together and makes removal difficult.
Serving Suggestions
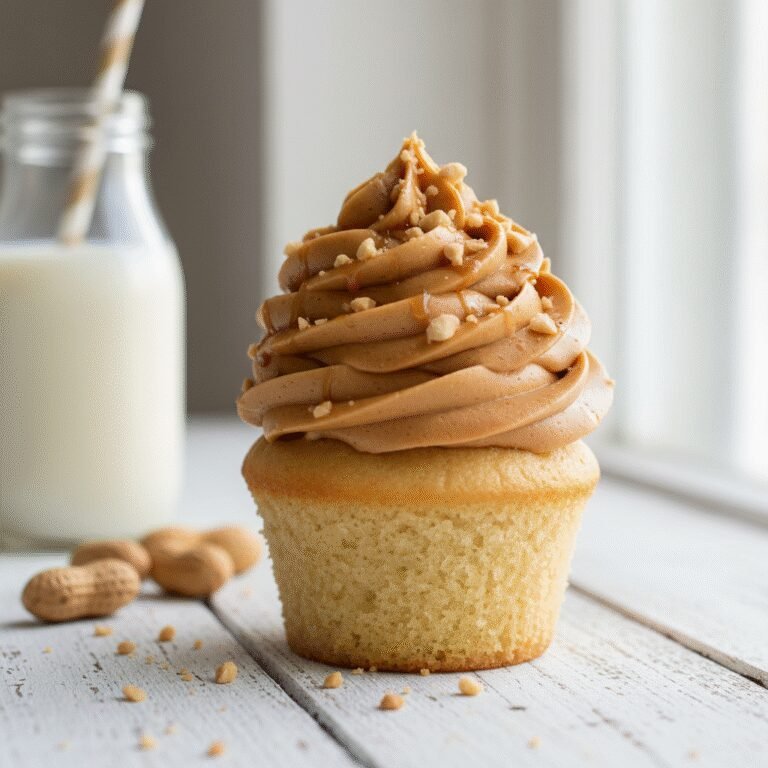
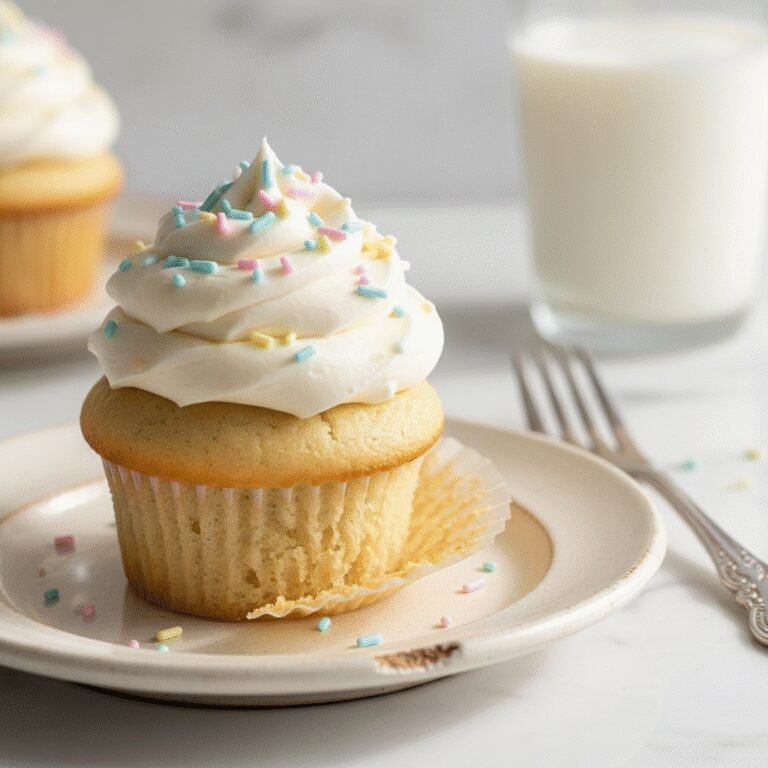
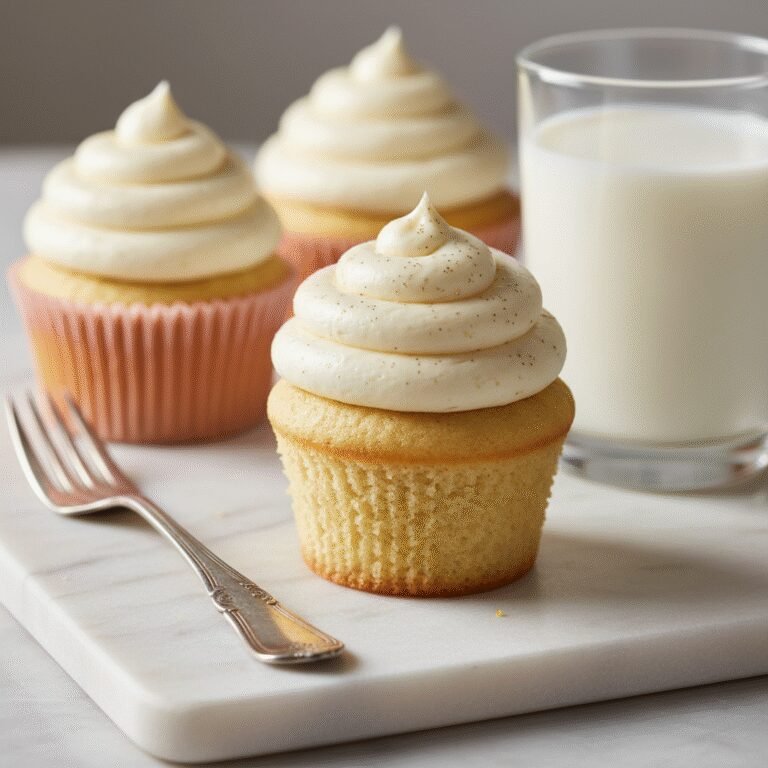
These cupcakes are a blank canvas for your favorite frostings. They pair exceptionally well with a classic American vanilla buttercream for contrast, a dark chocolate ganache for a ‘death by chocolate’ experience, or a tangy cream cheese frosting to cut through the sweetness. For a sophisticated finish, try a Swiss Meringue Buttercream infused with salted caramel or raspberry preserves. Serve these at room temperature; cold cupcakes can taste dense and the flavors will be muted. If serving for a party, garnish with fresh berries, chocolate shavings, or edible gold dust for an elegant presentation. A tall glass of cold milk or a hot espresso is the perfect beverage accompaniment.
Storage and Reheating Tips
To keep these cupcakes fresh, store them in an airtight container at room temperature for up to 3 days. The oil in the recipe keeps them moist without needing refrigeration, which can actually dry out the sponge faster. If you have frosted them with cream cheese or a perishable filling, they must be refrigerated, but allow them to come to room temperature for 30 minutes before eating for the best texture. These cupcakes freeze beautifully. You can freeze unfrosted cupcakes for up to 3 months. Wrap each cupcake individually in plastic wrap and then place them in a heavy-duty freezer bag. Thaw on the counter for an hour before frosting.
Nutrition Facts (Estimated)
| Serving Size | 1 Cupcake (without frosting) |
| Calories | 195 |
| Fat | 9g |
| Saturated Fat | 1.5g |
| Unsaturated Fat | 7g |
| Trans Fat | 0g |
| Cholesterol | 15mg |
| Sodium | 160mg |
| Carbohydrates | 26g |
| Fiber | 1.5g |
| Sugar | 18g |
| Protein | 3g |
Frequently Asked Questions
Can I taste the coffee in the cupcakes?
No, you cannot taste the coffee. The coffee simply enhances the richness of the cocoa powder, making it taste more ‘chocolatey’. If you dislike coffee, you can use hot water, but we highly recommend trying the coffee version.
Why did my cupcakes sink in the middle?
Sinking usually happens for three reasons: the oven door was opened too early, the batter was overmixed (incorporating too much air that collapses), or there was too much leavening (baking soda/powder). Ensure you measure precisely and keep the oven door closed.
Can I use butter instead of oil?
You can, but we don’t recommend it for this specific recipe. Oil coats the flour proteins better than butter, preventing gluten formation and resulting in a much more tender and moist cupcake. Butter-based cupcakes tend to dry out faster.
Can I make this recipe into a layer cake?
Yes! This recipe doubles perfectly to make two 8-inch or 9-inch round cake layers. You will need to increase the baking time to approximately 30-35 minutes. Always test with a toothpick.
What is the difference between natural and Dutch-process cocoa?
Natural cocoa is acidic and lighter in color. Dutch-process cocoa has been treated with an alkali to neutralize the acid, resulting in a darker color and smoother flavor. This recipe works best with Dutch-process or a blend, but since we use baking soda (which needs acid), the buttermilk provides the necessary acidity regardless of the cocoa choice.
How do I get the perfect dome shape?
Baking at an initially higher temperature (like 400°F for 5 mins then dropping to 350°F) can help, but for this recipe, the chemical reaction of the buttermilk and baking soda usually provides a great lift. Don’t overfill the liners, as heavy tops tend to flatten out.
Can I add chocolate chips to the batter?
Absolutely. Toss about 1/2 cup of mini chocolate chips in a teaspoon of flour (to prevent sinking) and fold them in at the very end. Mini chips work better than standard size for cupcakes.
Is this recipe vegan?
As written, it is vegetarian but not vegan due to the eggs and buttermilk. However, you can successfully substitute flax eggs and a plant-based milk mixed with vinegar to make it vegan.
Conclusion
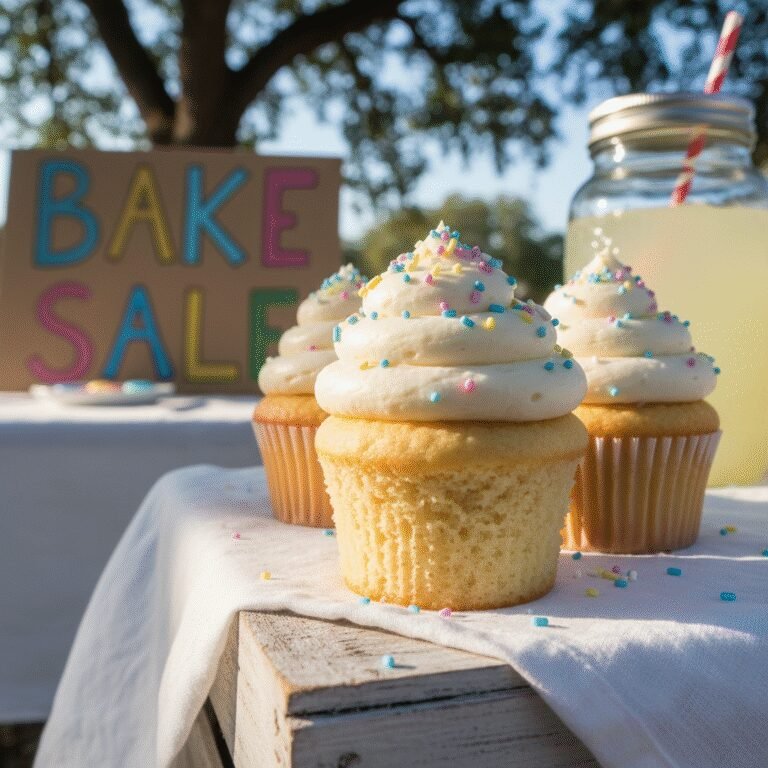
Mastering the perfect moist chocolate cupcake is a skill that will serve you well for a lifetime of birthdays, bake sales, and late-night cravings. This recipe strikes the elusive balance between ease of preparation and gourmet quality results. By understanding the science of the ingredients—why we use oil, the importance of hot liquid, and the role of buttermilk—you are guaranteed a consistent result every time. We hope this becomes your new go-to standard for chocolate baking. Don’t forget to share your creations with us on social media and let us know what frosting combination you chose!