The Ultimate Moist Vanilla Cupcake Recipe for Kids’ Birthdays
Moist Vanilla Cupcake For Kids Birthday Recipe
Discover the secret to the perfect birthday treat with these incredibly moist, fluffy, and foolproof vanilla cupcakes. Designed specifically for busy parents and eager little hands, this recipe guarantees a bakery-style crumb that stays soft for days, making it the ultimate party crowd-pleaser.
20 minutes
18 minutes
45 minutes
24 cupcakes
Dessert
Baking
American
Vegetarian
There is something undeniably magical about a classic vanilla cupcake. It is the quintessential flavor of childhood nostalgia, a blank canvas for colorful sprinkles, and the centerpiece of countless birthday celebrations. However, finding the ‘perfect’ vanilla cupcake is a surprisingly difficult endeavor. We have all been there: you bite into a beautifully decorated cupcake at a party, only to find the sponge dry, crumbly, or bland. It is a culinary heartbreak that I vowed to fix. After years of testing, tweaking, and taste-testing with the harshest critics imaginable—a group of energetic six-year-olds—I have finally cracked the code. This isn’t just another vanilla recipe; it is the holy grail of birthday baking.
What makes this recipe stand out is its incredible texture. We are talking about a crumb that is tender and velvety, yet sturdy enough to hold a generous swirl of buttercream without collapsing. The flavor is pure, aromatic vanilla, enhanced by the richness of real butter and the subtle tang of sour cream. Unlike store-bought mixes that often taste artificial or overly sugary, these cupcakes possess a depth of flavor that appeals to both children and adults. They are moist enough to eat without frosting (though who would want to skip that?) and stay fresh for days, making them perfect for parents who need to bake ahead of the big event. Whether you are a seasoned baker or a novice in the kitchen, this recipe is designed to be fail-proof, ensuring that your little one’s special day is celebrated with the sweetest, most memorable treat possible.
History & Origins
The humble cupcake has a surprisingly long and storied history, dating back to the late 18th century. The earliest known reference to a cake baked in small cups appears in Amelia Simmons’ 1796 cookbook, ‘American Cookery,’ where she describes ‘a cake to be baked in small cups.’ However, the term ‘cupcake’ itself didn’t gain traction until the early 19th century. Interestingly, the name originally referred to two different things: cakes baked in small tins (similar to muffin tins today) and cakes measured by the cup (1 cup butter, 2 cups sugar, etc.) rather than by weight, which was the standard at the time. This shift in measurement revolutionized home baking, making it accessible to those who didn’t own scales.
Throughout the 20th century, the cupcake evolved from a convenient way to bake cakes quickly—since smaller cakes bake faster than large loaves—to a cultural icon. In 1919, Hostess introduced the first mass-produced cupcake, the ‘Snack Cake,’ but it wasn’t until the post-WWII era that the cupcake became a staple of children’s birthday parties. The rise of the modern ‘cupcakery’ in the early 2000s, sparked by pop culture phenomena like ‘Sex and the City’ and the fame of Magnolia Bakery in New York, elevated the cupcake from a simple kid’s snack to a gourmet indulgence. Today, the vanilla cupcake remains the gold standard. It is a symbol of celebration, heavily tied to American birthday traditions where blowing out a candle on a personal-sized cake represents a moment of individual wish-making and joy. This recipe honors that tradition by using classic techniques while incorporating modern food science to ensure perfection.
Why This Recipe Works
The science behind this recipe is what separates a good cupcake from a great one. The primary challenge with vanilla cakes is moisture retention; without the masking flavors of chocolate or fruit, a dry vanilla cake is immediately noticeable. To combat this, this recipe utilizes a ‘dual-fat’ strategy. We use unsalted butter for that unmistakable, rich, creamy flavor that oil simply cannot replicate. However, butter contains water which evaporates during baking. To ensure lasting moisture, we incorporate a neutral vegetable oil. Oil remains liquid at room temperature, coating the flour proteins and preventing gluten from over-developing, which results in a softer, more tender crumb that stays moist for days.
Furthermore, the addition of sour cream is a game-changer. Sour cream adds acidity to the batter, which tenderizes the gluten strands and reacts with the baking soda to create a fluffy, airy lift. It also adds a density and richness that milk alone cannot provide. We also use a specific mixing method: room temperature ingredients are non-negotiable here. When the eggs, butter, and sour cream are all at the same temperature, they emulsify into a smooth, trapped-air structure that expands evenly in the oven. Finally, using cake flour instead of all-purpose flour lowers the protein content, ensuring the cupcakes are light and feathery rather than bread-like. This combination of chemical leavening, fat balancing, and protein management results in a cupcake that is structurally sound for frosting yet melts in your mouth.
Why You’ll Love This Recipe
- ✓Stays moist for up to 4 days thanks to the oil-butter blend.
- ✓Sturdy enough to pile high with frosting and sprinkles.
- ✓Uses sour cream for a tender, velvety crumb.
- ✓One-bowl method options for easier cleanup.
- ✓Perfectly flat tops ideal for decorating.
- ✓Kid-approved flavor that isn’t too sweet.
Equipment You’ll Need
- ✓Standard 12-cup muffin tin (2 pans needed)
- ✓Cupcake liners
- ✓Stand mixer or electric hand mixer
- ✓Large mixing bowl
- ✓Medium mixing bowl
- ✓Whisk
- ✓Rubber spatula
- ✓Wire cooling rack
- ✓Cookie scoop (for even batter distribution)
Ingredients
- ✓2 1/2 cups cake flour (spooned and leveled)
- ✓2 cups granulated sugar
- ✓2 1/2 tsp baking powder
- ✓1/2 tsp baking soda
- ✓1 tsp fine sea salt
- ✓3/4 cup unsalted butter, softened to room temperature
- ✓1/2 cup vegetable oil (or canola oil)
- ✓3 large eggs, room temperature
- ✓2 large egg yolks, room temperature
- ✓1 tbsp pure vanilla extract
- ✓1 cup full-fat sour cream, room temperature
- ✓1/2 cup whole milk, room temperature
Instructions
- Preheat your oven to 350°F (175°C). Line two 12-cup muffin tins with high-quality paper liners. Set aside.
- In a medium bowl, whisk together the cake flour, baking powder, baking soda, and salt. Ensure there are no lumps and the leavening agents are evenly distributed.
- In the bowl of a stand mixer fitted with the paddle attachment (or a large bowl with a hand mixer), beat the softened butter and granulated sugar on medium-high speed for about 3-4 minutes. The mixture should look pale, fluffy, and aerated.
- Add the vegetable oil and vanilla extract to the butter-sugar mixture. Beat for another minute until fully incorporated.
- Reduce the mixer speed to medium-low. Add the eggs and egg yolks one at a time, beating well after each addition. Scrape down the sides and bottom of the bowl with a rubber spatula to ensure everything is mixed evenly.
- In a small bowl or measuring cup, whisk together the sour cream and milk until smooth.
- With the mixer on low speed, add the dry ingredients in three parts, alternating with the wet sour cream mixture in two parts. Start and end with the dry ingredients (Dry -> Wet -> Dry -> Wet -> Dry).
- Mix only until the flour streaks just disappear. Do not overmix! Stop the mixer and finish folding the batter by hand with a spatula to ensure no flour pockets remain at the bottom.
- Use a cookie scoop or measuring cup to fill the cupcake liners about 2/3 full. Do not overfill, or they will spill over and create flat, crispy edges.
- Bake for 16-19 minutes, or until a toothpick inserted into the center comes out clean or with just a few moist crumbs. The tops should spring back when lightly touched.
- Allow the cupcakes to cool in the pan for 5 minutes, then transfer them to a wire rack to cool completely before frosting.
Expert Cooking Tips
- ✓Ensure all cold ingredients (eggs, milk, sour cream, butter) are at room temperature before starting. This prevents the batter from curdling.
- ✓Do not overmix the batter once the flour is added. Overmixing develops gluten and leads to tough, dense cupcakes.
- ✓Use an oven thermometer to verify your oven temperature; even 10 degrees off can ruin the rise.
- ✓Fill liners exactly 2/3 full for a perfect dome. Overfilling causes mess and sinking centers.
- ✓Use ‘clear’ vanilla extract if you want a stark white cupcake crumb, though pure vanilla extract tastes better.
- ✓Let cupcakes cool completely before frosting, or the butter in the frosting will melt and slide off.
Substitutions and Variations
Baking is a science, but there is some room for flexibility if you find yourself missing an ingredient. If you do not have cake flour, you can make a DIY version by removing 2 tablespoons of cornstarch from 2.5 cups of all-purpose flour and sifting them together twice. For the fat, while butter provides flavor, you can substitute the vegetable oil with melted coconut oil, though it may impart a slight coconut flavor. If you don’t have sour cream, full-fat plain Greek yogurt is an excellent 1:1 substitute that provides similar acidity and moisture. For a dairy-free version, use a high-quality plant-based butter stick, unsweetened almond milk mixed with a teaspoon of vinegar (to mimic buttermilk), and a dairy-free yogurt alternative. Note that swapping sugar types (like using brown sugar) will significantly change the texture and color, so stick to granulated white sugar for that classic birthday cake fluffiness.
Common Mistakes to Avoid
The most common mistake home bakers make is measuring flour incorrectly. Scooping the measuring cup directly into the flour bag packs the flour down, leading to dry, dense cupcakes because you are accidentally using too much flour. Always use the ‘spoon and level’ method or a kitchen scale. Another frequent error is opening the oven door too early to peek. This releases heat and can cause the cupcakes to collapse in the middle before the structure has set. Lastly, rushing the cooling process is a recipe for disaster. If you try to frost a warm cupcake, your beautiful piping work will melt into a puddle. Patience is key—wait until they are cool to the touch.
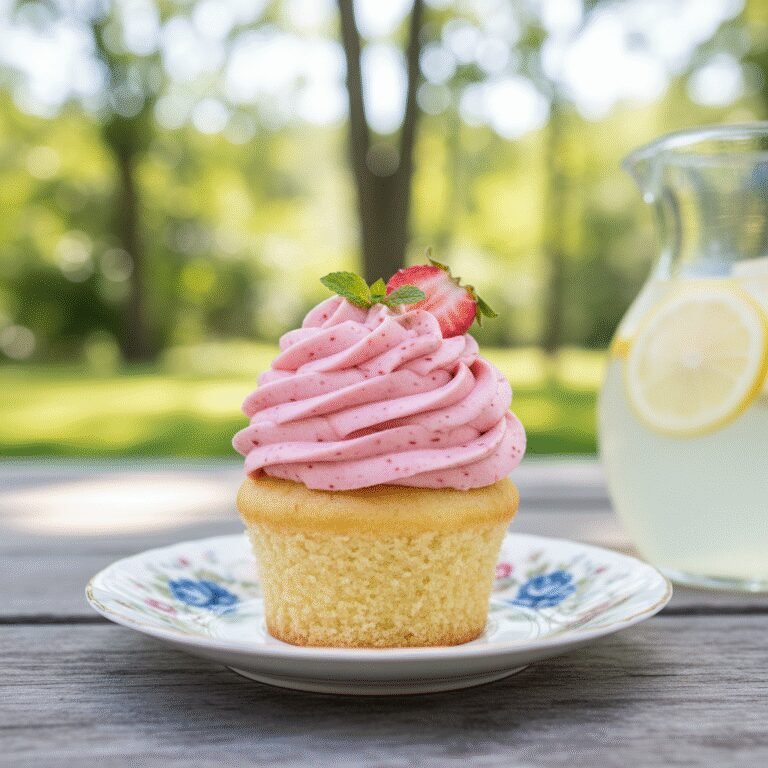
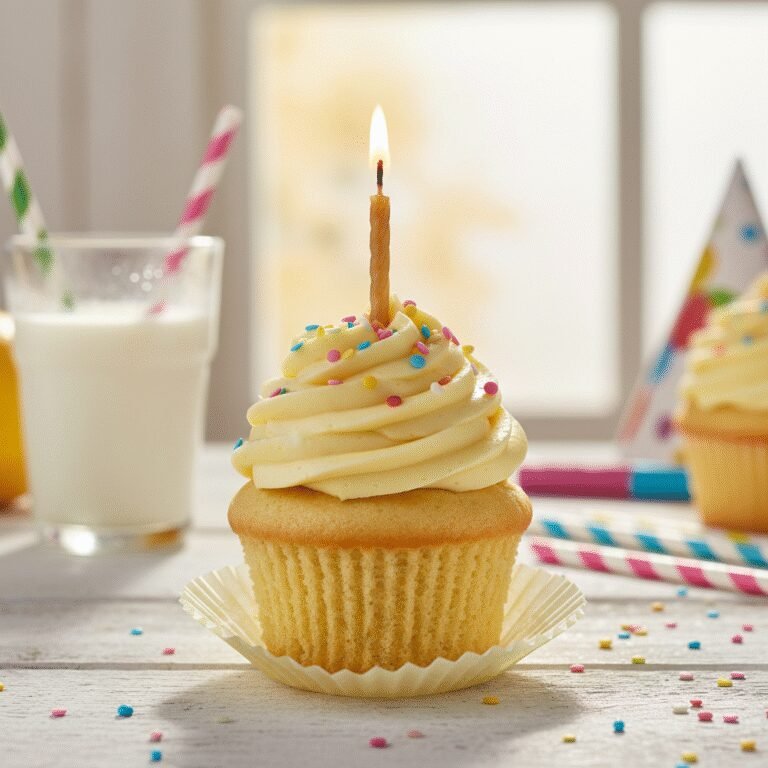
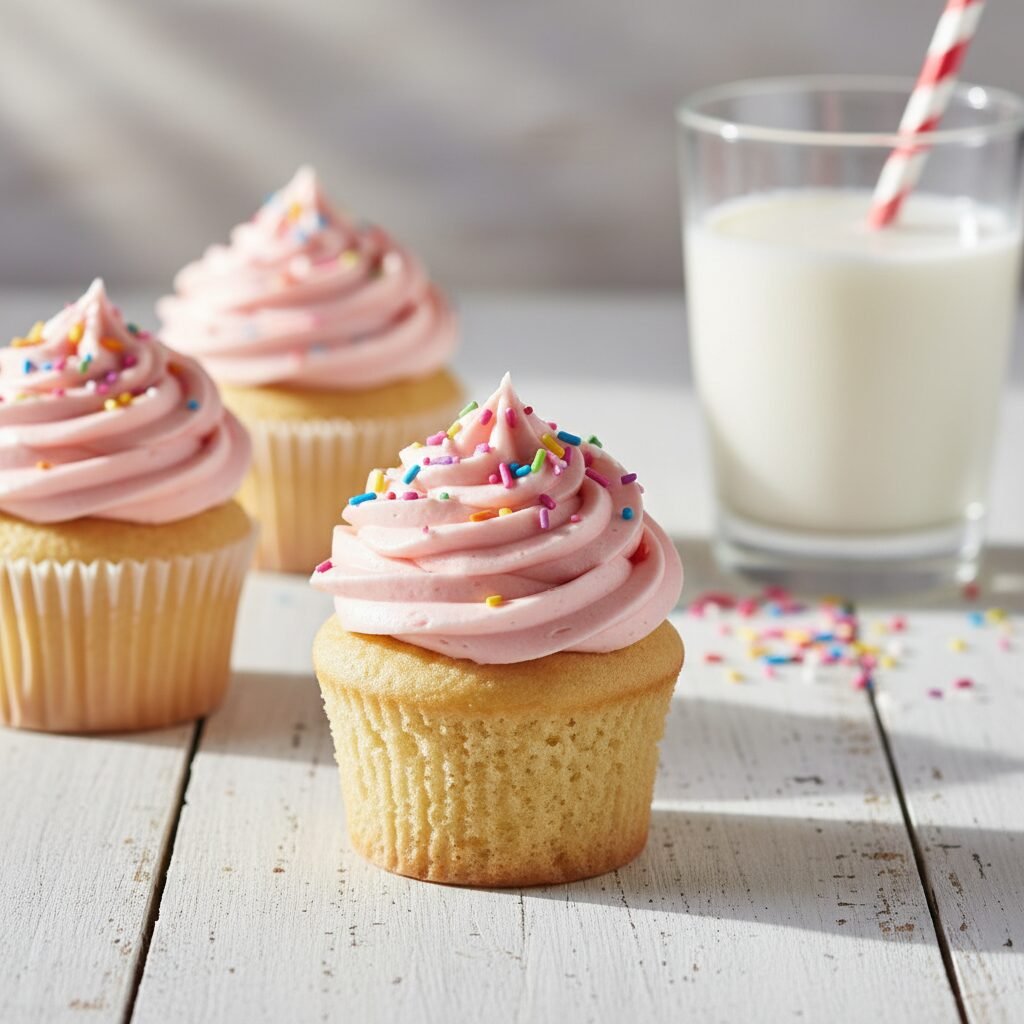
Serving Suggestions
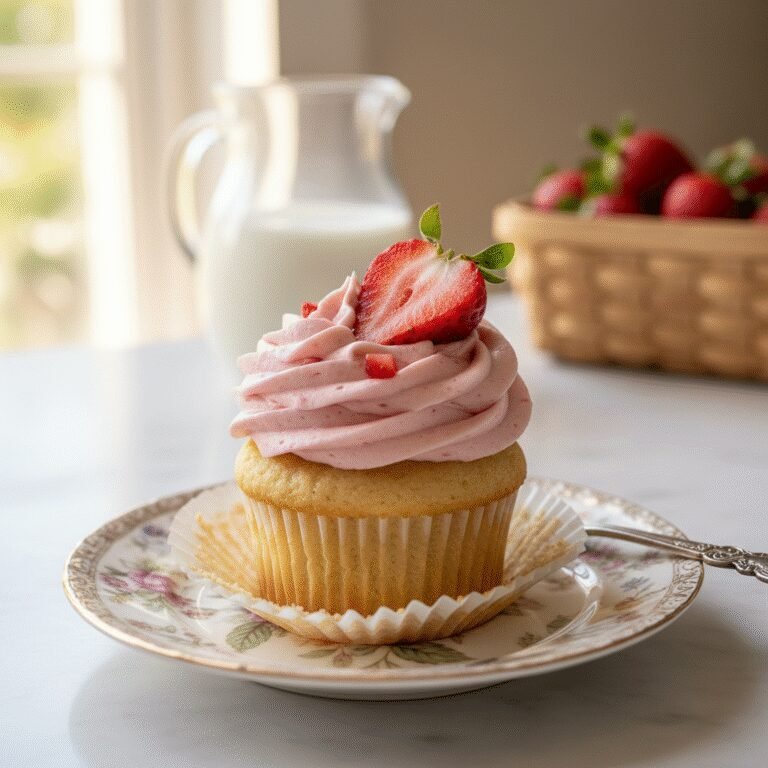
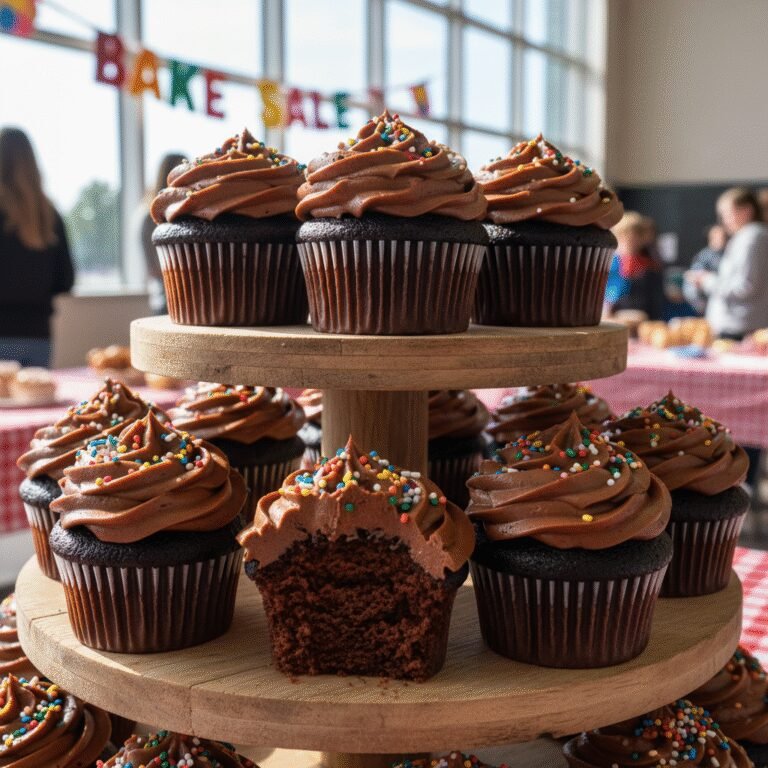
These cupcakes are best served at room temperature to maximize the softness of the butter-based crumb. For a classic kids’ birthday, pair them with a fluffy American Buttercream dyed in pastel colors and topped with rainbow sprinkles. If you want to elevate them for adults, try a Swiss Meringue Buttercream, a dollop of lemon curd filling, or a fresh strawberry cream cheese frosting. Display them on a tiered cupcake stand for a dramatic centerpiece. They also pair wonderfully with a cold glass of milk or a scoop of vanilla bean ice cream.
Storage and Reheating Tips
Store unfrosted cupcakes in an airtight container at room temperature for up to 4 days. They actually taste even better on day two as the moisture distributes. If you have frosted them, they can stay at room temperature for 2 days (unless the frosting contains cream cheese or fresh cream, in which case they must be refrigerated). To freeze, wrap unfrosted cupcakes individually in plastic wrap and place them in a freezer-safe bag for up to 3 months. Thaw on the counter for 2 hours before decorating. Avoid storing cupcakes in the fridge unless necessary, as the cold air dries out the sponge faster than room temperature air.
Nutrition Facts (Estimated)
| Serving Size | 1 cupcake (unfrosted) |
| Calories | 195 |
| Fat | 9g |
| Saturated Fat | 4g |
| Unsaturated Fat | 4.5g |
| Trans Fat | 0g |
| Cholesterol | 35mg |
| Sodium | 140mg |
| Carbohydrates | 26g |
| Fiber | 0.5g |
| Sugar | 16g |
| Protein | 3g |
Frequently Asked Questions
Can I make this recipe into a cake instead?
Yes! This batter works perfectly for two 8-inch or 9-inch round cake pans. You will need to increase the baking time to approximately 30-35 minutes.
Why did my cupcake wrappers peel away?
This usually happens if the cupcakes were stored in an airtight container while they were still warm, creating condensation. Let them cool completely first.
Can I use all-purpose flour instead of cake flour?
You can, but the texture will be slightly denser and more bread-like. Cake flour is highly recommended for that professional bakery tenderness.
How do I get flat tops for decorating?
Baking at a slightly lower temperature (like 325°F) for longer helps, but this recipe is designed to have a gentle dome. Don’t overfill the liners!
Can I add sprinkles to the batter?
Absolutely! Fold in about 1/2 cup of ‘jimmies’ (cylindrical sprinkles) at the very end to make Funfetti cupcakes. Avoid nonpareils as they bleed color.
Why are my cupcakes dry?
Likely due to over-measuring flour or over-baking. Check them at the 16-minute mark and use a thermometer to ensure your oven isn’t running hot.
Can I reduce the sugar?
I don’t recommend it. Sugar provides moisture and structure, not just sweetness. Reducing it will result in a dry, tough cupcake.
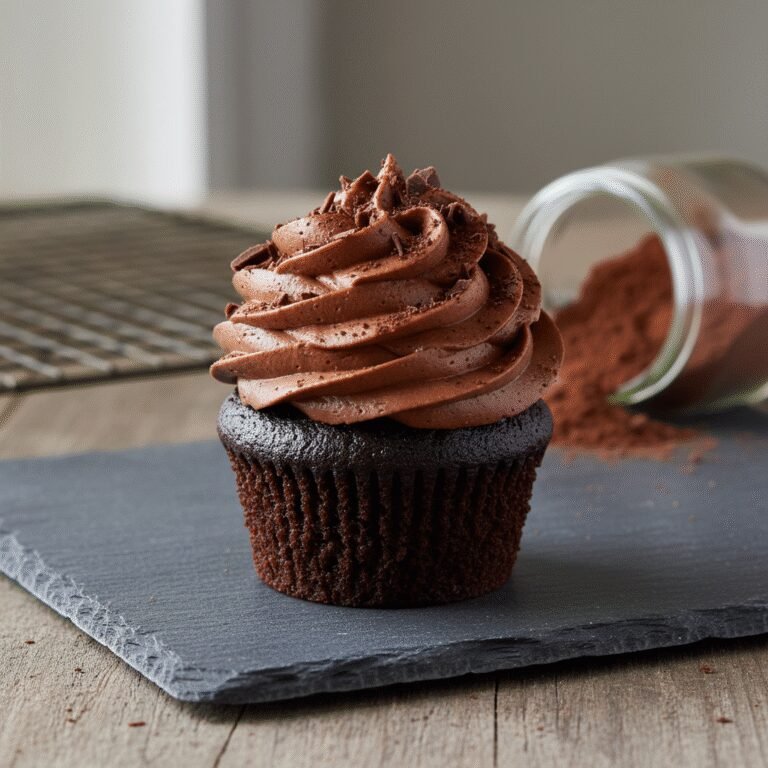
What frosting goes best with these?
A classic American Vanilla Buttercream is the traditional choice, but Chocolate Fudge Frosting or Cream Cheese Frosting are also delicious pairings.
Conclusion
There is truly nothing satisfying like seeing a child’s eyes light up when you present a tray of homemade cupcakes. This Moist Vanilla Cupcake recipe is more than just a set of instructions; it is a reliable companion for your family’s most cherished milestones. By combining the richness of butter, the longevity of oil, and the tenderness of sour cream, you create a treat that is superior to anything you can buy at a store. So, preheat that oven, grab your sprinkles, and get ready to be the hero of the birthday party. Happy baking!