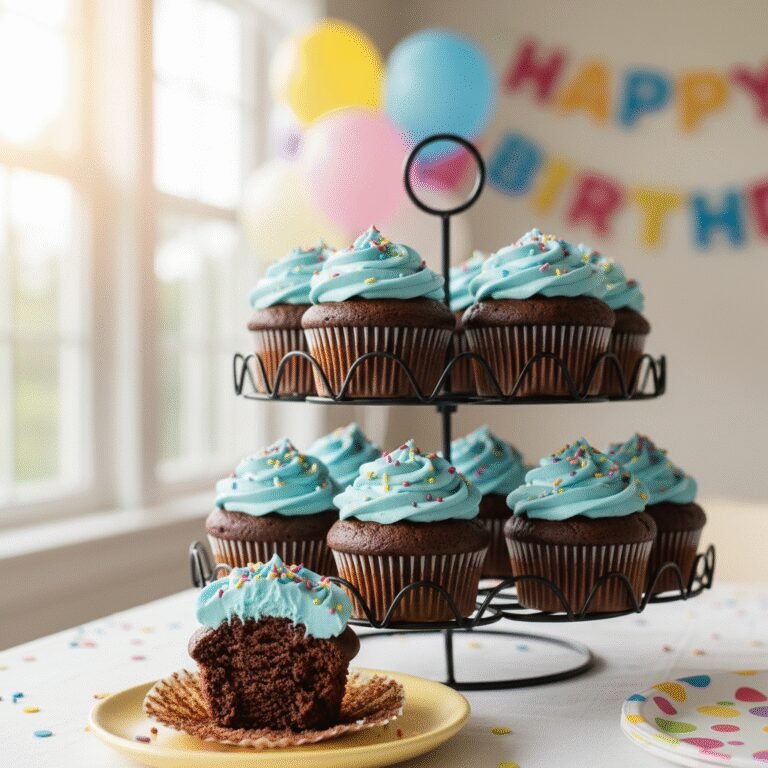
The Ultimate Moist Vanilla Cupcake For Birthday Party Recipe
Moist Vanilla Cupcake For Birthday Party Recipe
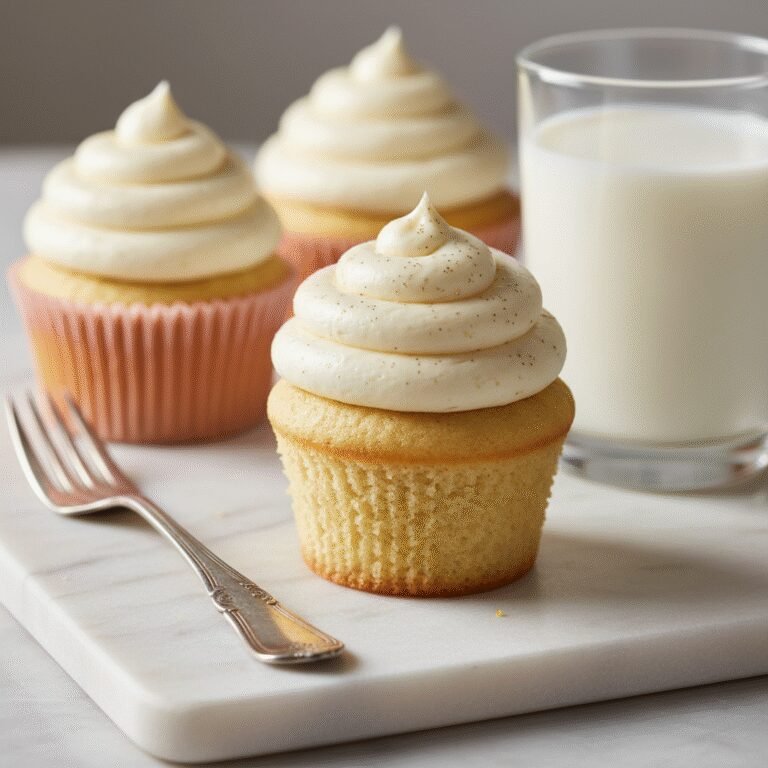
Discover the secret to the most tender, melt-in-your-mouth vanilla cupcakes you have ever tasted. Perfect for birthday parties, these fluffy delights are topped with a creamy buttercream that will have guests begging for the recipe.
20 minutes
18 minutes
45 minutes
12 Cupcakes
Dessert
Baking
American
Vegetarian
There is something undeniably nostalgic and heartwarming about a classic vanilla cupcake. It is the quintessential birthday treat, a symbol of celebration that transcends generations. But let’s be honest: not all vanilla cupcakes are created equal. We have all experienced the disappointment of biting into a dry, lackluster cake that crumbles into dust or tastes vaguely of cardboard. That ends today. This recipe is the result of years of testing, tweaking, and obsessing over the perfect crumb. We are talking about a cupcake that is incredibly moist, with a plush, velvety texture that supports a swirl of frosting without being dense or heavy. The flavor is pure, aromatic vanilla—not just a background note, but the star of the show. Whether you are planning a first birthday smash cake session, a sweet sixteen, or a milestone celebration for a grandparent, these cupcakes are the reliable, show-stopping canvas you need. They are sturdy enough to hold up to fondant decorations yet delicate enough to melt on your tongue. In this post, we are diving deep into the science of moisture, the importance of room temperature ingredients, and the specific mixing method that guarantees a flat, frost-able top every single time. Get ready to elevate your baking game and become the designated cupcake baker for every family event moving forward. This isn’t just a recipe; it is your new secret weapon for birthday success.
History & Origins
The humble cupcake has a history as rich and sweet as its frosting. While cakes have been around for centuries, the concept of baking them in small, individual cups is a relatively modern innovation in the grand timeline of culinary history. The earliest known reference to what we would call a cupcake today can be found in Amelia Simmons’ 1796 cookbook, ‘American Cookery’, where she describes ‘a light cake to bake in small cups’. This was a revolutionary idea at the time, as it significantly reduced baking time and allowed for more consistent heat distribution compared to the massive, dense hearth cakes of the era. The term ‘cupcake’ itself began to appear in the early 19th century, though it sometimes referred to the method of measurement (measuring ingredients by the cup rather than by weight, similar to the ‘1-2-3-4 cake’) rather than the vessel. As the industrial revolution brought about mass-produced muffin tins and baking liners, the cupcake solidified its place in American culture. By the mid-20th century, with the rise of the suburban birthday party and the convenience of boxed mixes, cupcakes became the de facto birthday treat for children. Today, we are seeing a renaissance of the artisanal cupcake, moving away from artificial flavors and back to high-quality, homemade ingredients. This recipe honors that long tradition, taking the convenience of the individual portion and elevating it with gourmet techniques and premium vanilla, bridging the gap between the hearth cakes of the 1700s and the modern dessert table.
Why This Recipe Works
The success of this recipe lies in the careful balance of fat, sugar, and moisture-retaining ingredients. Unlike standard recipes that rely solely on butter, which provides flavor but can dry out, or oil, which provides moisture but lacks flavor, this recipe utilizes a hybrid approach. We use high-quality unsalted butter for that classic, rich taste, but we supplement it with vegetable oil to ensure the crumb stays soft for days. Furthermore, the addition of sour cream is a game-changer. The acidity in the sour cream tenderizes the gluten strands in the flour, resulting in a texture that is soft rather than chewy, while its thickness adds body to the batter without thinning it out like milk alone would. We also employ a specific mixing method: beating the butter and sugar until pale and fluffy incorporates air, which acts as a mechanical leavening agent alongside the baking powder. This creates a fine, even crumb structure. Finally, using both vanilla extract and a touch of vanilla bean paste (if available) creates a multi-dimensional flavor profile that perfumed the entire kitchen. The result is a cupcake that is structurally sound enough to pile high with frosting, yet remains moist and tender long after the candles have been blown out.
Why You’ll Love This Recipe
- ✓Stays moist for up to 4 days thanks to the sour cream and oil blend.
- ✓Perfectly flat tops that are easy to decorate.
- ✓intense vanilla flavor using pure extract.
- ✓Sturdy crumb that doesn’t fall apart when you bite into it.
- ✓Freezer-friendly for making ahead of big parties.
Equipment You’ll Need
- ✓12-cup muffin tin
- ✓Cupcake liners
- ✓Stand mixer or electric hand mixer
- ✓Whisk
- ✓Large mixing bowl
- ✓Medium mixing bowl
- ✓Wire cooling rack
- ✓Ice cream scoop (for even portioning)
Ingredients
- ✓1 2/3 cups all-purpose flour
- ✓1 cup granulated sugar
- ✓1/4 teaspoon baking soda
- ✓1 teaspoon baking powder
- ✓3/4 cup salted butter, room temperature
- ✓3 egg whites, room temperature
- ✓1 tablespoon vanilla extract
- ✓1/2 cup sour cream, room temperature
- ✓1/2 cup whole milk, room temperature
Instructions
- Preheat your oven to 350°F (175°C) and line a muffin tin with paper cupcake liners.
- In a medium bowl, whisk together the flour, baking powder, baking soda, and salt. Set aside.
- In the bowl of a stand mixer fitted with the paddle attachment (or a large bowl if using a hand mixer), cream the butter and sugar together on medium-high speed for about 3-4 minutes until the mixture is pale and fluffy.
- Add the egg whites one at a time, beating well after each addition. Scrape down the sides of the bowl to ensure everything is incorporated.
- Mix in the vanilla extract and the sour cream until combined.
- Reduce the mixer speed to low. Add half of the dry ingredients to the wet mixture and mix until just combined.
- Pour in the milk and mix until incorporated, then add the remaining dry ingredients. Mix until just combined and no streaks of flour remain. Do not overmix.
- Use an ice cream scoop or spoon to divide the batter evenly among the cupcake liners, filling them about 2/3 full.
- Bake for 18-20 minutes, or until a toothpick inserted into the center comes out clean or with just a few moist crumbs.
- Allow the cupcakes to cool in the pan for 5 minutes, then transfer them to a wire rack to cool completely before frosting.
Expert Cooking Tips
- ✓Ensure all cold ingredients (eggs, milk, sour cream) are at room temperature before starting. This prevents the batter from curdling and ensures an even rise.
- ✓Do not overmix the batter once the flour is added. Overmixing develops gluten and leads to tough, dense cupcakes.
- ✓Use an oven thermometer to verify your oven temperature. Even a few degrees off can cause cupcakes to brown too quickly or sink in the middle.
- ✓Fill the liners only 2/3 full. Overfilling will cause the batter to spill over and create ‘muffin tops’ that are messy to frost.
- ✓Wait until the cupcakes are completely cool before frosting, otherwise, your buttercream will melt and slide right off.
Substitutions and Variations
If you do not have sour cream on hand, plain full-fat Greek yogurt is an excellent 1:1 substitute that provides similar moisture and acidity. For a dairy-free version, you can substitute the butter with a high-quality plant-based butter stick (not tub margarine), the milk with almond or oat milk, and the sour cream with a dairy-free yogurt alternative, though the texture may be slightly less fluffy. Cake flour can be used instead of all-purpose flour for an even lighter crumb; if doing so, increase the amount to 1 3/4 cups + 2 tablespoons. If you prefer whole eggs over egg whites, use 2 whole large eggs, but note that the cake will have a more yellow color and a slightly richer, denser texture.
Common Mistakes to Avoid
One of the most common mistakes is scooping the flour directly with the measuring cup, which packs it down and leads to dry cupcakes. Always spoon the flour into the cup and level it off, or use a kitchen scale for precision. Another error is opening the oven door too early to check on them; the rush of cool air can cause the cupcakes to collapse. Wait until at least the 15-minute mark. Finally, using cold butter will prevent proper aeration during the creaming process, leading to a dense brick rather than a fluffy cake. Plan ahead and let your ingredients sit out for an hour.
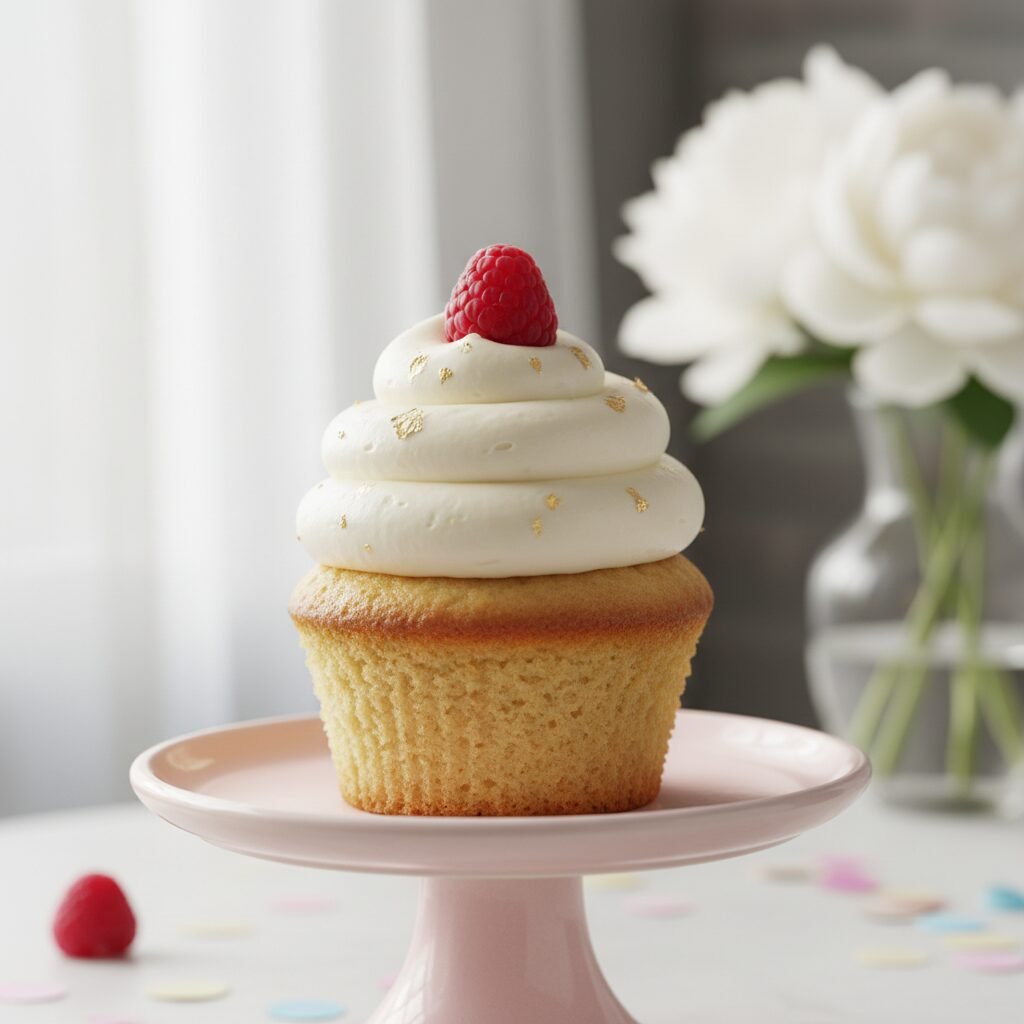
Serving Suggestions
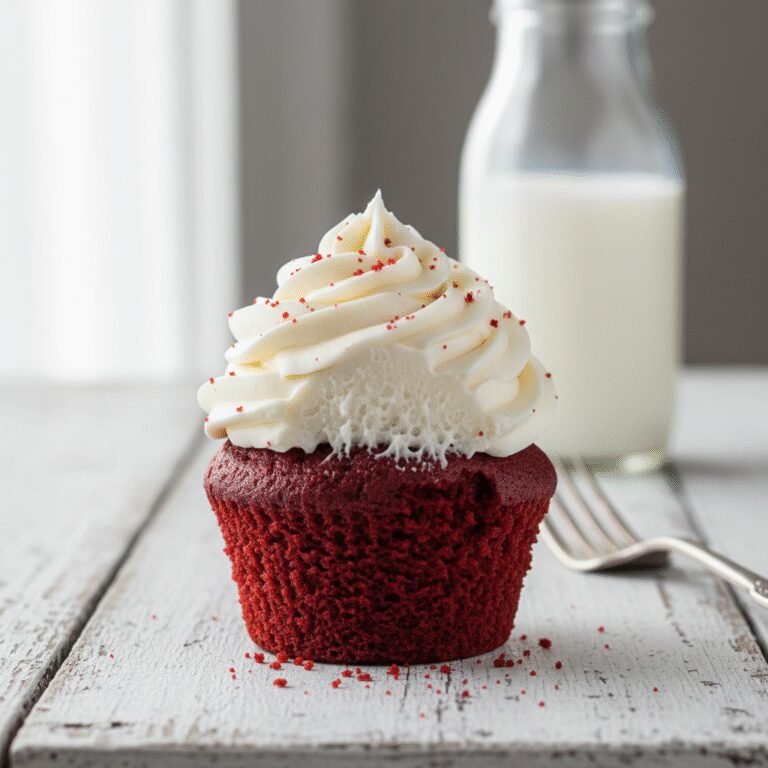
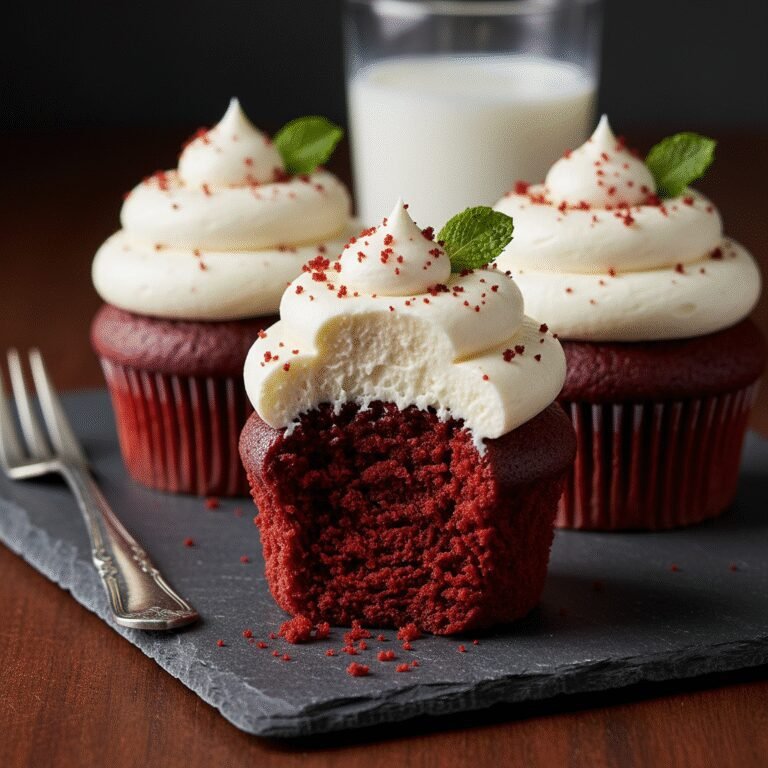
These cupcakes are the perfect canvas for a variety of toppings. Serve them with a classic American Buttercream, a silky Swiss Meringue Buttercream, or a rich Chocolate Ganache. For a birthday party, create a ‘cupcake bar’ where guests can add their own sprinkles, fruit compotes, or caramel drizzle. They pair beautifully with a cold glass of milk or a hot cup of coffee for the adults. Arrange them on a tiered stand for an elegant centerpiece.
Storage and Reheating Tips
Store unfrosted cupcakes in an airtight container at room temperature for up to 4 days. If frosted with buttercream, they can also stay at room temperature for 2 days, but if your frosting contains cream cheese or fresh cream, they must be refrigerated. To freeze, wrap unfrosted cupcakes individually in plastic wrap and place them in a freezer-safe bag for up to 3 months. Thaw on the counter for an hour before serving. Frosted cupcakes can be frozen by flash-freezing them on a baking sheet until hard, then wrapping them carefully.
Nutrition Facts (Estimated)
| Serving Size | 1 cupcake |
| Calories | 320 |
| Fat | 16g |
| Saturated Fat | 7g |
| Unsaturated Fat | 8g |
| Trans Fat | 0g |
| Cholesterol | 45mg |
| Sodium | 150mg |
| Carbohydrates | 40g |
| Fiber | 0.5g |
| Sugar | 24g |
| Protein | 3g |
Frequently Asked Questions
Can I make this recipe into a cake instead?
Yes, this batter works well for cakes. It will fill two 8-inch round cake pans. You will need to increase the baking time to approximately 30-35 minutes.
Why did my cupcakes sink in the middle?
Sinking usually happens because the cupcakes were underbaked, the oven door was opened too soon, or there was too much leavening (baking powder/soda) measured incorrectly.
Can I use salted butter?
The recipe calls for salted butter, but if you only have unsalted, simply add 1/4 teaspoon of fine salt to the dry ingredients.
How do I get the cupcakes to be perfectly white?
Using only egg whites instead of whole eggs helps keep the crumb white. Also, ensure you use clear vanilla extract if you want a stark white color, though real vanilla extract provides better flavor.
Can I double this recipe?
Absolutely. This recipe doubles very well. Just ensure your mixer bowl is large enough to handle the volume without overflowing.
Why are my cupcakes dry?
Dryness is usually caused by overbaking or adding too much flour. Check the cupcakes at the minimum baking time and measure flour by weight or the spoon-and-level method.
Do I have to use a stand mixer?
No, an electric hand mixer works perfectly fine. You can even mix by hand with a whisk and spatula, though it requires some serious arm strength to cream the butter and sugar properly.
Can I add sprinkles to the batter?
Yes! Fold in about 1/3 cup of ‘jimmies’ (cylinder sprinkles) at the very end to make Funfetti cupcakes. Avoid nonpareils (balls) as they tend to bleed color.
Conclusion
In conclusion, mastering the perfect vanilla cupcake is a milestone for any home baker, and this recipe is your ticket to that achievement. With its tender crumb, robust vanilla flavor, and foolproof moisture-retaining ingredients, it is destined to become your go-to for every birthday and celebration. Remember that baking is a science, so pay attention to your measurements and temperatures, but it is also an act of love. There is no greater joy than seeing the smiles on your friends’ and family’s faces as they bite into a homemade treat made specially for them. So preheat that oven, get your liners ready, and prepare to bake the best cupcakes of your life. Happy baking!