The Ultimate Moist Vanilla Cupcake With Chocolate Buttercream Recipe
Moist Vanilla Cupcake With Chocolate Buttercream Recipe
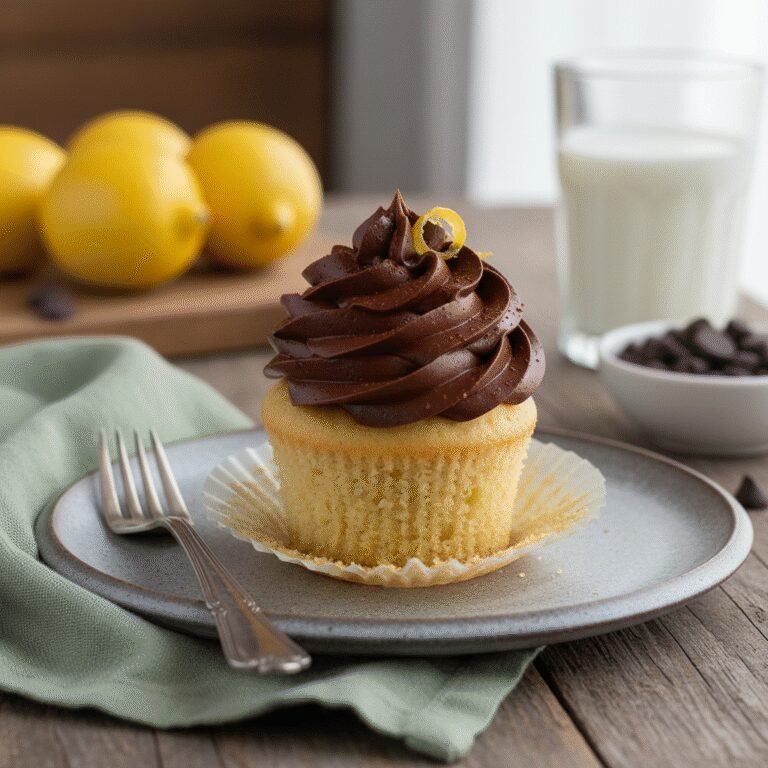
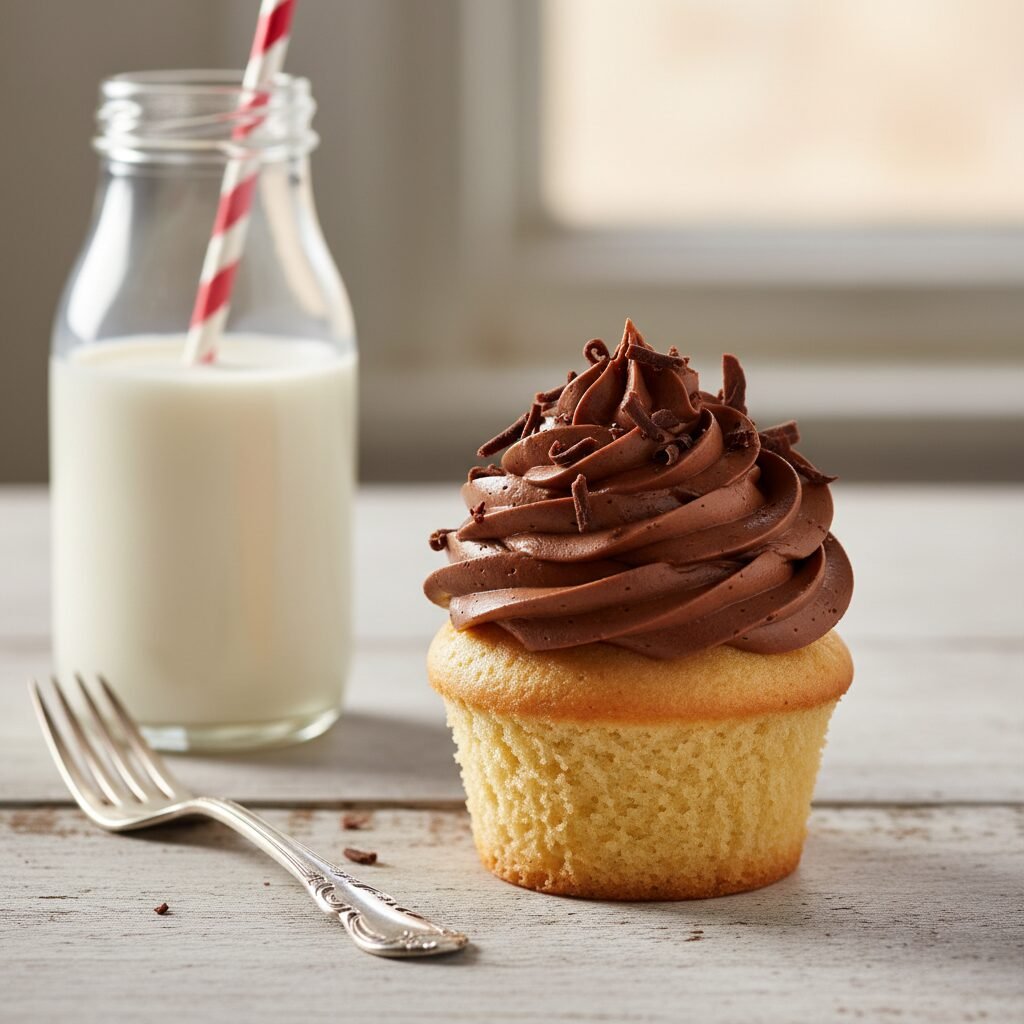
Say goodbye to dry, lackluster bakes and hello to the holy grail of desserts. These homemade vanilla cupcakes feature a tender, melt-in-your-mouth crumb and are crowned with a deeply rich, whipped chocolate buttercream that creates the perfect flavor contrast.
20 minutes
18 minutes
45 minutes
14 cupcakes
Dessert
Baking
American
Vegetarian
If you have ever bitten into a vanilla cupcake only to be met with a mouthful of dry, crumbly disappointment, you are certainly not alone. The quest for the perfect vanilla cupcake is one that has plagued home bakers and professionals alike for decades. Vanilla is often mistakenly viewed as ‘plain’ or ‘basic,’ but when executed correctly, it is a complex, aromatic, and deeply comforting flavor that serves as the perfect canvas for a rich frosting. This recipe is the result of years of testing, tweaking, and tasting to solve the dryness dilemma. We are moving away from the dense, muffin-like textures often found in quick recipes and steering clear of the airy, flavorless sponge of boxed mixes. Instead, we are aiming for a ‘bakery-style’ texture—one that is sturdy enough to hold a generous swirl of buttercream yet soft enough to dissolve on the tongue. The secret lies in the careful balance of fats and the precise incorporation of dairy. We use a combination of butter for that unmistakable flavor and oil to ensure the cake stays moist for days, not just hours. Paired with a chocolate buttercream that strikes the ideal balance between sweet and bitter, thanks to high-quality cocoa powder and a splash of heavy cream, this duo is nostalgic yet sophisticated. Whether you are baking for a child’s birthday party, a bridal shower, or simply a Tuesday night craving, these cupcakes promise to deliver that quintessential ‘yellow cake with chocolate frosting’ experience, elevated to gourmet standards. Get your mixer ready, because this is about to become your new go-to standard for vanilla cake.
History & Origins
The humble cupcake has a surprisingly long and storied history that predates the modern muffin tin. The concept of baking small cakes in individual cups can be traced back to 1796, when Amelia Simmons wrote ‘American Cookery,’ the first cookbook authored by an American. In it, she described ‘a light cake to bake in small cups.’ However, the term ‘cupcake’ itself did not appear in print until 1828 in Eliza Leslie’s ‘Receipts.’ Interestingly, in the 19th century, the term ‘cupcake’ had a dual meaning. It could refer to the vessel it was baked in—often pottery ramekins or tea cups before the invention of metal tins—or it could refer to the method of measurement. Before kitchen scales were common in American households, ingredients were measured by volume in cups (the famous 1-2-3-4 cake method: 1 cup butter, 2 cups sugar, 3 cups flour, 4 eggs). This revolutionized home baking, making it accessible to those who couldn’t read or didn’t own scales. The cupcake remained a staple of home cookery for over a century, but it wasn’t until the early 2000s that it exploded into a global pop culture phenomenon. The ‘cupcake craze,’ fueled largely by appearances in shows like ‘Sex and the City’ and the rise of boutique bakeries like Magnolia Bakery in New York City, transformed this childhood treat into a trendy, gourmet indulgence. Today, while trends like cronuts and cake pops come and go, the classic vanilla cupcake with chocolate frosting remains the enduring monarch of the dessert world, representing simple, unadulterated joy.
Why This Recipe Works
The success of this recipe hinges on a few key scientific principles of baking that ensure moisture retention and a tender crumb. First, we utilize a ‘mixed fat’ strategy. Butter is essential for flavor and structure; it contains water which turns to steam and helps leavening, but it is solid at room temperature, which can sometimes lead to a denser cake. By replacing a portion of the fat with vegetable oil, which remains liquid at room temperature, we guarantee that the cupcakes stay soft and moist even after they have cooled. Secondly, the inclusion of sour cream is a game-changer. Sour cream is acidic, and this acidity does two things: it breaks down the long strands of gluten in the flour, preventing toughness, and it activates the baking soda for a better rise. The high fat content in sour cream also adds richness without thinning the batter like milk or water might. Furthermore, we use cake flour instead of all-purpose flour. Cake flour has a lower protein content (usually around 7-9% compared to 10-12% for AP flour), which means less gluten formation. Less gluten means a softer, more velvety texture that is characteristic of high-end bakery cakes. Finally, the chocolate buttercream uses both butter and a splash of heavy cream, creating an emulsion that is airy and fluffy rather than greasy and gritty.
Why You’ll Love This Recipe
- ✓Uses a mix of butter and oil for the ultimate moist texture.
- ✓Sour cream adds a subtle tang and tenderizes the gluten.
- ✓The chocolate buttercream is whipped to a mousse-like consistency.
- ✓Holds up perfectly for 2-3 days without drying out.
- ✓Versatile base that can be modified with fillings or different extracts.
Equipment You’ll Need
- ✓Stand mixer or electric hand mixer
- ✓12-cup muffin tin
- ✓Cupcake liners
- ✓Whisk
- ✓Rubber spatula
- ✓Cooling rack
- ✓Piping bag and star tip (e.g., Wilton 1M)
Ingredients
- ✓1 3/4 cups cake flour (spooned and leveled)
- ✓1 cup granulated sugar
- ✓1 tsp baking powder
- ✓1/4 tsp baking soda
- ✓1/2 tsp salt
- ✓1/2 cup unsalted butter, softened to room temperature
- ✓1/4 cup vegetable oil (or canola oil)
- ✓2 large eggs, room temperature
- ✓1/2 cup full-fat sour cream, room temperature
- ✓1/2 cup whole milk, room temperature
- ✓2 tsp pure vanilla extract
- ✓Seeds scraped from half a vanilla bean (optional)
- ✓FOR THE BUTTERCREAM:
- ✓1 cup unsalted butter, softened
- ✓3 1/2 cups powdered sugar
- ✓1/2 cup unsweetened cocoa powder (Dutch-processed preferred)
- ✓1/4 cup heavy cream
- ✓1 tsp pure vanilla extract
- ✓1/4 tsp fine sea salt
Instructions
- Preheat your oven to 350°F (175°C). Line a standard muffin tin with paper liners. This recipe yields about 14 cupcakes, so have a second pan ready or bake in two batches.
- In a medium bowl, whisk together the cake flour, baking powder, baking soda, and salt. Set this dry mixture aside.
- In the bowl of a stand mixer fitted with the paddle attachment (or a large bowl using a hand mixer), beat the softened butter and granulated sugar on medium-high speed for about 3 minutes. The mixture should look pale, fluffy, and aerated.
- Add the vegetable oil and vanilla extract (and bean paste if using) to the butter mixture. Beat for another minute until fully combined.
- Add the eggs one at a time, beating well after each addition and scraping down the sides of the bowl to ensure everything is incorporated.
- In a small measuring cup or bowl, whisk together the sour cream and whole milk.
- Reduce the mixer speed to low. Add half of the dry ingredients to the batter and mix just until the flour streaks disappear.
- Pour in the sour cream and milk mixture, mixing on low until combined.
- Add the remaining dry ingredients and mix gently. Stop the mixer when there are still a few streaks of flour visible and finish mixing by hand with a rubber spatula. Do not overmix.
- Fill the cupcake liners about 2/3 full. Do not overfill, or they will spill over and sink in the middle.
- Bake for 16-19 minutes, or until a toothpick inserted into the center comes out clean or with just a few moist crumbs. The tops should spring back when lightly touched.
- Allow the cupcakes to cool in the pan for 5 minutes, then transfer them to a wire rack to cool completely before frosting.
- To make the frosting: Beat the softened butter on medium-high speed for 5 minutes until it is almost white in color and very creamy.
- Sift the powdered sugar and cocoa powder together to remove lumps. Gradually add this to the butter on low speed.
- Once the sugar is incorporated, increase speed to medium and add the vanilla extract, salt, and heavy cream.
- Whip on high speed for 3-4 minutes until the buttercream is light, airy, and fluffy. If it is too stiff, add another teaspoon of cream.
- Pipe the frosting onto the completely cooled cupcakes using a piping bag and your favorite tip.
Expert Cooking Tips
- ✓Room Temperature Ingredients are Non-Negotiable: Cold ingredients will not emulsify properly, leading to a curdled batter and dense cupcakes.
- ✓Measure Flour Correctly: If you don’t have a scale, use the spoon-and-level method. Scooping directly with the measuring cup packs the flour and dries out the cake.
- ✓Don’t Overmix: Once the flour hits the liquid, gluten begins to form. Mix only until combined to keep them tender.
- ✓Oven Thermometer: Most ovens are not accurate. Use an internal thermometer to ensure you are baking at the true 350°F.
- ✓Cooling is Key: Never frost a warm cupcake. The butter in the frosting will melt instantly, creating a sliding mess.
Substitutions and Variations
If you cannot find cake flour, you can make a DIY version by removing 2 tablespoons of all-purpose flour from 1 cup and replacing it with 2 tablespoons of cornstarch; sift 3 times to combine. For a dairy-free version, substitute the butter with high-quality plant-based butter sticks (not tub margarine) and use unsweetened almond or soy milk in place of cow’s milk; replace sour cream with a dairy-free yogurt alternative. If you don’t have sour cream, full-fat Greek yogurt is an excellent 1:1 substitute that provides the same acidity and fat content. For the oil, melted coconut oil can work, though it may impart a slight coconut flavor; grapeseed oil is a great neutral alternative. In the frosting, you can use half shortening and half butter if you need the frosting to withstand higher temperatures, though the mouthfeel will be slightly waxy.
Common Mistakes to Avoid
The most common mistake is overbaking. Cupcakes continue to cook slightly from residual heat after being removed from the oven; pull them when a few moist crumbs still cling to the toothpick. Another error is using cold butter for the frosting. If the butter is too cold, it won’t whip up to that ethereal, cloud-like texture; if it’s too warm or melted, the frosting will be soupy and won’t hold its shape. A frequent issue is filling the liners too high. ‘More is better’ does not apply here; overfilled cups will mushroom over the edges, become crispy, and often collapse in the center due to lack of structural support. Finally, skipping the sifting step for the powdered sugar and cocoa in the frosting often results in gritty, lumpy buttercream that clogs piping tips.
Serving Suggestions
These cupcakes are best served at room temperature. If they have been refrigerated, allow them to sit on the counter for 30-45 minutes before eating to let the buttercream soften and the cake crumb relax. They pair beautifully with a cold glass of milk or a hot cup of dark roast coffee, which cuts through the sweetness of the frosting. For a party platter, garnish with chocolate sprinkles, a fresh raspberry, or a drizzle of salted caramel to elevate the presentation.
Storage and Reheating Tips
Store unfrosted cupcakes in an airtight container at room temperature for up to 2 days. Once frosted, they can stay at cool room temperature for a day, but for longer storage, place them in the refrigerator for up to 4 days. If refrigerating, ensure the container is airtight to prevent the fridge air from drying out the cake. These freeze exceptionally well; wrap unfrosted cupcakes individually in plastic wrap and freeze for up to 3 months. To freeze frosted cupcakes, place them on a baking sheet in the freezer for an hour until the frosting is hard, then wrap them or place them in a freezer-safe container. Thaw on the counter before serving.
Nutrition Facts (Estimated)
| Serving Size | 1 cupcake |
| Calories | 380 |
| Fat | 20g |
| Saturated Fat | 11g |
| Unsaturated Fat | 8g |
| Trans Fat | 0g |
| Cholesterol | 55mg |
| Sodium | 190mg |
| Carbohydrates | 48g |
| Fiber | 1g |
| Sugar | 28g |
| Protein | 3g |
Frequently Asked Questions
Can I double this recipe?
Yes, this recipe doubles easily. Just be sure to use a large enough bowl and mixer. When baking multiple pans at once, rotate the pans halfway through baking to ensure even heat distribution.
Why did my cupcakes sink in the middle?
Sinking usually happens for two reasons: either the oven door was opened too early, causing a temperature drop that collapsed the rising structure, or the batter was over-leavened (too much baking powder/soda). Ensure your oven is fully preheated and resist peeking.
Can I use this batter for a layer cake?
Absolutely. This recipe will make two 8-inch round cakes or three 6-inch round cakes. You will need to increase the baking time to approximately 25-30 minutes.
Why is my buttercream grainy?
Grainy buttercream is usually caused by powdered sugar that wasn’t dissolved or sifted. Ensure you sift your sugar and cocoa powder. Also, beat the butter thoroughly before adding sugar.
Can I use salted butter instead?
You can, but you should omit the additional salt listed in the ingredients. Unsalted butter is generally preferred in baking because it allows you to control the exact sodium level.
How do I get the flat ‘bakery style’ top?
Baking at a slightly lower temperature (like 325°F) for a longer time can help flatten the dome, but this recipe is designed to have a gentle dome. Do not overfill the liners, as this contributes to mushroom tops.
Can I make the batter ahead of time?
It is not recommended to let the batter sit. The baking powder and soda begin reacting as soon as they touch the wet ingredients. If you wait too long to bake, the cupcakes won’t rise properly.
My cupcakes wrappers are peeling away, why?
This often happens if the cupcakes are stored in an airtight container while they are still warm. Moisture builds up and steams the wrapper away. Let them cool completely on a rack first.
Can I use Dutch-process cocoa for the frosting?
Yes, and it is actually recommended! Dutch-process cocoa is less acidic and has a darker color and fudgier flavor than natural cocoa powder.
How do I transport these without ruining the frosting?
Use a specialized cupcake carrier with inserts that hold the base of the cupcake. If you don’t have one, place them in a shallow box close together so they don’t slide, or use a little dab of frosting on the bottom of the wrapper to ‘glue’ them to the box.
Conclusion
There is something undeniably magical about a scratch-made vanilla cupcake. It brings out the inner child in all of us and serves as a reminder that the best things in life are often the simplest. This Moist Vanilla Cupcake with Chocolate Buttercream recipe is more than just a list of ingredients; it is a reliable companion for your celebrations, big and small. By following the tips and science laid out above, you can bypass the trial and error and go straight to the delicious results. So, tie on that apron, preheat the oven, and get ready to share a little bit of love, one cupcake at a time. Happy baking!