The Ultimate Moist Vanilla Cupcake With Vanilla Buttercream
Moist Vanilla Cupcake With Vanilla Buttercream Recipe
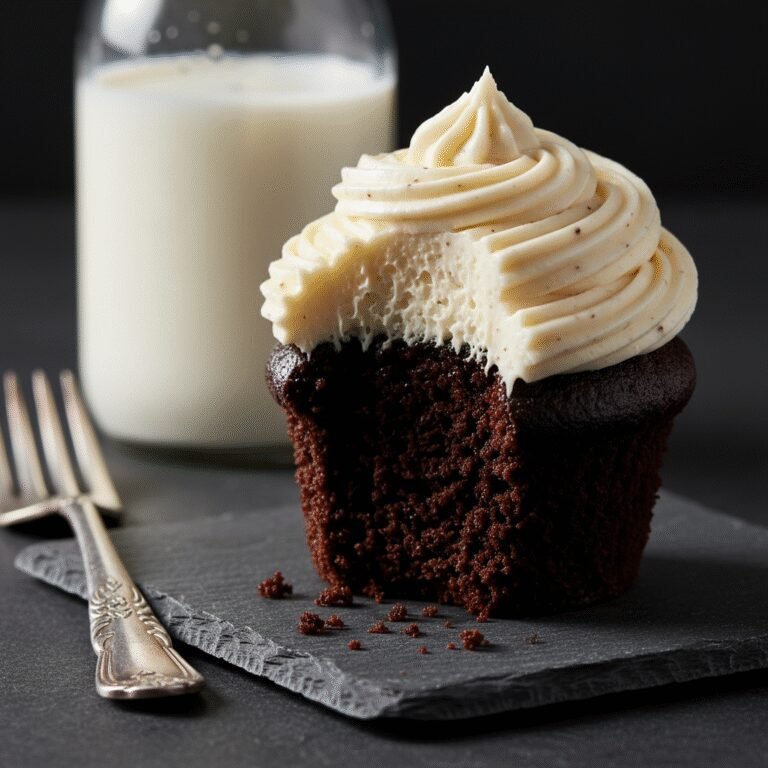
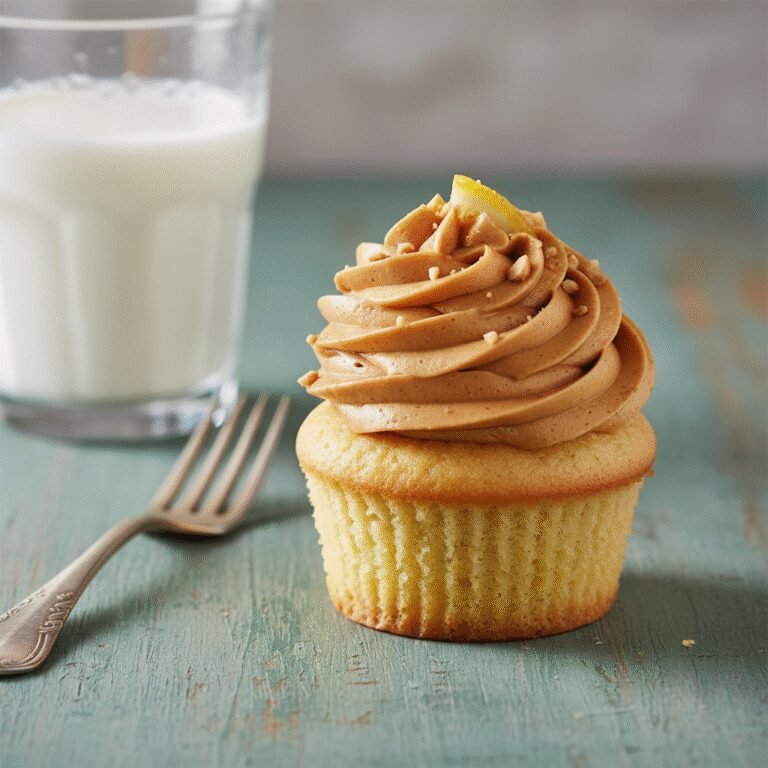
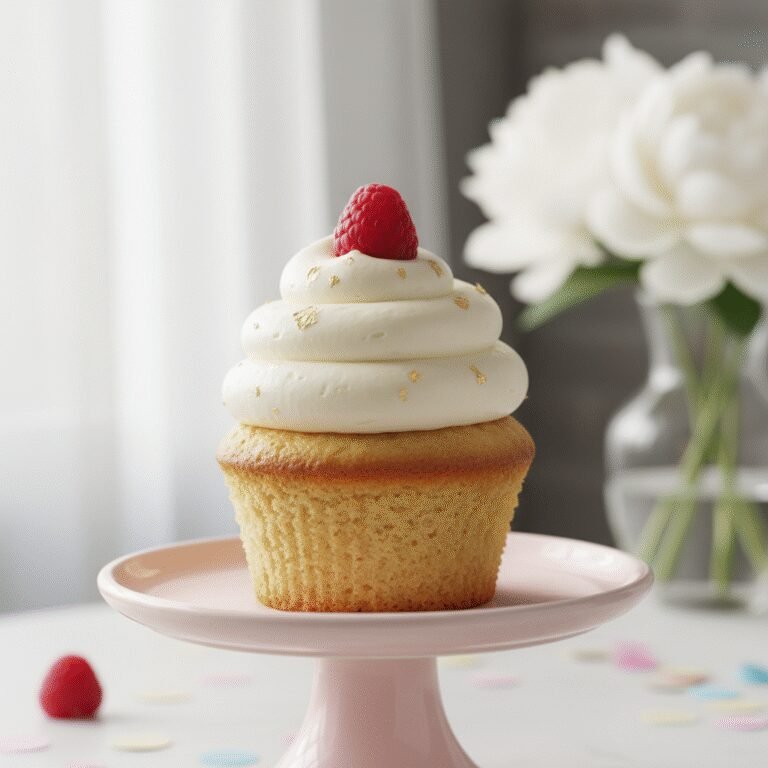
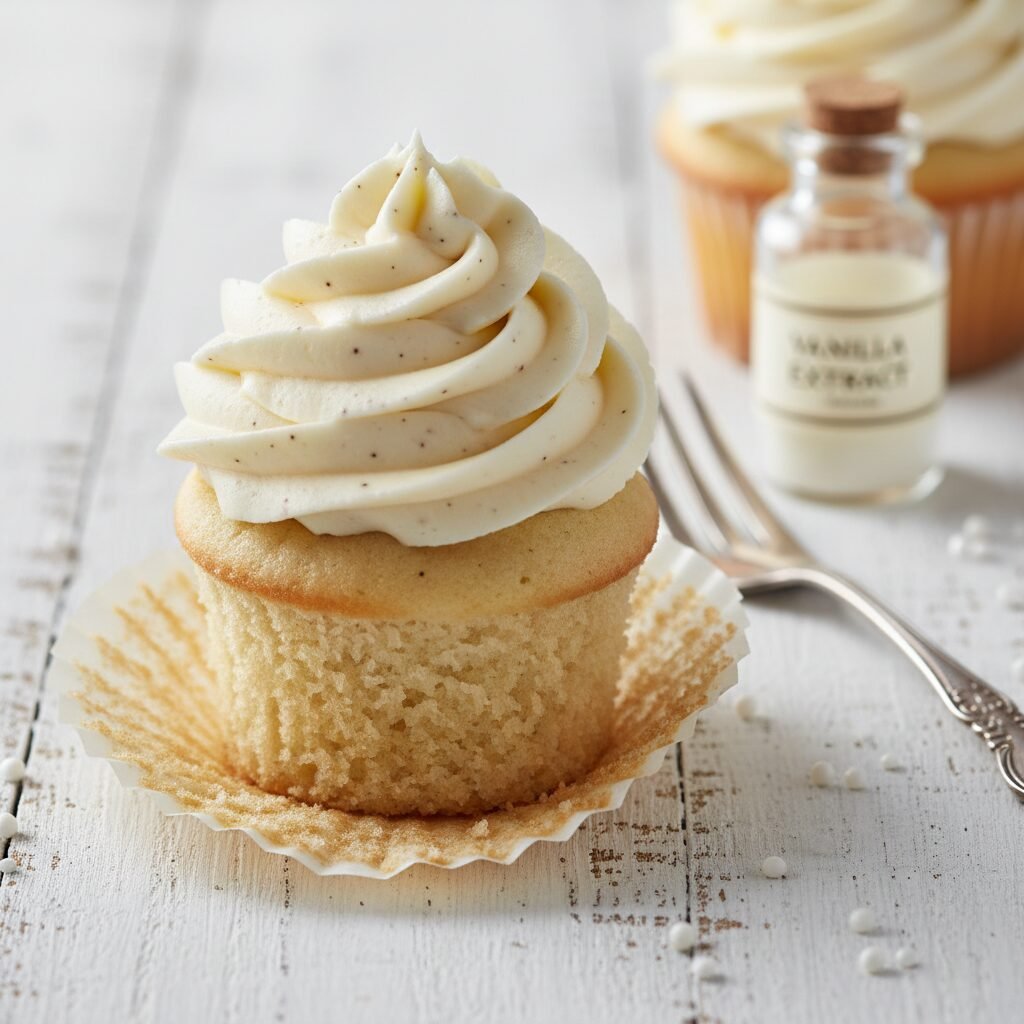
Unlock the secret to the perfect bakery-style treat with this Moist Vanilla Cupcake recipe. Paired with a velvety, cloud-like vanilla buttercream, these cupcakes offer a tender crumb and rich flavor that melts in your mouth, making them the ultimate crowd-pleaser for any occasion.
20 minutes
18 minutes
50 minutes
12-14 Cupcakes
Dessert
Baking
American
Vegetarian
There is a pervasive myth in the culinary world that vanilla is synonymous with ‘plain’ or ‘boring.’ However, any true dessert aficionado knows that achieving the perfect vanilla cupcake is perhaps the holy grail of baking. It requires a delicate balance of art and science to create a crumb that is tender but not crumbly, moist but not dense, and flavorful without being cloying. This recipe for the Ultimate Moist Vanilla Cupcake with Vanilla Buttercream is the result of years of testing, tweaking, and tasting. We have moved beyond the dry, lackluster cakes of the past to bring you a confection that truly celebrates the complexity of the vanilla bean. The magic lies in the specific combination of fats; we utilize both high-quality unsalted butter for that unmistakable rich flavor and a neutral oil to ensure the cake stays incredibly moist for days. The addition of sour cream introduces a slight tang that cuts through the sweetness while tenderizing the gluten strands, resulting in a velvety texture that rivals any high-end bakery. Topped with a buttercream that is whipped to an ethereal lightness, this cupcake is not just a dessert; it is an experience. Whether you are baking for a birthday party, a wedding shower, or simply a Tuesday afternoon pick-me-up, this recipe promises to elevate your baking game. Prepare your senses for the intoxicating aroma of warm sugar and vanilla that will fill your kitchen, signaling that something truly special is about to be served.
History & Origins
The humble cupcake, a staple of American celebrations, has a history as rich and layered as the frosting that tops it. The concept of baking small cakes in individual containers dates back to the late 18th century. One of the earliest known references is found in Amelia Simmons’ 1796 cookbook, ‘American Cookery,’ where she describes ‘a light cake to bake in small cups.’ This marked a revolutionary shift in baking, as small cakes baked significantly faster than large hearth cakes, making them more accessible to the home cook. The term ‘cupcake’ itself emerged in the early 19th century, though it initially referred to the method of measurement—the 1-2-3-4 cake (1 cup butter, 2 cups sugar, 3 cups flour, 4 eggs)—rather than the vessel. Before the invention of the muffin tin, these treats were baked in heavy pottery cups or ramekins, hence the name. The commercialization of the cupcake began in earnest in 1919 when Hostess introduced the ‘CupCake,’ originally a snack cake. However, the modern cupcake renaissance we are familiar with today can be traced back to the early 2000s, largely credited to the pop culture phenomenon of ‘Sex and the City’ featuring New York’s Magnolia Bakery. This sparked a global craze, transforming the cupcake from a child’s lunchbox treat into a gourmet luxury item. Today, the vanilla cupcake stands as a testament to this evolution, bridging the gap between nostalgic home baking and sophisticated culinary artistry.
Why This Recipe Works
This recipe succeeds where many others fail because it scientifically addresses the two biggest complaints about homemade vanilla cupcakes: dryness and lack of flavor. Most recipes rely solely on butter, which, while flavorful, is 80% fat and 20% water. When the water evaporates during baking, the cake can become dry. By substituting a portion of the butter with vegetable oil, which is 100% fat and liquid at room temperature, we coat the flour proteins more effectively, preventing tough gluten formation and ensuring the cupcake retains moisture long after it has cooled. Furthermore, the inclusion of sour cream is a game-changer. The acidity in the sour cream reacts with the baking soda (if used) or simply assists the baking powder, creating a finer, more velvety crumb structure. It also adds a richness that milk alone cannot provide. Regarding flavor, we double down on vanilla. We use pure vanilla extract in the batter and the frosting, and we cream the butter and sugar for a full 3-5 minutes. This process, known as mechanical leavening, incorporates air bubbles into the batter, which expand during baking to create a high, domed top and a light texture. This recipe is a masterclass in balancing moisture-retaining ingredients with structural integrity.
Why You’ll Love This Recipe
- ✓Stays moist for up to 4 days thanks to the oil and sour cream blend.
- ✓Perfectly domed tops that are ideal for decorating.
- ✓Intense, pure vanilla flavor using high-quality extract.
- ✓Velvety soft crumb that is tender but sturdy enough for heavy frosting.
- ✓Simple, one-bowl method for the frosting.
- ✓Versatile base that can be filled or flavored with other extracts.
Equipment You’ll Need
- ✓12-cup muffin tin
- ✓Cupcake liners
- ✓Stand mixer or electric hand mixer
- ✓Large mixing bowl
- ✓Medium mixing bowl
- ✓Whisk
- ✓Rubber spatula
- ✓Wire cooling rack
- ✓Piping bag and star tip (e.g., Wilton 1M)
Ingredients
- ✓1 1/4 cups Cake flour (spooned and leveled)
- ✓1 1/4 teaspoons Baking powder
- ✓1/4 teaspoon Salt
- ✓1/2 cup Unsalted butter, softened to room temperature
- ✓3/4 cup Granulated white sugar
- ✓2 Large eggs, room temperature
- ✓2 teaspoons Pure vanilla extract
- ✓1/4 cup Vegetable oil (or canola oil)
- ✓1/2 cup Sour cream, room temperature (full fat is best)
- ✓1/4 cup Whole milk, room temperature
- ✓FOR THE BUTTERCREAM:
- ✓1 cup Unsalted butter, softened slightly cool
- ✓3 – 4 cups Powdered sugar (confectioners sugar)
- ✓2 – 3 tablespoons Heavy cream or whole milk
- ✓1 1/2 teaspoons Pure vanilla extract
- ✓Pinch of salt (to taste)
Instructions
- Preheat your oven to 350°F (175°C). Line a 12-cup muffin tin with cupcake liners.
- In a medium bowl, whisk together the cake flour, baking powder, and salt. Set aside.
- In the bowl of a stand mixer fitted with the paddle attachment (or a large bowl with a hand mixer), beat the softened butter and granulated sugar on medium-high speed for 3-4 minutes until the mixture is pale, fluffy, and aerated.
- Add the eggs one at a time, beating well after each addition and scraping down the sides of the bowl. Beat in the vanilla extract and vegetable oil until combined.
- Reduce the mixer speed to low. Add half of the dry ingredients to the wet mixture and mix until just combined.
- Add the sour cream and milk, mixing until incorporated. Then, add the remaining dry ingredients. Mix until just combined and no streaks of flour remain. Do not overmix.
- Fill the cupcake liners about 2/3 to 3/4 full. Do not overfill, or they will spill over and flatten.
- Bake for 16-19 minutes, or until a toothpick inserted into the center comes out clean or with just a few moist crumbs. The tops should spring back when lightly touched.
- Allow the cupcakes to cool in the pan for 5 minutes, then transfer them to a wire rack to cool completely before frosting.
- To make the buttercream: Beat the butter in a stand mixer on medium speed for 5 minutes until it is almost white in color and very creamy.
- Gradually add the powdered sugar, one cup at a time, mixing on low speed. Once incorporated, increase to high speed for a minute.
- Add the heavy cream, vanilla extract, and a pinch of salt. Whip on medium-high speed for another 3-4 minutes until the frosting is light, airy, and fluffy.
- Pipe the frosting onto the completely cooled cupcakes using a piping bag and your preferred tip.
Expert Cooking Tips
- ✓Ensure all cold ingredients (eggs, milk, sour cream, butter) are at room temperature to prevent the batter from curdling.
- ✓Use cake flour instead of all-purpose flour for a significantly lighter and more tender crumb.
- ✓Do not overmix the batter once the flour is added; stop as soon as the flour streaks disappear to avoid dense cupcakes.
- ✓Invest in an oven thermometer to ensure your oven is actually at 350°F, as many ovens run hot or cold.
- ✓Beat the buttercream for the full recommended time; this introduces air and removes the ‘greasy’ butter taste.
- ✓Use a cookie scoop to portion the batter evenly so all cupcakes bake at the same rate.
Substitutions and Variations
Baking is chemistry, so substitutions should be made with care, but there are options. If you do not have cake flour, you can make a DIY version by measuring 1 cup of all-purpose flour, removing 2 tablespoons, and replacing them with 2 tablespoons of cornstarch, then sifting twice. If you don’t have sour cream, plain full-fat Greek yogurt is an excellent 1:1 substitute that provides similar acidity and fat content. For the vegetable oil, any neutral oil like canola or grapeseed works well; melted coconut oil can be used but may impart a slight coconut flavor. If you need to make this dairy-free, use a high-quality plant-based butter stick (not tub margarine) and a plant-based milk like almond or oat milk, though the texture may be slightly less rich. For the frosting, heavy cream yields the fluffiest results, but whole milk or half-and-half are acceptable substitutes.
Common Mistakes to Avoid
The most common mistake is overmixing the batter. Once the flour touches the liquid, gluten begins to form. If you mix too vigorously, you will end up with a tough, chewy muffin rather than a tender cupcake. Another frequent error is opening the oven door too early. This causes a sudden drop in temperature which can make the cupcakes collapse in the center. Wait until at least 15 minutes have passed before checking. Measuring flour incorrectly is also a culprit for dry cakes; always spoon the flour into the measuring cup and level it off with a knife, rather than scooping directly from the bag which packs the flour down. Finally, frosting warm cupcakes is a disaster waiting to happen; the butter in the frosting will melt and slide right off. Patience is key—let them cool completely.
Serving Suggestions
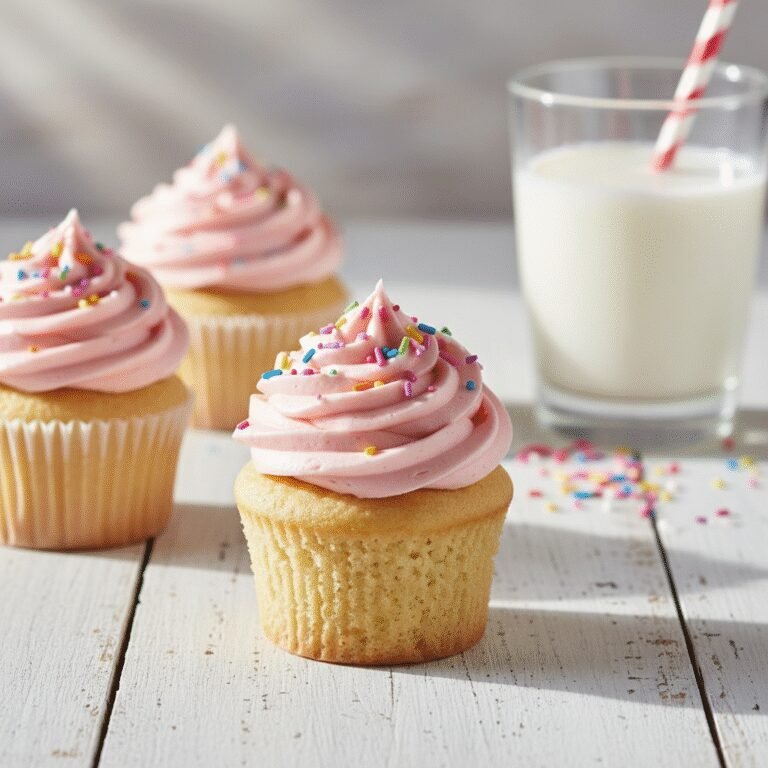
These cupcakes are best served at room temperature. If they have been refrigerated, allow them to sit on the counter for 20-30 minutes before eating to let the buttercream soften and the cake crumb relax. They are perfect on their own, but for a special occasion, garnish them with fresh berries, edible flowers, or sprinkles that match your party theme. For a decadent twist, drizzle with salted caramel or chocolate ganache just before serving. They pair beautifully with a glass of cold milk, a hot cup of Earl Grey tea, or a dark roast coffee to balance the sweetness.
Storage and Reheating Tips
Store unfrosted cupcakes in an airtight container at room temperature for up to 2 days. Once frosted, they can stay at room temperature for a day if the room isn’t too hot (buttercream can melt). For longer storage, place frosted cupcakes in an airtight container in the refrigerator for up to 4 days. To freeze, place unfrosted cupcakes in a freezer bag for up to 3 months. You can also freeze frosted cupcakes by flash-freezing them on a baking sheet for an hour until the frosting is hard, then wrapping them individually in plastic wrap and placing them in a container. Thaw in the refrigerator overnight or on the counter for an hour.
Nutrition Facts (Estimated)
| Serving Size | 1 cupcake |
| Calories | 380 |
| Fat | 18g |
| Saturated Fat | 10g |
| Unsaturated Fat | 7g |
| Trans Fat | 0g |
| Cholesterol | 65mg |
| Sodium | 140mg |
| Carbohydrates | 45g |
| Fiber | 0.5g |
| Sugar | 28g |
| Protein | 3g |
Frequently Asked Questions
Why did my cupcake wrappers peel away from the cake?
This often happens when moisture gets trapped between the cake and the paper. To prevent this, remove the cupcakes from the muffin tin immediately after the 5-minute cooling period so they don’t steam in the pan. Also, ensure you aren’t storing them in an airtight container while they are still warm.
Can I double this recipe?
Yes, this recipe doubles very well. Simply double all ingredients. You may need to bake in batches if you only have one muffin tin, or use two racks in your oven, rotating the pans halfway through baking.
Why are my cupcakes dry?
Dryness is usually caused by over-baking or measuring too much flour. Check your cupcakes at the 16-minute mark. If the toothpick comes out clean, take them out immediately. Also, ensure you are using the spoon-and-level method for flour.
Can I use salted butter?
You can, but it gives you less control over the salt content. If you use salted butter, omit the additional salt listed in the ingredients for both the cake and the frosting.
How do I get a flat top instead of a dome?
If you prefer flat tops for specific decorating styles, bake at a slightly lower temperature (325°F) for a longer time. This slows the rise. However, this recipe is designed to have a gentle dome.
Can I add sprinkles to the batter?
Yes! Fold in about 1/4 to 1/3 cup of ‘jimmies’ (cylinder sprinkles) gently at the very end to make Funfetti cupcakes. Avoid nonpareils as they tend to bleed color into the batter.
Why did my cupcakes sink in the middle?
Sinking usually means the cupcakes were underbaked (the structure wasn’t set) or the oven door was opened too soon. It can also happen if there is too much leavening (baking powder) or liquid in the batter.
How do I make the frosting less sweet?
American buttercream is inherently sweet. You can add a pinch more salt to cut the sweetness, or add a tiny splash of lemon juice. Alternatively, try a Swiss Meringue Buttercream which is silkier and less sugary.
Conclusion
Mastering the perfect vanilla cupcake is a skill that will serve you for a lifetime of celebrations. This recipe for Moist Vanilla Cupcakes with Vanilla Buttercream is designed to be your reliable go-to, delivering consistent, bakery-quality results in your own home kitchen. The combination of the tender, aromatic cake and the rich, creamy frosting creates a bite that is purely nostalgic and undeniably delicious. We hope this recipe brings joy to your kitchen and smiles to the faces of those you share it with. Happy baking!