Decadent Mini No-Bake Chocolate Cheesecakes: The Ultimate Easy Dessert
Easy No Bake Chocolate Cheesecake Mini No Bake Cheesecake Recipe
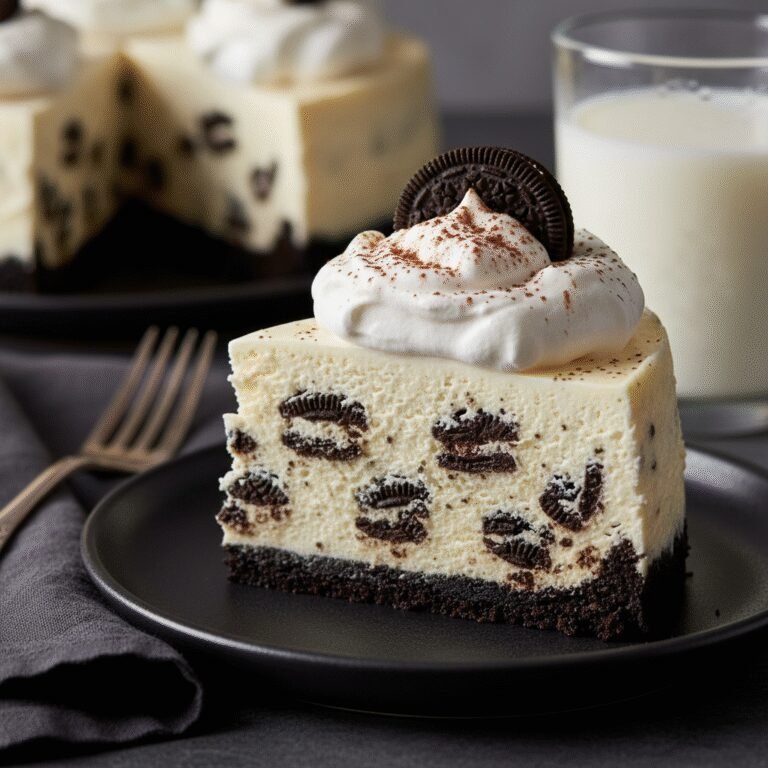
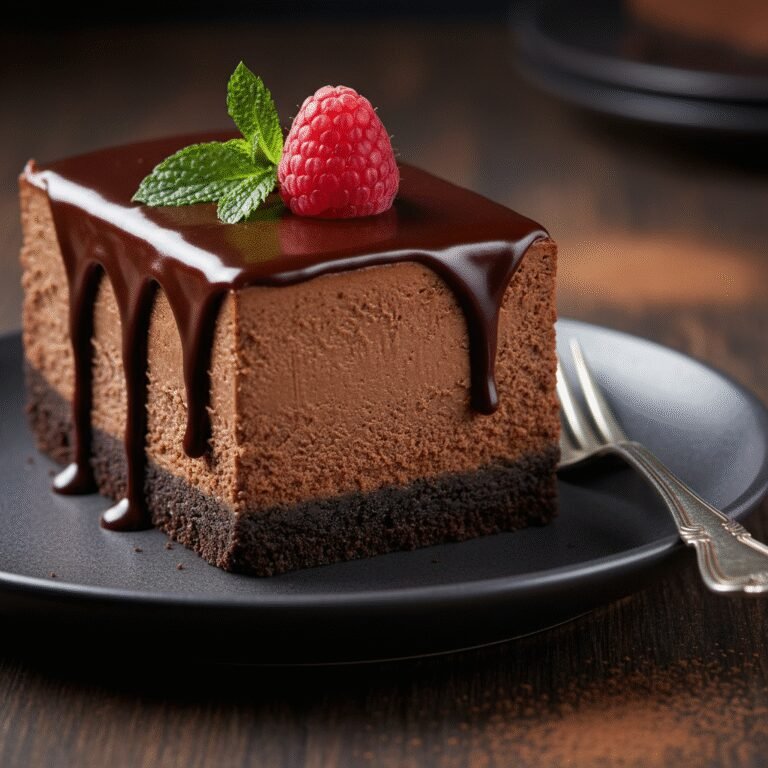
These velvety, rich mini no-bake chocolate cheesecakes are the perfect indulgence for when you need a chocolate fix without turning on the oven. Featuring a buttery Oreo crust and a creamy, mousse-like filling, they are perfectly portioned and effortlessly elegant.
20 minutes
0 minutes
4 hours 20 minutes
12 mini cheesecakes
Dessert
No-Bake / Refrigeration
American
Vegetarian
There are few culinary combinations as universally adored as chocolate and cheesecake. However, the traditional method of baking a cheesecake in a water bath, worrying about cracks, and waiting hours for it to cool can be daunting, especially during the warmer months or when time is of the essence. Enter the Mini No-Bake Chocolate Cheesecake—a dessert that promises all the luxurious, creamy texture of its baked counterpart with a fraction of the effort and none of the heat. This recipe is a celebration of texture and temperature, marrying a crunchy, buttery chocolate cookie crust with a filling that sits somewhere between a dense truffle and a light mousse.
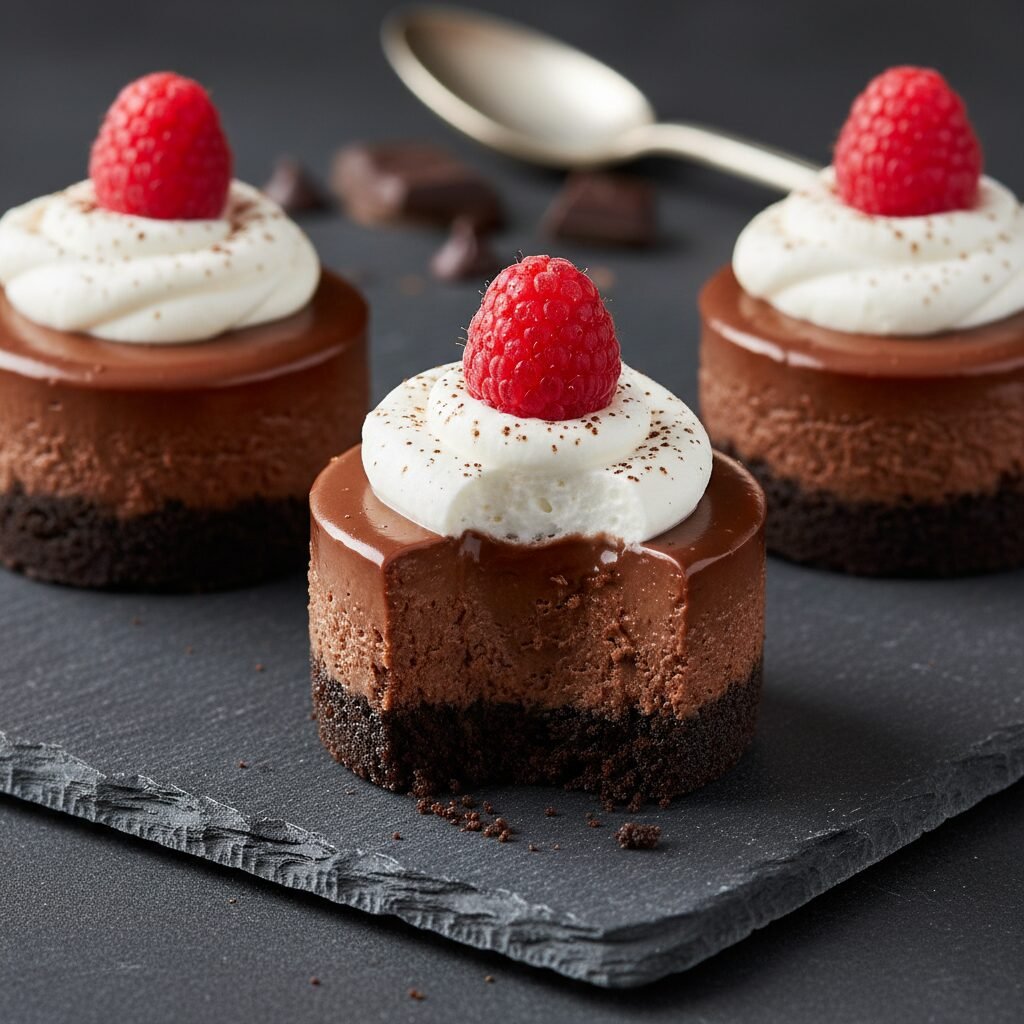
What makes this specific recipe a standout in the crowded world of internet desserts is its reliance on high-quality chocolate rather than gelatin to set the filling. By utilizing the natural cocoa butter found in semi-sweet chocolate, the cheesecake sets up firm enough to hold its shape in a cupcake liner but remains silky smooth on the tongue, melting instantly upon contact. The individual serving sizes are not just adorable; they are practical. They eliminate the need for messy slicing and ensure that every guest gets a perfectly formed treat. Whether you are hosting a sophisticated dinner party, looking for a kid-friendly kitchen project, or simply craving a midnight chocolate treat, these mini cheesecakes are designed to deliver maximum flavor impact with minimal stress. The deep cocoa notes are balanced by the tang of cream cheese and the lightness of whipped cream, creating a flavor profile that is sophisticated yet comforting.
History & Origins
The history of cheesecake is a journey that spans millennia, evolving from ancient energy bars to the creamy New York staples we know today. The earliest attested mention of a cheesecake serves as a sweet connection to the first Olympic games in 776 B.C., where athletes on the Isle of Samos were served a mixture of honey, flour, and cheese for energy. The Romans later adopted the recipe, calling it ‘savillum,’ and spread it across Europe as they conquered new territories. However, these early iterations were far different from the smooth, dense cakes we enjoy today; they were often yeast-based and utilized ricotta or curd cheeses.
The modern cheesecake revolution began in 1872 in Chester, New York, thanks to a dairyman named William Lawrence. While attempting to replicate the French cheese Neufchâtel, he accidentally added too much cream, resulting in a richer, spreadable cheese that would eventually be marketed as ‘Philadelphia Cream Cheese.’ This invention paved the way for the classic New York Style cheesecake. The concept of the ‘no-bake’ cheesecake is a much more recent mid-20th-century innovation, born out of the desire for convenience and the widespread availability of electric refrigerators. Early no-bake recipes relied heavily on gelatin or condensed milk to stabilize the mixture without eggs or heat. Over the decades, culinary experimentation led to methods like this one, which uses the solidifying properties of melted chocolate and whipped fats to create structure, bridging the gap between a chilled mousse and a traditional cake.
Why This Recipe Works
This recipe succeeds where many other no-bake versions fail because of the careful balance of fat, sugar, and temperature. Many no-bake recipes rely on gelatin, which can sometimes impart a rubbery or gummy texture if not measured precisely. This recipe eliminates that risk by using melted semi-sweet chocolate and heavy cream as the primary stabilizers. When the melted chocolate is mixed with the room-temperature cream cheese, it emulsifies into a smooth ganache-like base. As the chocolate cools in the refrigerator, the cocoa butter creates a firm structure that holds the cheesecake together.
Furthermore, we whip the heavy cream to stiff peaks before folding it into the chocolate mixture. This introduces air bubbles into the batter, lightening the density so that the final product is creamy and velvety rather than heavy and cloying. The use of an Oreo crust provides a necessary textural contrast; the bitterness of the cocoa in the cookies offsets the sweetness of the filling, while the butter binds it firmly so it doesn’t crumble when unwrapped. Finally, the ‘mini’ format works scientifically better for no-bake recipes than a large 9-inch pan because the smaller surface area allows the center to chill and set much faster and more evenly, preventing the dreaded soupy center.
Why You’ll Love This Recipe
- ✓Requires absolutely no oven time, keeping your kitchen cool.
- ✓Uses melted chocolate for stability instead of gelatin.
- ✓Perfectly portioned for parties and easy serving.
- ✓Can be made up to 2 days in advance.
- ✓Rich, mousse-like texture that melts in your mouth.
Equipment You’ll Need
- ✓Standard 12-cup muffin tin
- ✓Paper cupcake liners
- ✓Electric hand mixer or stand mixer
- ✓Medium mixing bowl
- ✓Small microwave-safe bowl
- ✓Spatula
- ✓Ziploc bag or rolling pin (for crushing cookies)
Ingredients
- ✓18 Oreo cookies (including the cream filling)
- ✓4 tablespoons unsalted butter, melted
- ✓16 oz (2 blocks) full-fat cream cheese, softened to room temperature
- ✓1/2 cup powdered sugar
- ✓1 teaspoon pure vanilla extract
- ✓8 oz semi-sweet high-quality chocolate chips or chopped chocolate bar
- ✓1 cup heavy whipping cream, cold
- ✓Optional garnish: Whipped cream, chocolate shavings, or fresh raspberries
Instructions
- Line a standard 12-cup muffin tin with paper cupcake liners. Set aside.
- Place the Oreo cookies in a food processor and pulse until they form fine crumbs. Alternatively, place them in a sealed bag and crush with a rolling pin.
- Transfer the crumbs to a bowl and pour in the melted butter. Mix until the crumbs resemble wet sand.
- Divide the crust mixture evenly among the 12 liners (about 1 tablespoon per cup). Press down firmly with the back of a spoon or a small glass to create a packed base. Place the tin in the fridge while you make the filling.
- In a microwave-safe bowl, melt the semi-sweet chocolate in 30-second intervals, stirring in between, until completely smooth. Set aside to cool slightly (it should be fluid but not hot).
- In a large mixing bowl, beat the softened cream cheese and powdered sugar together until completely smooth and creamy, about 2-3 minutes. Scrape down the sides of the bowl.
- Add the vanilla extract and the slightly cooled melted chocolate to the cream cheese mixture. Beat on low speed until combined.
- In a separate cold bowl, whip the heavy whipping cream until stiff peaks form.
- Gently fold the whipped cream into the chocolate cream cheese mixture using a spatula. Do not overmix; you want to keep the air in the batter.
- Spoon or pipe the filling evenly over the prepared crusts in the muffin tin.
- Smooth the tops with the back of a spoon.
- Refrigerate for at least 4 hours, or overnight, to allow the cheesecakes to set completely.
- Once set, remove the paper liners, top with garnishes if desired, and serve cold.
Expert Cooking Tips
- ✓Ensure your cream cheese is completely at room temperature to avoid lumps in the batter.
- ✓Do not use low-fat cream cheese; the stabilizers in full-fat versions are needed for the set.
- ✓Cool the melted chocolate slightly before adding it to the cheese mixture so it doesn’t melt the fats in the cheese too quickly.
- ✓Whip the heavy cream to stiff peaks, but be careful not to turn it into butter.
- ✓Use a piping bag to fill the muffin cups for a professional, clean look.
- ✓Let the cheesecakes sit at room temperature for 5-10 minutes before serving for the best creamy texture.
Substitutions and Variations
This recipe is quite versatile regarding substitutions, though textural changes may occur. For the crust, you can substitute Oreos with graham crackers, digestive biscuits, or gluten-free chocolate sandwich cookies for a gluten-free option. If you prefer a less sweet dessert, use dark chocolate (70% cocoa) instead of semi-sweet. For a keto-friendly version, use an almond flour crust, a powdered sweetener like erythritol, and sugar-free chocolate chips. While full-fat cream cheese is recommended, Neufchâtel cheese can be used in a pinch, though the cakes will be softer. Dairy-free cream cheese and coconut cream can replace the dairy components, but ensure you use high-quality vegan chocolate to help the mixture set properly.
Common Mistakes to Avoid
The most common mistake is using cold cream cheese, which results in a lumpy, unappealing texture that no amount of mixing can fix. Another pitfall is adding the melted chocolate while it is still piping hot; this can ‘shock’ the mixture or deflate the whipped cream later. Rushing the chilling time is also a recipe for disaster; if you try to remove the wrappers before the chocolate has solidified the structure (at least 4 hours), the cheesecakes will collapse into a mess. Finally, over-mixing when folding in the whipped cream can deflate the air bubbles, resulting in a dense, heavy fudge rather than a light cheesecake.
Serving Suggestions
These mini cheesecakes are elegant enough to be served on a tiered platter for a tea party or simply on a rustic wooden board for a casual gathering. To elevate the presentation, top each cheesecake with a rosette of homemade whipped cream and a single raspberry or strawberry slice for a pop of color and acidity to cut through the richness. A drizzle of salted caramel sauce or a dusting of high-quality cocoa powder also adds a professional touch. Serve them alongside hot espresso or a glass of cold milk to balance the intense chocolate flavor.
Storage and Reheating Tips
These cheesecakes must be stored in the refrigerator. Keep them in an airtight container to prevent them from absorbing fridge odors. They will stay fresh for up to 5 days. For longer storage, they freeze beautifully. Place the set cheesecakes (without toppings) on a baking sheet to freeze individually, then transfer them to a freezer-safe bag. They can be frozen for up to 3 months. Thaw them in the refrigerator overnight before serving. Do not garnish them until you are ready to serve, as whipped cream does not freeze or store well on top of the cakes.
Nutrition Facts (Estimated)
| Serving Size | 1 mini cheesecake |
| Calories | 320 |
| Fat | 24g |
| Saturated Fat | 14g |
| Unsaturated Fat | 8g |
| Trans Fat | 0g |
| Cholesterol | 65mg |
| Sodium | 180mg |
| Carbohydrates | 28g |
| Fiber | 2g |
| Sugar | 22g |
| Protein | 4g |
Frequently Asked Questions
Can I use milk chocolate instead of semi-sweet?
Yes, but the cheesecake will be significantly sweeter and softer. Semi-sweet chocolate has more cocoa solids which help the cheesecake set firmer.
Why is my filling runny?
This usually happens if the heavy cream wasn’t whipped to stiff peaks or if the cheesecakes haven’t chilled long enough. Ensure you chill them for the full 4 hours.
Can I make this in a regular pie dish?
Yes, this recipe yields enough for a standard 9-inch pie dish. However, you will need to chill it for at least 6-8 hours or overnight to ensure the center sets properly.
Do I need to use gelatin?
No, this specific recipe relies on the cocoa butter in the chocolate and the fat in the cream cheese/heavy cream to set. No gelatin is required.
Can I use whipped topping (Cool Whip) instead of heavy cream?
Yes, you can substitute 3 cups of thawed whipped topping for the 1 cup of heavy cream. Fold it in gently just as you would the real whipped cream.
How do I get the paper liners off cleanly?
The key is to ensure the cheesecakes are very cold. If they are sticking, pop the muffin tin in the freezer for 20 minutes before unwrapping.
Can I add flavorings like mint or orange?
Absolutely. You can add 1/2 teaspoon of peppermint or orange extract along with the vanilla for a flavored variation.
Is granulated sugar okay to use?
It is not recommended. Powdered sugar contains cornstarch which helps stability, and it dissolves instantly without leaving a grainy texture.
Conclusion
These Easy No-Bake Chocolate Cheesecake Minis are truly the hero of dessert time, proving that you don’t need advanced baking skills or a hot oven to create something spectacular. They offer the perfect bite of indulgence—creamy, chocolatey, and satisfyingly crunchy. Whether you are a seasoned baker looking for a quick fix or a beginner wanting to impress friends, this recipe is foolproof if you follow the temperature tips. Keep a batch in the freezer for emergency cravings, and enjoy the decadent simplicity of this chocolate delight.