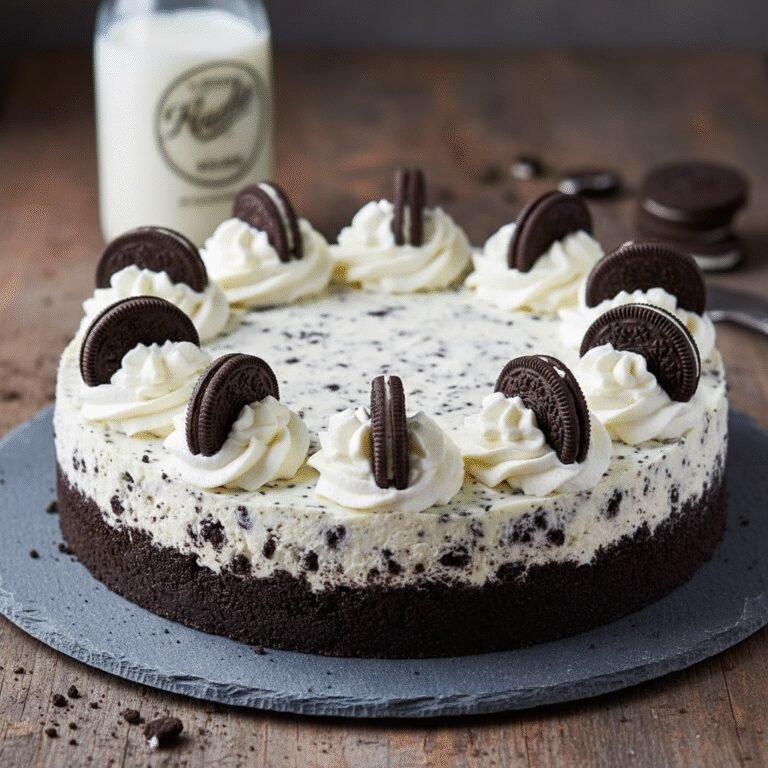
The Ultimate Easy No-Bake Chocolate Cheesecake With Whipped Cream Topping
Easy No Bake Chocolate Cheesecake With Whipped Cream Topping Recipe
Indulge in this velvety, rich chocolate cheesecake that requires absolutely no oven time. Featuring a buttery Oreo crust and a cloud of homemade whipped cream, it is the perfect stress-free dessert for any occasion.
30 minutes
0 minutes
6 hours 30 minutes (includes chilling)
12 servings
Dessert
Refrigeration
American
Vegetarian
Welcome to the recipe that will change the way you think about cheesecake forever. If you are a certified chocoholic or just someone who appreciates a decadent dessert without the hassle of a water bath, this Easy No-Bake Chocolate Cheesecake is your new best friend. Imagine a dessert that combines the airy, mousse-like texture of a French silk pie with the tangy, substantial richness of a classic New York cheesecake. That is exactly what we are achieving here, all without turning on the oven. The foundation is a dark, crumbly Oreo cookie crust that provides a slightly bitter counterpoint to the sweet filling. The filling itself is a masterpiece of kitchen chemistry: melted semi-sweet chocolate blended with tangy cream cheese and fluffy whipped cream creates a structure that sets perfectly in the fridge. It is smooth, luscious, and melts on the tongue. To crown this masterpiece, we pile on a generous mound of homemade whipped cream, lightly sweetened and dusted with cocoa powder or chocolate shavings. This recipe is the ultimate solution for summer entertaining when it is too hot to bake, or for holiday gatherings where oven space is at a premium. It is sophisticated enough for a dinner party yet simple enough to whip up on a Tuesday night. Prepare to impress your guests—and yourself—with a slice of pure chocolate heaven.
History & Origins
The history of cheesecake is a journey that spans millennia, long before the invention of the refrigerator or the concept of ‘no-bake’ desserts. The earliest known cheesecakes date back to ancient Greece, specifically on the island of Samos around 2000 B.C., where they were considered a source of energy and even served to athletes at the first Olympic Games in 776 B.C. These early versions were simple mixtures of flour, wheat, honey, and cheese, baked in wood-fired ovens. The Romans later adopted the recipe, adding eggs and serving it warm. However, the cheesecake we know and love today has its roots in 18th-century Europe, where yeast was removed from the recipe, and beaten eggs were introduced to provide lift. The real game-changer occurred in 1872 in New York, when a dairyman named William Lawrence accidentally invented cream cheese while trying to recreate French Neufchâtel. This invention paved the way for the dense, rich New York Style cheesecake. The ‘No-Bake’ evolution is a distinctly modern twist, born out of the mid-20th-century convenience cooking era. With the widespread adoption of household refrigerators and the availability of consistent gelatin and stabilized dairy products, home cooks realized they could use temperature rather than heat to set their desserts. By folding melted chocolate or whipped cream into the cheese mixture, the fats solidify when chilled, eliminating the need for eggs and baking. This chocolate version marries the ancient tradition of cheese desserts with the modern love affair with chocolate.
Why This Recipe Works
This recipe succeeds where many other no-bake cheesecakes fail because it relies on the stability of chocolate solids rather than gelatin to set the filling. Many no-bake recipes use gelatin, which can sometimes result in a rubbery or gummy texture if not measured precisely. In this version, we use high-quality semi-sweet chocolate. When melted and mixed with room-temperature cream cheese, the chocolate blends seamlessly. As the cheesecake chills, the cocoa butter in the chocolate returns to a solid state, firming up the filling to the perfect sliceable consistency without compromising that creamy mouthfeel. Furthermore, we incorporate heavy whipping cream that has been beaten to stiff peaks. This introduces air into the mixture, lightening the density of the cream cheese so that the result is akin to a structured mousse. The ratio of cream cheese to heavy cream is calculated to balance tanginess with richness. We also use a higher ratio of butter in the crust compared to baked versions; since we aren’t baking the crust to bind it, the solidified butter acts as the glue holding the Oreo crumbs together. This dual-action setting method—thermal setting of the chocolate and butter—ensures a dessert that holds its shape beautifully on the plate but dissolves instantly in the mouth.
Why You’ll Love This Recipe
- ✓Requires absolutely no baking or oven time
- ✓Rich, mousse-like texture that is lighter than baked cheesecake
- ✓Can be made up to 2 days in advance
- ✓Uses simple, accessible ingredients found in any grocery store
- ✓Customizable sweetness and chocolate intensity
- ✓Perfect for beginners with no water bath required
Equipment You’ll Need
- ✓9-inch Springform Pan
- ✓Electric Hand Mixer or Stand Mixer
- ✓Large Mixing Bowls
- ✓Rubber Spatula
- ✓Food Processor or Ziploc Bag and Rolling Pin
- ✓Microwave-safe bowl or Double Boiler
- ✓Measuring Cups and Spoons
Ingredients
- ✓24 Oreo cookies (whole cookies with filling)
- ✓5 tablespoons unsalted butter, melted
- ✓16 oz (2 blocks) full-fat cream cheese, softened to room temperature
- ✓1 cup powdered sugar
- ✓1 teaspoon pure vanilla extract
- ✓10 oz semi-sweet chocolate chips or chopped chocolate bar, melted and slightly cooled
- ✓1/4 cup cocoa powder (unsweetened)
- ✓1 1/2 cups heavy whipping cream (cold)
- ✓For Topping: 1 cup heavy whipping cream
- ✓For Topping: 2 tablespoons powdered sugar
- ✓For Topping: 1/2 teaspoon vanilla extract
- ✓Optional: Chocolate shavings or cocoa powder for garnish
Instructions
- 1. Prepare the Crust: Place the Oreo cookies (filling included) into a food processor and pulse until they are fine crumbs. If you don’t have a processor, place them in a sealed bag and crush with a rolling pin. Pour the crumbs into a bowl and mix with the melted butter until the texture resembles wet sand.
- 2. Form the Crust: Press the crumb mixture firmly into the bottom and slightly up the sides of a 9-inch springform pan. Use the bottom of a flat measuring cup to pack it down tightly. Place the pan in the freezer for 10-20 minutes to set while you make the filling.
- 3. Melt the Chocolate: In a microwave-safe bowl, melt the semi-sweet chocolate chips in 30-second intervals, stirring in between, until completely smooth. Set aside to cool for about 5-10 minutes. It should be liquid but not hot.
- 4. Whip the Cream: In a large chilled bowl, whip the 1 1/2 cups of cold heavy cream until stiff peaks form. Be careful not to overbeat into butter. Set aside.
- 5. Beat the Cream Cheese: In a separate large bowl, beat the softened cream cheese and 1 cup powdered sugar until smooth and creamy, about 2-3 minutes. There should be no lumps.
- 6. Combine Flavorings: Add the vanilla extract, cocoa powder, and the cooled melted chocolate to the cream cheese mixture. Beat on low speed until fully combined and uniform in color.
- 7. Fold in Cream: Gently fold the whipped cream into the chocolate cream cheese mixture using a rubber spatula. Do this in two batches to preserve the air bubbles. Fold until no white streaks remain.
- 8. Assemble: Pour the filling over the chilled crust. Smooth the top with an offset spatula.
- 9. Chill: Cover loosely with plastic wrap and refrigerate for at least 6 hours, preferably overnight. This step is crucial for the chocolate to set the cake.
- 10. Make the Topping: Before serving, whip the remaining 1 cup heavy cream with 2 tablespoons powdered sugar and 1/2 teaspoon vanilla until soft-to-stiff peaks form.
- 11. Serve: Remove the cheesecake from the springform pan. Pipe or spread the whipped cream over the top. Garnish with chocolate shavings or a dusting of cocoa powder. Slice and enjoy!
Expert Cooking Tips
- ✓Ensure your cream cheese is completely at room temperature to avoid a lumpy filling.
- ✓Do not use low-fat cream cheese; the stabilizers in full-fat versions are necessary for the set.
- ✓Cool the melted chocolate before adding it to the cheese mixture so it doesn’t melt the cheese or deflate the whipped cream.
- ✓Chill the bowl and beaters before whipping the cream to get maximum volume.
- ✓Use high-quality chocolate chips like Ghirardelli or Guittard for the best flavor profile.
Substitutions and Variations
If you are not a fan of Oreos, you can substitute them with chocolate graham crackers or even vanilla wafers for a different flavor profile. For a gluten-free version, simply use gluten-free chocolate sandwich cookies. If you prefer a less sweet dessert, you can use dark chocolate (60% or 70% cocoa) instead of semi-sweet, though you may need to add a tablespoon more powdered sugar to balance the bitterness. While heavy whipping cream is best for the structure, you can substitute a tub of thawed frozen whipped topping (like Cool Whip) for the whipped cream step in the filling, though the texture will be slightly less rich and more airy. We do not recommend substituting the butter in the crust with margarine, as the water content in margarine can make the crust soggy.
Common Mistakes to Avoid
The most common mistake is rushing the chilling process. Because there are no eggs or baking involved, the cold temperature is the only thing holding this cake together; cutting it too early will result in a sloppy mess. Another frequent error is using chocolate that is too hot when mixing it with the cream cheese, which can cause the mixture to seize or become grainy. Conversely, if the chocolate is too cold, it will solidify into little hard chips instantly upon touching the cheese. Aim for tepid, fluid chocolate. Finally, over-mixing the whipped cream into the cheese base can deflate the air bubbles, leading to a dense, fudge-like texture rather than a light cheesecake texture. Fold gently and patiently.
Serving Suggestions
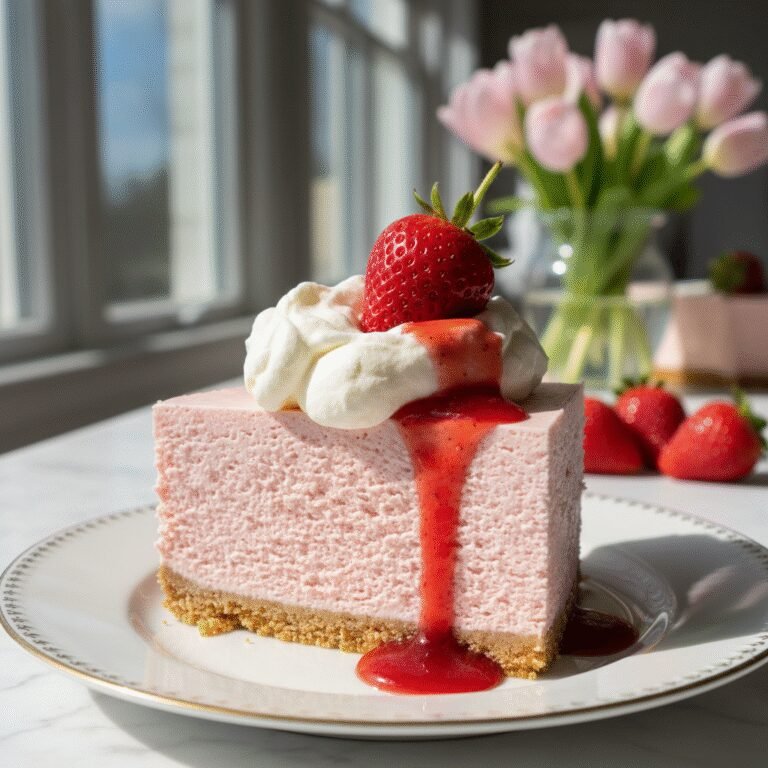
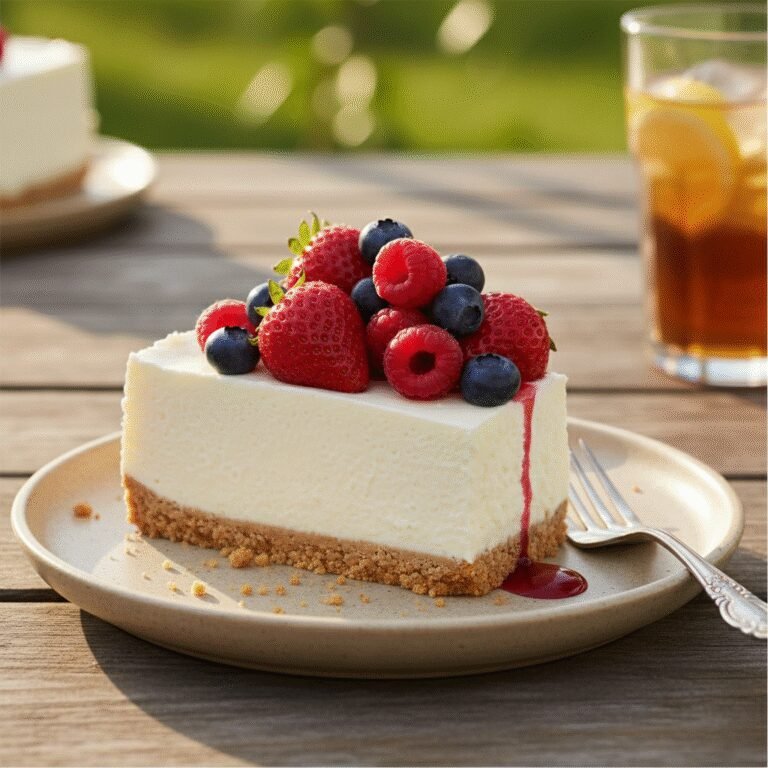
This cheesecake is a showstopper on its own, but you can elevate it with various accompaniments. Serve chilled, directly from the fridge. A drizzle of salted caramel sauce or raspberry coulis pairs beautifully with the rich chocolate flavor, cutting through the creaminess with acidity or salt. Fresh berries, particularly strawberries or raspberries, add a pop of color and freshness. For a coffee-lover’s twist, serve with an espresso or a cappuccino. If you are serving this for a holiday, garnish with chocolate curls and perhaps some edible gold leaf for a festive touch.
Storage and Reheating Tips
Store leftover cheesecake in the refrigerator, tightly covered with plastic wrap or in an airtight cake carrier, for up to 5 days. The crust may soften slightly over time. This cheesecake freezes exceptionally well. To freeze, wrap the entire cheesecake (without the whipped cream topping) or individual slices in plastic wrap, followed by a layer of aluminum foil. It can be frozen for up to 3 months. Thaw overnight in the refrigerator before serving. Add the whipped cream topping fresh after thawing for the best texture.
Nutrition Facts (Estimated)
| Serving Size | 1 Slice |
| Calories | 580 |
| Fat | 42g |
| Saturated Fat | 24g |
| Unsaturated Fat | 16g |
| Trans Fat | 0.5g |
| Cholesterol | 95mg |
| Sodium | 320mg |
| Carbohydrates | 48g |
| Fiber | 3g |
| Sugar | 38g |
| Protein | 6g |
Frequently Asked Questions
Can I use milk chocolate instead of semi-sweet?
Yes, you can, but the cheesecake will be significantly sweeter and lighter in color. Milk chocolate also has a softer set than semi-sweet or dark chocolate, so ensure you chill it thoroughly.
Why is my cheesecake filling runny?
This usually happens if the whipped cream wasn’t whipped to stiff peaks before folding, or if the cheesecake hasn’t been chilled long enough. It needs at least 6 hours, but overnight is best.
Can I make this without a springform pan?
Yes, you can make this in a standard deep-dish pie plate or a square 8×8 baking dish. The first slice might be a bit harder to get out cleanly, but it will taste just as good.
How do I get clean slices?
Run a sharp chef’s knife under hot water, wipe it dry, and then make a slice. Repeat the heating and wiping process for every single cut to ensure smooth edges.
Can I use granulated sugar instead of powdered sugar?
It is not recommended. Powdered sugar contains cornstarch which helps stabilize the filling, and it dissolves instantly without leaving a grainy texture, which granulated sugar might do in a no-bake recipe.
Is this recipe safe for pregnant women?
Yes, since there are no raw eggs in this recipe, it is generally safe, provided the dairy products used are pasteurized.
Can I add mix-ins like nuts or chocolate chips?
Absolutely! You can fold in mini chocolate chips, crushed nuts, or even chopped peanut butter cups when you fold in the whipped cream.
What if I don’t have a food processor for the crust?
Place the cookies in a heavy-duty Ziploc bag, seal it while removing as much air as possible, and bash/roll over it with a rolling pin or a heavy pan until you have fine crumbs.
Conclusion
There you have it—the ultimate guide to making a bakery-quality Easy No-Bake Chocolate Cheesecake right in your own kitchen. This recipe proves that you don’t need complicated techniques, water baths, or hours of baking to create a dessert that is truly spectacular. The combination of the crunchy Oreo crust, the smooth and decadent chocolate filling, and the light-as-air whipped cream topping creates a symphony of textures that is hard to beat. Whether you are making this for a special birthday, a potluck, or just because you deserve a treat, this cheesecake is guaranteed to vanish quickly. So grab your mixer, melt that chocolate, and get ready to fall in love with the easiest, most delicious chocolate dessert you will ever make.