The Ultimate Easy No-Bake Chocolate Cheesecake With Oreo Crust
Easy No Bake Chocolate Cheesecake With Oreo Crust Recipe
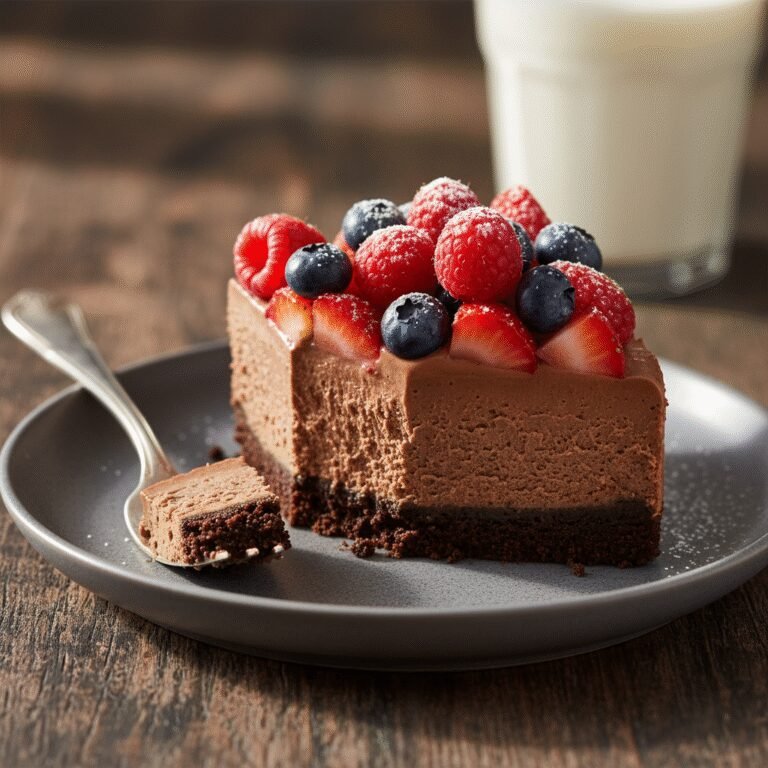
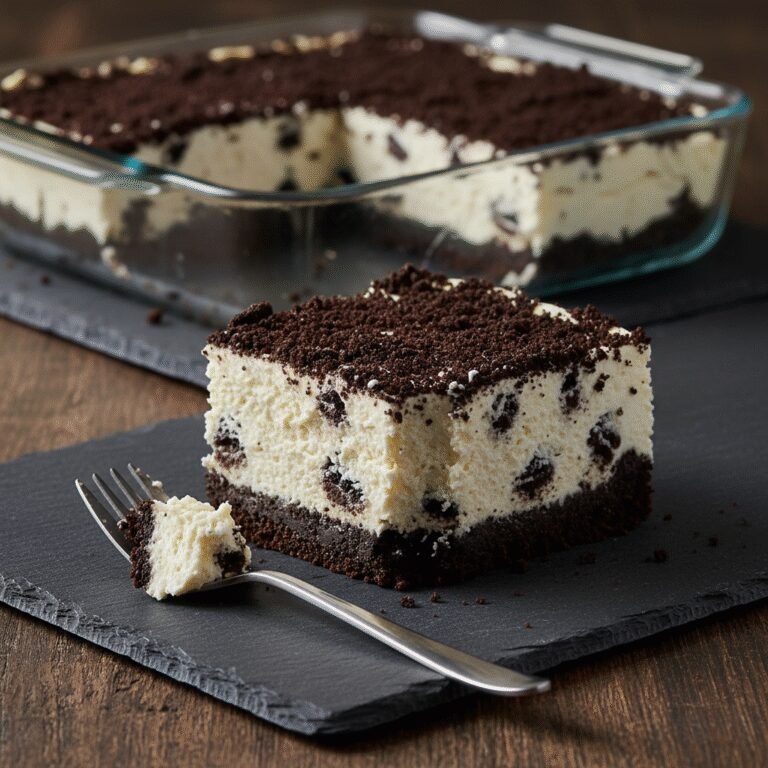
Indulge in the ultimate chocolate lover’s dream with this Easy No-Bake Chocolate Cheesecake. Featuring a buttery Oreo crust and a luxuriously silky, rich chocolate filling, this dessert requires absolutely no oven time. It is the perfect make-ahead treat for summer gatherings, holidays, or whenever a serious chocolate craving strikes.
20 minutes
0 minutes
6 hours 20 minutes (includes chilling)
12 servings
Dessert
No-Bake / Chilling
American
Vegetarian
If you are searching for a dessert that sits precisely at the intersection of effortless preparation and gourmet presentation, look no further than this Easy No-Bake Chocolate Cheesecake with Oreo Crust. As a food blogger who has tested countless cheesecake variations—from the dense, baked New York style to the fluffy, gelatin-set European versions—I can confidently say that this recipe holds a special place in the pantheon of chocolate desserts. It delivers a texture that is impossibly smooth, velvety, and rich, reminiscent of a high-end chocolate truffle, yet it requires zero baking.
The magic lies in the balance of ingredients. Unlike baked cheesecakes that rely on eggs and a water bath to achieve a custard-like consistency, this no-bake marvel uses the natural solidifying properties of melted chocolate and heavy cream to create firmness. The result is a filling that melts in your mouth, offering a profound cocoa flavor that isn’t diluted by fillers.
But let’s talk about the foundation: the Oreo crust. A standard graham cracker crust simply wouldn’t do justice to the intensity of the chocolate filling. By crushing Oreos—cream filling and all—and binding them with melted butter, we create a dark, crisp, and sturdy base that provides the necessary textural contrast to the creamy top layer. This recipe is designed for success, whether you are a novice baker intimidated by springform pans or a seasoned pro looking for a reliable, crowd-pleasing summer dessert that won’t heat up the kitchen. It is decadent enough for a dinner party centerpiece but simple enough for a weekend treat.
History & Origins
The history of cheesecake is a fascinating journey that spans millennia, long before the invention of the modern refrigerator or the Oreo cookie. While we often associate cheesecake with the delis of New York City, its origins can be traced back to Ancient Greece, specifically the island of Samos, around 2000 B.C. Excavations have unearthed cheese molds dating back to this period. These early versions were simple mixtures of flour, wheat, honey, and cheese, baked and served to athletes during the first Olympic Games in 776 B.C. for energy.
The Romans later adopted the recipe after conquering Greece, adding eggs and serving it warm under the name ‘libum’. As the Roman Empire expanded, so did the cheesecake recipe, traveling across Europe where each region adapted it using local ingredients. However, the modern cheesecake as we know it—smooth, tangy, and creamy—hinges on one crucial American invention: cream cheese.
In 1872, a New York dairyman named William Lawrence accidentally invented cream cheese while attempting to replicate a French cheese called Neufchâtel. This denser, creamier cheese became the backbone of the American cheesecake. The ‘No-Bake’ evolution is a more recent mid-20th-century innovation, born out of convenience and the desire for lighter textures, often utilizing gelatin or whipped toppings.
The Oreo cookie, introduced by Nabisco in 1912, eventually found its way into crusts, replacing the traditional digestive biscuit or graham cracker to create the ‘Cookies and Cream’ phenomenon. This specific recipe represents the modern culmination of this history: combining the ancient concept of a sweetened cheese cake with the industrial innovation of cream cheese and the beloved American Oreo, all stabilized through modern refrigeration rather than hearth baking.
Why This Recipe Works
This recipe succeeds where many other no-bake cheesecakes fail because of the specific ratio of fat to solids and the method of stabilization. Many no-bake recipes rely heavily on gelatin, which, if misused, can create a rubbery or gummy texture that is unappealing. This recipe, however, skips the gelatin entirely. Instead, it relies on the cocoa butter found in the high-quality semi-sweet chocolate. When melted chocolate is mixed into the room-temperature cream cheese and then chilled, it reverts to a solid state, acting as a structural scaffolding for the cake.
Furthermore, the inclusion of heavy whipping cream serves two purposes. First, it aerates the mixture. By whipping the cream to stiff peaks and gently folding it in, we introduce air bubbles that prevent the dessert from becoming a dense block of fudge. It keeps the texture light and mousse-like. Second, the fat content in the cream and the full-fat cream cheese ensures a luxurious mouthfeel.
Temperature control is another reason this works. We insist on room-temperature cream cheese to ensure it blends perfectly with the sugar and chocolate without forming lumps. If the cheese were cold, the melted chocolate would seize upon contact, resulting in a grainy texture. By respecting the chemistry of the ingredients, this recipe guarantees a smooth, professional-quality finish every time.
Why You’ll Love This Recipe
- ✓Requires absolutely no baking, keeping your kitchen cool.
- ✓Uses simple, accessible ingredients found in any grocery store.
- ✓Features a rich, sturdy Oreo crust that holds up perfectly.
- ✓Can be made up to 2 days in advance, perfect for hosting.
- ✓Gelatin-free recipe relying on chocolate for stability.
- ✓Decadent, mousse-like texture that melts in your mouth.
Equipment You’ll Need
- ✓9-inch springform pan
- ✓Food processor or rolling pin
- ✓Electric hand mixer or stand mixer
- ✓Large mixing bowls
- ✓Rubber spatula
- ✓Microwave-safe bowl or double boiler
- ✓Measuring cups and spoons
Ingredients
- ✓24 Oreo cookies (regular, not double stuff)
- ✓5 tablespoons unsalted butter, melted
- ✓16 oz (2 blocks) full-fat cream cheese, softened to room temperature
- ✓1/2 cup powdered sugar
- ✓1 teaspoon pure vanilla extract
- ✓10 oz semi-sweet chocolate chips or chopped chocolate bar, melted and slightly cooled
- ✓1 1/4 cups heavy whipping cream, cold
- ✓2 tablespoons cocoa powder (optional, for extra depth)
- ✓Optional garnish: Whipped cream, chocolate shavings, or extra Oreos
Instructions
- Prepare the Crust: Place the Oreo cookies (filling and all) into a food processor. Pulse until they are fine crumbs. If you don’t have a processor, place cookies in a zip-top bag and crush with a rolling pin.
- Bind the Crust: Transfer the crumbs to a bowl and pour in the melted butter. Stir until the mixture resembles wet sand.
- Form the Base: Pour the crumb mixture into a 9-inch springform pan. Press it firmly into the bottom and slightly up the sides using the bottom of a measuring cup or glass to ensure it is compact. Place the pan in the freezer while you make the filling.
- Whip the Cream: In a large bowl, whip the cold heavy cream until stiff peaks form. Be careful not to over-whip into butter. Set this aside.
- Beat Cream Cheese: In a separate large bowl, beat the softened cream cheese and powdered sugar until completely smooth and creamy, about 2-3 minutes. There should be no lumps.
- Add Flavor: Beat in the vanilla extract and cocoa powder (if using) until combined.
- Incorporate Chocolate: Pour the melted (but not hot) chocolate into the cream cheese mixture. Beat on low speed until fully combined and uniform in color.
- Fold in Cream: Gently fold the whipped cream into the chocolate mixture using a rubber spatula. Do this in two batches to preserve the airiness. Fold until no white streaks remain.
- Assemble: Remove the crust from the freezer. Pour the filling over the crust and smooth the top with an offset spatula.
- Chill: Cover the pan loosely with plastic wrap and refrigerate for at least 6 hours, preferably overnight, to allow the cheesecake to set completely.
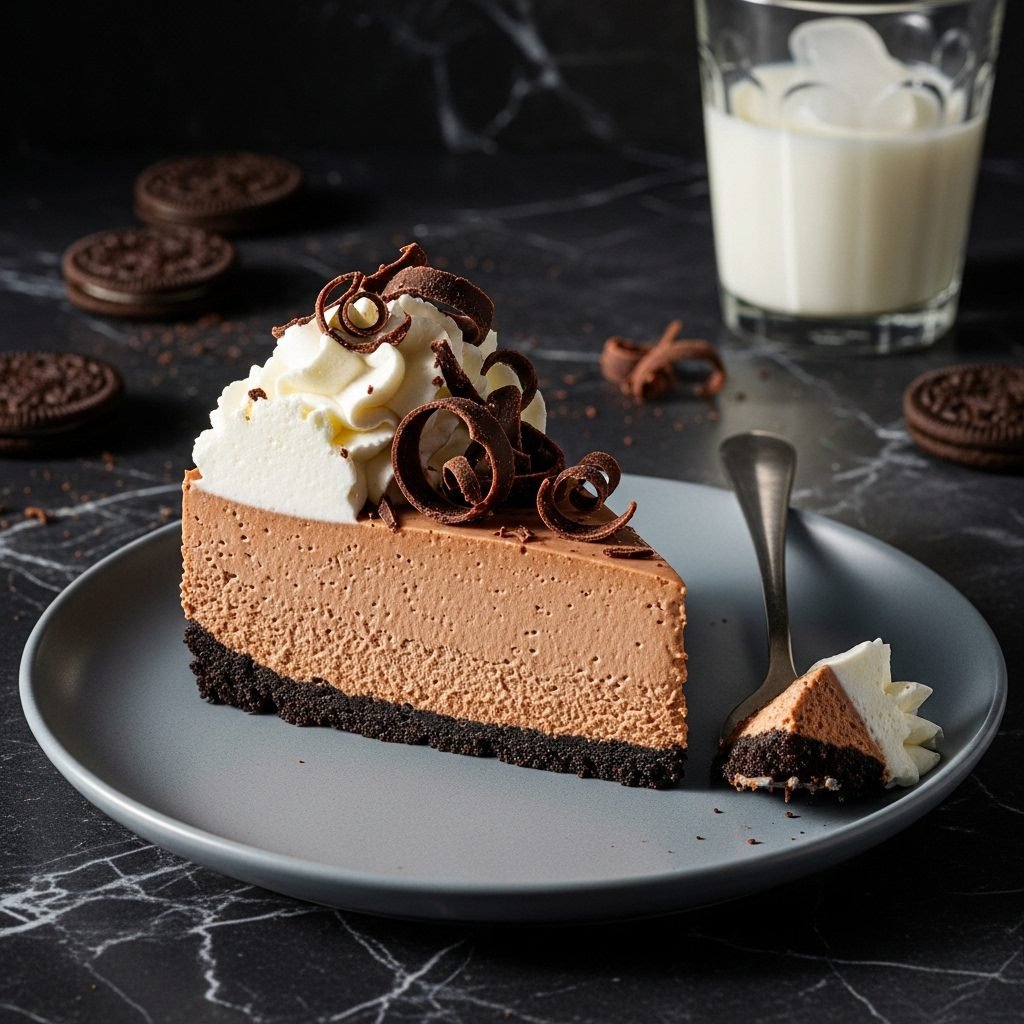
- Serve: Run a warm knife around the edge of the pan before releasing the springform ring. Slice and garnish with extra whipped cream or chocolate shavings.
Expert Cooking Tips
- ✓Ensure your cream cheese is fully at room temperature to avoid a lumpy filling.
- ✓Use high-quality chocolate (like Ghirardelli or Guittard) as it is the main flavor profile.
- ✓Do not use ‘Double Stuf’ Oreos for the crust; the extra cream makes the crust too greasy.
- ✓Cool the melted chocolate slightly before adding to the cheese mixture so it doesn’t melt the fats.
- ✓Whip the heavy cream to stiff peaks, but watch closely so it doesn’t curdle.
- ✓Chill overnight for the cleanest slices and best texture.
- ✓Use a hot knife (dipped in hot water and wiped dry) to cut clean slices.
Substitutions and Variations
This recipe is quite adaptable, though the core chemistry should be respected. For the crust, if you don’t have Oreos, you can use chocolate graham crackers, digestive biscuits with added cocoa powder, or even gluten-free chocolate sandwich cookies for a GF version. For the filling, semi-sweet chocolate is recommended for balance, but you can use dark chocolate (up to 70%) for a less sweet, more intense flavor. Milk chocolate can be used, but the cheesecake will be softer and much sweeter, so you might want to reduce the powdered sugar. Do not substitute the heavy whipping cream with milk or half-and-half; the fat content is required for the set. You can, however, use a non-dairy whipping cream alternative if it whips to stiff peaks. Full-fat brick cream cheese is essential; do not use the tub variety or low-fat versions as they contain too much water and will prevent the cheesecake from setting properly.
Common Mistakes to Avoid
The most common mistake with no-bake cheesecake is using cold cream cheese. If the cheese is cold, the melted chocolate will harden instantly upon contact, creating tiny, waxy chocolate chips throughout the batter rather than a smooth emulsion. Another frequent error is not chilling the cake long enough. It needs time for the chocolate to crystallize and the fats to firm up; cutting it too early will result in a sloppy mess. Over-whipping the cream is another pitfall—stop as soon as you see stiff peaks. Finally, when melting the chocolate, be careful not to scorch it. Use a double boiler or microwave in short 30-second bursts, stirring frequently. Scorched chocolate becomes grainy and bitter and cannot be saved.
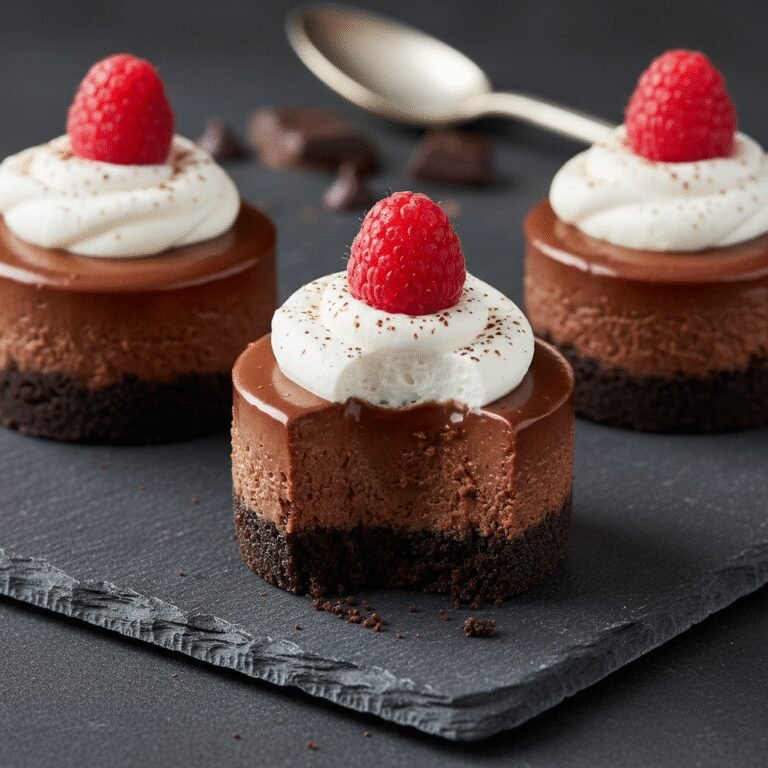
Serving Suggestions
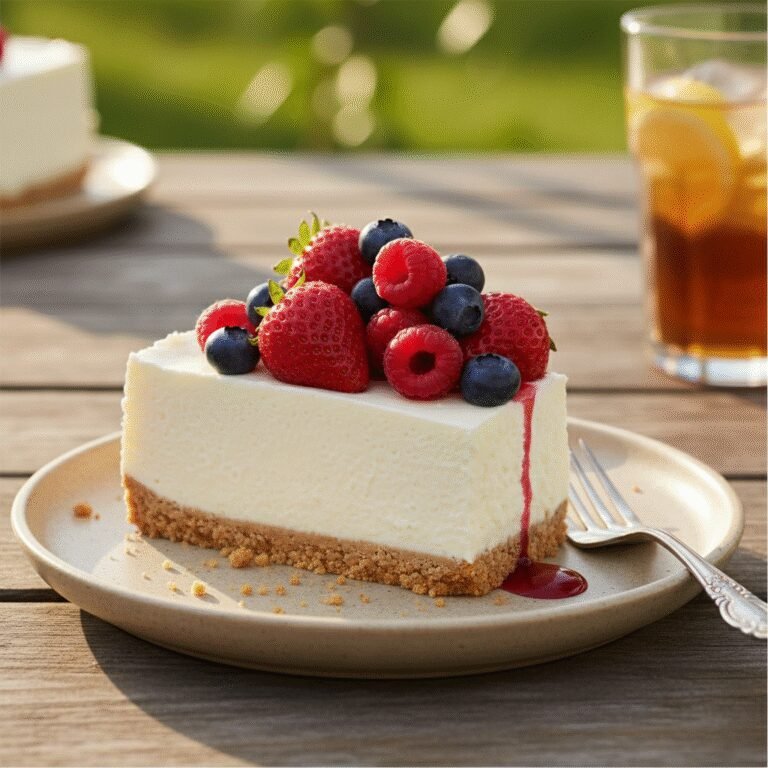
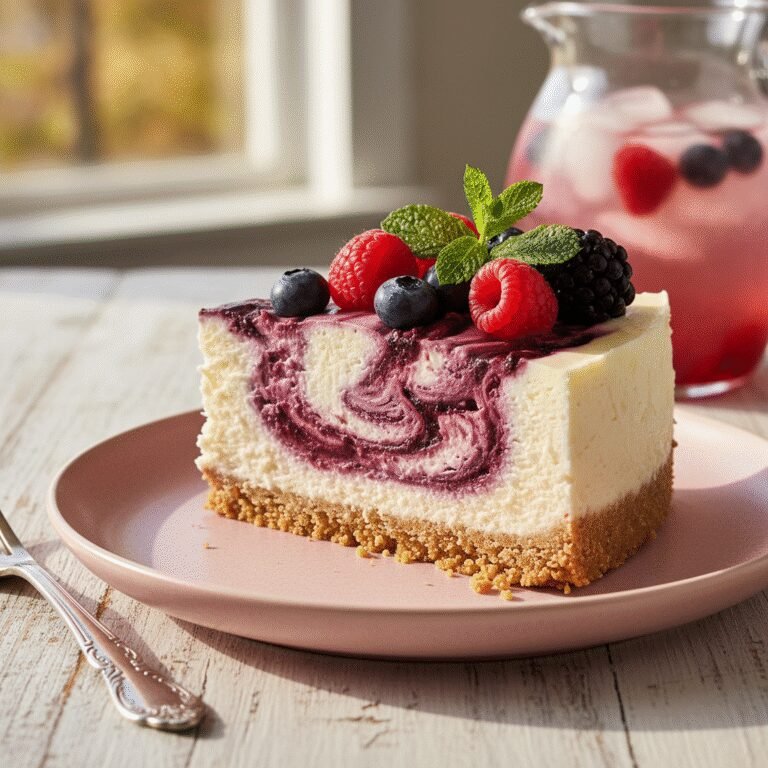
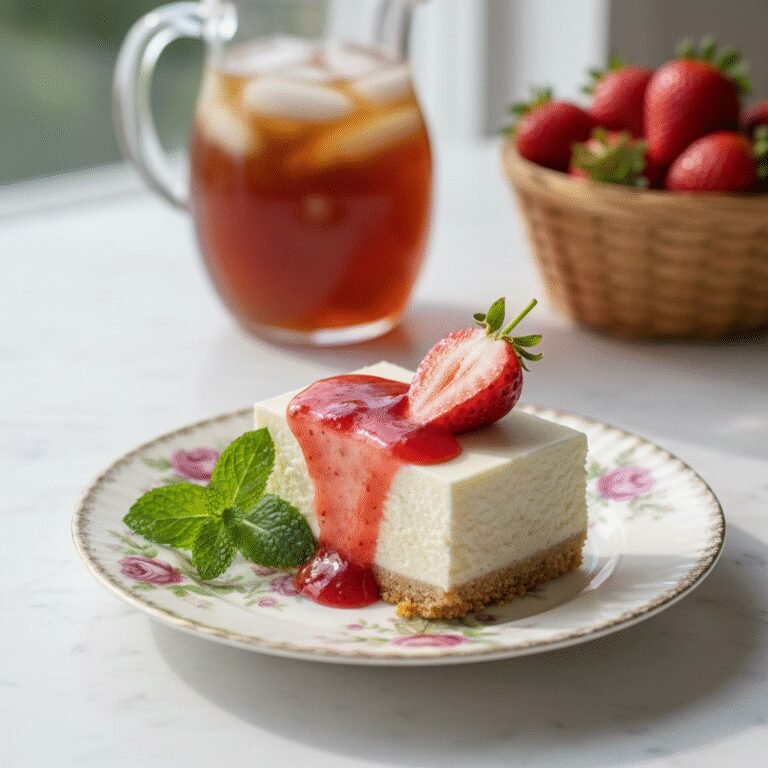
This rich dessert pairs beautifully with elements that cut through the density of the chocolate. Serve chilled slices with a dollop of unsweetened or lightly sweetened whipped cream to balance the richness. Fresh berries, particularly raspberries or strawberries, add a tart brightness that complements the dark chocolate perfectly. For a gourmet touch, drizzle with a salted caramel sauce or a tart raspberry coulis. A dusting of high-quality cocoa powder or espresso powder can also enhance the presentation. Beverage-wise, this cheesecake goes wonderfully with a hot espresso, a dark roast coffee, or a glass of port wine.
Storage and Reheating Tips
This cheesecake must be stored in the refrigerator. It will keep well for up to 5 days when covered tightly with plastic wrap or stored in an airtight container. Because it contains dairy, it should not be left out at room temperature for more than an hour, especially in warm weather. This cheesecake also freezes exceptionally well. To freeze, wrap the entire cheesecake (or individual slices) tightly in plastic wrap, followed by a layer of aluminum foil. It can be frozen for up to 3 months. Thaw overnight in the refrigerator before serving. Do not attempt to thaw it in the microwave, as the filling will melt.
Nutrition Facts (Estimated)
| Serving Size | 1 slice |
| Calories | 480 |
| Fat | 35g |
| Saturated Fat | 20g |
| Unsaturated Fat | 12g |
| Trans Fat | 0g |
| Cholesterol | 95mg |
| Sodium | 210mg |
| Carbohydrates | 40g |
| Fiber | 3g |
| Sugar | 32g |
| Protein | 6g |
Frequently Asked Questions
Can I use milk chocolate instead of semi-sweet?
Yes, but the texture will be softer and the taste much sweeter. If you do, consider reducing the powdered sugar.
Why is my cheesecake filling runny?
This usually happens if the cream cheese was low-fat, the cream wasn’t whipped to stiff peaks, or the cake wasn’t chilled long enough.
Can I make this gluten-free?
Absolutely. Simply use gluten-free chocolate sandwich cookies (like GF Oreos) for the crust. The filling is naturally gluten-free.
Do I need to use gelatin?
No, this recipe relies on the cocoa butter in the chocolate and the heavy cream to set, so no gelatin is needed.
How do I get clean slices?
Dip a sharp chef’s knife into hot water, wipe it dry with a paper towel, and make a cut. Repeat for every single slice.
Can I use whipped topping (Cool Whip) instead of heavy cream?
You can, but the texture will be sweeter and slightly oilier. Use about 3 cups of thawed whipped topping in place of the heavy cream.
Can I add mix-ins like chocolate chips?
Yes, you can fold in mini chocolate chips or crushed Oreos after folding in the whipped cream for added texture.
What size pan should I use?
A 9-inch springform pan is ideal. An 8-inch pan will work but will yield a taller cheesecake and may need longer chilling.
My chocolate seized when adding to the cream cheese, can I fix it?
Unfortunately, once chocolate seizes, it’s hard to fix in this context without melting the cheese. Prevention (room temp cheese) is key.
Is this recipe egg-free?
Yes, this no-bake cheesecake is completely egg-free, making it safe for those with egg allergies.
Conclusion
This Easy No-Bake Chocolate Cheesecake with Oreo Crust is truly a testament to how simple ingredients can come together to create something spectacular. It strips away the stress of water baths and cracked tops, leaving you with nothing but pure, unadulterated chocolate bliss. Whether you are making it for a special birthday, a holiday gathering, or just a Tuesday night treat, it promises to impress. The contrast between the crunchy, dark crust and the cloud-like, creamy filling is a texture experience that will have your guests asking for the recipe. Give it a try, and you might just find that your oven stays off for dessert from now on!