Easy No Bake Oreo Cheesecake: The Ultimate Mini Dessert Recipe
Easy No Bake Oreo Cheesecake Mini No Bake Cheesecake Recipe
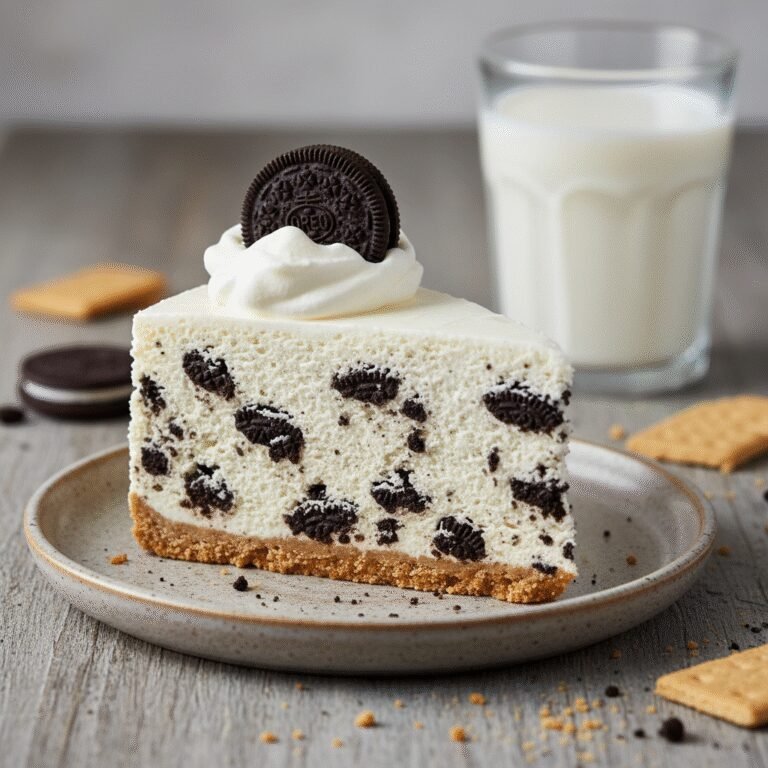
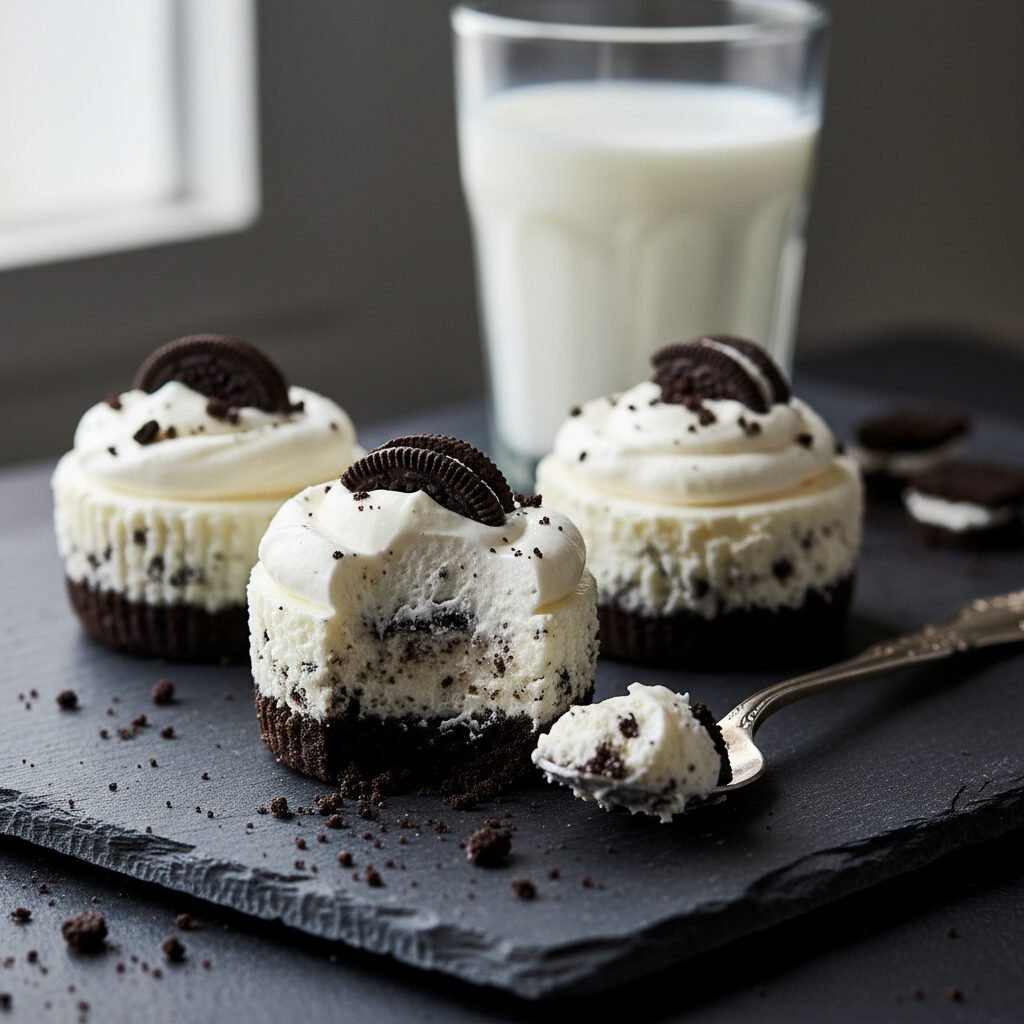
These Easy No Bake Oreo Cheesecake Minis are the perfect bite-sized treat for any occasion. Featuring a crunchy cookie crust and a velvety, cookies-and-cream filling, this recipe requires zero oven time and delivers maximum flavor with minimal effort.
20 minutes
0 minutes
4 hours 20 minutes (includes chilling)
12 mini cheesecakes
Dessert
Refrigeration
American
Vegetarian
If there is one flavor combination that universally sparks joy, it is the classic duo of cookies and cream. This Easy No Bake Oreo Cheesecake Mini recipe takes that nostalgic flavor profile and elevates it into a sophisticated yet incredibly simple dessert that is perfect for everything from summer barbecues to holiday gatherings. The beauty of this recipe lies in its simplicity; by eliminating the need for an oven, we remove the stress of water baths, cracking tops, and precise baking times associated with traditional cheesecakes. Instead, we focus on creating a luscious, airy mousse-like filling that sits atop a firm, buttery Oreo crust.
When you bite into one of these mini cheesecakes, you are greeted with a symphony of textures. First, the slight resistance of the chilled chocolate crust, followed immediately by the smooth, rich cream cheese filling that melts on your tongue, punctuated by crunchy bits of crushed cookies. Because they are made in a muffin tin, they offer built-in portion control—though we won’t blame you if you reach for a second or third. This recipe is designed for the busy home cook who wants to present a bakery-quality dessert without spending hours in a hot kitchen. Whether you are a seasoned baker looking for a quick fix or a novice wanting to impress guests, these mini cheesecakes are a foolproof path to dessert nirvana. They are creamy, dreamy, and packed with that iconic chocolate sandwich cookie flavor that everyone loves.
History & Origins
The history of cheesecake is surprisingly ancient, dating back to ancient Greece around 776 BC, where it was served to athletes during the first Olympic Games as a source of energy. However, the modern incarnation of the cheesecake we know and love—specifically the smooth, dense style heavily reliant on cream cheese—is a distinctly American innovation. In 1872, a New York dairyman named William Lawrence accidentally invented cream cheese while attempting to replicate a French cheese called Neufchâtel. This happy accident laid the foundation for the New York-style cheesecake and, subsequently, the vast array of cheesecake variations we enjoy today.
The Oreo cookie, the star of this specific recipe, has its own storied past. Introduced by the National Biscuit Company (Nabisco) on March 6, 1912, in New York City, the Oreo quickly became the best-selling cookie in the United States. The genius of combining crushed cookies into a creamy cheesecake base likely gained traction in the mid-20th century, coinciding with the rise of ‘convenience cooking’ and the popularity of icebox cakes. No-bake desserts became a staple in American households during the 1950s and 60s, fueled by the availability of electric mixers and reliable refrigeration. This specific iteration—the mini no-bake Oreo cheesecake—represents the modern evolution of dessert culture: it prioritizes convenience, individual serving sizes, and the timeless appeal of America’s favorite cookie, blending centuries of cheesecake evolution with over a hundred years of cookie history.
Why This Recipe Works
This recipe works exceptionally well because it balances the structural integrity needed for a freestanding mini dessert with the delicate, airy texture that defines a great no-bake cheesecake. Unlike baked cheesecakes that rely on eggs and heat to set the batter, this recipe utilizes the mechanical aeration of heavy whipping cream (or the stabilizers in whipped topping) combined with the natural firmness of chilled cream cheese. When the heavy cream is whipped to stiff peaks, it creates a stable foam structure. Folding this into the sweetened cream cheese mixture lightens the density without sacrificing richness, resulting in a filling that is stable enough to hold its shape when the wrapper is removed, yet soft enough to melt in your mouth.
Furthermore, the ratio of butter to cookie crumbs in the crust is scientifically calculated to ensure the base holds together without becoming rock-hard in the refrigerator. Too much butter and the crust becomes greasy; too little and it crumbles apart. We also use full-fat cream cheese and ensure it is at room temperature before mixing. This is crucial because cold cream cheese does not emulsify well with sugar, leading to a lumpy texture. By bringing ingredients to the correct temperature and gently folding in the crushed cookies at the end, we preserve the crunch of the Oreos within the filling, preventing them from turning into a soggy mush and ensuring every bite has that perfect contrast.
Why You’ll Love This Recipe
- ✓Requires absolutely no baking, keeping your kitchen cool.
- ✓Perfectly portioned for parties, potlucks, and events.
- ✓Uses simple, accessible ingredients found in any grocery store.
- ✓Can be made ahead of time and frozen for later enjoyment.
- ✓Kids love helping with crushing the cookies and mixing.
- ✓Rich, creamy texture without the hassle of water baths.
Equipment You’ll Need
- ✓Standard 12-cup muffin tin
- ✓Paper cupcake liners
- ✓Electric hand mixer or stand mixer
- ✓Large mixing bowl
- ✓Medium mixing bowl
- ✓Ziploc bag and rolling pin (or food processor)
- ✓Spatula
Ingredients
- ✓24 Oreo cookies (divided use)
- ✓4 tablespoons unsalted butter, melted
- ✓16 oz (2 blocks) full-fat cream cheese, softened to room temperature
- ✓1/2 cup granulated sugar
- ✓1 teaspoon pure vanilla extract
- ✓1 cup heavy whipping cream (cold) OR 8 oz tub of whipped topping
- ✓Optional: Whipped cream and mini Oreos for garnish
Instructions
- Line a standard 12-cup muffin tin with paper liners. This is essential for easily removing the cheesecakes later.
- Prepare the crust: Place 12 whole Oreo cookies into a food processor and pulse into fine crumbs. Alternatively, place them in a Ziploc bag and crush with a rolling pin.
- In a medium bowl, combine the fine cookie crumbs with the melted butter. Mix until the texture resembles wet sand.
- Distribute the crumb mixture evenly among the 12 muffin cups (about 1 tablespoon per cup). Press down firmly using the back of a spoon or the bottom of a shot glass to create a compact crust. Place the tin in the freezer while you make the filling.
- In a large mixing bowl, beat the softened cream cheese and sugar together on medium speed until completely smooth and creamy. There should be no lumps. Add the vanilla extract and mix to combine.
- If using heavy whipping cream: In a separate chilled bowl, whip the heavy cream until stiff peaks form. Gently fold the whipped cream into the cream cheese mixture using a spatula. If using whipped topping, simply fold it into the cream cheese mixture.
- Crush the remaining 12 Oreo cookies into coarse chunks (not fine powder). Fold these chunks gently into the cheesecake batter.
- Remove the muffin tin from the freezer. Spoon or pipe the filling evenly over the crusts, filling each liner almost to the top.
- Smooth the tops with a spoon or offset spatula.
- Refrigerate the cheesecakes for at least 4 hours, or preferably overnight, to allow them to set completely.
- Once set, remove from the tin, peel off the paper liners, and garnish with extra whipped cream and a mini Oreo before serving.
Expert Cooking Tips
- ✓Ensure your cream cheese is truly at room temperature to avoid a lumpy batter.
- ✓Do not overmix the batter once you add the whipped cream; fold gently to keep it airy.
- ✓Press the crust down very firmly to prevent it from crumbling when you peel the wrapper.
- ✓Use full-fat ingredients for the best texture and stability; low-fat versions may not set properly.
- ✓Chill the bowl and beaters before whipping the heavy cream for faster volume.
- ✓If you want cleaner edges, you can lightly spray the liners with non-stick spray, though it’s usually not necessary.
- ✓For a professional look, use a piping bag with a large round tip to fill the muffin cups.
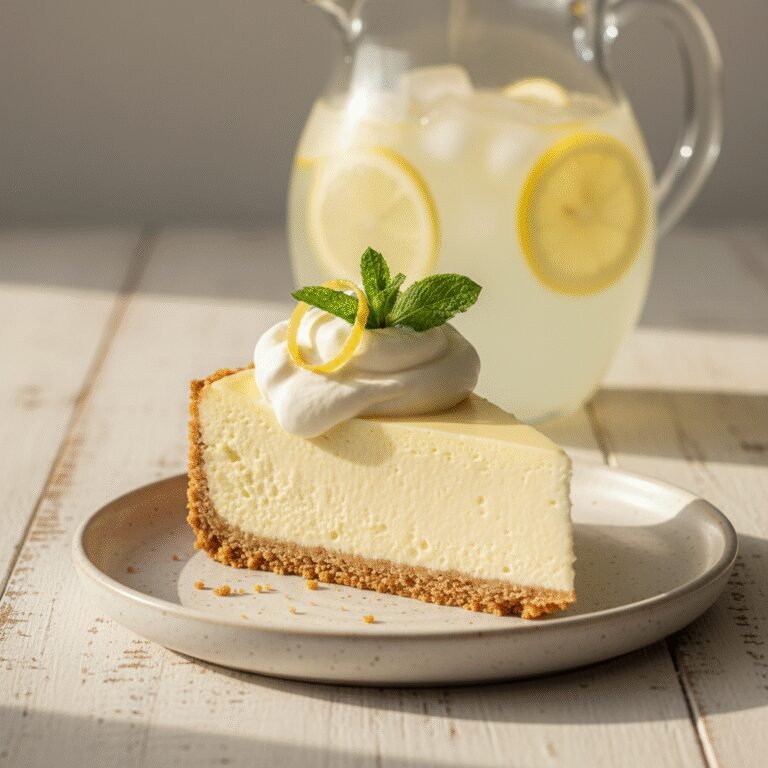
Substitutions and Variations
This recipe is quite versatile when it comes to substitutions. For the crust, if you don’t have Oreos, you can use graham cracker crumbs, chocolate wafer cookies, or even digestive biscuits mixed with a little cocoa powder. For a gluten-free version, simply swap standard Oreos for Gluten-Free Oreos, which are widely available and taste nearly identical. If you are looking to reduce the sugar, you can use a sugar substitute like erythritol or monk fruit sweetener, but be aware that the texture might be slightly less creamy. Regarding the cream component, while heavy whipping cream provides a luxurious, homemade taste, a tub of Cool Whip (thawed) is a perfectly acceptable and stable substitute that makes the recipe even faster. You can also experiment with different Oreo flavors like Golden Oreos, Mint Oreos, or Peanut Butter Oreos to completely change the flavor profile of the cheesecake.
Common Mistakes to Avoid
The most common mistake with no-bake cheesecakes is using cold cream cheese. If the cheese is cold, it will not blend smoothly with the sugar, resulting in tiny white lumps that ruin the texture. Another frequent error is not chilling the cheesecakes long enough. Because there is no baking involved, the chill time is the ‘cooking’ time; cutting it short will result in a filling that collapses when the wrapper is removed. Additionally, be careful not to crush the Oreos for the filling too finely; you want distinct chunks for texture, not a grey, muddy batter. Finally, avoid over-whipping the heavy cream to the point of making butter, or under-whipping it so it’s too runny—stiff peaks are the goal.
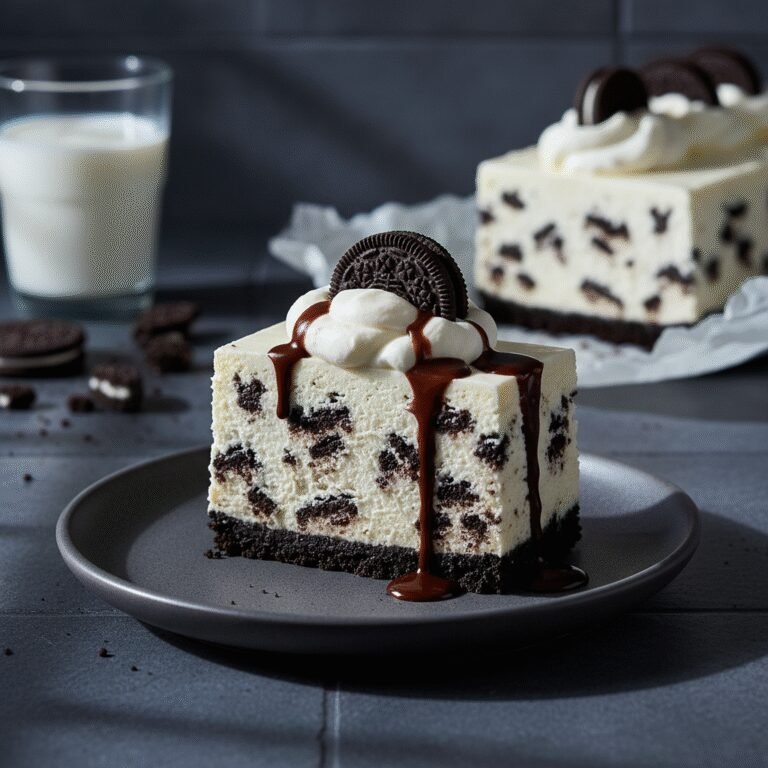
Serving Suggestions
These mini cheesecakes are best served chilled, straight from the refrigerator. For a stunning presentation, pipe a generous rosette of fresh whipped cream on top of each cake just before serving. You can garnish with a mini Oreo cookie, a dusting of cocoa powder, or a drizzle of chocolate ganache or salted caramel sauce. If serving for a party, arrange them on a tiered platter to create an elegant display. They pair wonderfully with a cold glass of milk, a hot cup of dark roast coffee, or even a dessert wine like a ruby port.
Storage and Reheating Tips
Storage is simple for these treats. They can be kept in the refrigerator in an airtight container for up to 5 days. However, the crust may soften slightly over time. For longer storage, these mini cheesecakes freeze beautifully. Place them in a single layer on a baking sheet to freeze solid, then transfer them to a freezer-safe bag or container. They will keep for up to 3 months. To serve from frozen, simply thaw them in the refrigerator for about 30-60 minutes before eating. Do not garnish them until you are ready to serve to prevent the toppings from getting soggy.
Nutrition Facts (Estimated)
| Serving Size | 1 mini cheesecake |
| Calories | 280 |
| Fat | 21g |
| Saturated Fat | 11g |
| Unsaturated Fat | 8g |
| Trans Fat | 0g |
| Cholesterol | 45mg |
| Sodium | 190mg |
| Carbohydrates | 24g |
| Fiber | 1g |
| Sugar | 18g |
| Protein | 3g |
Frequently Asked Questions
Can I use low-fat cream cheese?
Technically yes, but it is not recommended. Full-fat cream cheese contains stabilizers and fat that help the cheesecake set firmly. Low-fat versions have higher water content and may result in a softer, runnier cheesecake.
Do I need to use gelatin?
No, this recipe relies on the stiffness of the whipped cream and the cream cheese to set. As long as you whip your cream to stiff peaks and chill the cakes thoroughly, gelatin is not necessary.
Why is my filling runny?
A runny filling usually happens if the heavy cream wasn’t whipped to stiff peaks before folding, or if the mixture was over-mixed, causing the air bubbles to deflate. It could also be due to using a low-fat cream cheese.
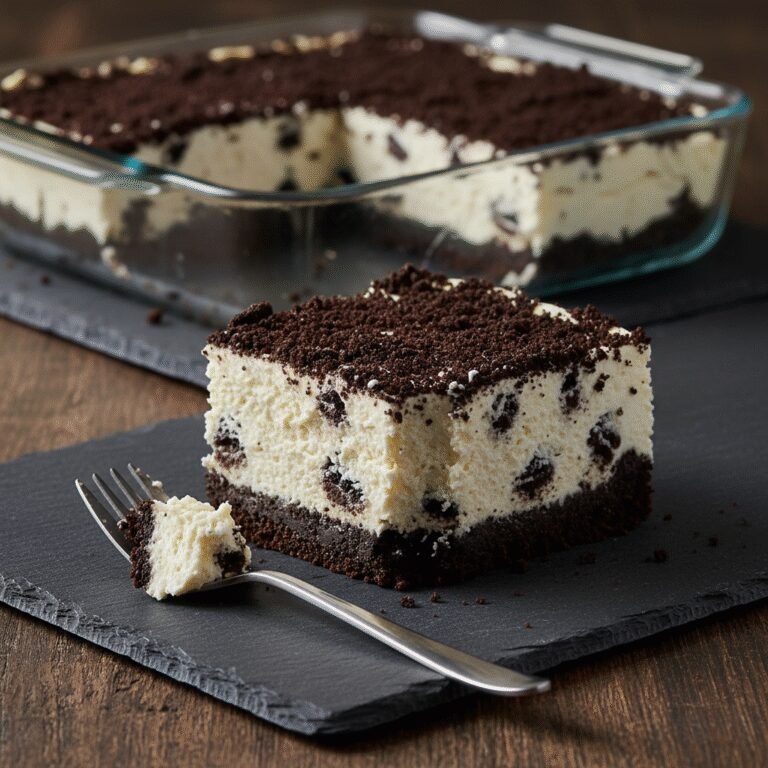
Can I make this in a regular pie dish?
Absolutely. You can press the crust mixture into a 9-inch pie dish and pour the filling over it. You will likely need to chill it for a longer period, ideally 6-8 hours or overnight, to ensure the center sets properly.
How do I get the paper liners off smoothly?
The key is to ensure the cheesecakes are very cold. If they are too warm, the filling will stick to the paper. If you are having trouble, try popping them in the freezer for 15 minutes before peeling.
Can I use Double Stuf Oreos?
Yes, you can! However, because they have more cream filling, the crust mixture might be slightly stickier. You may need to reduce the melted butter slightly, or just enjoy a richer crust.
Can I make these dairy-free?
Yes, by using dairy-free cream cheese, plant-based butter, and a coconut cream whip or dairy-free whipped topping. Oreos themselves are accidentally vegan, so the cookie part is safe.
How long do they need to chill?
4 hours is the absolute minimum, but overnight is best. The longer they sit in the fridge, the better the flavors meld and the firmer the texture becomes.
Conclusion
In the world of desserts, few things offer the high reward-to-effort ratio of these Easy No Bake Oreo Cheesecake Minis. They capture the essence of indulgence with their creamy texture and bold chocolate flavor, all while sparing you the technical difficulties of traditional baking. Whether you are making them for a birthday party, a holiday treat, or just a Tuesday night craving, they are guaranteed to be a hit. So grab a package of Oreos and get mixing—your new favorite dessert awaits!