The Ultimate Easy No-Bake Oreo Cheesecake with Fresh Berries
Easy No Bake Oreo Cheesecake With Fresh Berries Recipe
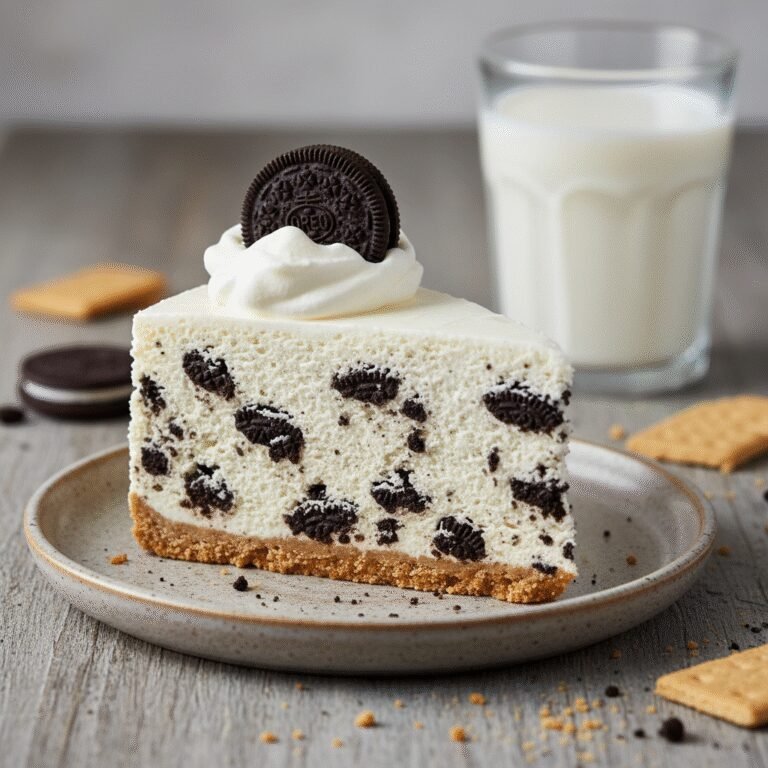
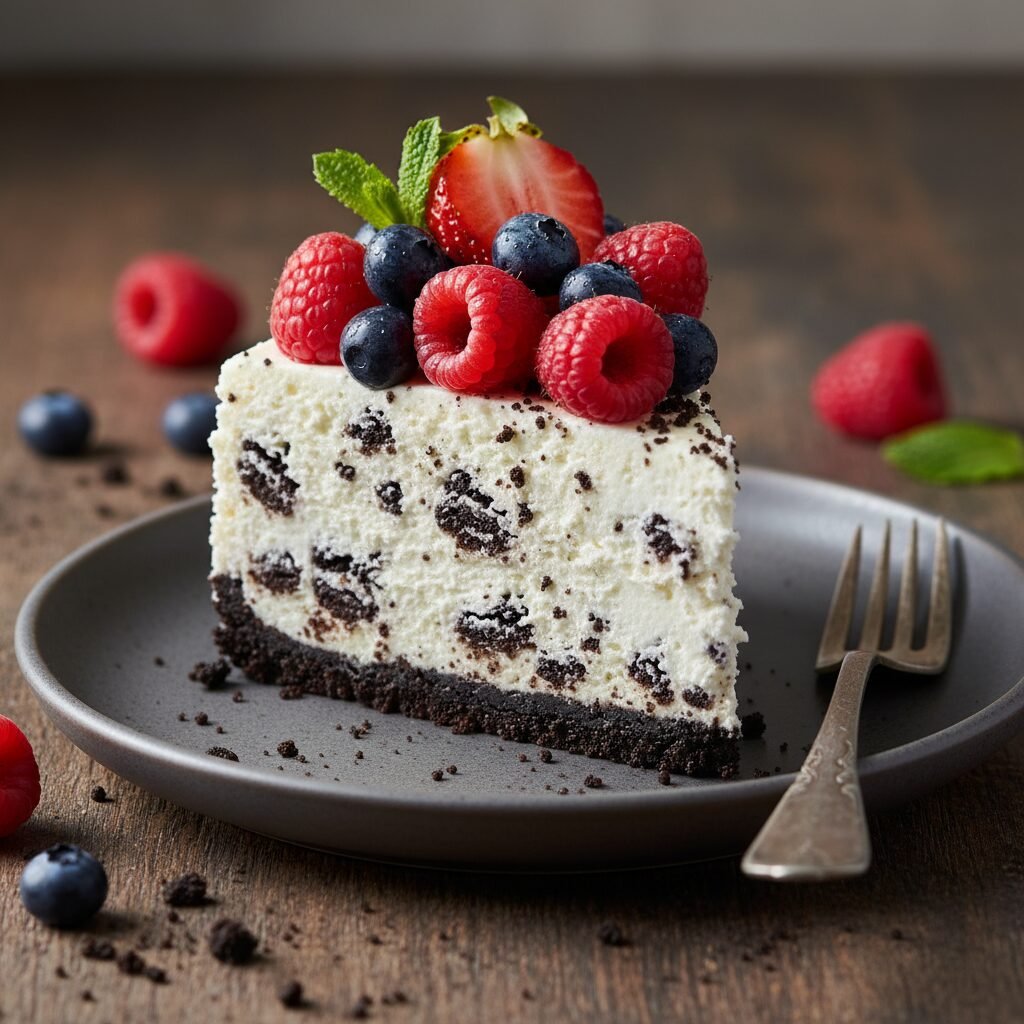
Indulge in the perfect balance of creamy and crunchy with this foolproof No-Bake Oreo Cheesecake. Featuring a buttery Oreo crust, a velvety cookies-and-cream filling, and a crown of vibrant fresh berries, this dessert requires absolutely no oven time and is guaranteed to impress at any gathering.
20 minutes
0 minutes
6 hours 20 minutes (includes chilling)
12 servings
Dessert
No-Bake / Chilling
American
Vegetarian
There is something undeniably magical about the combination of tangy cream cheese, sweet vanilla, and the dark, cocoa-rich crunch of an Oreo cookie. When you add the brightness of fresh summer berries to the mix, you elevate a childhood favorite into a sophisticated dessert that looks as stunning as it tastes. This Easy No-Bake Oreo Cheesecake with Fresh Berries is the answer to every dessert lover’s prayer: it delivers all the decadence of a traditional New York-style cheesecake without the hassle of water baths, cracked tops, or turning on a hot oven in the middle of summer.
The beauty of this recipe lies in its texture. The filling is incredibly light and airy, almost mousse-like, yet stable enough to slice cleanly, thanks to the careful folding of whipped cream into the sweetened cream cheese mixture. Unlike baked cheesecakes which can be dense and heavy, this no-bake version melts on the tongue, offering a cloud-like experience that contrasts perfectly with the gritty, buttery deliciousness of the thick Oreo crust.
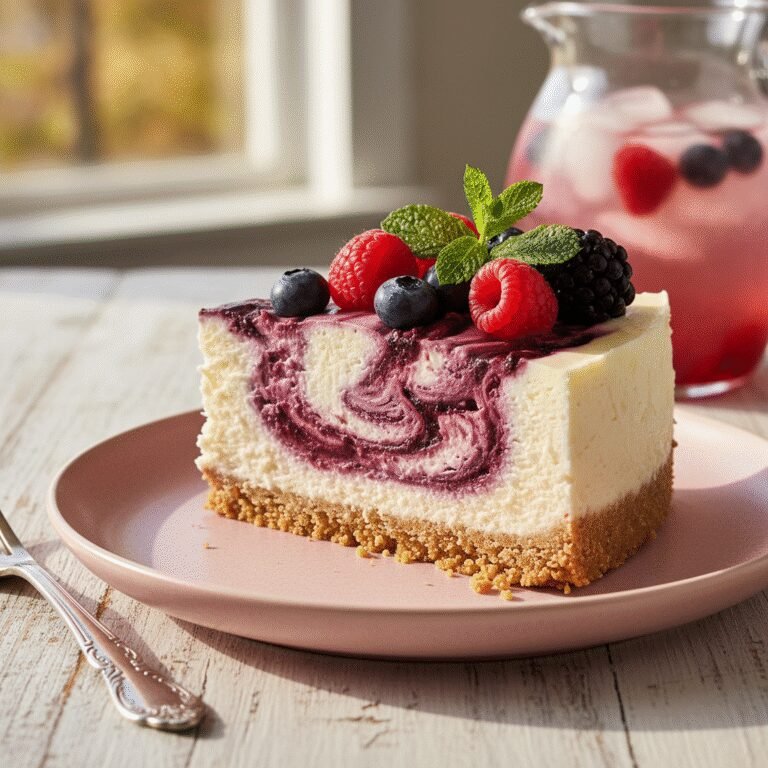
Furthermore, this recipe is a visual showstopper. The stark contrast between the midnight-black crust, the speckled white filling, and the jewel-toned raspberries, strawberries, and blueberries on top makes it a centerpiece worthy of special occasions. Whether you are hosting a backyard barbecue, a birthday party, or simply craving a midnight treat, this recipe is designed to be forgiving and flexible. It’s a testament to the fact that you don’t need complicated techniques to create bakery-quality sweets at home. Prepare to fall in love with the simplicity of no-bake desserts, where the refrigerator does all the hard work for you.
History & Origins
The history of cheesecake is a journey that spans thousands of years, originating long before the invention of the modern Oreo or the refrigerator. Anthropologists have found cheese molds dating back to 2,000 B.C. on the Greek island of Samos. In ancient Greece, cheesecake was considered a potent source of energy, and there is evidence that it was served to athletes during the first Olympic Games in 776 B.C. These early versions were simple mixtures of flour, wheat, honey, and cheese, baked in earthen ovens.
The Romans later adopted the recipe, adding eggs and serving it warm, spreading it across Europe as they expanded their empire. However, the cheesecake we know and love today is largely an American evolution, specifically tied to the invention of cream cheese. In 1872, a New York dairyman named William Lawrence accidentally created a ‘richer cheese’ while trying to replicate French Neufchâtel. This accident led to the birth of Philadelphia Cream Cheese, the cornerstone of modern American cheesecake.
The Oreo cookie, the other star of this dish, has its own storied past. Introduced by the National Biscuit Company (Nabisco) on March 6, 1912, in New York City’s Chelsea Market, the Oreo was originally sold as part of a trio of biscuits. It quickly outpaced its competitors to become the best-selling cookie in the United States. The marriage of the Oreo and the cheesecake likely gained popularity in the late 20th century as ‘cookies and cream’ became a dominant flavor profile in ice creams and confectioneries. The no-bake method itself gained traction with the rise of modern refrigeration and the mid-century desire for convenience cooking, allowing home cooks to create elaborate desserts without the time-consuming baking process.
Why This Recipe Works
This recipe works because it leverages the stabilizing power of heavy whipping cream and the structural integrity of full-fat cream cheese to create a firm set without the need for eggs or gelatin. Many no-bake cheesecakes rely on gelatin, which can sometimes result in a rubbery texture if mishandled. By whipping cold heavy cream to stiff peaks and gently folding it into the cream cheese mixture, we introduce air bubbles that are trapped within the fat matrix. When chilled, the saturated fats in the cream cheese and heavy cream solidify, locking that structure in place.
The crust is equally important; using the entire Oreo cookie—filling and all—provides the necessary binding agent. The creme filling inside the Oreos mixes with the melted butter to create a crust that sets firm in the fridge but doesn’t become rock hard, ensuring it is easy to cut with a fork.
Flavor-wise, the addition of a small amount of sour cream or lemon juice is the secret weapon. It cuts through the richness of the sugar and fat, mimicking the slight tang that is characteristic of baked cheesecakes. The fresh berries are not just a garnish; their natural acidity and juiciness provide a necessary palate cleanser between rich bites, balancing the flavor profile so the dessert never feels cloying.
Why You’ll Love This Recipe
- ✓Requires absolutely no baking, keeping your kitchen cool.
- ✓Uses simple, accessible ingredients found in any grocery store.
- ✓Features a perfect balance of crunchy crust and creamy filling.
- ✓Can be made ahead of time, perfect for stress-free hosting.
- ✓Highly customizable with different fruit toppings or drizzles.
- ✓Visual showstopper with high contrast colors.
Equipment You’ll Need
- ✓9-inch Springform Pan
- ✓Food Processor or Ziploc bag and rolling pin
- ✓Electric Hand Mixer or Stand Mixer
- ✓Large Mixing Bowls
- ✓Rubber Spatula
- ✓Measuring Cups and Spoons
- ✓Offset Spatula
Ingredients
- ✓36 Oreo cookies (regular, not Double Stuf), divided
- ✓1/2 cup unsalted butter, melted
- ✓24 oz (3 blocks) full-fat cream cheese, softened to room temperature
- ✓1/2 cup granulated sugar
- ✓1/2 cup confectioners’ sugar (powdered sugar)
- ✓1 tsp pure vanilla extract
- ✓1 tsp fresh lemon juice (optional, for tang)
- ✓1 1/2 cups heavy whipping cream, very cold
- ✓1 cup fresh strawberries, halved
- ✓1 cup fresh blueberries
- ✓1 cup fresh raspberries
- ✓Fresh mint leaves for garnish (optional)
Instructions
- Prepare the crust: Place 24 whole Oreo cookies into a food processor and pulse until they are fine crumbs. If you don’t have a processor, place them in a sealed bag and crush with a rolling pin.
- Combine crumbs with melted butter: Pour the melted butter into the crumbs and mix until the texture resembles wet sand.
- Form the crust: Press the crumb mixture firmly into the bottom and slightly up the sides of a 9-inch springform pan. Use the bottom of a measuring cup to pack it down tightly. Place the pan in the freezer for 10-20 minutes to set while you make the filling.
- Whip the cream: In a large bowl, using a hand mixer or stand mixer with a whisk attachment, whip the cold heavy cream until stiff peaks form. Be careful not to over-whip into butter. Set aside.
- Beat the cream cheese: In a separate large bowl, beat the softened cream cheese and granulated sugar until completely smooth and creamy. There should be no lumps. This usually takes about 2-3 minutes on medium speed.
- Add flavorings: Mix in the confectioners’ sugar, vanilla extract, and lemon juice (if using) into the cream cheese mixture until combined.
- Combine mixtures: Gently fold the whipped cream into the cream cheese mixture using a rubber spatula. Do this in two batches to avoid deflating the air. Fold until just combined.
- Add cookie chunks: Roughly chop the remaining 12 Oreo cookies. Gently fold these chunks into the cheesecake batter.
- Assemble: Pour the filling over the chilled crust. Use an offset spatula to smooth the top evenly.
- Chill: Cover the pan loosely with plastic wrap and refrigerate for at least 6 hours, preferably overnight. The cheesecake needs this time to firm up.
- Garnish and Serve: Before serving, run a thin knife around the edge of the pan to loosen the cheesecake, then remove the springform ring. Top generously with fresh strawberries, blueberries, and raspberries. Garnish with mint if desired.
Expert Cooking Tips
- ✓Ensure your cream cheese is fully at room temperature before mixing to avoid a lumpy texture.
- ✓Use regular Oreos for the crust; Double Stuf contains too much filling and can make the crust greasy and unstable.
- ✓Chill the heavy cream, the bowl, and the whisk attachment for 10 minutes before whipping to achieve maximum volume.
- ✓Do not rush the chilling time; 6 hours is the minimum, but overnight is best for clean slices.
- ✓Press the crust down very firmly; a loose crust will crumble when you try to serve it.
- ✓Wash and thoroughly dry your berries before topping; excess water can make the top of the cheesecake soggy.
Substitutions and Variations
This recipe is incredibly versatile when it comes to substitutions. If you cannot find Oreos, any chocolate sandwich cookie or even chocolate graham crackers will work for the crust, though you may need to adjust the butter slightly. For a gluten-free version, simply use gluten-free chocolate sandwich cookies. If you prefer a lighter cheesecake, you can substitute half of the cream cheese with mascarpone, although this will result in a softer set. The heavy whipping cream can be swapped for a store-bought whipped topping (like Cool Whip) if you are short on time, but the flavor will be sweeter and less rich. For the sweetener, you can stick to just powdered sugar if you prefer a smoother texture, but the combination of granulated and powdered gives the best structure. Finally, the fruit topping is entirely up to you; sliced peaches, kiwi, or a cherry compote work just as well as mixed berries.
Common Mistakes to Avoid
The most common mistake with no-bake cheesecake is using cold cream cheese. If the cream cheese is cold, it will not blend smoothly with the sugar, resulting in small white lumps in your filling that no amount of mixing will fix. Another frequent error is over-beating the heavy cream. You want stiff peaks, but if you go too far, it turns grainy and buttery, ruining the silky texture. Additionally, be careful not to deflate the mixture when folding the whipped cream into the cheese; use a gentle hand and a large spatula. Finally, do not try to freeze the cheesecake to speed up the setting process. Freezing can alter the texture of the cream cheese, making it crumbly rather than creamy when thawed. Patience with the refrigerator chill time is key.
Serving Suggestions
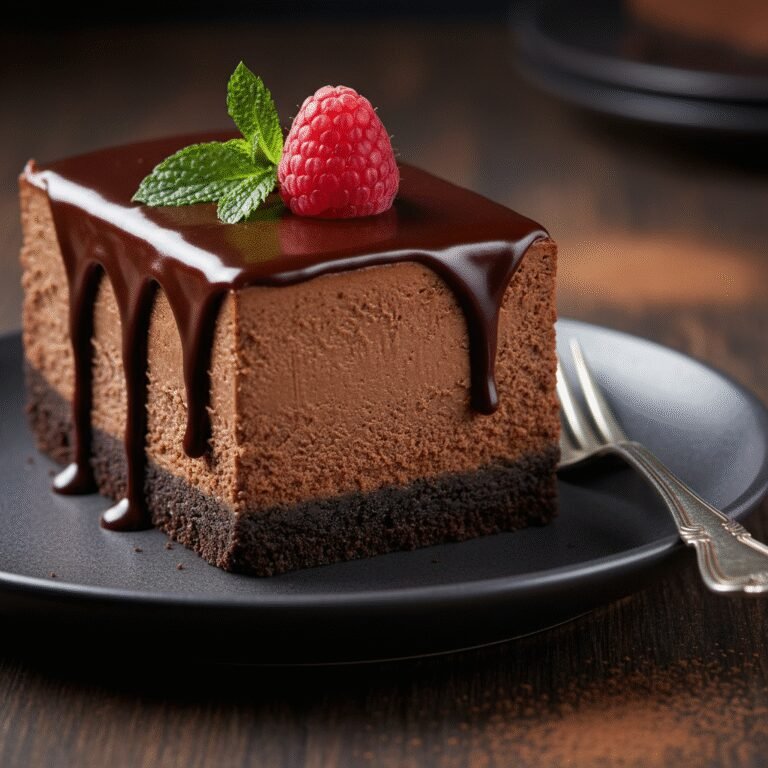
This cheesecake is a rich dessert, so it pairs beautifully with beverages that can cut through the creaminess. Serve chilled slices with a hot cup of dark roast coffee or an espresso to balance the sweetness. For an evening gathering, a glass of sparkling wine or a dessert wine like a Moscato pairs wonderfully with the berry topping. To make the presentation even more elegant, you can drizzle a little chocolate ganache or fruit coulis over the plate before placing the slice. If you are serving this for a birthday, sticking candles directly into the firm filling works perfectly. Serve immediately after removing from the fridge for the best texture.
Storage and Reheating Tips
Leftover cheesecake should be stored in the refrigerator, covered tightly with plastic wrap or in an airtight container, for up to 5 days. The crust may soften slightly over time as it absorbs moisture from the filling. If you have topped the entire cheesecake with fresh fruit, the fruit may begin to weep juices after a day or two, so it is often better to add the fruit to individual slices just before serving if you expect leftovers. You can freeze the cheesecake (without the fruit topping) for up to 2 months. To freeze, wrap the whole cheesecake or individual slices in plastic wrap followed by aluminum foil. Thaw in the refrigerator overnight before serving.
Nutrition Facts (Estimated)
| Serving Size | 1 slice |
| Calories | 480 |
| Fat | 34g |
| Saturated Fat | 18g |
| Unsaturated Fat | 14g |
| Trans Fat | 0g |
| Cholesterol | 85mg |
| Sodium | 290mg |
| Carbohydrates | 42g |
| Fiber | 2g |
| Sugar | 32g |
| Protein | 5g |
Frequently Asked Questions
Can I use low-fat cream cheese?
It is not recommended. Full-fat cream cheese contains the necessary fat structure to set properly without baking. Low-fat versions have a higher water content and may result in a runny cheesecake.
Why is my cheesecake filling runny?
This usually happens if the whipped cream wasn’t whipped to stiff peaks or if the mixture was over-mixed, deflating the air bubbles. It could also be due to not chilling the dessert long enough.
Can I make this recipe in a different pan?
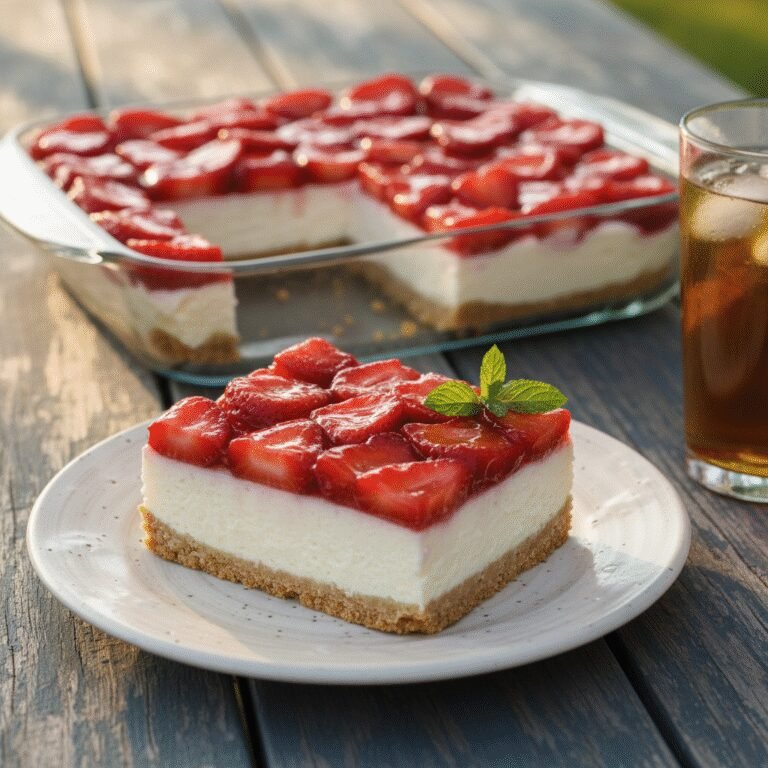
Yes, you can make this in a 9×13 baking dish for cheesecake bars, or even in individual jars for single-serving parfaits. The setting time remains the same.
Do I need to use gelatin?
No, this specific recipe relies on the stiffness of the whipped cream and the fat in the cream cheese to set. It makes for a creamier, more mousse-like texture than gelatin-set cakes.
How do I get clean slices?
Run a large chef’s knife under hot water, wipe it dry, and then make a cut. Repeat this process of warming and wiping the knife for every single slice.
Can I use frozen berries?
Fresh berries are best for topping because frozen berries release a lot of liquid as they thaw, which will create a messy puddle on top of your white cheesecake.
What if I don’t have a springform pan?
You can line a standard round cake pan with parchment paper leaving a generous overhang to lift the cake out once set, though this can be risky. A pie dish is a safer alternative.
Is this recipe gluten-free?
Not as written, because standard Oreos contain wheat. However, if you use gluten-free chocolate sandwich cookies, the rest of the ingredients are naturally gluten-free.
Conclusion
This Easy No-Bake Oreo Cheesecake with Fresh Berries is truly the ultimate crowd-pleaser. It manages to strike that elusive balance between being impressively gourmet and incredibly simple to prepare. The contrast of the dark, chocolatey crust against the pristine white filling and the burst of colorful berries makes for a presentation that is as delightful to the eyes as it is to the palate. Whether you are a novice cook looking for a foolproof win or a seasoned baker wanting a break from the oven, this recipe is sure to become a staple in your repertoire. Enjoy the creamy, crunchy, fruity bliss!