Perfectly Creamy Lemon Cheesecake: The Ultimate Springform Pan Recipe
Creamy Lemon Cheesecake In Springform Pan Recipe
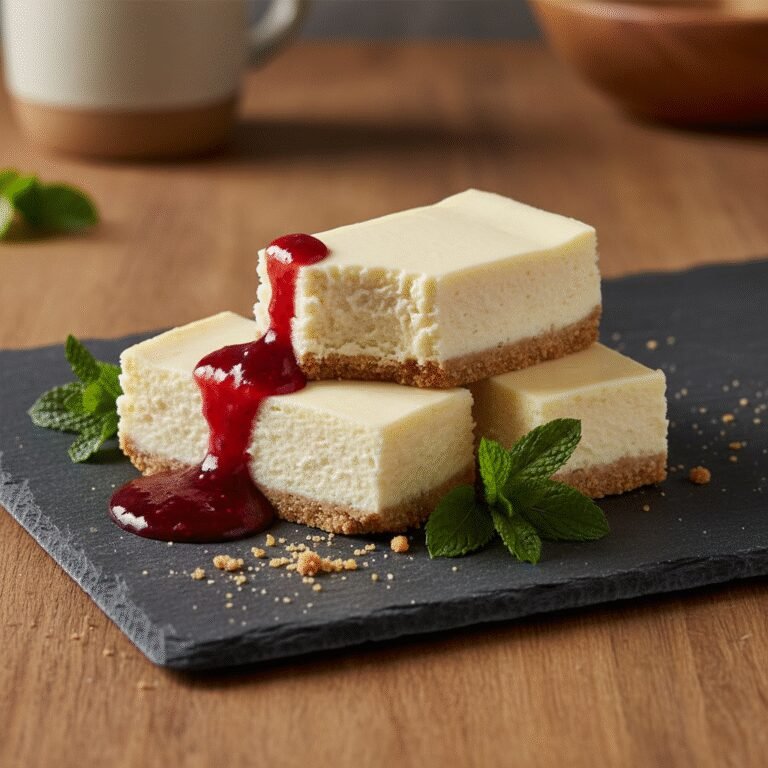
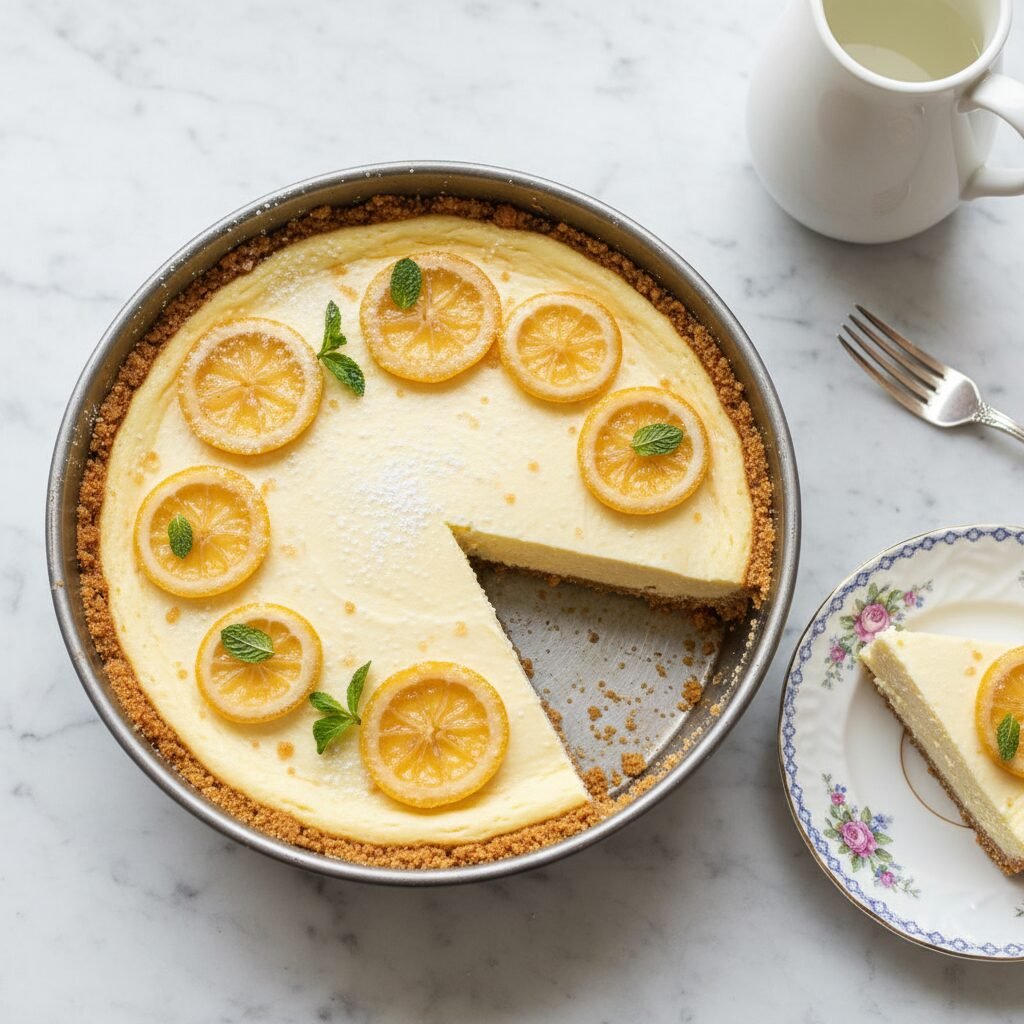
This velvety lemon cheesecake is the epitome of dessert perfection, boasting a bright, zesty flavor profile balanced by a rich, buttery graham cracker crust. Baked gently in a springform pan, it creates a show-stopping centerpiece that is dense, smooth, and completely crack-free.
30 minutes
1 hour 15 minutes
8 hours (includes cooling time)
12 servings
Dessert
Baking
American
Vegetarian
There are few desserts as universally beloved and simultaneously intimidating as the classic cheesecake. When done right, it is a symphony of textures: a crunchy, buttery base yielding to a rich, dense, yet impossibly creamy filling that melts on the tongue. This Creamy Lemon Cheesecake recipe is designed to banish the fear of the dreaded ‘cracked top’ and deliver a bakery-quality result right in your own kitchen. The star of the show here is undoubtedly the lemon. We aren’t just relying on a extract; we are using fresh lemon zest and juice to cut through the richness of the cream cheese, providing a sunshine-bright flavor profile that makes this heavy dessert feel surprisingly light and refreshing. The magic happens in a springform pan, the essential tool for any serious cheesecake baker, allowing for that dramatic reveal of the smooth, golden sides. Whether you are hosting a sophisticated dinner party, celebrating a spring holiday, or simply craving a slice of comfort, this recipe offers a foolproof roadmap. We will walk you through the importance of room-temperature ingredients, the gentle science of the water bath, and the patience required for the cooling process. By the time you take your first bite, you will understand why this specific blend of tang and creaminess is the ultimate indulgence for lemon lovers everywhere.
History & Origins
The history of cheesecake is a fascinating journey that spans millennia, long before the invention of the modern springform pan or Philadelphia cream cheese. The concept of a cheese-based cake can be traced back to ancient Greece, specifically on the island of Samos, where physical anthropologists have excavated cheese molds dating to circa 2,000 B.C. It was considered a source of energy and was even served to athletes during the first Olympic Games in 776 B.C. The Romans later adopted the recipe, calling it ‘placenta’ or ‘libum,’ often offering it to their gods or serving it at feasts. As the Roman Empire expanded, so did the recipe, evolving as it traveled across Europe. However, the cheesecake we know and love today is distinctly American in its modern form. The crucial ingredient, cream cheese, was invented accidentally in 1872 by a New York dairyman named William Lawrence who was attempting to replicate French Neufchâtel. This smoother, richer cheese became the base for the ‘New York Style’ cheesecake. The springform pan, a German invention known as ‘Springform’ in the late 19th century, revolutionized how these delicate cakes were baked, allowing the sides to be removed without inverting the cake, which would ruin the soft top. This recipe honors that long lineage, combining the ancient love for sweetened cheese with modern American ingenuity for a dessert that has stood the test of time.
Why This Recipe Works
This recipe succeeds where many others fail due to a precise balance of moisture, fat, and gentle heat application. First, the inclusion of both heavy cream cheese and sour cream is critical. The cream cheese provides the structure and density, while the sour cream introduces a distinct tang and softens the proteins, ensuring the texture is silky rather than rubbery. Second, the addition of a small amount of cornstarch acts as an insurance policy against cracking; the starch molecules swell and prevent the egg proteins from coagulating too tightly, which is the primary cause of a grainy texture. Third, the lemon flavor is layered. By rubbing the lemon zest into the sugar before mixing, we release the essential oils, infusing the entire batter with a floral citrus aroma that juice alone cannot achieve. Finally, the cooking method is non-negotiable for perfection. Baking in a water bath (bain-marie) regulates the temperature, keeping the oven moisture high and the heat gentle. This prevents the edges of the cheesecake from cooking faster than the center, ensuring an even rise and a flat, creamy surface. The slow cooling process in the turned-off oven further prevents thermal shock, guaranteeing a flawless, crack-free finish.
Why You’ll Love This Recipe
- ✓Achieves a professional, crack-free surface with our water bath method.
- ✓Features a double-dose of citrus from fresh lemon juice and zest.
- ✓The crust is extra thick and buttery for the perfect crunch-to-cream ratio.
- ✓Texture is dense and rich, yet melts in your mouth.
- ✓Can be made up to 2 days in advance, making it perfect for hosting.
Equipment You’ll Need
- ✓9-inch Springform Pan
- ✓Large Roasting Pan (for water bath)
- ✓Electric Stand Mixer or Hand Mixer
- ✓Heavy-duty Aluminum Foil
- ✓Rubber Spatula
- ✓Microplane or Zester
- ✓Food Processor (for crust)
Ingredients
- ✓2 cups Graham Cracker Crumbs (approx. 14-15 full sheets)
- ✓1/2 cup Unsalted Butter, melted
- ✓1/4 cup Granulated Sugar (for crust)
- ✓32 oz (4 blocks) Full-Fat Cream Cheese, softened to room temperature
- ✓1 1/4 cups Granulated Sugar (for filling)
- ✓1/2 cup Full-Fat Sour Cream, room temperature
- ✓2 teaspoons Vanilla Extract
- ✓2 tablespoons Cornstarch
- ✓1 tablespoon Fresh Lemon Zest (about 2 lemons)
- ✓1/4 cup Fresh Lemon Juice
- ✓4 Large Eggs, room temperature
Instructions
- Preheat your oven to 350°F (175°C). Prepare your 9-inch springform pan by lightly greasing the bottom and sides with butter or cooking spray.
- In a food processor, pulse the graham crackers until they are fine crumbs. Add the 1/4 cup sugar and melted butter, pulsing until the mixture resembles wet sand.
- Press the crumb mixture firmly into the bottom and slightly up the sides of the springform pan. You can use the bottom of a measuring cup to pack it down evenly. Bake for 10 minutes, then remove and set aside to cool. Reduce oven temperature to 325°F (163°C).
- Prepare the pan for the water bath. Wrap the outside of the springform pan with 2-3 layers of heavy-duty aluminum foil to ensure no water seeps in. Alternatively, place the springform pan inside a slightly larger cake pan, and place that inside the roasting pan.
- In a small bowl, mix the 1 1/4 cups sugar with the lemon zest. Rub the zest into the sugar with your fingers until fragrant.
- In the bowl of a stand mixer fitted with the paddle attachment, beat the softened cream cheese and lemon-sugar mixture on medium-low speed until completely smooth and creamy (about 2-3 minutes). Scrape down the bowl to ensure no lumps remain.
- Add the sour cream, vanilla extract, lemon juice, and cornstarch. Beat on low speed until combined. Do not overmix.
- Add the eggs one at a time, mixing on low speed just until the yellow disappears after each addition. Scrape the bowl between eggs. It is crucial not to overbeat at this stage to avoid incorporating air bubbles.
- Pour the batter over the cooled crust and smooth the top with a spatula. Tap the pan gently on the counter a few times to release any trapped air bubbles.
- Place the foil-wrapped springform pan into the large roasting pan. Place the roasting pan in the oven, then carefully pour boiling water into the roasting pan until it reaches halfway up the side of the springform pan.
- Bake at 325°F (163°C) for 60-75 minutes. The cheesecake is done when the edges are set but the center still jiggles slightly like Jell-O.
- Turn off the oven and crack the door open about an inch. Let the cheesecake cool inside the oven for 1 hour. This slow cooling prevents cracks.
- Remove from the oven and water bath. Run a thin knife around the edge to loosen it from the pan. Let it cool completely to room temperature on a wire rack.
- Cover loosely with plastic wrap and refrigerate for at least 6 hours, preferably overnight, to set completely before slicing.
Expert Cooking Tips
- ✓Room temperature ingredients are mandatory. Cold cream cheese causes lumps, and cold eggs can shock the batter.
- ✓Do not overmix the batter once the eggs are added. Too much air leads to the cheesecake rising and then collapsing, causing cracks.
- ✓Use a quality springform pan. If yours is old or loose, double up on the foil to prevent a soggy crust.
- ✓The ‘Jiggle Test’ is the best way to check doneness. The center 2 inches should wobble slightly when you nudge the pan.
- ✓Don’t skip the water bath. It provides the humid environment needed for a creamy texture.
- ✓Zest only the yellow part of the lemon skin; the white pith is bitter.
- ✓Slice with a hot knife (dipped in hot water and wiped dry) for clean, professional cuts.
Substitutions and Variations
This recipe is versatile enough to accommodate several dietary needs or pantry limitations. For the crust, if graham crackers aren’t available, you can use digestive biscuits, vanilla wafers, or even Biscoff cookies for a spiced twist. For a Gluten-Free version, simply swap the graham crackers for gluten-free cracker crumbs or a nut-based crust made from almond flour and butter. If you don’t have sour cream, full-fat Greek yogurt is an excellent substitute that maintains the tang and texture. While we recommend full-fat cream cheese for the best stability and mouthfeel, you can use Neufchâtel cheese for a slightly lighter version, though the texture may be softer. Avoid using ‘tub’ cream cheese or whipped cream cheese, as these contain too much air and moisture. For the lemon component, while fresh is best, you can experiment with other citrus fruits like lime or orange for a different flavor profile, keeping the quantities the same.
Common Mistakes to Avoid
The most common mistake is using cold ingredients. If your cream cheese isn’t truly soft, you will be tempted to overbeat the batter to get rid of lumps, which introduces air bubbles that cause cracks. Another frequent error is opening the oven door during baking. Drafts cause temperature fluctuations that can sink the cake. Furthermore, rushing the cooling process is a recipe for disaster. If you pull the cheesecake out of the hot oven directly into a cold kitchen, the rapid contraction will split the top. Lastly, leakage from the water bath is a tragedy; if you don’t have wide heavy-duty foil, place the springform pan inside a slightly larger cake pan, and place *that* pan in the water bath to create a double barrier.
Serving Suggestions
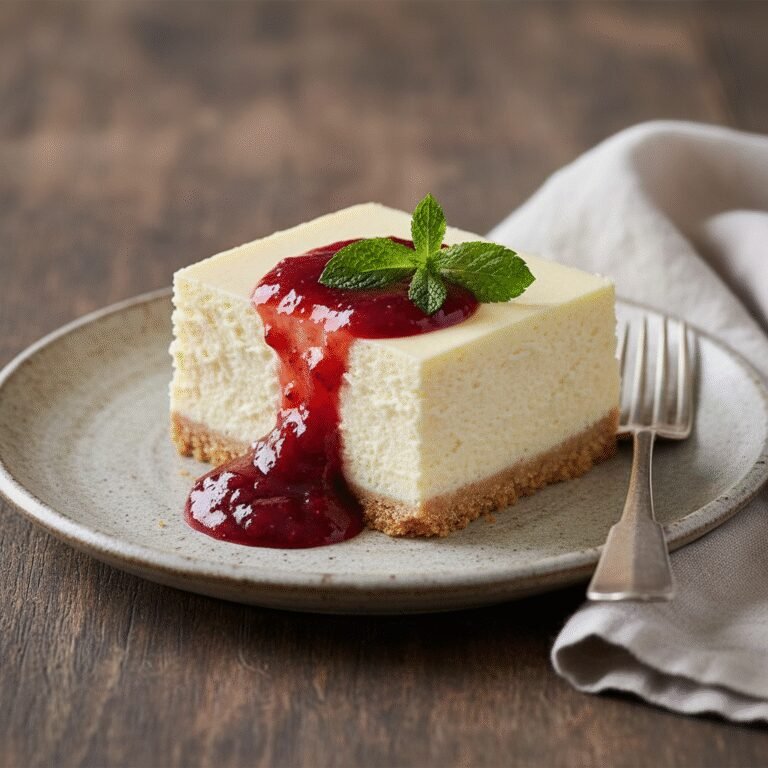
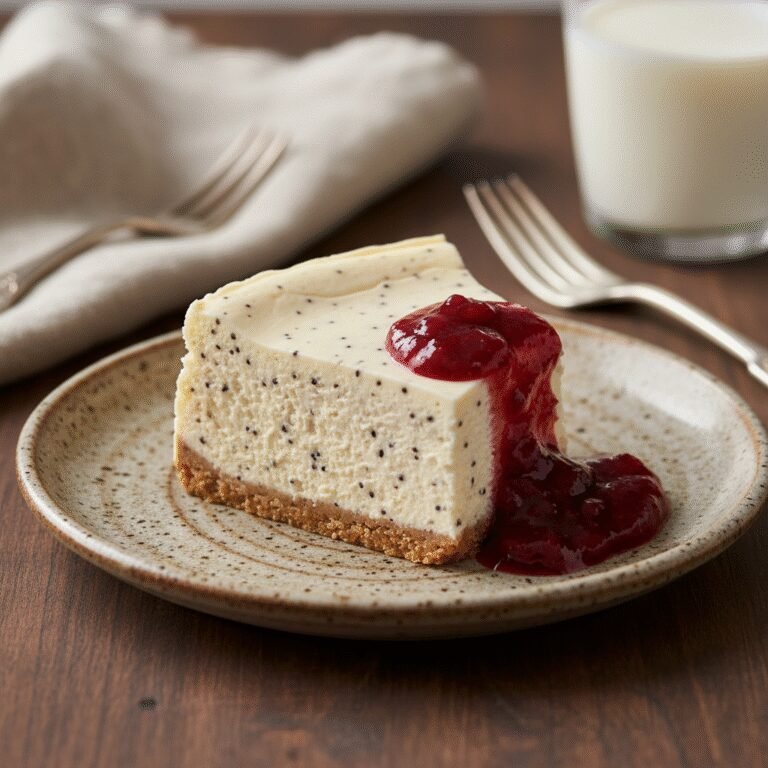
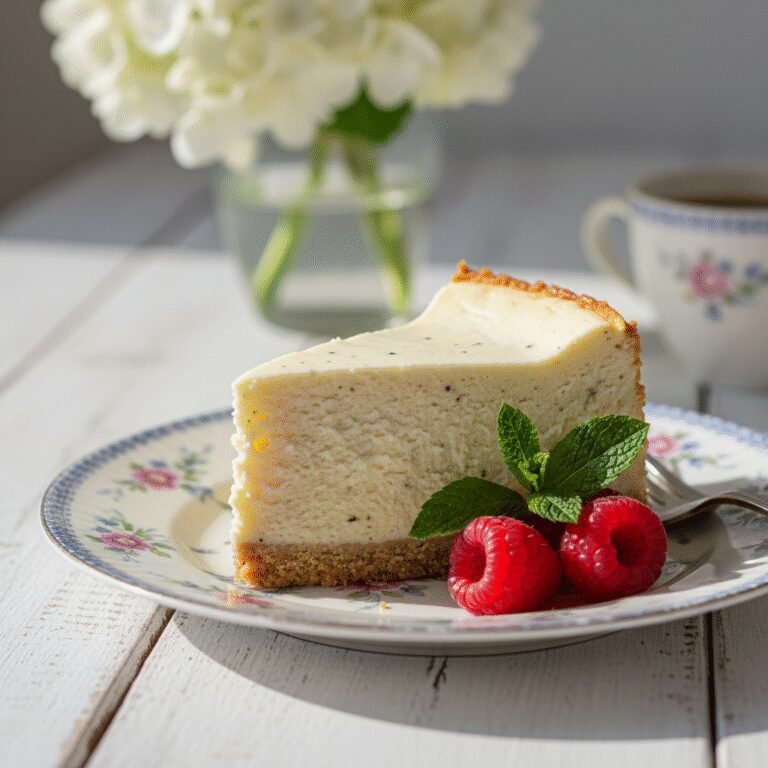
This creamy lemon cheesecake is stunning on its own, but a few garnishes can elevate it to restaurant quality. Serve chilled slices topped with a dollop of homemade whipped cream and a twist of candied lemon peel. Fresh berries, particularly raspberries or blueberries, offer a sweet and tart contrast that pairs beautifully with the citrus. For a saucier approach, a raspberry coulis or a warm blueberry compote drizzled over the slice is divine. If you want to emphasize the lemon, a thin layer of lemon curd spread over the top of the chilled cheesecake before serving adds an extra punch of tartness and a beautiful glossy finish.
Storage and Reheating Tips
Cheesecake must be stored in the refrigerator. Once fully cooled and set, cover the cake tightly with plastic wrap or aluminum foil to prevent it from absorbing fridge odors. It will stay fresh for up to 5 days. For longer storage, this cheesecake freezes beautifully. To freeze, wrap individual slices or the whole cake in a layer of plastic wrap followed by a layer of foil. It can be frozen for up to 2 months. Thaw overnight in the refrigerator before serving. Do not refreeze thawed cheesecake as the texture will suffer.
Nutrition Facts (Estimated)
| Serving Size | 1 slice |
| Calories | 480 |
| Fat | 34g |
| Saturated Fat | 19g |
| Unsaturated Fat | 12g |
| Trans Fat | 0g |
| Cholesterol | 145mg |
| Sodium | 310mg |
| Carbohydrates | 38g |
| Fiber | 1g |
| Sugar | 28g |
| Protein | 7g |
Frequently Asked Questions
Why did my cheesecake crack?
Cracks are usually caused by overmixing the batter (adding too much air), overbaking (drying it out), or cooling it too quickly (thermal shock). Follow the cooling instructions carefully to avoid this.
Do I really need a water bath?
Technically no, but for this creamy texture and a flat, crack-free top, it is highly recommended. Without it, the texture will be more like a dense casserole and the edges may overcook.
Can I use bottled lemon juice?
We strongly advise against it. Bottled lemon juice often contains preservatives that alter the flavor. Fresh lemon juice provides a bright, clean citrus taste that is essential for this recipe.
How do I know when it is done?
Gently shake the pan. The outer ring should look set and matte, while the center circle (about 2-3 inches) should jiggle slightly like gelatin. It will firm up as it cools.
Can I make this ahead of time?
Yes, cheesecake is actually better the next day! Making it 24 to 48 hours in advance allows the flavors to meld and the texture to set perfectly.
What is the best way to remove it from the springform pan?
Run a thin knife around the edge immediately after removing it from the oven. Once chilled, release the spring latch gently. Use a large spatula to slide it off the metal base if desired, or serve directly from the base.
Can I use low-fat cream cheese?
It is not recommended. Low-fat cheeses have higher water content and fillers that can prevent the cheesecake from setting properly or result in a grainy texture.
My springform pan leaks, what should I do?
Wrap the pan in slow-cooker liners or use multiple layers of heavy-duty foil. Alternatively, place the springform pan inside a slightly larger solid cake pan before placing it in the water bath.
Conclusion
Mastering the art of the Creamy Lemon Cheesecake is a milestone for any home baker. While the process requires patience and attention to detail, the result is a dessert that feels truly special—luxurious, bright, and comforting all at once. By following these steps, using the proper water bath technique, and allowing the cheesecake to cool slowly, you are guaranteed a slice that rivals any high-end bakery. So, grab your springform pan, zest those lemons, and prepare to impress your friends and family with a dessert that tastes like a slice of sunshine.