The Ultimate Creamy New York Cheesecake Bars
Creamy New York Cheesecake Cheesecake Bars Recipe
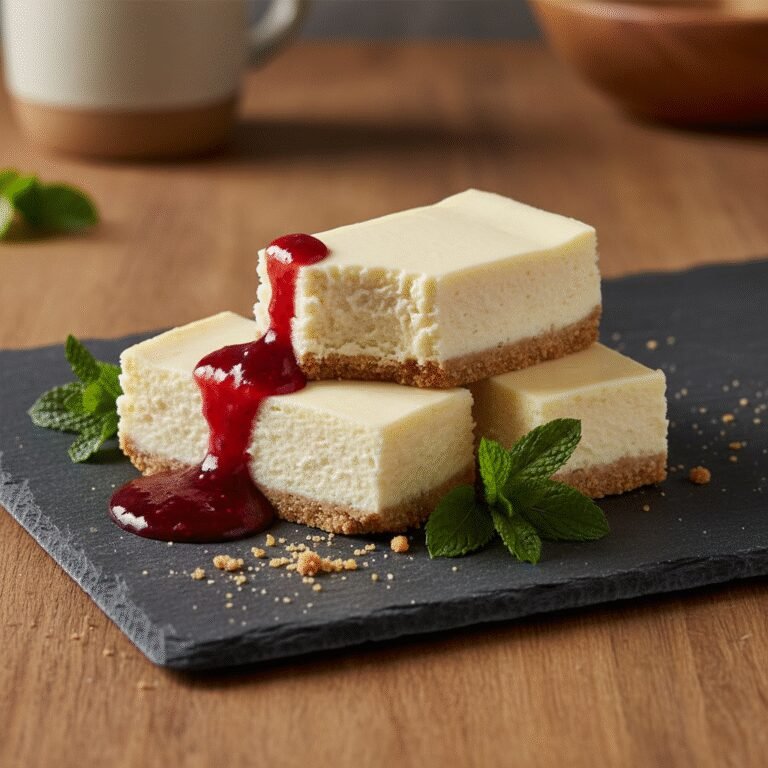
Skip the water bath and the springform pan without sacrificing flavor. These Creamy New York Cheesecake Bars deliver that iconic dense, velvety texture and tangy richness in a convenient, handheld format perfect for parties and potlucks.
25 minutes
45 minutes
5 hours 10 minutes (includes cooling and chilling)
16-20 bars
Dessert
Baking
American
Vegetarian
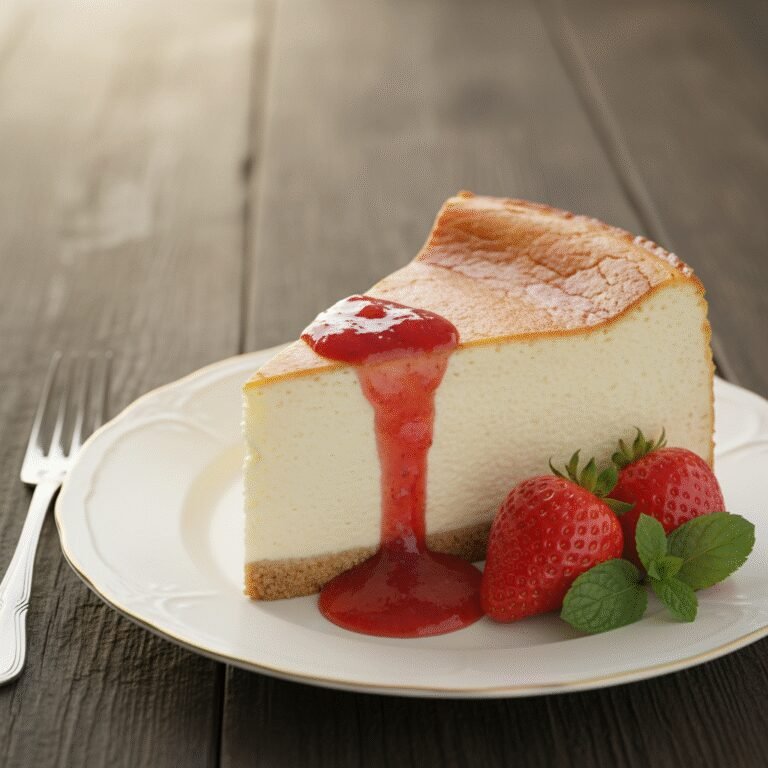
There are few desserts as universally adored and intimidating as the classic New York Cheesecake. It is the holy grail of desserts—dense, rich, tangy, and incredibly smooth. However, the traditional method often involves a finicky water bath, a specialized springform pan, and the constant anxiety of the dreaded surface crack. Enter these Creamy New York Cheesecake Bars. This recipe takes everything you love about the iconic slice from the Big Apple and transforms it into an accessible, foolproof bar that is just as decadent but half the work.
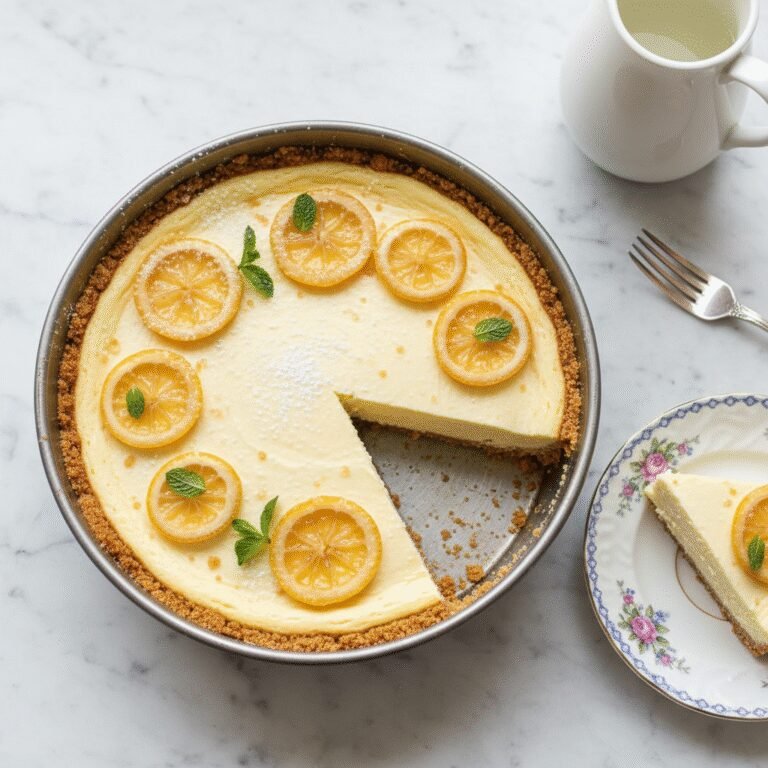
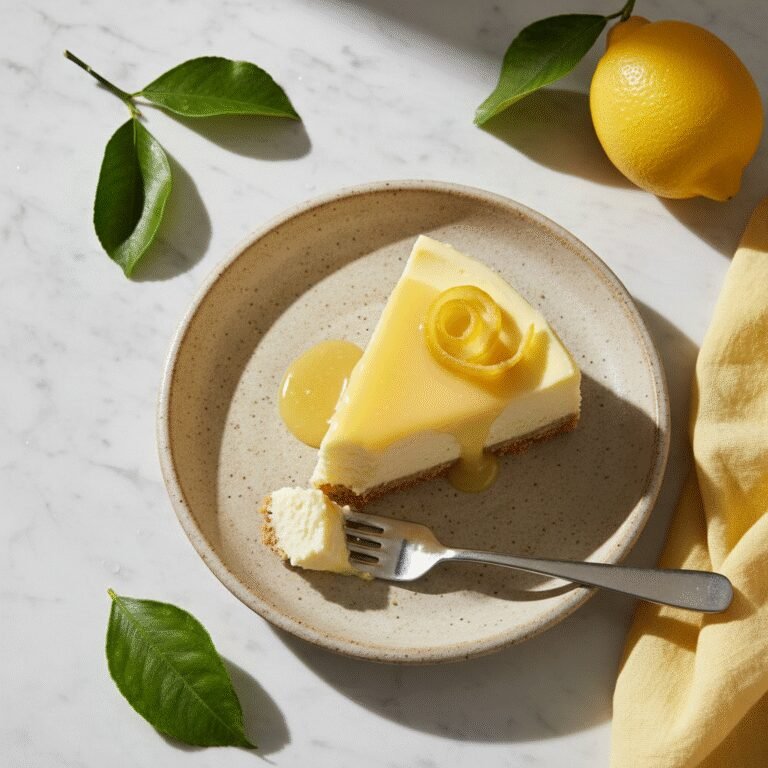
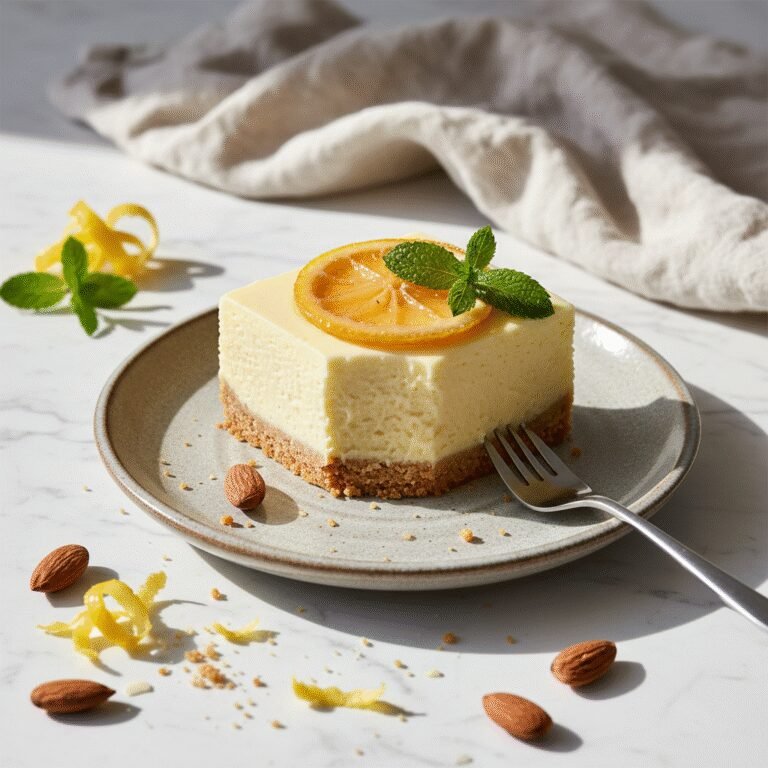
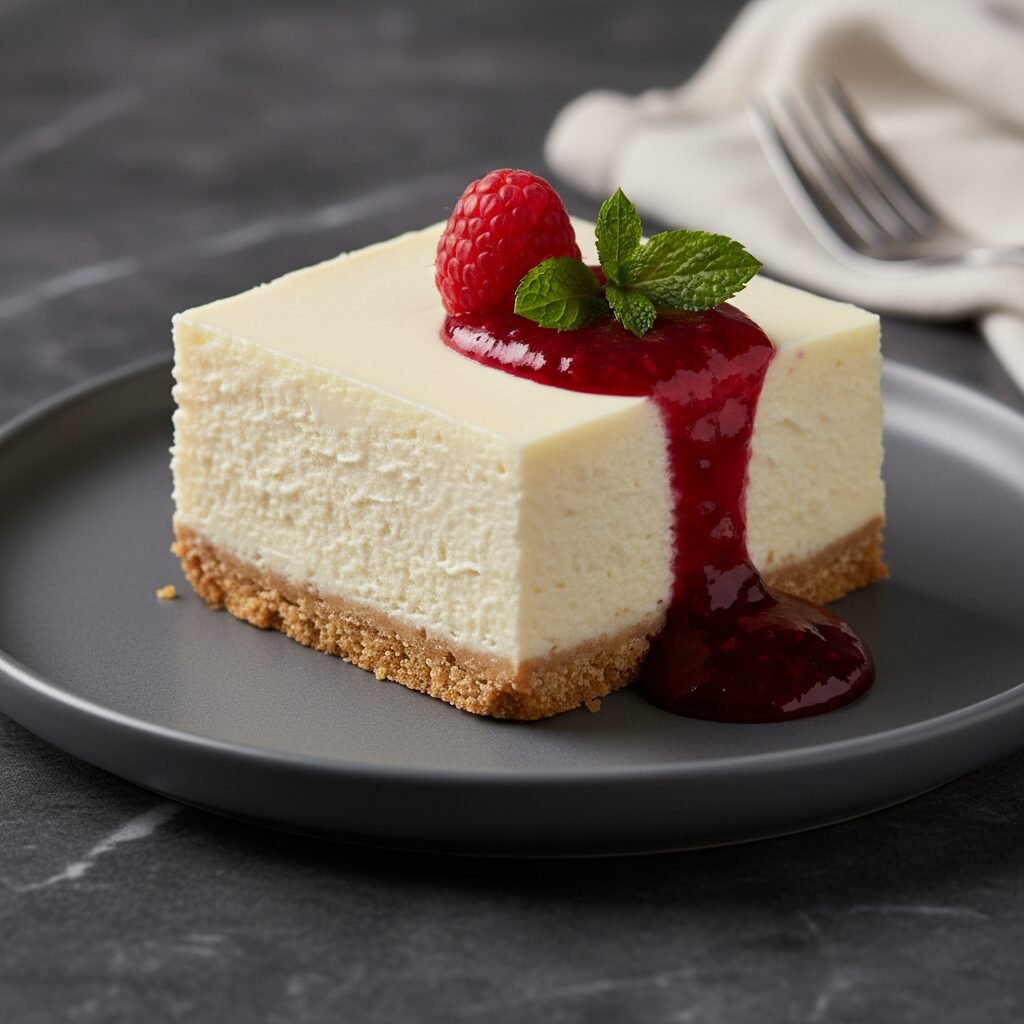
Imagine biting into a buttery, golden graham cracker crust that offers the perfect crunch to counteract the filling. On top of that foundation sits a layer of cheesecake that is unapologetically thick and creamy. Unlike the fluffier Italian styles that rely on ricotta, this New York style relies heavily on full-fat cream cheese and sour cream to achieve a texture that coats the palate in luxury. The flavor profile is a delicate balance of sweet and tangy, with a hint of vanilla and lemon zest to cut through the richness.
These bars are designed for the modern baker who craves gourmet results with practical execution. They are easier to slice, easier to share, and frankly, easier to eat than a wedge of cake. Whether you are hosting a sophisticated dinner party, looking for the star of a bake sale, or simply satisfying a Tuesday night craving, this recipe bridges the gap between professional bakery quality and home kitchen convenience. The result is a dessert that looks elegant on a platter but feels comforting and familiar with every bite.
History & Origins
The history of the cheesecake is a journey that spans thousands of years and crosses oceans, but the specific iteration known as ‘New York Style’ has a distinct and storied past in American culinary lore. While the earliest forms of cheesecake can be traced back to ancient Greece—where they were served to athletes at the first Olympic Games in 776 B.C. as a source of energy—the modern cream cheese-based cake is a decidedly American innovation.
The pivotal moment in cheesecake history occurred in 1872 in Chester, New York. A dairyman named William Lawrence was attempting to replicate the French cheese Neufchâtel. In the process, he accidentally added too much cream, resulting in a richer, more spreadable cheese. He dubbed this ‘cream cheese,’ and it eventually became the flagship product of the Philadelphia brand. This invention laid the groundwork for the New York cheesecake we know today.
By the early 20th century, cheesecake was a staple in Jewish delis across New York City. However, the ‘New York Style’—characterized by its density, height, and lack of fancy toppings—is often attributed to Arnold Reuben, the owner of the legendary Turf Restaurant (and the claimant of the Reuben sandwich invention). Legend has it that Reuben was served a cheese pie at a dinner party and was so enamored that he spent years perfecting his own recipe, substituting the traditional cottage cheese curds with the smoother cream cheese.
Simultaneously, Leo ‘Lindy’ Lindemann of Lindy’s Restaurant in Midtown Manhattan began serving a cheesecake that became world-famous, sparking a rivalry over who baked the true NYC cake. While the original recipes were guarded like state secrets, the consensus was that a true New York cheesecake used cream cheese, heavy cream or sour cream, and vanilla, baked in a graham cracker or sponge cake crust. These bars are a modern evolution of that legacy, adapting the rich history of the deli-style slice into a format that fits the fast-paced lifestyle of the 21st-century home cook while honoring the flavor profile established in the 1920s.
Why This Recipe Works
This recipe succeeds where others fail because it meticulously balances the ratio of fat, sugar, and acidity while simplifying the baking thermodynamics. First, the inclusion of sour cream is non-negotiable. While cream cheese provides the body, sour cream introduces a specific acidity that tenderizes the protein network in the eggs and cheese. This prevents the bars from becoming rubbery and ensures that signature ‘melt-in-your-mouth’ sensation that defines a great New York cheesecake.
Secondly, the structural integrity of a bar is easier to manage than a tall cake. By baking in a 9×13 pan, the batter is spread thinner than in a deep springform pan. This allows heat to penetrate the center of the cheesecake more evenly and quickly. Because the thermal mass is distributed over a wider area, the center cooks before the edges have a chance to dry out or crack. This eliminates the need for a water bath (bain-marie), which is the most cumbersome step in traditional cheesecake baking.
Furthermore, the temperature management in this recipe—starting at a standard baking temperature and then letting the bars cool gradually in the oven with the door cracked—is the secret to the smooth top. Sudden temperature changes cause the cheesecake to contract violently, leading to cracks. By allowing the bars to come to room temperature slowly, the structure sets gently, resulting in a pristine, flat surface perfect for toppings or eating plain. Finally, the crust-to-filling ratio in a bar is superior for texture lovers; you get a guaranteed bite of buttery graham cracker with every mouthful of cream, ensuring no bite is too heavy.
Why You’ll Love This Recipe
- ✓No water bath required, simplifying the baking process.
- ✓Uses full-fat sour cream for authentic New York tang and texture.
- ✓Yields a large batch, making it perfect for parties and holidays.
- ✓Freezes beautifully for long-term storage.
- ✓Versatile base that pairs with fruit, chocolate, or caramel.
- ✓Dense, creamy texture without being heavy or cloying.
Equipment You’ll Need
- ✓9×13 inch baking pan
- ✓Parchment paper
- ✓Food processor or Ziploc bag and rolling pin
- ✓Electric hand mixer or stand mixer
- ✓Large mixing bowl
- ✓Rubber spatula
- ✓Measuring cups and spoons
Ingredients
- ✓2 cups graham cracker crumbs (approx. 14-16 full sheets)
- ✓1/2 cup unsalted butter, melted
- ✓1/4 cup granulated sugar (for crust)
- ✓4 packages (8 oz each) full-fat cream cheese, softened to room temperature
- ✓1 1/2 cups granulated sugar (for filling)
- ✓1/2 cup full-fat sour cream, room temperature
- ✓1 tablespoon pure vanilla extract
- ✓2 teaspoons fresh lemon juice
- ✓1 teaspoon lemon zest (optional)
- ✓1/4 teaspoon salt
- ✓4 large eggs, room temperature
Instructions
- Preheat your oven to 325°F (163°C). Line a 9×13 inch baking pan with parchment paper, leaving an overhang on the sides to act as a sling for easy removal later.
- To make the crust, combine the graham cracker crumbs and 1/4 cup sugar in a medium bowl. Pour in the melted butter and mix with a fork until the texture resembles wet sand.
- Press the crumb mixture firmly and evenly into the bottom of the prepared pan. You can use the bottom of a measuring cup or glass to pack it down tight. Bake the crust for 10 minutes. Remove and let it cool on a wire rack while you prepare the filling. Keep the oven on.
- In a large bowl using a hand mixer or the bowl of a stand mixer fitted with the paddle attachment, beat the softened cream cheese and 1 1/2 cups sugar on medium-low speed until completely smooth and creamy. Scrape down the sides of the bowl and the beater to ensure no lumps remain. This usually takes about 2-3 minutes.
- Add the sour cream, vanilla extract, lemon juice, lemon zest, and salt. Beat on low speed until just combined and smooth.
- Add the eggs one at a time, beating on low speed after each addition just until the yolk disappears. *Crucial:* Do not overbeat once the eggs are added, as this incorporates air which leads to cracks.
- Pour the cheesecake batter over the slightly cooled crust. Use an offset spatula or rubber spatula to smooth the top into an even layer.
- Bake in the center of the oven for 35-45 minutes. The edges should be set and slightly puffed, but the center should still have a slight wobble (like Jell-O) when you gently shake the pan. It should not be liquid, but it should not be completely firm either.
- Turn off the oven and crack the oven door open about 2-3 inches. Let the cheesecake cool inside the turning-off oven for 1 hour. This slow cooling process prevents cracks.
- Remove the pan from the oven and place it on a wire rack to cool completely to room temperature (about another hour).
- Once at room temperature, cover the pan tightly with plastic wrap and refrigerate for at least 4 hours, preferably overnight, to allow the cheesecake to set and the flavors to mature.
- To serve, lift the bars out of the pan using the parchment paper overhang. Place on a cutting board and slice into squares using a sharp knife dipped in hot water and wiped clean between cuts.
Expert Cooking Tips
- ✓Room temperature ingredients are mandatory. Cold cream cheese causes lumps, and cold eggs can shock the batter. Set ingredients out 2 hours before baking.
- ✓Do not overmix the batter after adding eggs. Incorporating too much air causes the cheesecake to rise rapidly in the oven and then collapse, leading to cracks.
- ✓Pack the crust tightly. If the crust is loose, it will crumble when you try to slice the bars.
- ✓Use a water-dipped knife for clean cuts. Dip a sharp chef’s knife in hot water, wipe it dry, make a cut, and repeat. This prevents the filling from sticking to the blade.
- ✓Don’t peek too often. Opening the oven door during baking releases heat and causes temperature fluctuations that can ruin the texture.
- ✓Use full-fat ingredients. Cheesecake is not the place to cut calories; low-fat cream cheese often contains fillers that prevent the cheesecake from setting properly.
Substitutions and Variations
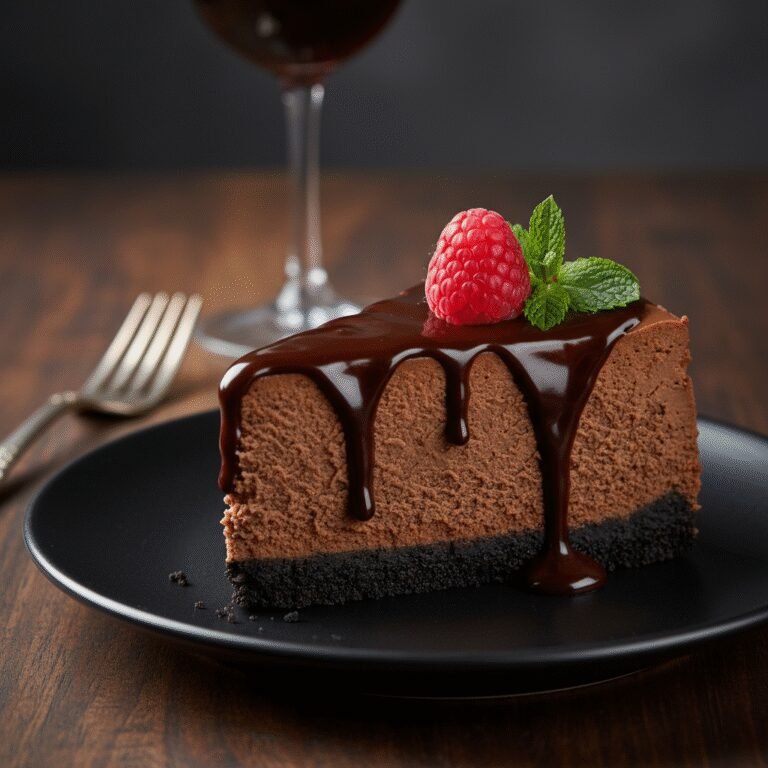
If graham crackers aren’t available or you prefer a different flavor profile, you can substitute them with an equal volume of crushed digestive biscuits, vanilla wafers, or even Biscoff cookies for a spiced caramel flavor. For a chocolate twist, use crushed Oreo cookies (filling included) and reduce the butter in the crust by 1-2 tablespoons. If you don’t have sour cream, full-fat plain Greek yogurt is an acceptable substitute, though it will make the flavor slightly tangier and the texture a tiny bit less silky. In a pinch, you can make your own ‘buttermilk’ substitute with milk and vinegar, but the texture won’t be as dense. For a gluten-free version, simply use certified gluten-free graham cracker crumbs or gluten-free shortbread cookies for the base. The filling is naturally gluten-free.
Common Mistakes to Avoid
The most common mistake is baking the cheesecake until it looks completely solid. If the center is firm when you take it out of the oven, it is already overbaked and will turn grainy or dry as it cools. Trust the ‘wobble’—it should jiggle slightly in the center. Another major error is rushing the cooling process. Placing a hot cheesecake directly into the fridge causes condensation to form, making the crust soggy and the top sticky. It also causes thermal shock, leading to cracks. Finally, using a high mixer speed is a recipe for disaster; always mix on low to medium-low to keep air bubbles to a minimum. If you see bubbles on the surface before baking, tap the pan firmly on the counter a few times to pop them.
Serving Suggestions
These bars are rich enough to be served plain, but they act as a perfect canvas for toppings. A classic strawberry or raspberry compote (simmered berries with sugar and lemon juice) cuts through the richness beautifully. For decadence, drizzle with salted caramel sauce or dark chocolate ganache. Fresh berries and a sprig of mint make for an elegant presentation. You can also top with whipped cream or crushed candy bars for a fun twist. Serve chilled for the best texture.
Storage and Reheating Tips
Store leftover cheesecake bars in an airtight container in the refrigerator for up to 5 days. The crust will soften slightly over time. For longer storage, these bars freeze exceptionally well. Once fully chilled and sliced, place the bars on a baking sheet in the freezer until solid (about 1 hour). Then, wrap each bar individually in plastic wrap and then in aluminum foil. Place the wrapped bars in a freezer-safe bag. They can be frozen for up to 3 months. Thaw in the refrigerator overnight before serving. Do not microwave to thaw, as the cheese will melt.
Nutrition Facts (Estimated)
| Serving Size | 1 bar |
| Calories | 340 |
| Fat | 24g |
| Saturated Fat | 14g |
| Unsaturated Fat | 8g |
| Trans Fat | 0g |
| Cholesterol | 95mg |
| Sodium | 210mg |
| Carbohydrates | 28g |
| Fiber | 0.5g |
| Sugar | 22g |
| Protein | 5g |
Frequently Asked Questions
Why did my cheesecake crack?
Cracks are usually caused by overbeating the eggs (adding too much air), overbaking (drying it out), or cooling too quickly (thermal shock). Follow the cooling instructions carefully to avoid this.
Can I halve this recipe?
Yes, you can halve the ingredients and bake it in an 8×8 inch square pan. The baking time may need to be reduced slightly, check it around the 25-30 minute mark.
Do I really need a water bath?
Not for this recipe! Because we are making bars in a 9×13 pan rather than a deep cake in a springform pan, the heat distributes evenly enough that a water bath is unnecessary.
Can I use low-fat cream cheese?
It is not recommended. Low-fat cream cheese has higher water content and stabilizers that can affect the setting ability and creamy texture. For the best results, stick to brick-style full-fat cream cheese.
How do I get the parchment paper to sit flat?
Crumple the parchment paper into a ball, then uncrumple it and press it into the pan. This breaks the fibers and makes it much more pliable and easier to fit into corners.
Why do ingredients need to be room temperature?
Room temperature cream cheese blends smoothly with sugar. If it’s cold, you’ll get chunks of plain cheese in your batter. Room temp eggs emulsify easier without overmixing.
Can I make this ahead of time?
Absolutely. In fact, cheesecake tastes better the next day after the flavors have melded. You can make it 24-48 hours in advance of your event.
What brand of cream cheese is best?
Philadelphia brand is the gold standard for New York cheesecake due to its consistent texture and tangy flavor profile, but any high-quality, full-fat brick cream cheese will work.
Conclusion
Mastering the art of the New York Cheesecake doesn’t have to involve stress, cracks, or complicated water baths. These Creamy New York Cheesecake Bars offer the perfect solution for anyone who loves that classic, tangy, dense flavor but wants a more approachable and shareable format. From the buttery crunch of the graham cracker crust to the silky, rich filling, every layer is designed to delight. Whether you are a seasoned baker or a novice in the kitchen, this recipe is forgiving, reliable, and guaranteed to impress. So, clear some space in your fridge, bring your ingredients to room temperature, and get ready to bake the best cheesecake bars you have ever tasted. Enjoy the process and the delicious results!