The Ultimate Creamy New York Cheesecake In 9×13 Pan Recipe
Creamy New York Cheesecake In 9×13 Pan Recipe
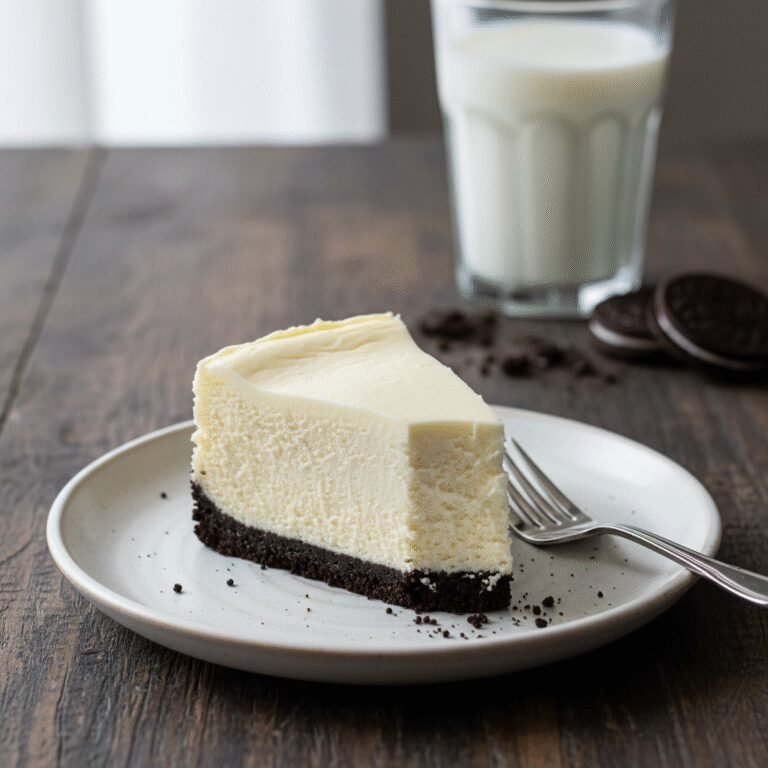
Skip the fuss of a water bath and the stress of a springform pan with this crowd-pleasing New York Cheesecake recipe made directly in a 9×13 baking dish. It yields perfectly creamy, dense, and rich cheesecake bars that are easy to slice and ideal for feeding a large gathering.
25 minutes
50 minutes
6 hours (includes cooling)
24 bars
Dessert
Baking
American
Vegetarian
There is something undeniably majestic about a classic New York Cheesecake. It is the gold standard of desserts: dense, velvety, tangy, and incredibly rich. However, for many home bakers, the traditional method is fraught with anxiety. The leaking springform pans, the precarious water baths, and the fear of the dreaded surface crack can make the process feel more like a chemistry exam than a culinary joy. Enter the 9×13 pan method. This recipe revolutionizes how you approach cheesecake by taking the classic, beloved flavor profile of a New York slice and translating it into a user-friendly, slab-style format. By baking in a standard rectangular pan, we eliminate the need for a water bath entirely. The larger surface area allows the cake to cook more evenly and gently, resulting in that signature creamy texture without the hassle. This method also transforms the dessert into ‘bars,’ which are infinitely easier to portion for parties, potlucks, and holiday gatherings. Whether you are serving it plain, topped with a vibrant berry compote, or drizzled with salted caramel, this recipe delivers high-impact flavor with low-stress techniques. It is the perfect bridge between sophisticated pastry and comforting home baking, ensuring that you can bring a bakery-quality dessert to the table with absolute confidence. Prepare to be the star of your next event, because once your guests taste the buttery graham cracker crust and the ultra-smooth cream cheese filling, they will never believe how easy it was to make.
History & Origins
The lineage of cheesecake is surprisingly ancient, tracing its roots back over 4,000 years to ancient Greece. Considered a source of energy, it was served to athletes at the first Olympic Games in 776 B.C. and was a common wedding cake option. However, these early iterations were significantly different from what we know today, often consisting of simple mixtures of flour, wheat, honey, and cheese. The Romans adopted the recipe after conquering Greece, spreading it across Europe where it evolved regionally. The New York Style cheesecake, specifically, is a much more modern invention that hinges on one crucial ingredient: cream cheese. In 1872, a New York dairyman named William Lawrence accidentally invented cream cheese while trying to replicate the French cheese Neufchâtel. This accidental discovery paved the way for the dense, smooth cheesecake we adore today. The ‘New York Style’ was solidified in the early 20th century by iconic establishments like Lindy’s and Junior’s in Manhattan and Brooklyn. Unlike its Italian counterpart which uses ricotta, or the fluffier chiffon styles, the New York version relies on heavy cream or sour cream and cream cheese to create a dense, rich consistency. The adaptation of this classic into a 9×13 pan format is a testament to the mid-century American home baking evolution, where convenience and feeding the growing suburban families led to the rise of ‘slab pies’ and ‘bar cookies,’ effectively democratizing this luxurious dessert for the everyday kitchen.
Why This Recipe Works
This recipe succeeds where others fail due to the physics of the baking vessel and the precise ratio of ingredients. Traditional round cheesecakes are deep, meaning the center takes a long time to reach the target temperature, often causing the outer edges to overcook and crack before the middle is set. By utilizing a 9×13 pan, we spread the batter out over a larger surface area, reducing the depth of the cake. This allows for faster, more even heat distribution, significantly reducing the risk of cracking and eliminating the need for a humid water bath. Furthermore, the ingredient ratios are calculated to ensure stability and creaminess. We use a small amount of flour or cornstarch, which acts as a stabilizer for the proteins in the eggs and cheese, preventing them from tightening up too much and turning grainy. The inclusion of sour cream introduces acid, which tenderizes the gluten and protein, ensuring the texture remains silky rather than rubbery. Finally, the ‘cool down’ method—leaving the cake in the oven with the door cracked—allows the structure to set gradually. Sudden temperature changes are the enemy of cheesecake; this gentle cooling process ensures the surface remains pristine and level.
Why You’ll Love This Recipe
- ✓No water bath required, simplifying the baking process significantly.
- ✓Feeds a large crowd, yielding 24 generous bars.
- ✓Dense, creamy New York style texture without the fuss.
- ✓Perfect ratio of buttery graham cracker crust to tangy filling.
- ✓Easier to slice and serve than round cakes.
- ✓Can be made up to 2 days in advance for stress-free entertaining.
Equipment You’ll Need
- ✓9×13 inch baking pan (metal or glass)
- ✓Electric hand mixer or stand mixer
- ✓Large mixing bowl
- ✓Medium mixing bowl
- ✓Rubber spatula
- ✓Measuring cups and spoons
- ✓Parchment paper
Ingredients
- ✓3 cups graham cracker crumbs (approx. 2 sleeves)
- ✓1/2 cup unsalted butter, melted
- ✓1/4 cup granulated sugar (for crust)
- ✓4 packages (8 oz each) full-fat cream cheese, softened to room temperature
- ✓1 1/2 cups granulated sugar (for filling)
- ✓1 cup full-fat sour cream, room temperature
- ✓1 tablespoon vanilla extract
- ✓1/2 teaspoon salt
- ✓4 large eggs, room temperature
- ✓2 tablespoons all-purpose flour or cornstarch
Instructions
- Preheat your oven to 325°F (163°C). Line a 9×13 inch baking pan with parchment paper, leaving an overhang on the sides for easy removal later.
- In a medium bowl, combine the graham cracker crumbs, melted butter, and 1/4 cup sugar. Mix until the texture resembles wet sand.
- Press the crumb mixture firmly and evenly into the bottom of the prepared pan. You can use the bottom of a measuring cup to pack it down tight. Bake the crust for 8-10 minutes until slightly fragrant. Remove and let cool while you prepare the filling.
- In a large bowl using a hand mixer or stand mixer fitted with the paddle attachment, beat the softened cream cheese and 1 1/2 cups sugar on medium speed until completely smooth and creamy, about 3 minutes. Scrape down the sides of the bowl.
- Add the sour cream, vanilla extract, salt, and flour/cornstarch. Beat on low speed until well combined and smooth.
- Add the eggs one at a time, mixing on low speed just until the yolk disappears after each addition. Scrape the bowl often. Do not overmix once the eggs are added, as this incorporates air which leads to cracks.
- Pour the cheesecake batter over the cooled crust and smooth the top with a spatula.
- Bake for 40-50 minutes. The edges should be set and slightly puffy, but the center should still have a slight wobble (like Jell-O) when you gently shake the pan.
- Turn off the oven and crack the oven door open about an inch. Let the cheesecake cool inside the oven for 1 hour. This gradual cooling prevents cracking.
- Remove from the oven and let it cool completely on a wire rack at room temperature.
- Cover the pan with plastic wrap (without touching the surface of the cake) and refrigerate for at least 4 hours, preferably overnight, to set completely before slicing into bars.
Expert Cooking Tips
- ✓Room temperature ingredients are non-negotiable; cold cream cheese causes lumps.
- ✓Do not overmix the batter after adding eggs to prevent air bubbles and cracks.
- ✓Use a glass or metal measuring cup to press the crust down firmly for a solid base.
- ✓Line the pan with parchment paper leaving an overhang to easily lift the bars out.
- ✓If the top browns too quickly while baking, loosely tent with foil.
- ✓Clean your knife with hot water and wipe dry between every single cut for clean slices.
Substitutions and Variations
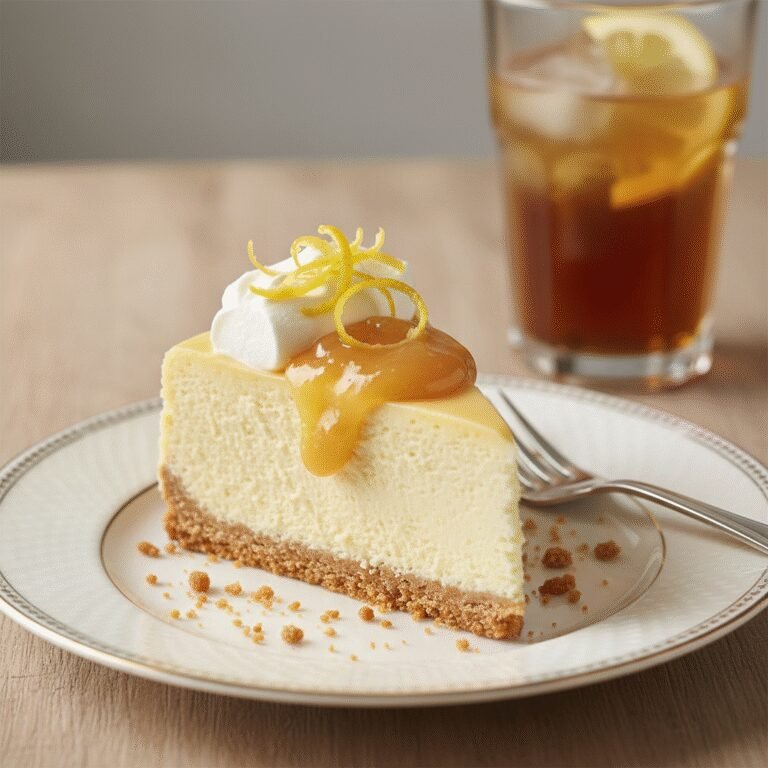
This recipe is versatile enough to handle several substitutions without compromising the structural integrity. For the crust, if you prefer a different flavor profile, you can substitute the graham crackers with an equal volume of crushed Oreo cookies (remove the filling first for a crunchier crust, or keep it for sweetness), Biscoff cookies, or vanilla wafers. If you need a gluten-free version, simply use gluten-free graham cracker crumbs and substitute the 2 tablespoons of flour in the filling with cornstarch or a gluten-free 1-to-1 flour blend. For the filling, full-fat ingredients are crucial for the texture, but in a pinch, you can substitute the sour cream with full-fat Greek yogurt or heavy cream. However, do not use low-fat or fat-free cream cheese, as the stabilizers in those products will ruin the texture and prevent the cheesecake from setting properly. If you want a citrus note, add 1 tablespoon of lemon juice and 1 teaspoon of lemon zest when adding the sour cream.
Common Mistakes to Avoid
The most common mistake when making cheesecake is using cold ingredients. If your cream cheese is not completely soft, you will inevitably have small lumps of white cheese in your batter that will not bake out. Another major error is overmixing the batter once the eggs are introduced. High-speed mixing incorporates air bubbles, which expand in the oven and then collapse, causing the cheesecake to crack and sink in the middle. Opening the oven door frequently during baking causes drastic temperature fluctuations that can also lead to sinking or cracking; trust the timer and only check near the end. Finally, impatience is the enemy of a good slice. Cutting into the cheesecake before it has fully chilled (at least 4 hours, preferably overnight) will result in a runny, unstable mess that falls apart on the plate.
Serving Suggestions
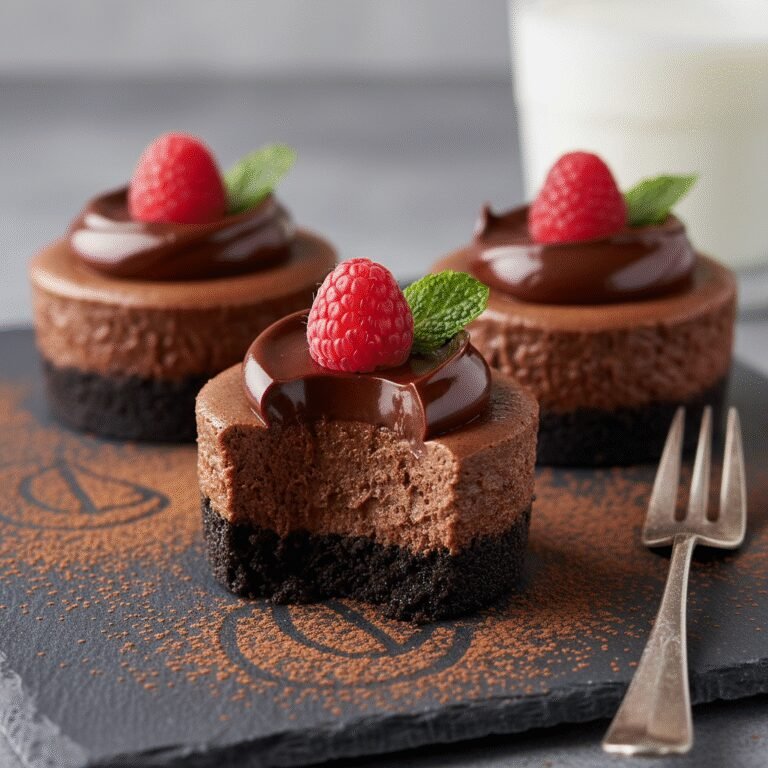
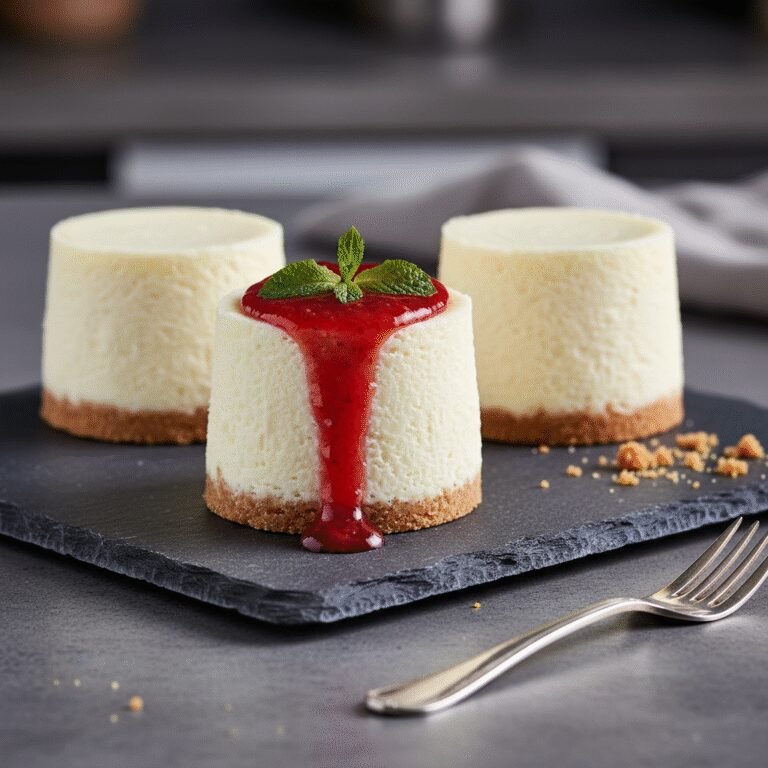
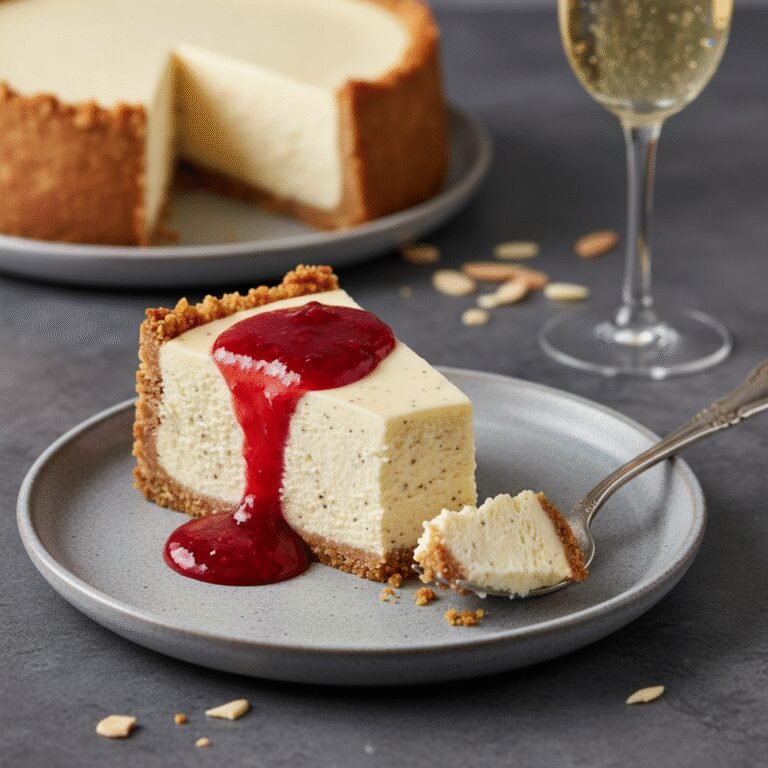
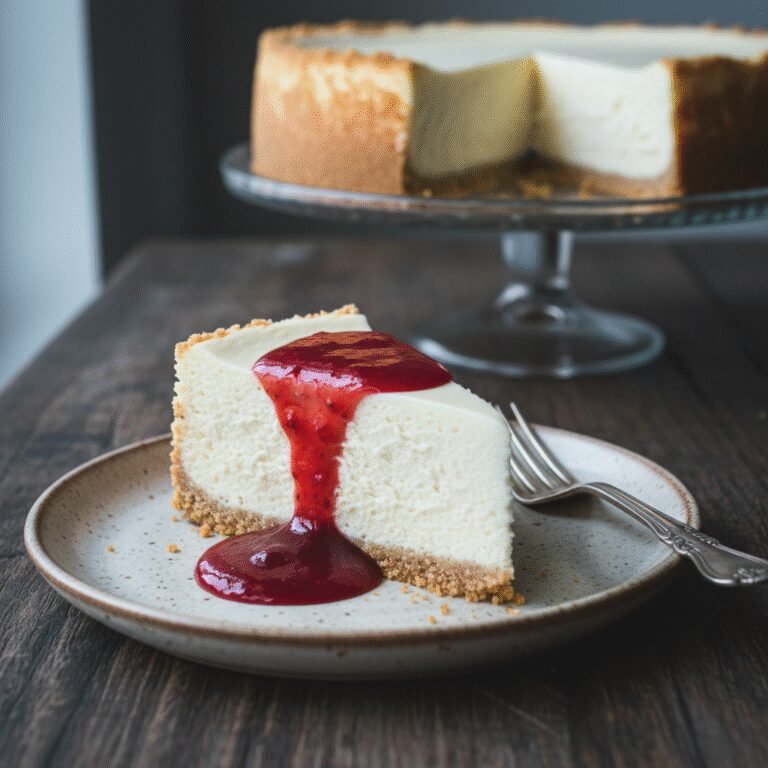
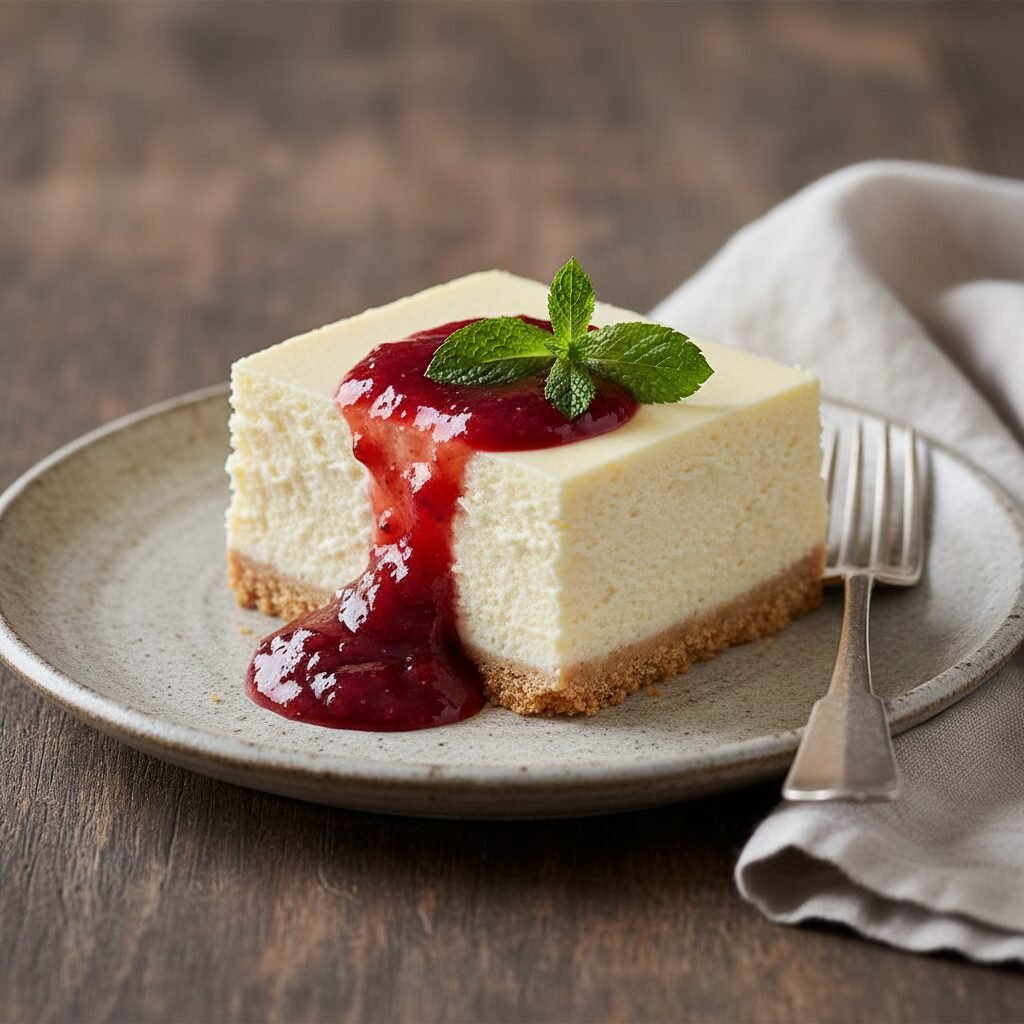
These cheesecake bars are rich enough to stand on their own, but they serve as a wonderful canvas for toppings. A classic cherry or strawberry pie filling is a crowd favorite and adds a nice tart contrast. For a more elegant presentation, arrange fresh berries in a gradient pattern and brush them with a little warmed apricot jam for shine. A drizzle of salted caramel sauce or chocolate ganache takes these to a decadent level. If serving for a holiday, consider a cranberry compote or a pumpkin spice whipped cream dollop. Serve chilled, as the texture is best when cold. You can cut them into large squares for dessert or smaller bite-sized pieces for a dessert buffet.
Storage and Reheating Tips
Cheesecake must be stored in the refrigerator. Tightly cover the pan with plastic wrap or transfer the sliced bars to an airtight container. They will stay fresh for up to 5 days in the fridge. This recipe is also incredibly freezer-friendly. To freeze, let the cheesecake set completely in the fridge first. Then, slice into bars and place them on a baking sheet in the freezer for one hour until solid. Wrap each individual bar tightly in plastic wrap, followed by a layer of aluminum foil. Place the wrapped bars in a freezer-safe bag. They can be frozen for up to 3 months. Thaw overnight in the refrigerator before serving.
Nutrition Facts (Estimated)
| Serving Size | 1 bar |
| Calories | 320 |
| Fat | 24g |
| Saturated Fat | 14g |
| Unsaturated Fat | 8g |
| Trans Fat | 0g |
| Cholesterol | 85mg |
| Sodium | 210mg |
| Carbohydrates | 28g |
| Fiber | 0.5g |
| Sugar | 22g |
| Protein | 5g |
Frequently Asked Questions
Do I really need to use a water bath for this recipe?
No! That is the beauty of the 9×13 method. Because the batter is spread thinner than in a deep springform pan, it cooks evenly without the need for the humidity and gentle heat regulation of a water bath.
Why did my cheesecake crack?
Cracks usually happen for two reasons: overmixing the eggs (which adds air) or cooling the cheesecake too fast. Ensure you mix on low speed and let the cheesecake cool in the turned-off oven with the door cracked.
How do I know when it is done baking?
The ‘jiggle test’ is the best method. Gently shake the pan. The edges should be firm and set, but the center 2-3 inches should still wobble slightly, like firm gelatin. It will finish setting as it cools.
Can I halve this recipe?
Yes, you can halve the ingredients and bake it in an 8×8 or 9×9 inch square pan. The baking time may need to be reduced slightly, so start checking around the 30-35 minute mark.
Why is my cheesecake grainy?
Grainy cheesecake is usually the result of overcooking (the proteins curdle) or not mixing the cream cheese enough before adding the eggs. Ensure your cheese is room temp and beaten until perfectly smooth first.
Can I use whipped cream cheese?
No. Whipped cream cheese has air incorporated into it by the manufacturer, which throws off the volume measurements and density. Always use the solid blocks of brick cream cheese.
How do I get clean slices?
Use a sharp chef’s knife. Dip the blade into a pitcher of hot water, wipe it dry with a paper towel, make one cut, and repeat. Cleaning the knife between every cut prevents the crumbs and filling from smearing.
Can I make this ahead of time?
Absolutely. In fact, cheesecake tastes better the next day after the flavors have melded. You can bake it up to 2 days before serving and keep it in the fridge.
Conclusion
Mastering the art of New York Cheesecake doesn’t require a culinary degree or fancy equipment; it just requires the right technique. By switching to a 9×13 pan, you eliminate the most stressful parts of the process while retaining every ounce of that luxurious, tangy, creamy flavor we all crave. This recipe is a testament to the idea that sometimes, the easier way is actually the better way. Whether you are baking for a birthday, a potluck, or just a Tuesday night treat, these cheesecake bars are guaranteed to impress. So grab your mixer, soften that cream cheese, and get ready to enjoy the best homemade cheesecake you have ever tasted.